This post may contain affiliate links. This means that if you buy the cool stuff I recommend, I earn a small commission (but you still pay the same price). Thanks for helping me make a living doing my dream job!
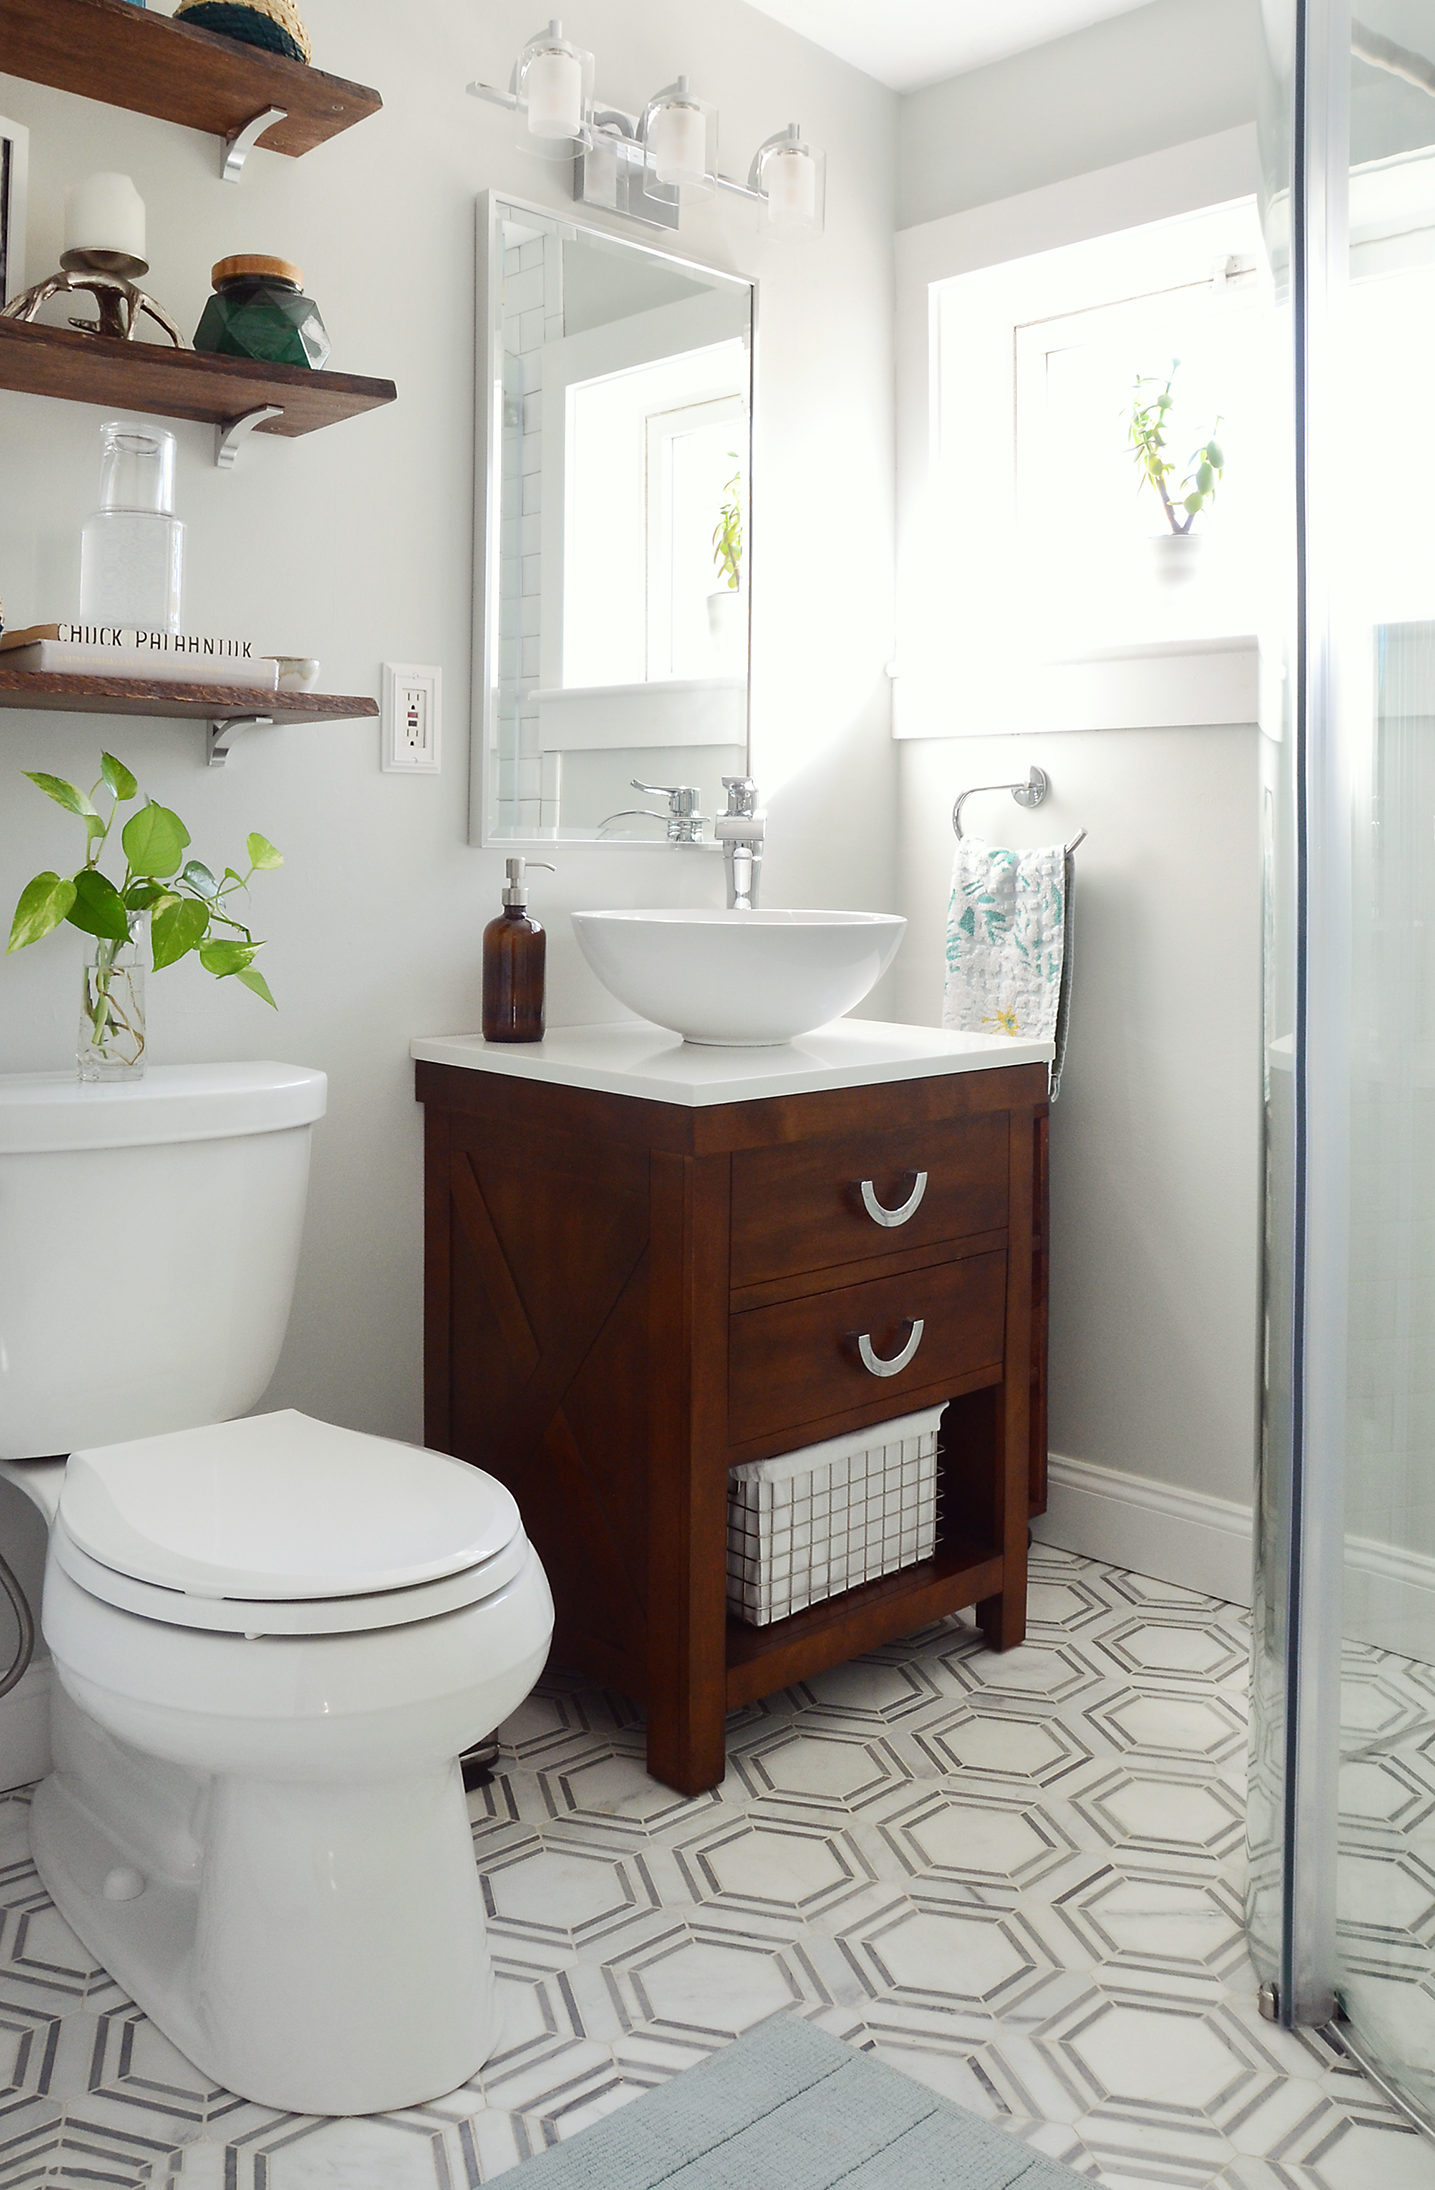
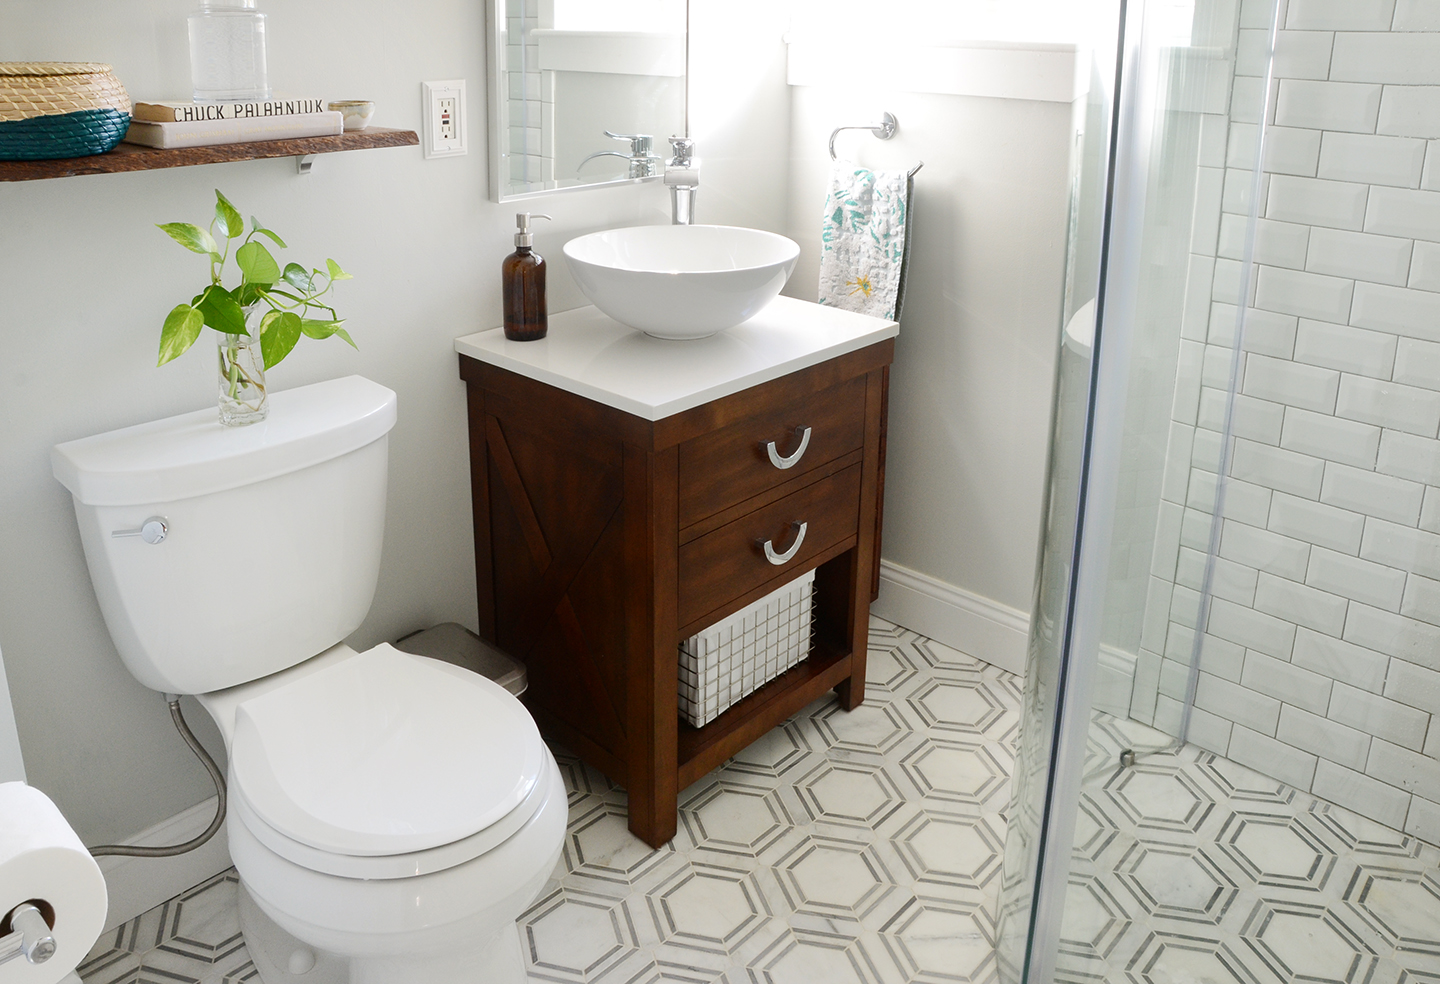
It’s hard to believe that our bathroom is finally finished! It took longer than we expected, but we’re thrilled with the final result. It’s the perfect combination of contemporary, geometric and just a little bit rustic.
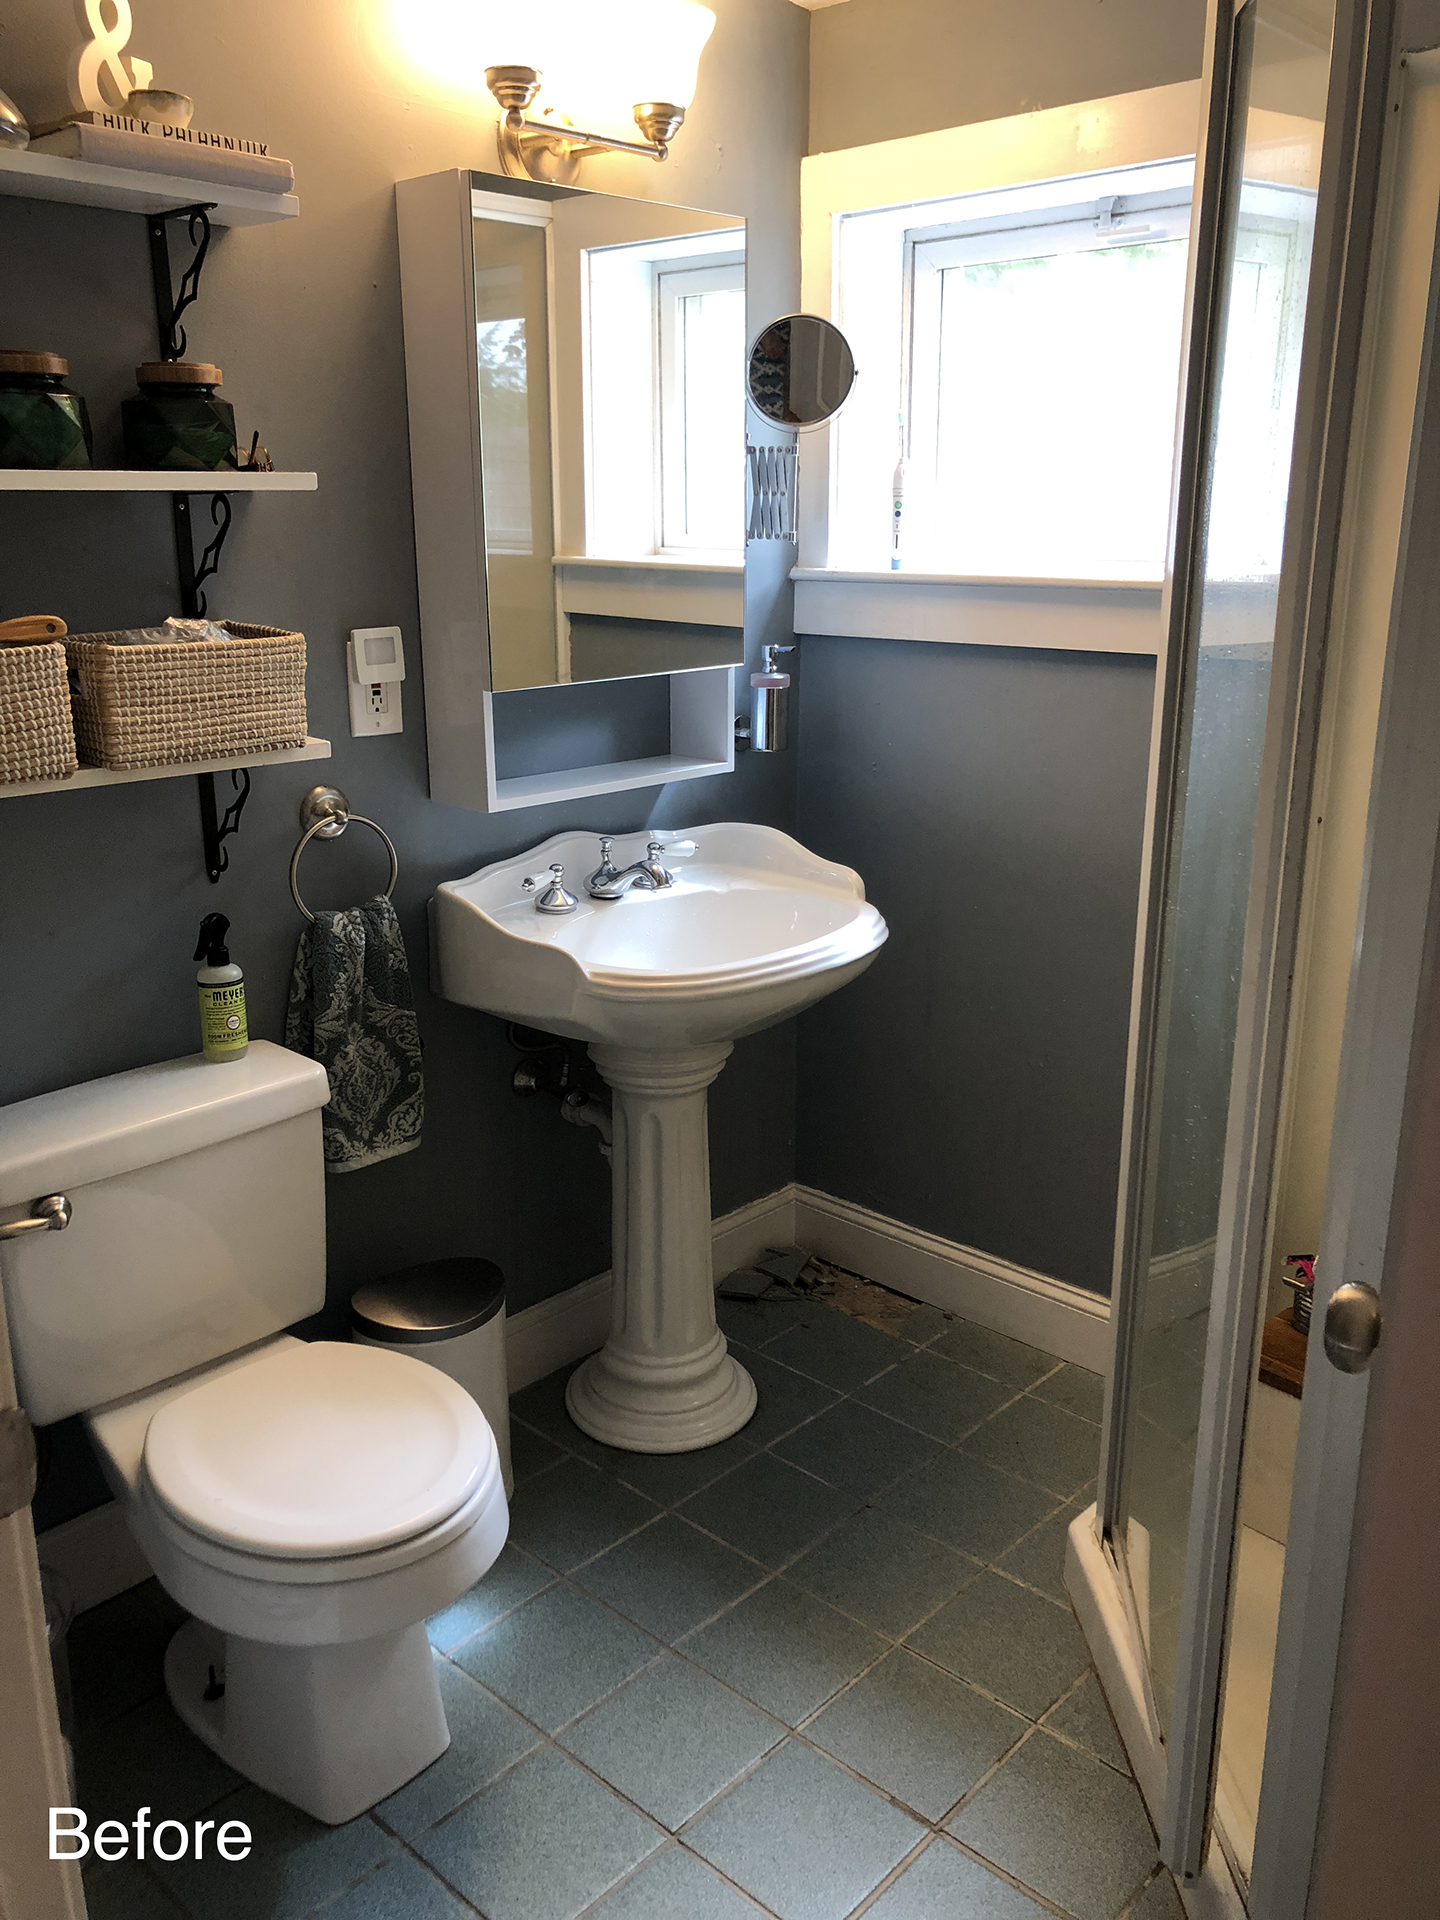
The old bathroom looks even worse after looking at the new one… it’s funny what a little perspective can do!
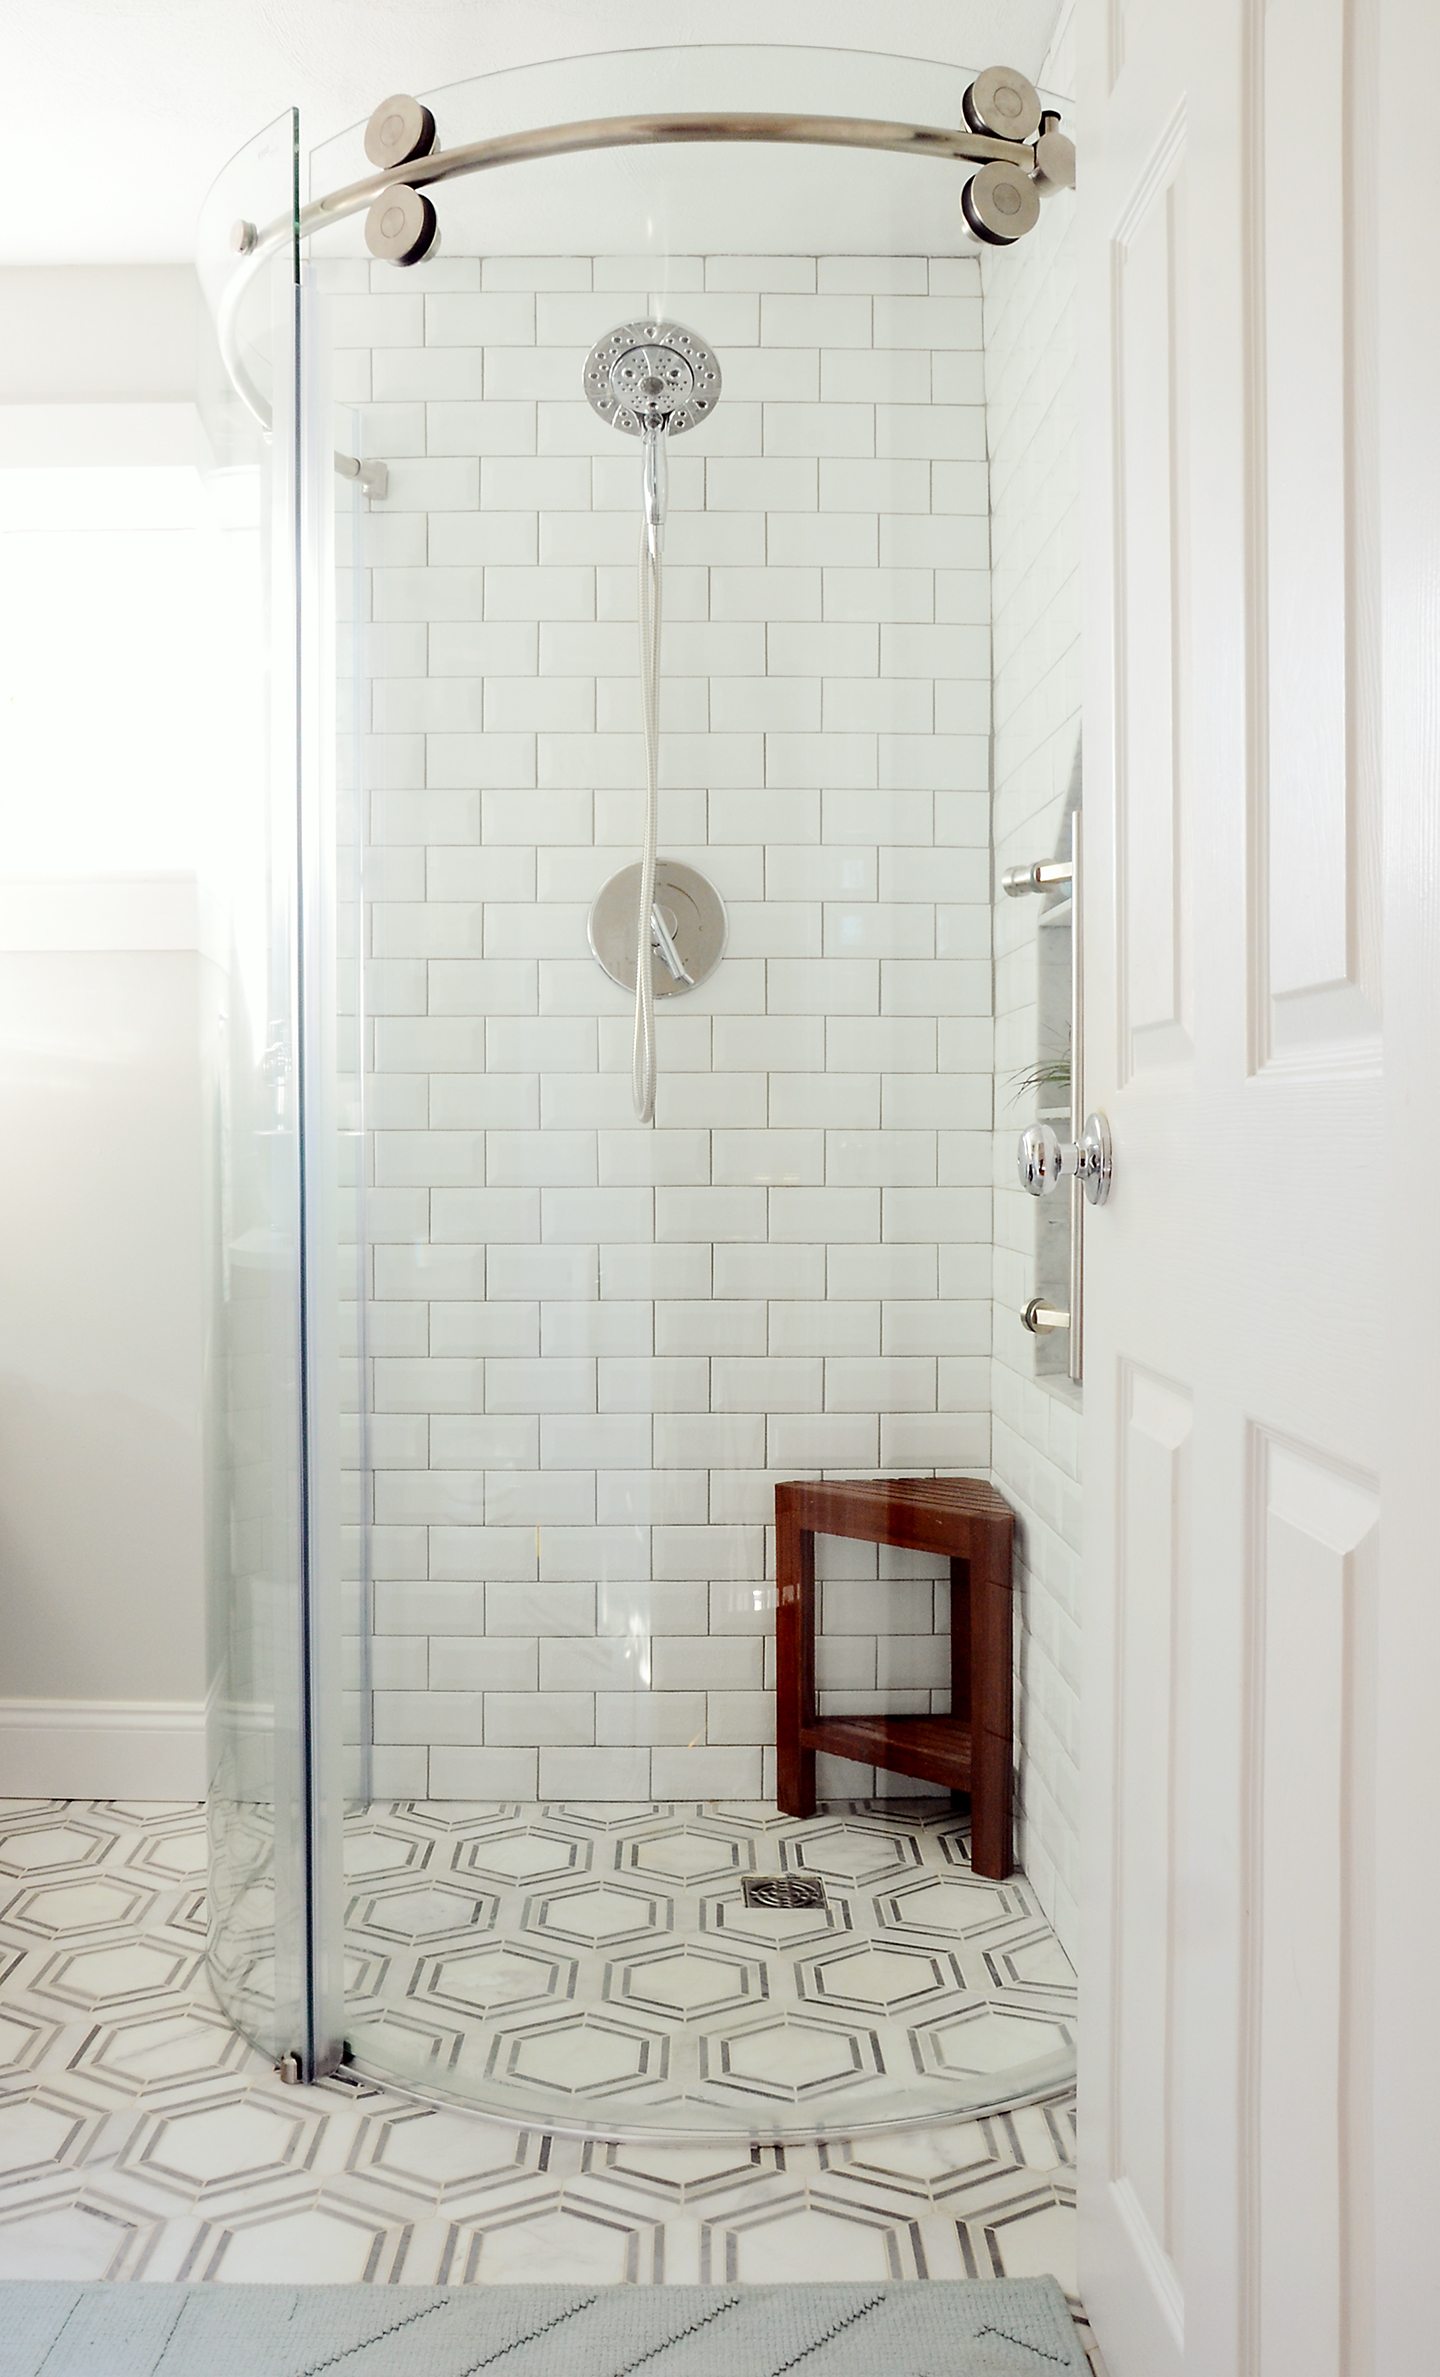
From the very beginning, we wanted to have the same flooring throughout the whole room (including inside the shower) in an effort to make the space look bigger. We originally planned to have a general contractor do most of the work, but later decided to hire someone who specialized in tile because our plan required some advanced grading and waterproofing techniques. We used this marble hexagon tile from The Builder Depot (they were wonderful, by the way… I’d highly recommend them as a tile source). And then my husband Mike and I did the rest of the work. Well, I’ll be honest here… he did most of it 🙂 But I did do the majority of the design work, so it was a good team effort.
We had some trouble preventing water from seeping underneath the door, but we ultimately found this silicone weather stripping that worked perfectly.
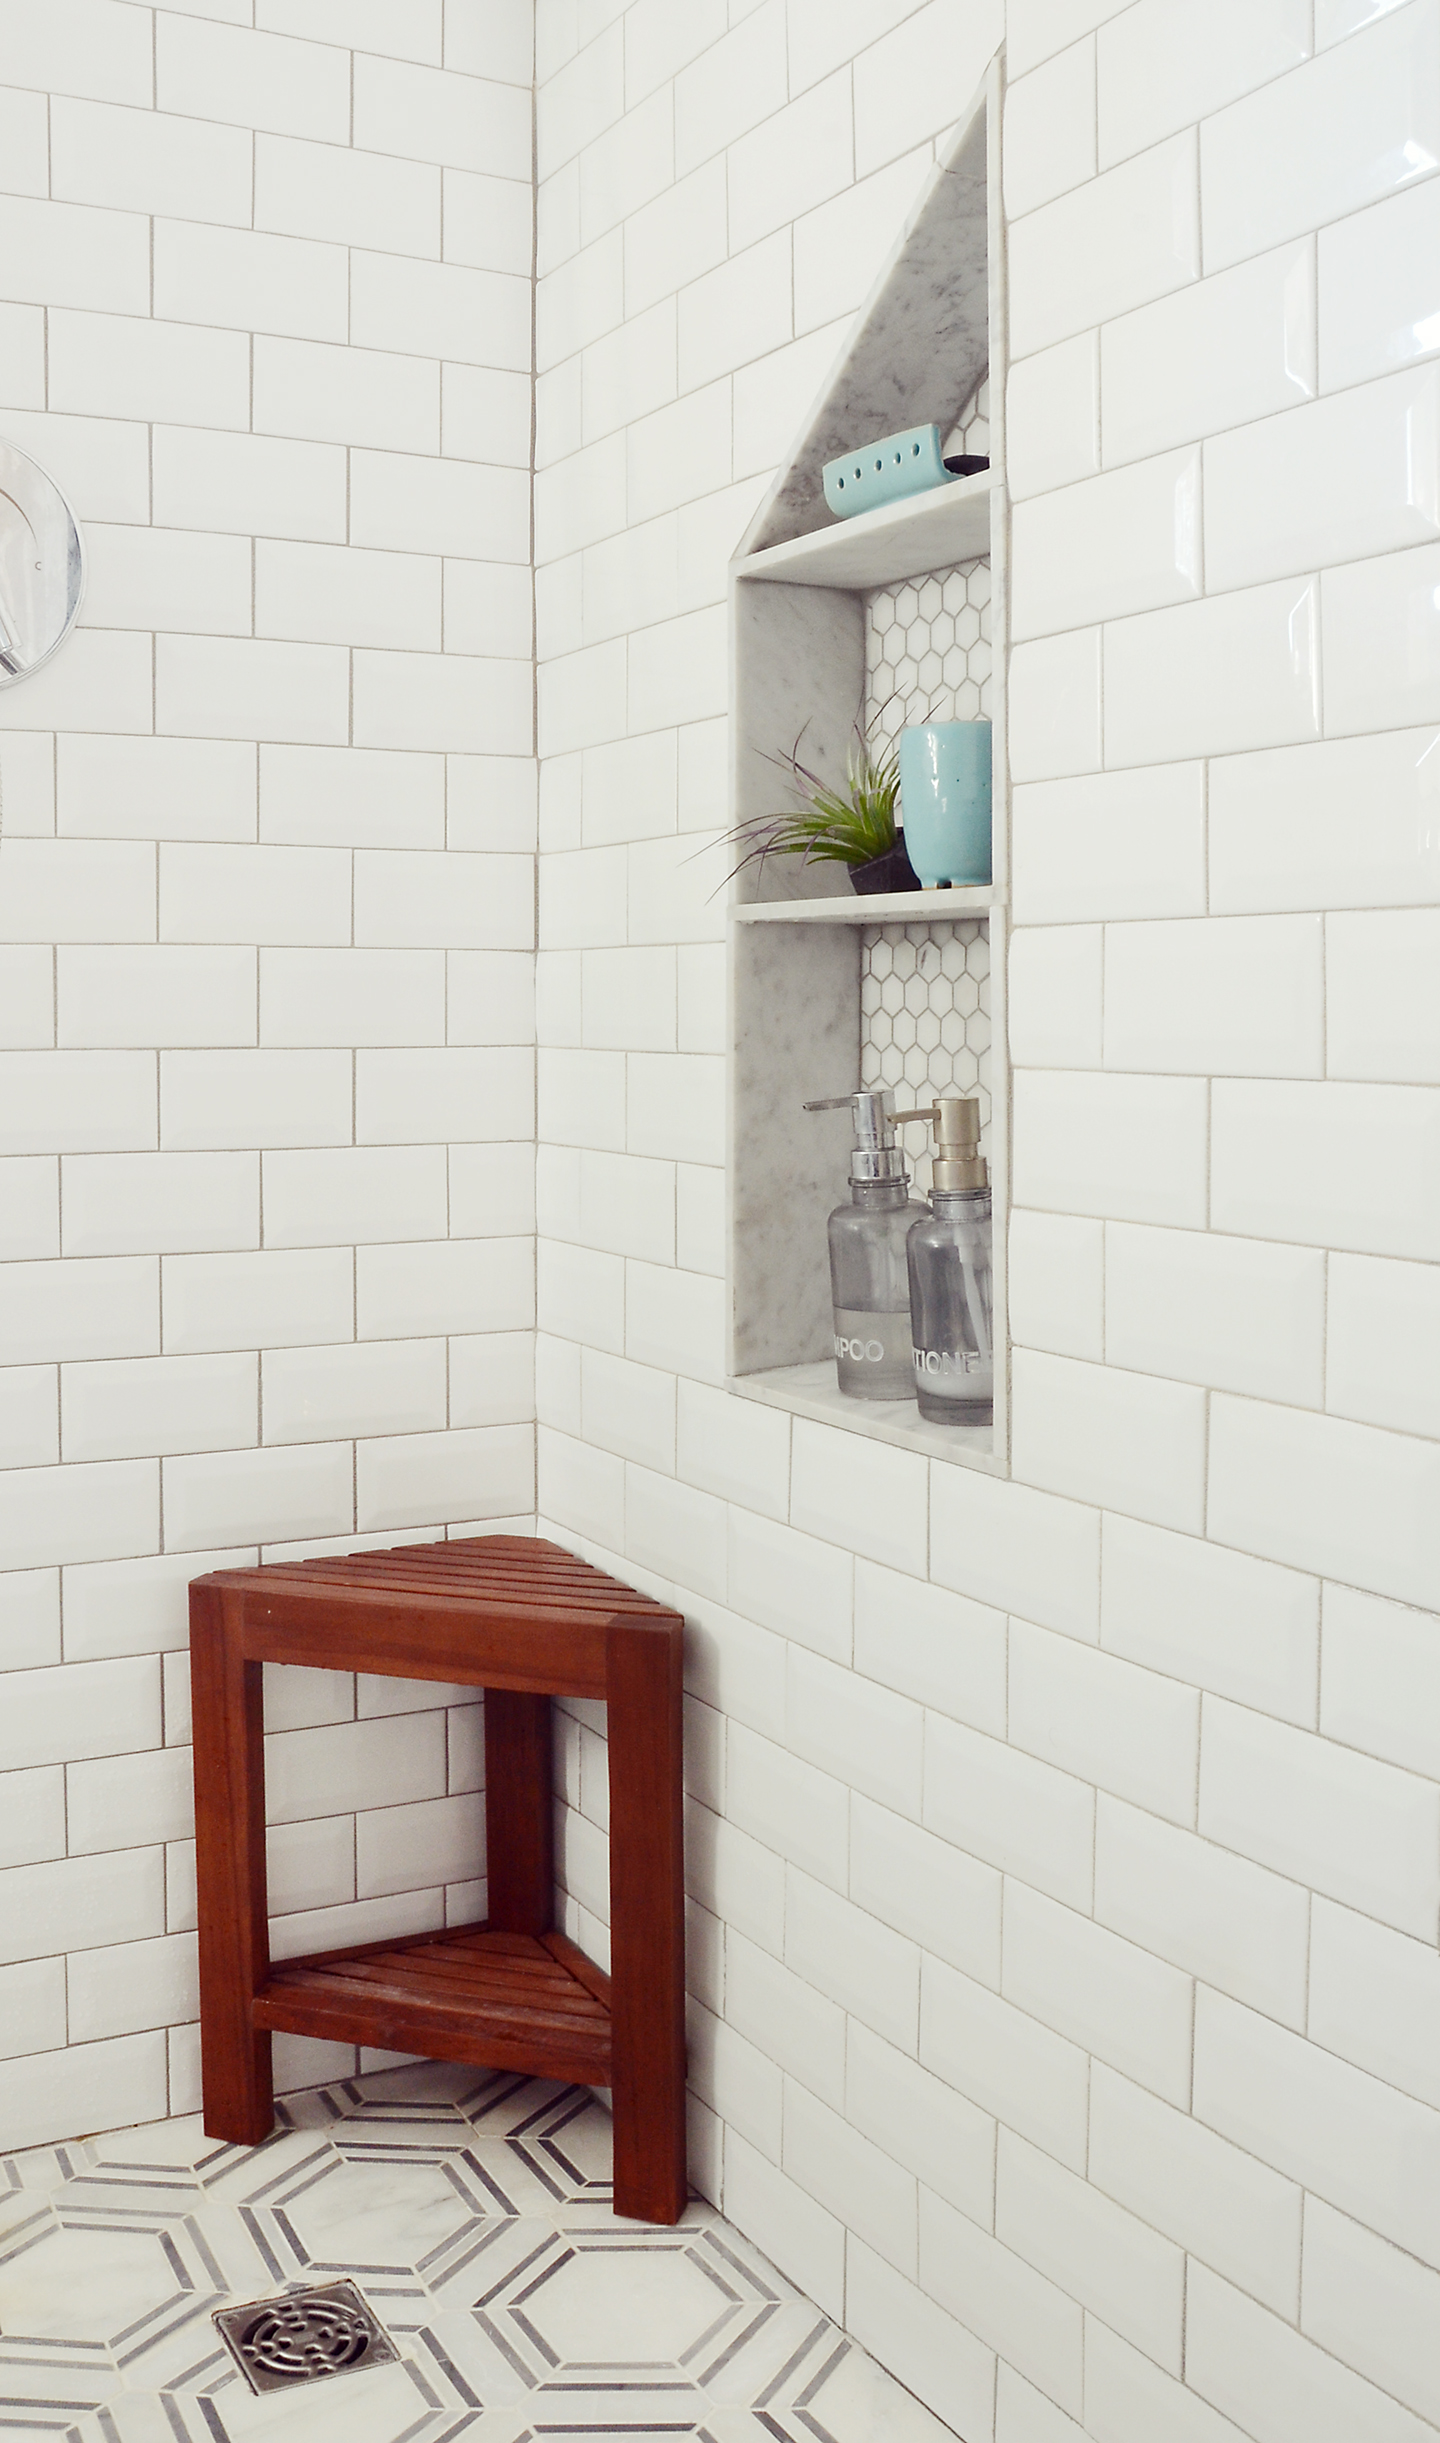
We planned to have a larger niche, but there was a load-bearing beam that ran diagonally across the wall… apparently it’s called a hurricane brace. So we decided to roll with the punches and make a triangle shelf in the top of the niche. Our house was built in the 1840’s, so our projects never tend to go as planned.
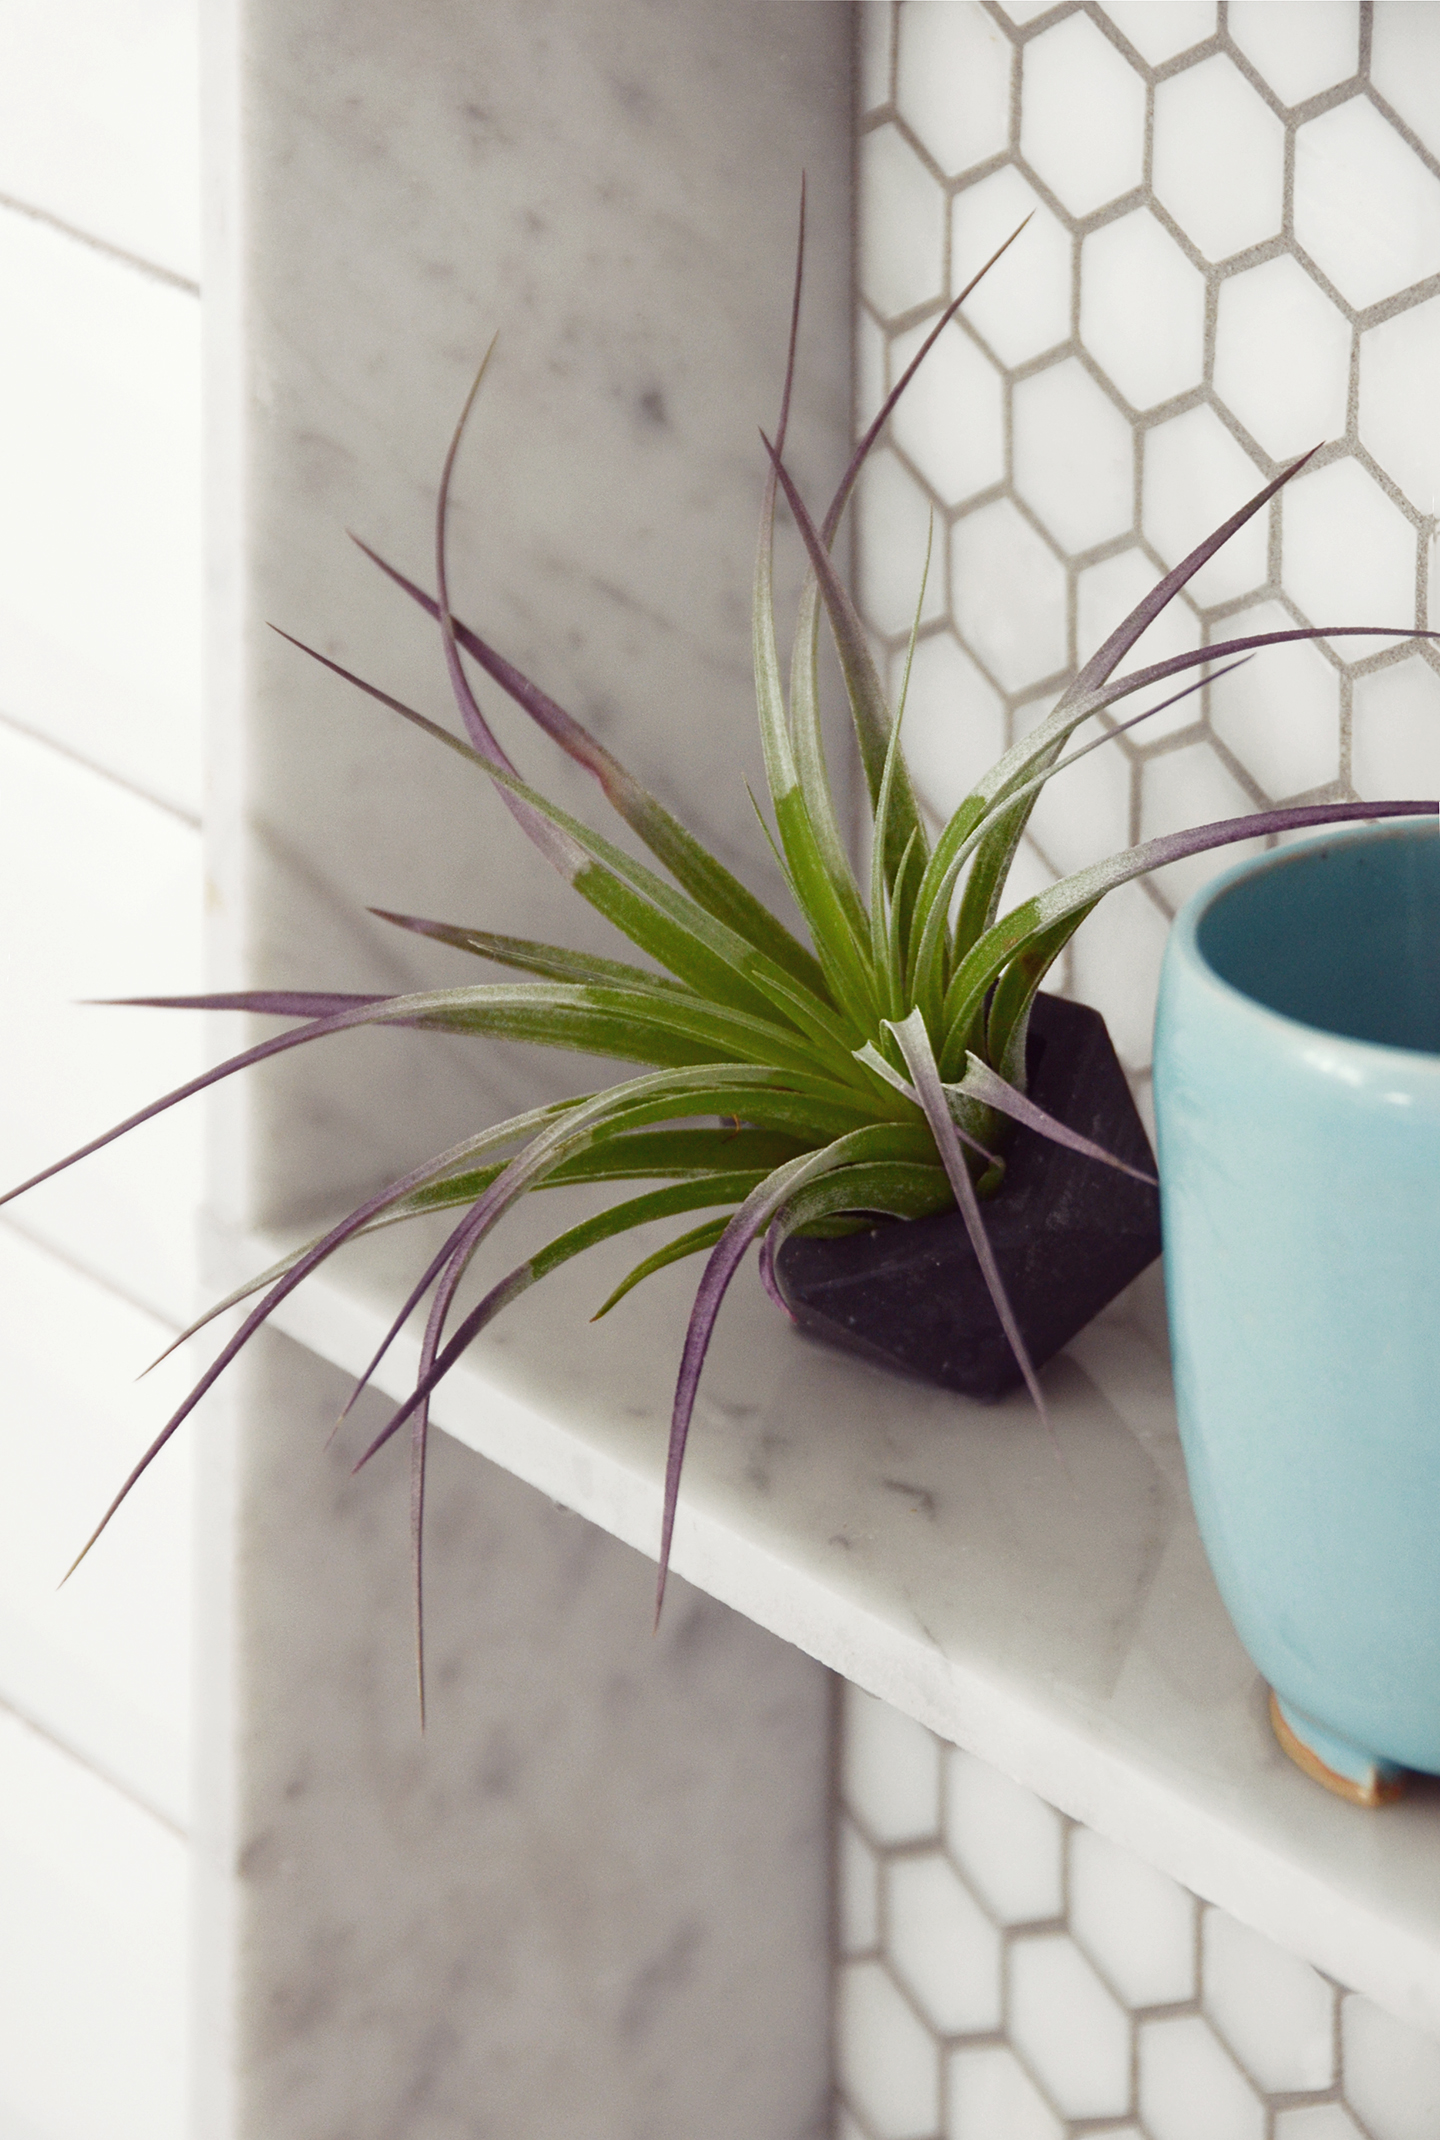
Our air plant is thriving in the moist environment, and it makes the perfect decorative accent for the shower! We continued the hexagon theme in the niche, using this one inch marble tile.
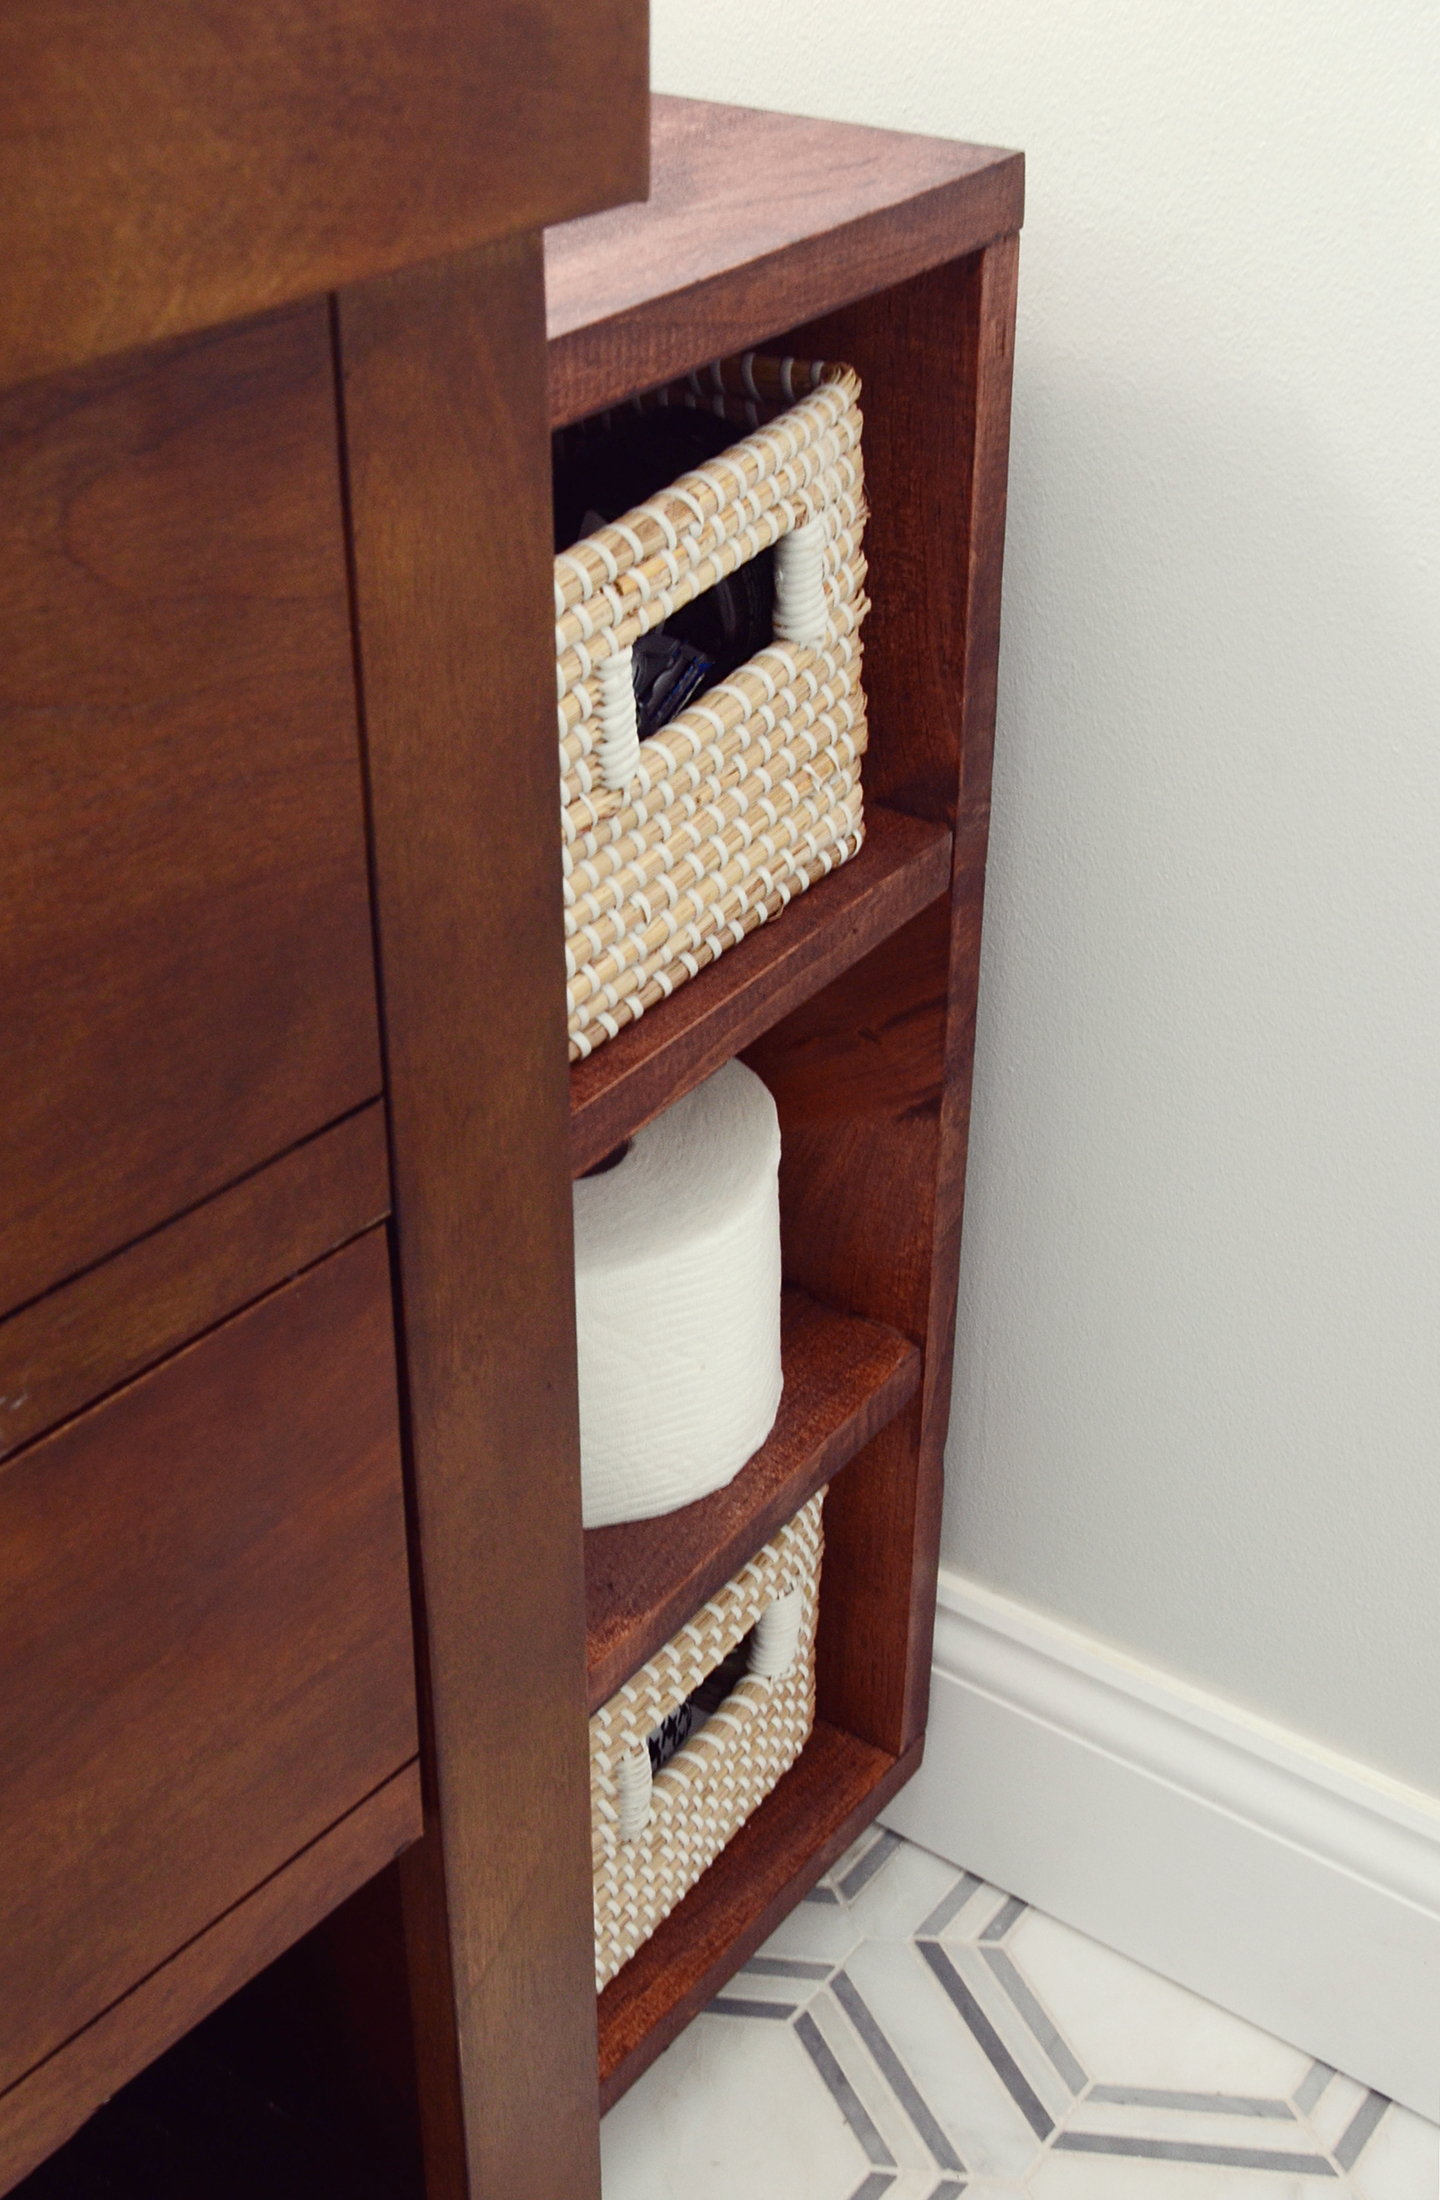
Storage has always been an issue in our small bathroom, and because we weren’t able to do a recessed medicine cabinet as we were hoping (thanks to another damn hurricane brace) we had to be even more cognizant of maximizing storage space. There was a small empty area between the vanity and the wall that was just begging for a little shelf, but I couldn’t find anything that was the right size… so of course I made one.
And it’s just small enough so that you can barely see it from the doorway!
I’m totally in love with the faucet, it’s the perfect mix of modern and rustic and it flows out in a flat stream which is oh-so-fun. We got it here.
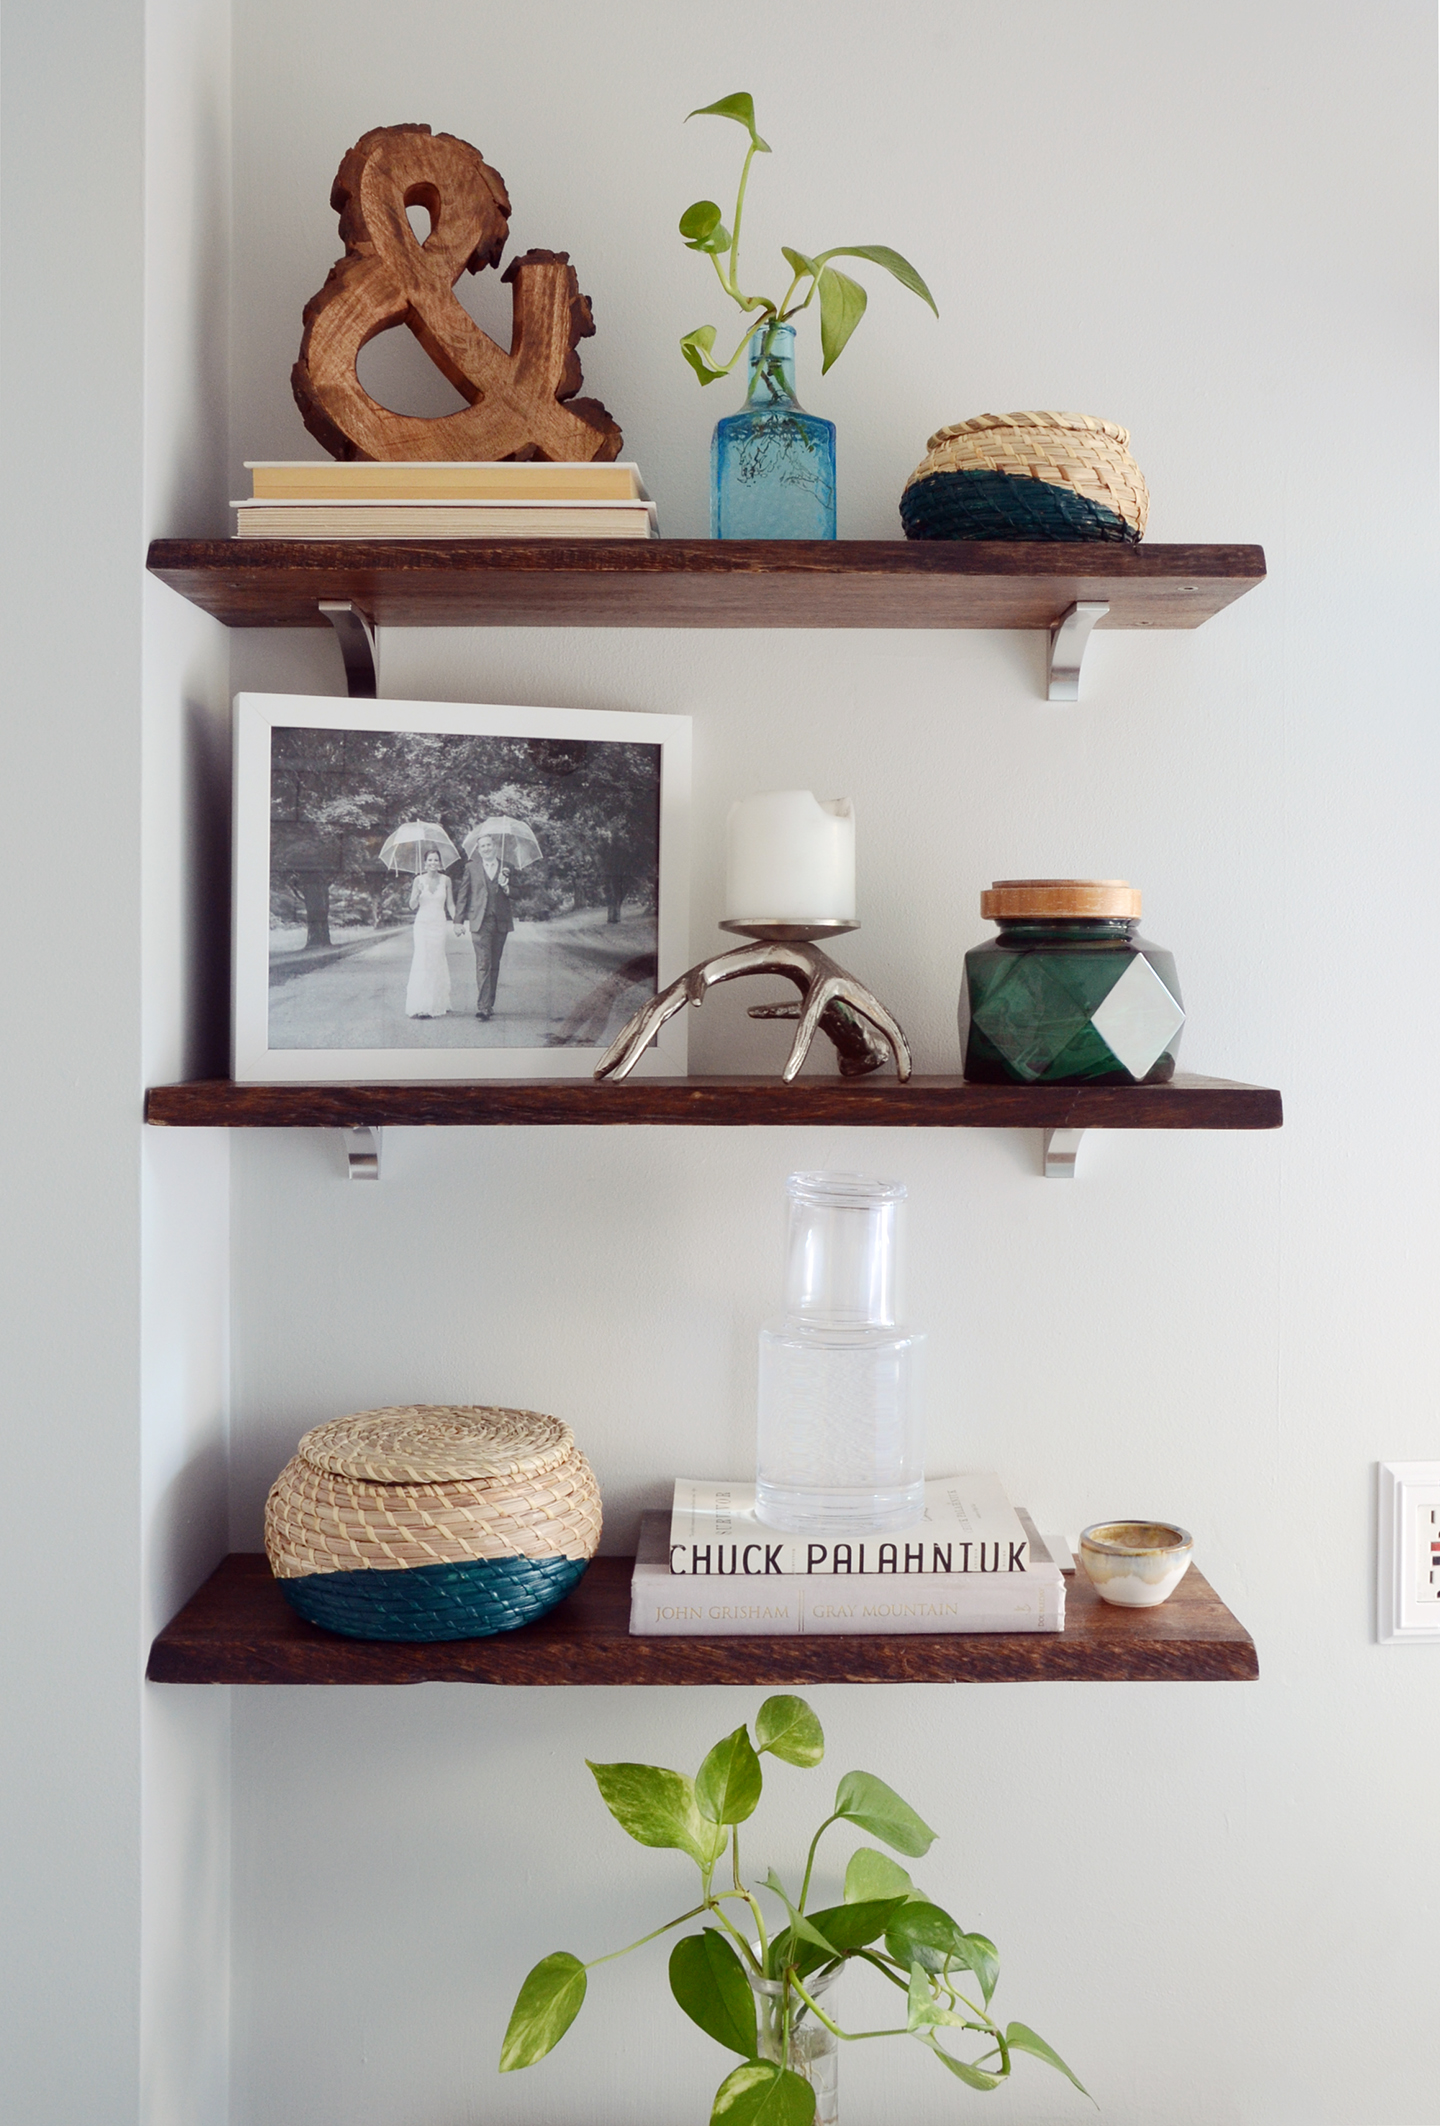
We fell in love with these live edge shelves from World Market, but they weren’t quite the right size… so I cut them down and even made notches for the brackets so the shelves would be flush with the wall. I spent way too much time on it, but it was worth it in the end.
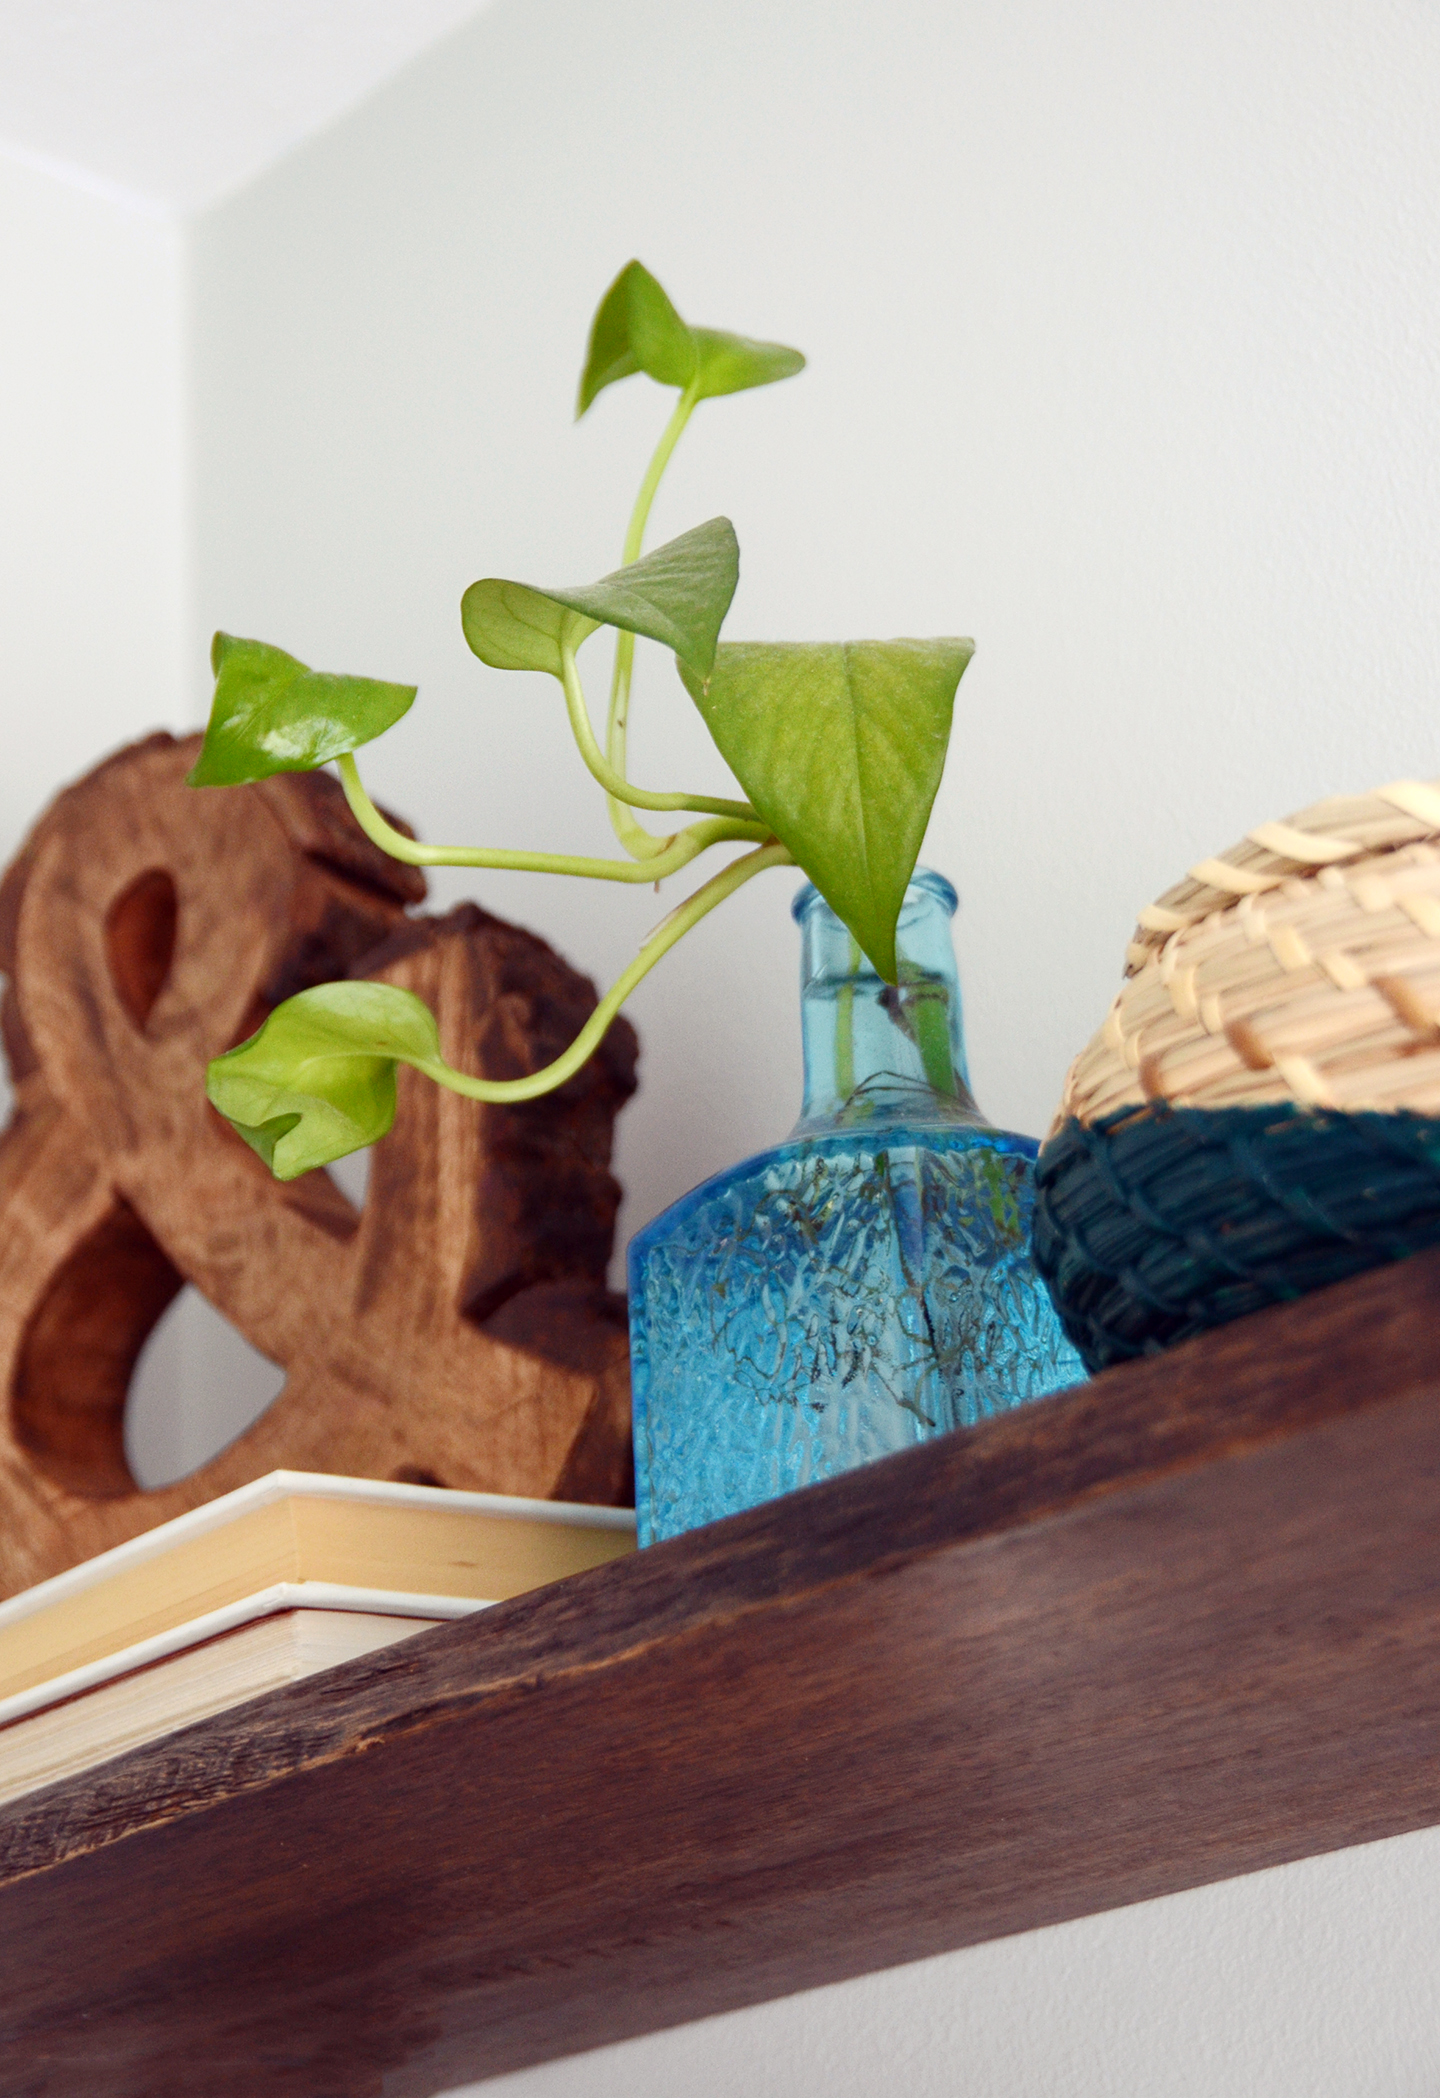
And of course, I had to display an ampersand on the shelves 🙂 You can buy a similar one here. I hope you enjoyed sharing our small bathroom makeover journey with us… thanks for visiting! Check out all of the other One Room Challenge participants’ final reveals here. And in case you missed them, here are my posts from the first five weeks:
One Room Challenge Week 1: Our Plans To Maximize A Small Bathroom
One Room Challenge Week 2: Our Space-Saving Bathroom Ideas
One Room Challenge Week 3: Bathroom Demo Day
One Room Challenge Week 4: Bathroom Accessories Shopping List
One Room Challenge Week 5: New Bathroom Sneak Peek

