
This post may contain affiliate links. This means that if you buy the cool stuff I recommend, I earn a small commission (but you still pay the same price). Thanks for helping me make a living doing my dream job!
If you know me, you know that I love to find new and interesting things to hang on my wall. I have a rotating collection of art, textiles, etc. that I like to swap in and out with the seasons. And if you know me, then you also know that I like to indulge in a good cocktail or glass of wine every now and then 😉 So I decided to make a cheers sign to hang above my bar cart. AND I stained it with wine!
The sign itself is from CraftCuts, my absolute favorite place to buy custom laser cut wooden products. You may have seen their name pop up here before. So if you’d like to make a similar piece, head over here to the wood hoop name sign listing and pick a word and a font to use.
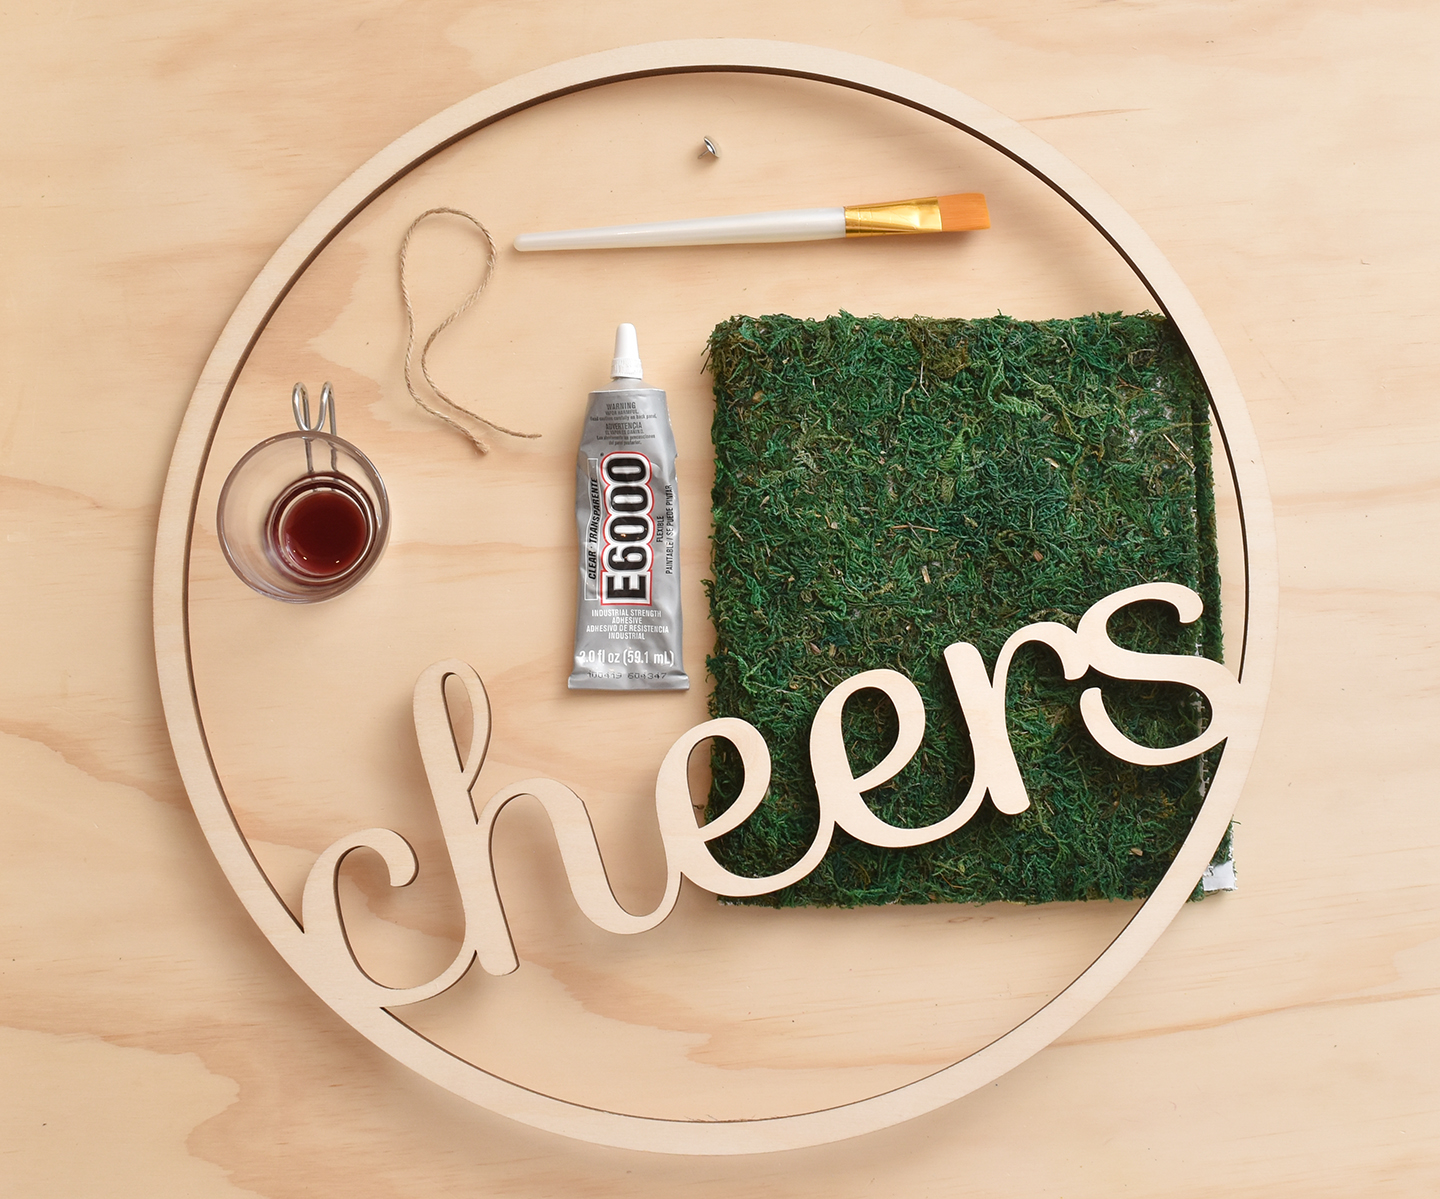
Here’s the full material list for your wine-stained wood sign:
- CraftCuts Baltic Birch Wood Sign
- Sheet of preserved moss
- Red wine
- Paintbrush
- E6000 glue
- Thumbtack
- Twine
- Scissors (not pictured)
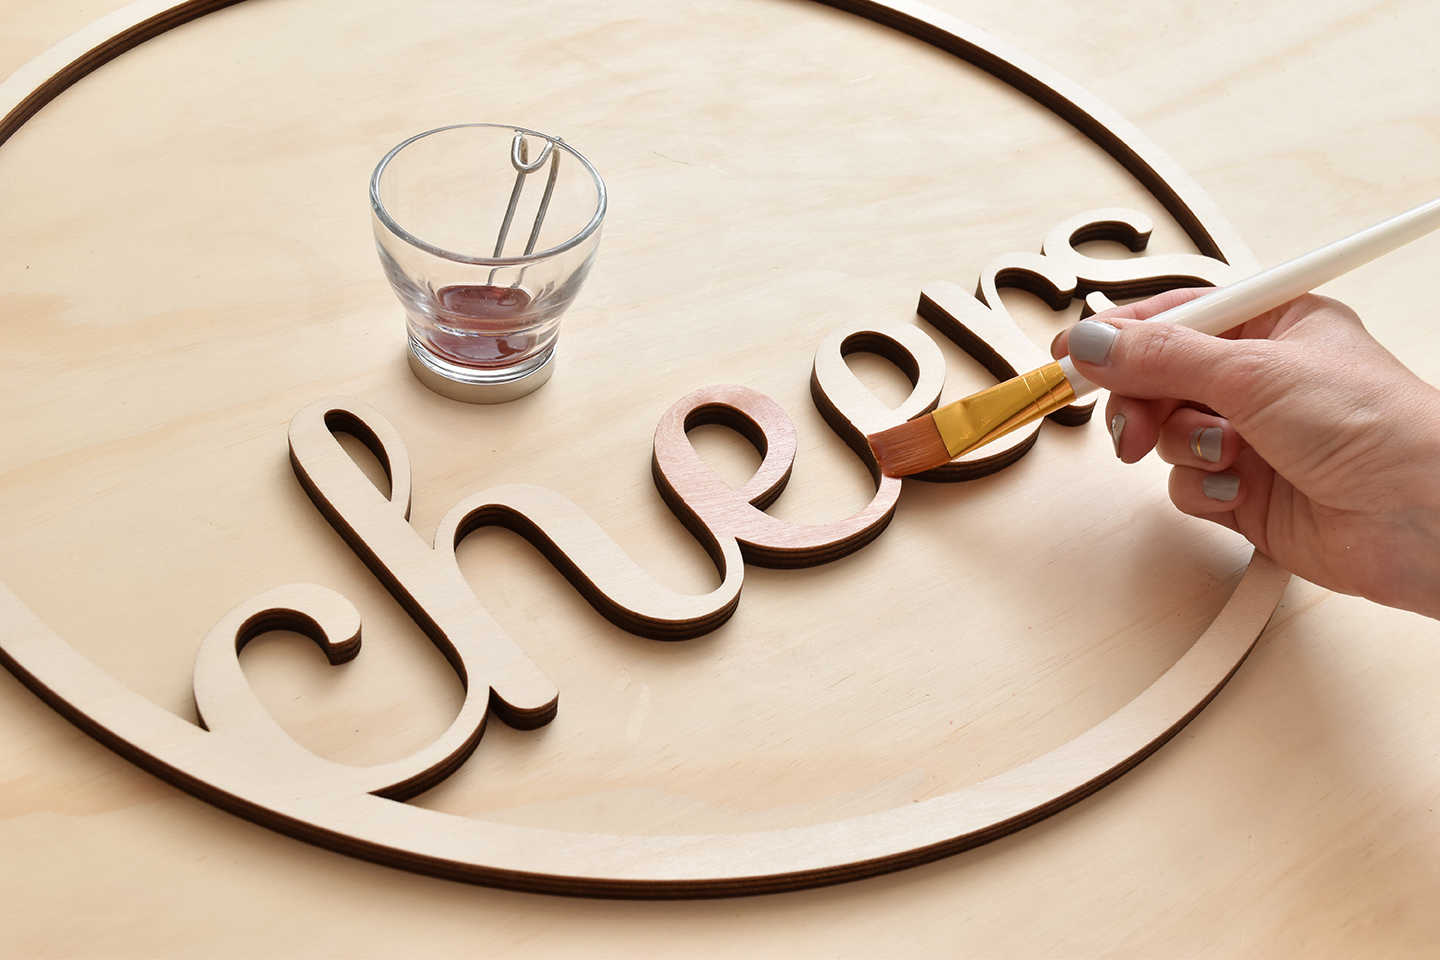
Begin by painting the sign with the red wine. I used cabernet sauvignon, but you could choose almost any kind. Just keep in mind that a lighter wine like pinot noir will give you a lighter stain color. I only did one coat, but you could do several for a darker finish.
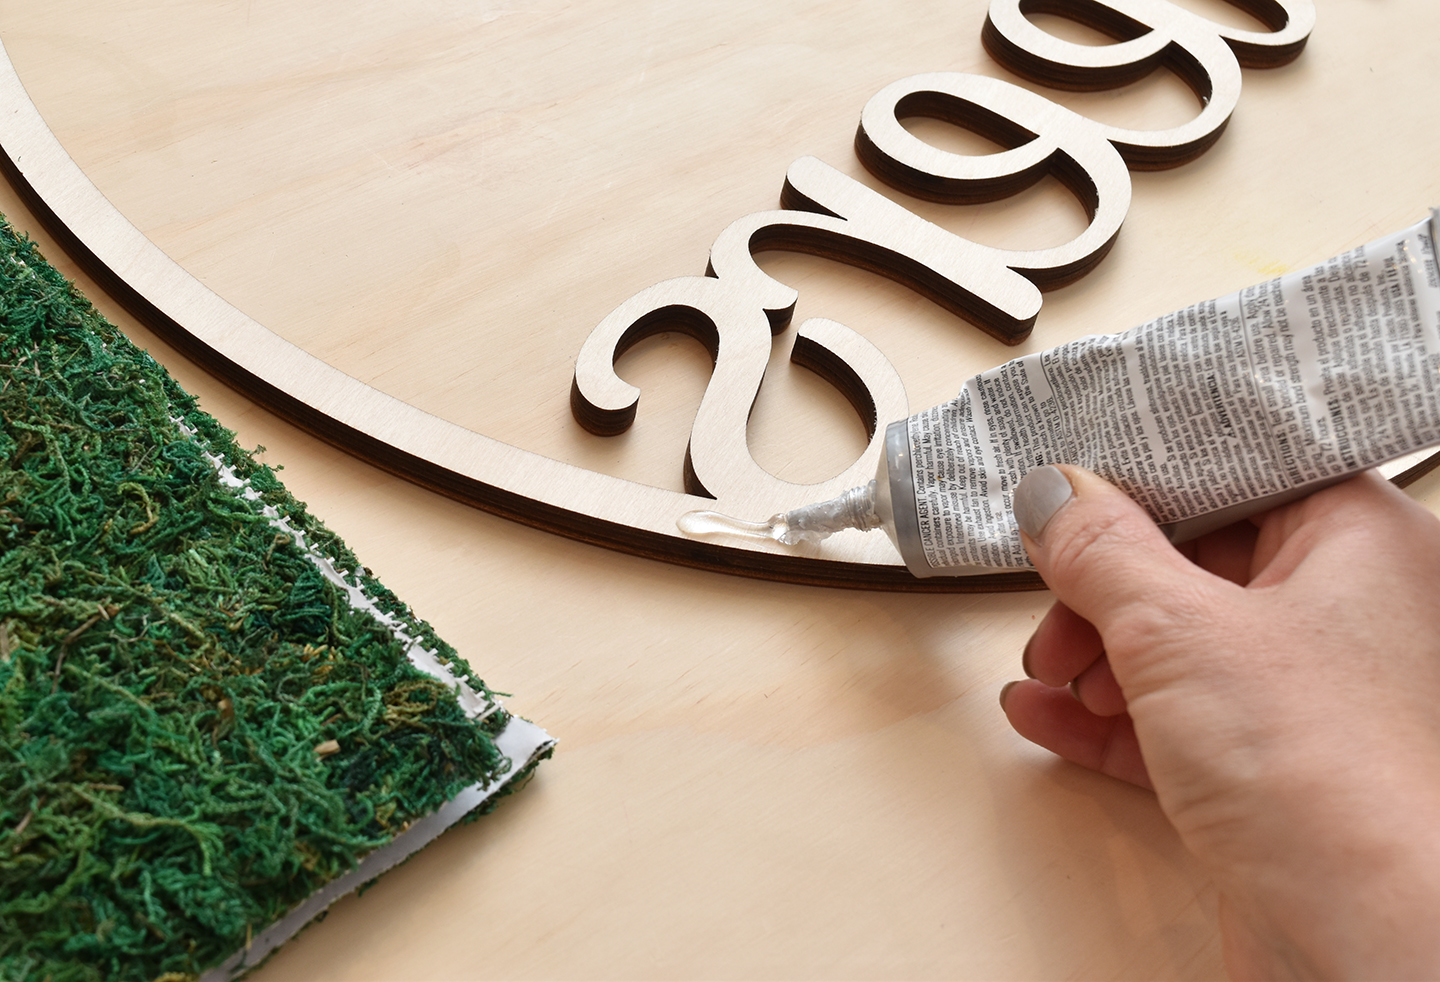
Let the wine dry a bit and then flip the sign over and apply a coat of glue to the backside around the perimeter and on the letters.
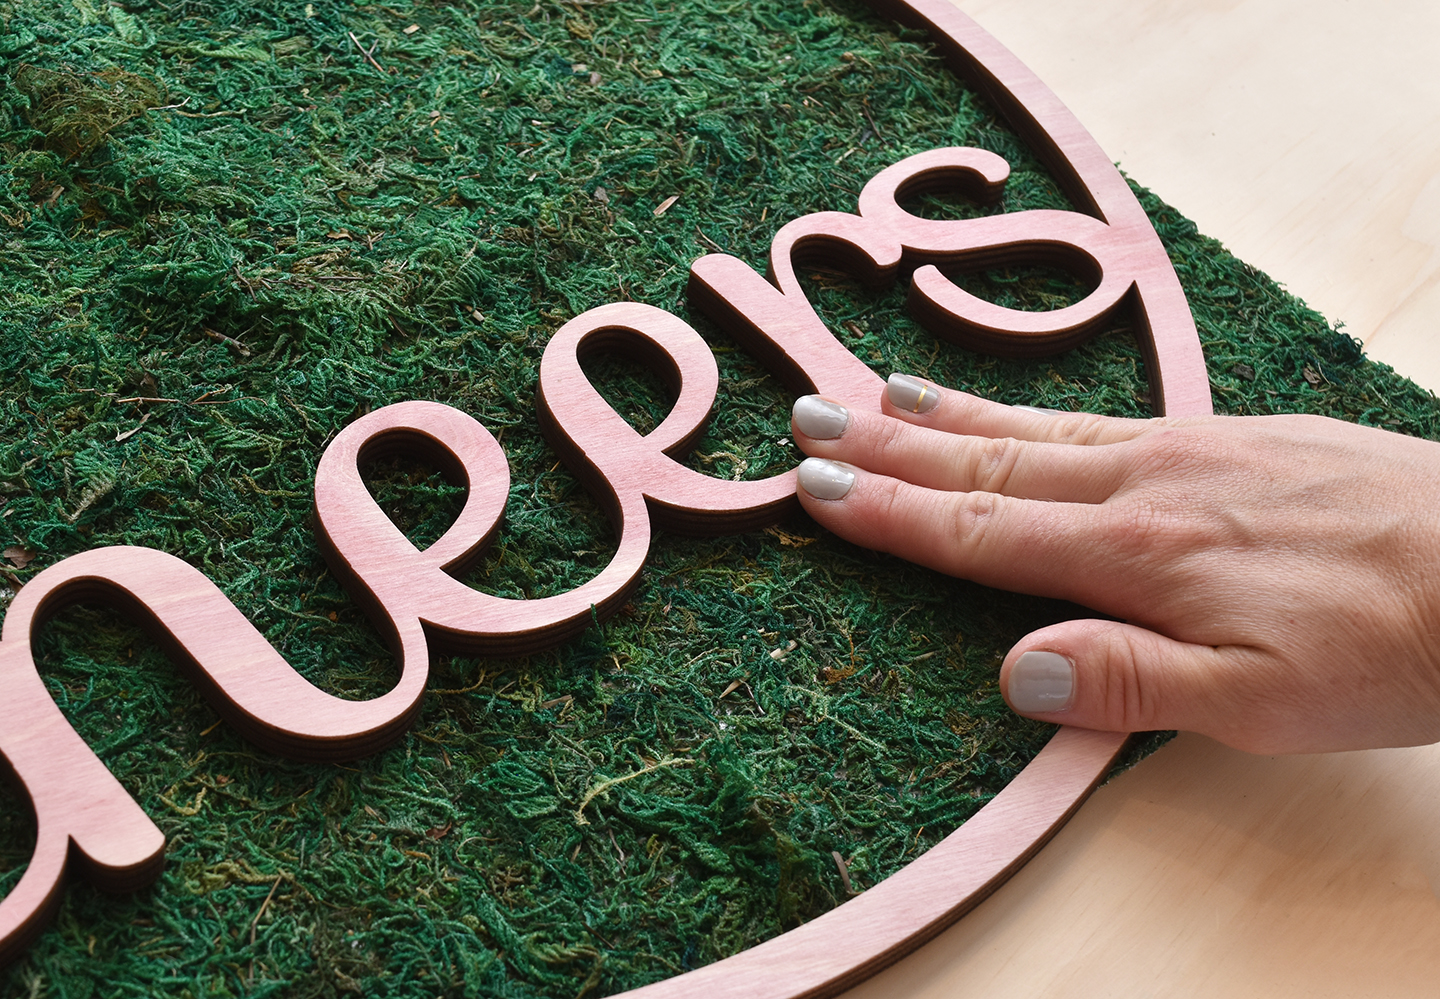
Lay the moss out face up and press the sign, glue side down, onto the moss. My moss was just a bit too small for my hoop, so I patched the remaining area with the excess moss that you’ll cut off in the next step.
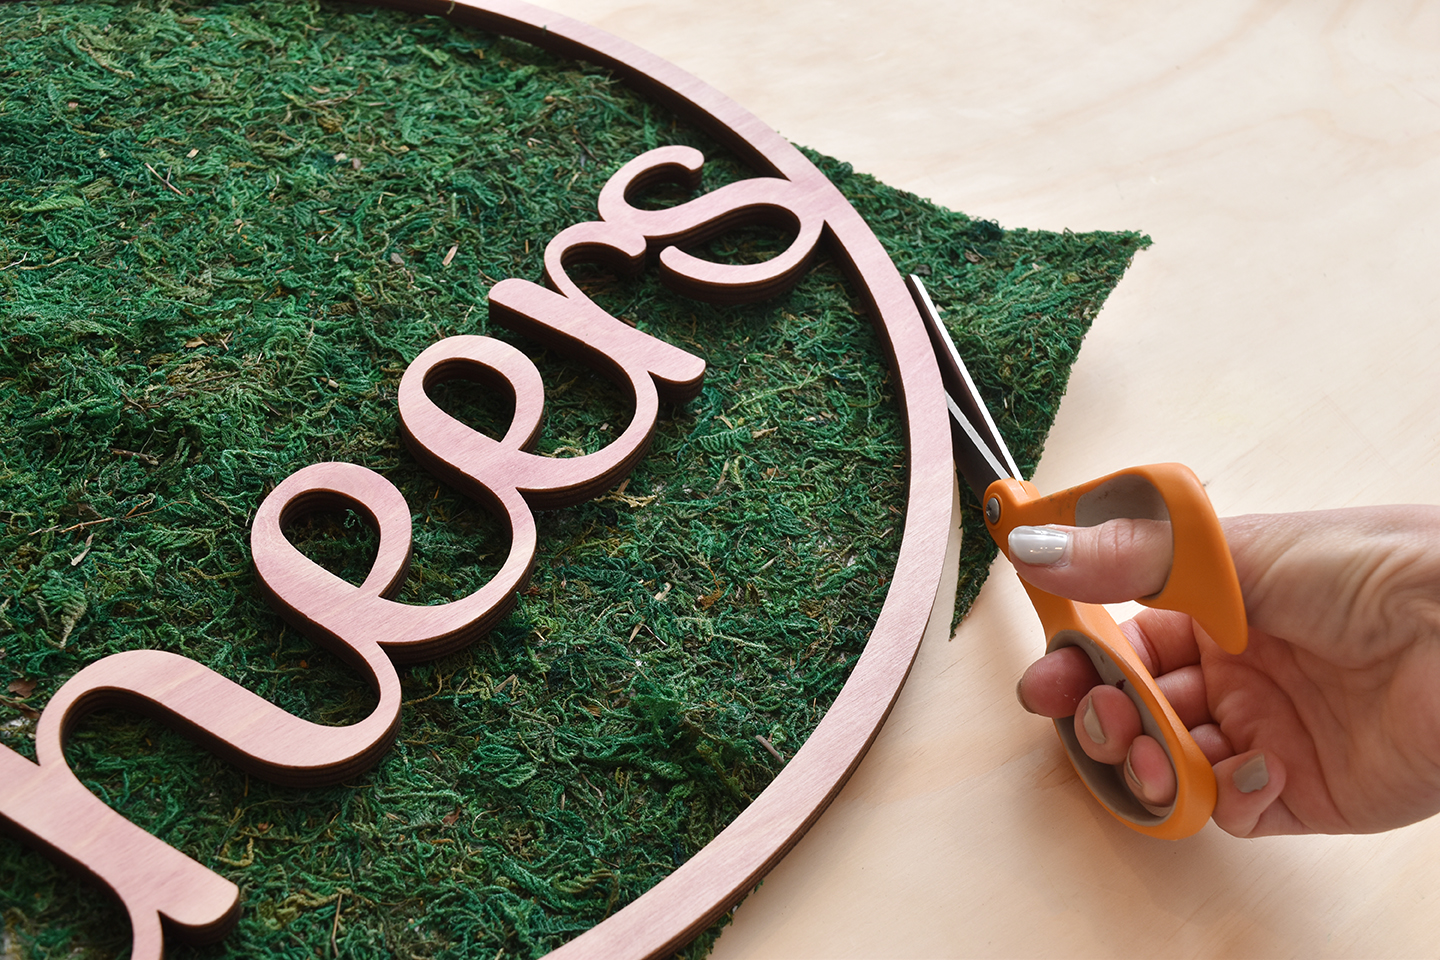
Let it dry and then cut the excess off with a sharp pair of scissors.
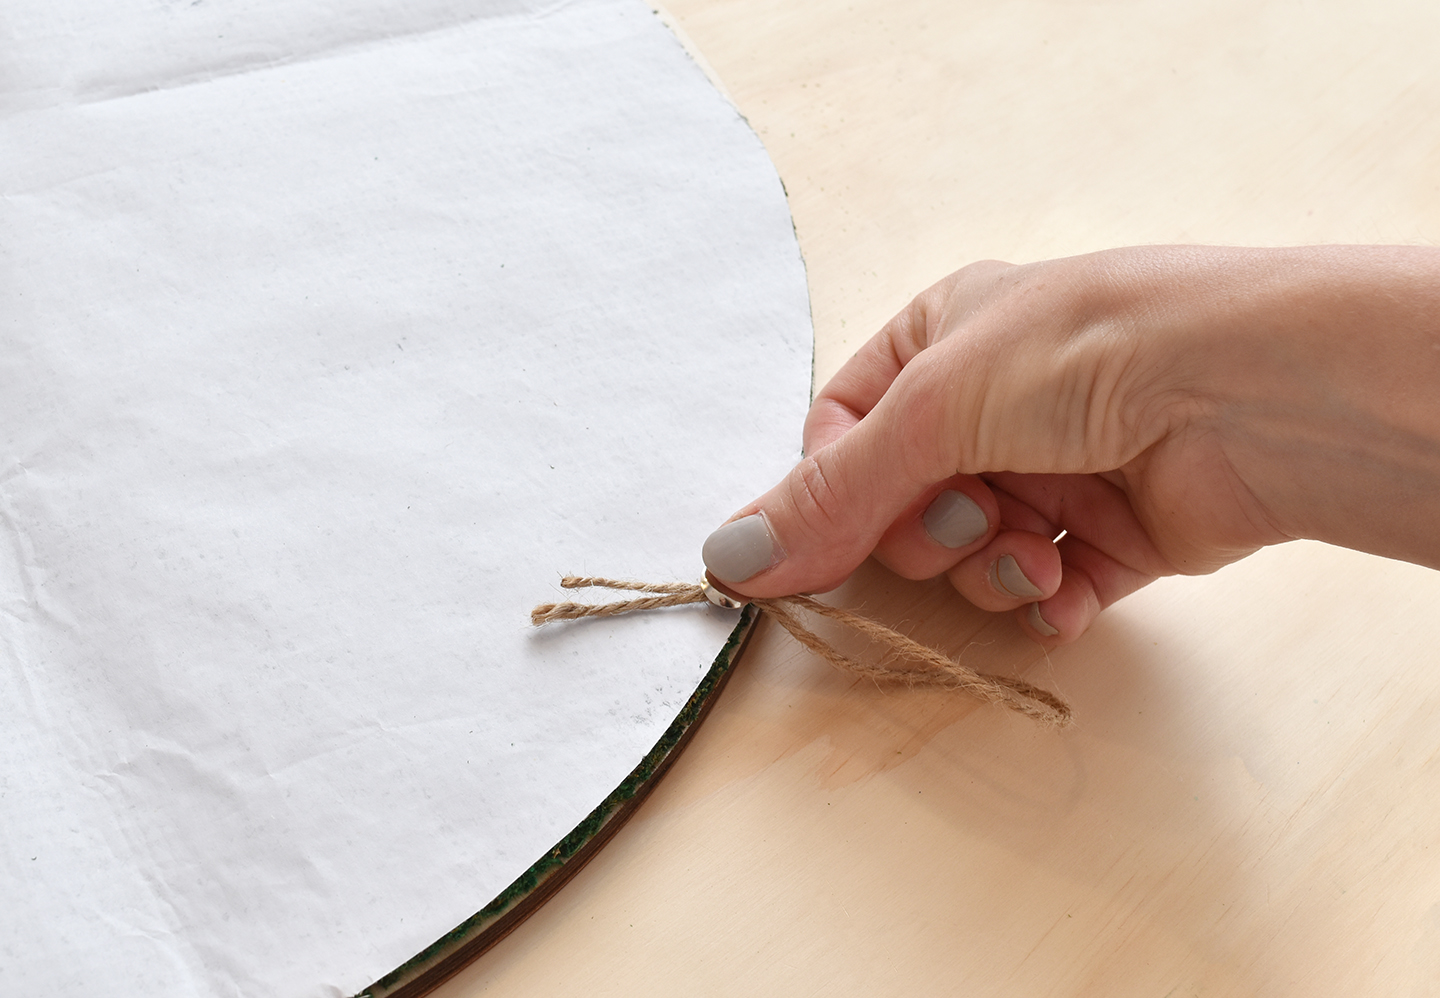
Tie a small piece of twine into a loop and use the thumbtack to attach it the the back at the center point, ensuring that the tack is tapped securely into the wood (not just the moss).
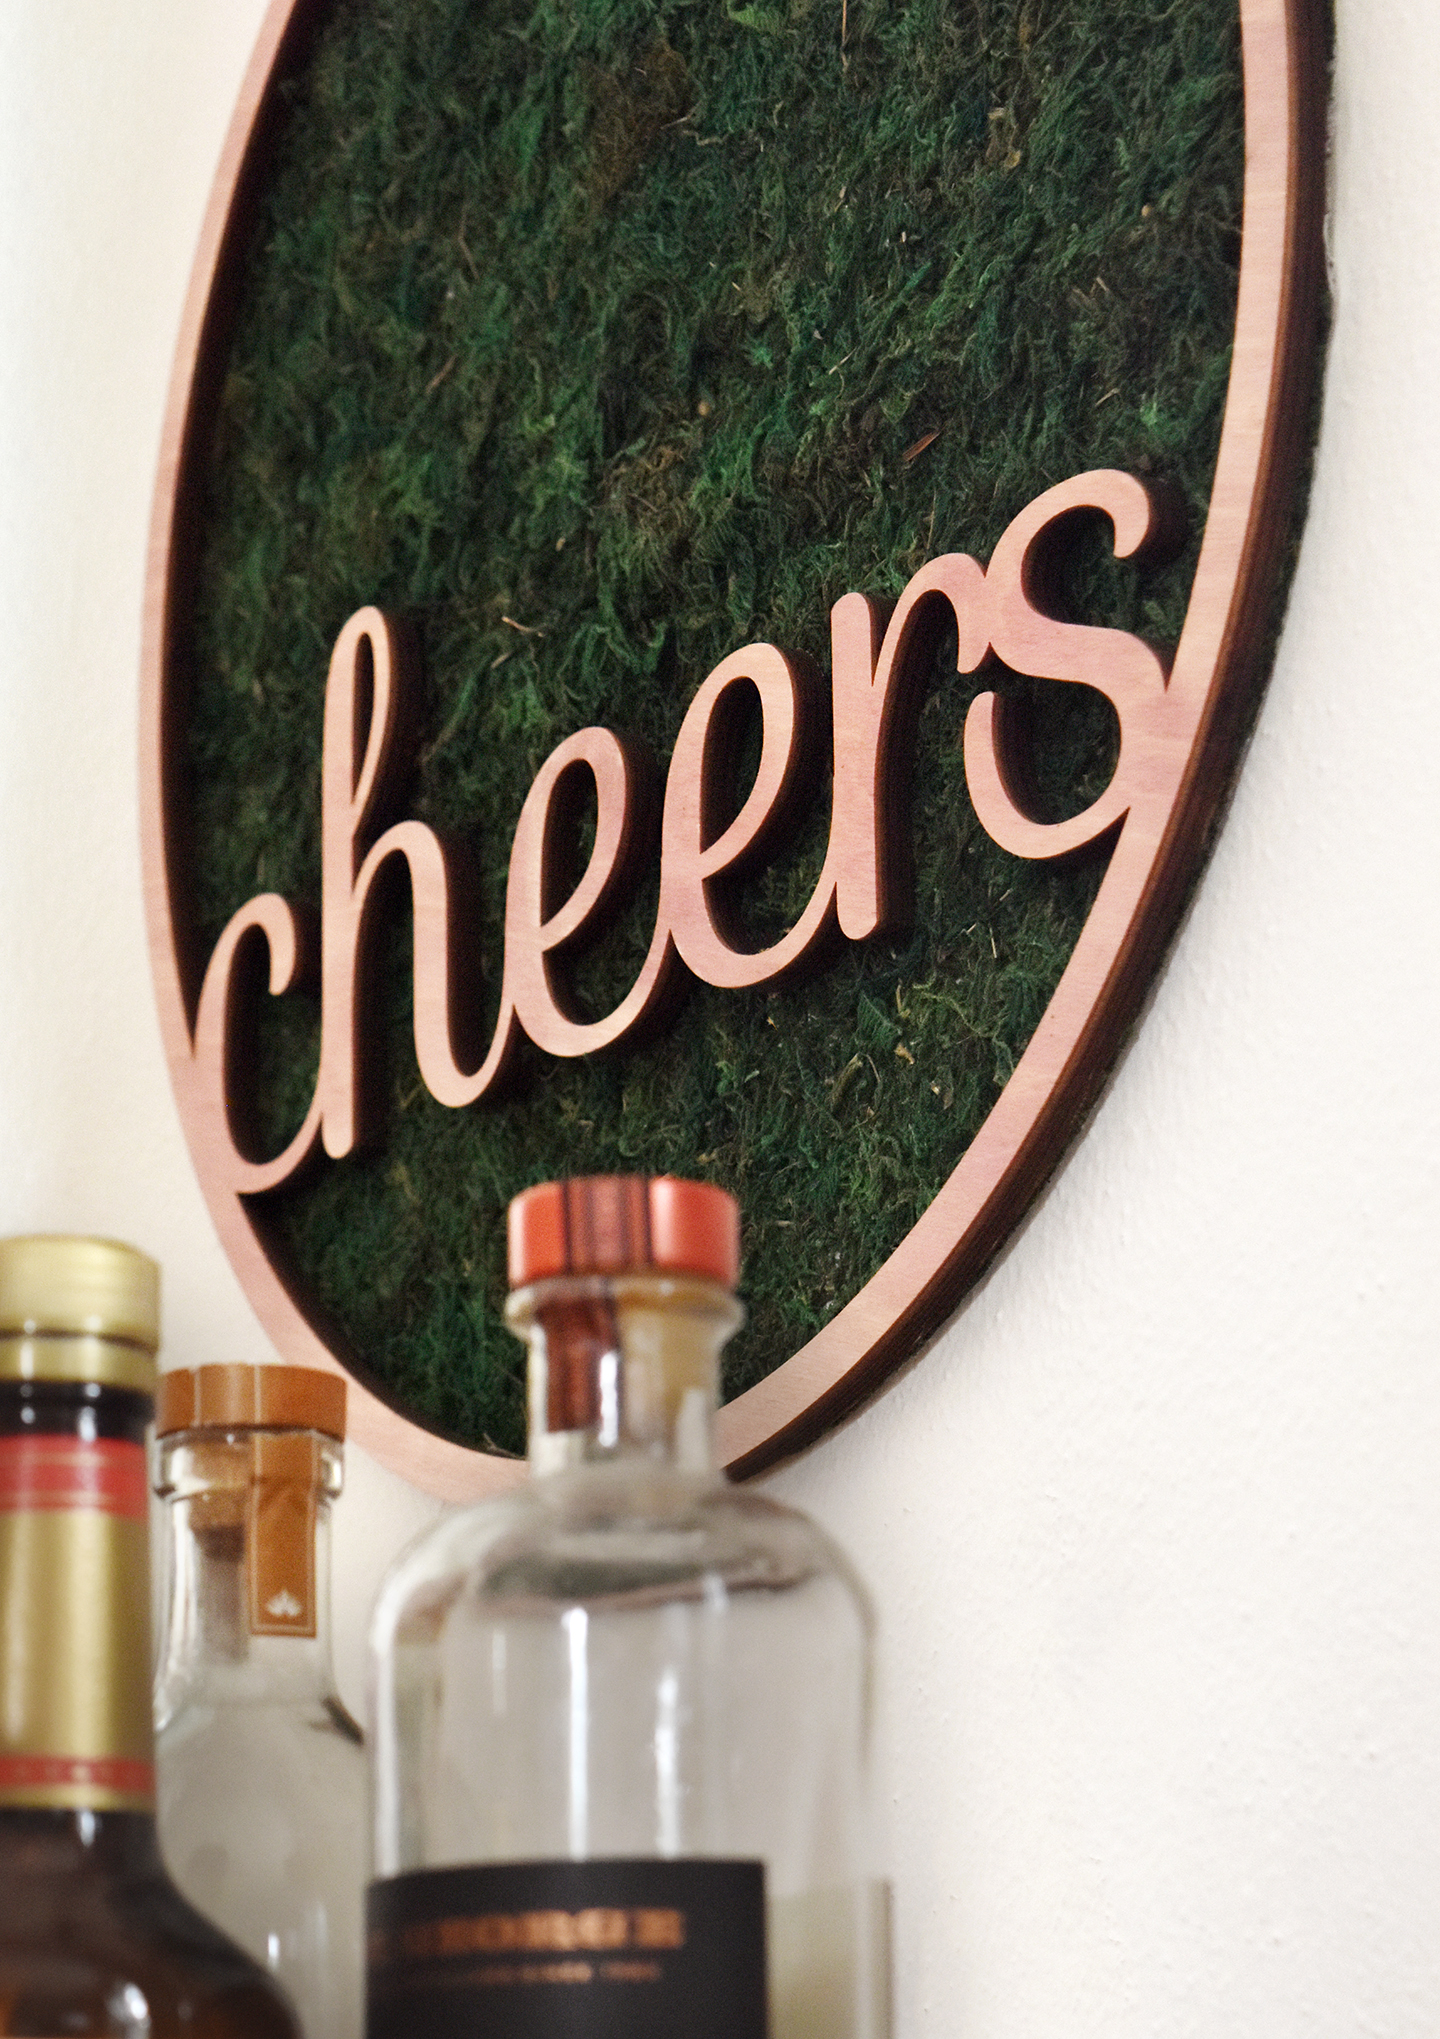
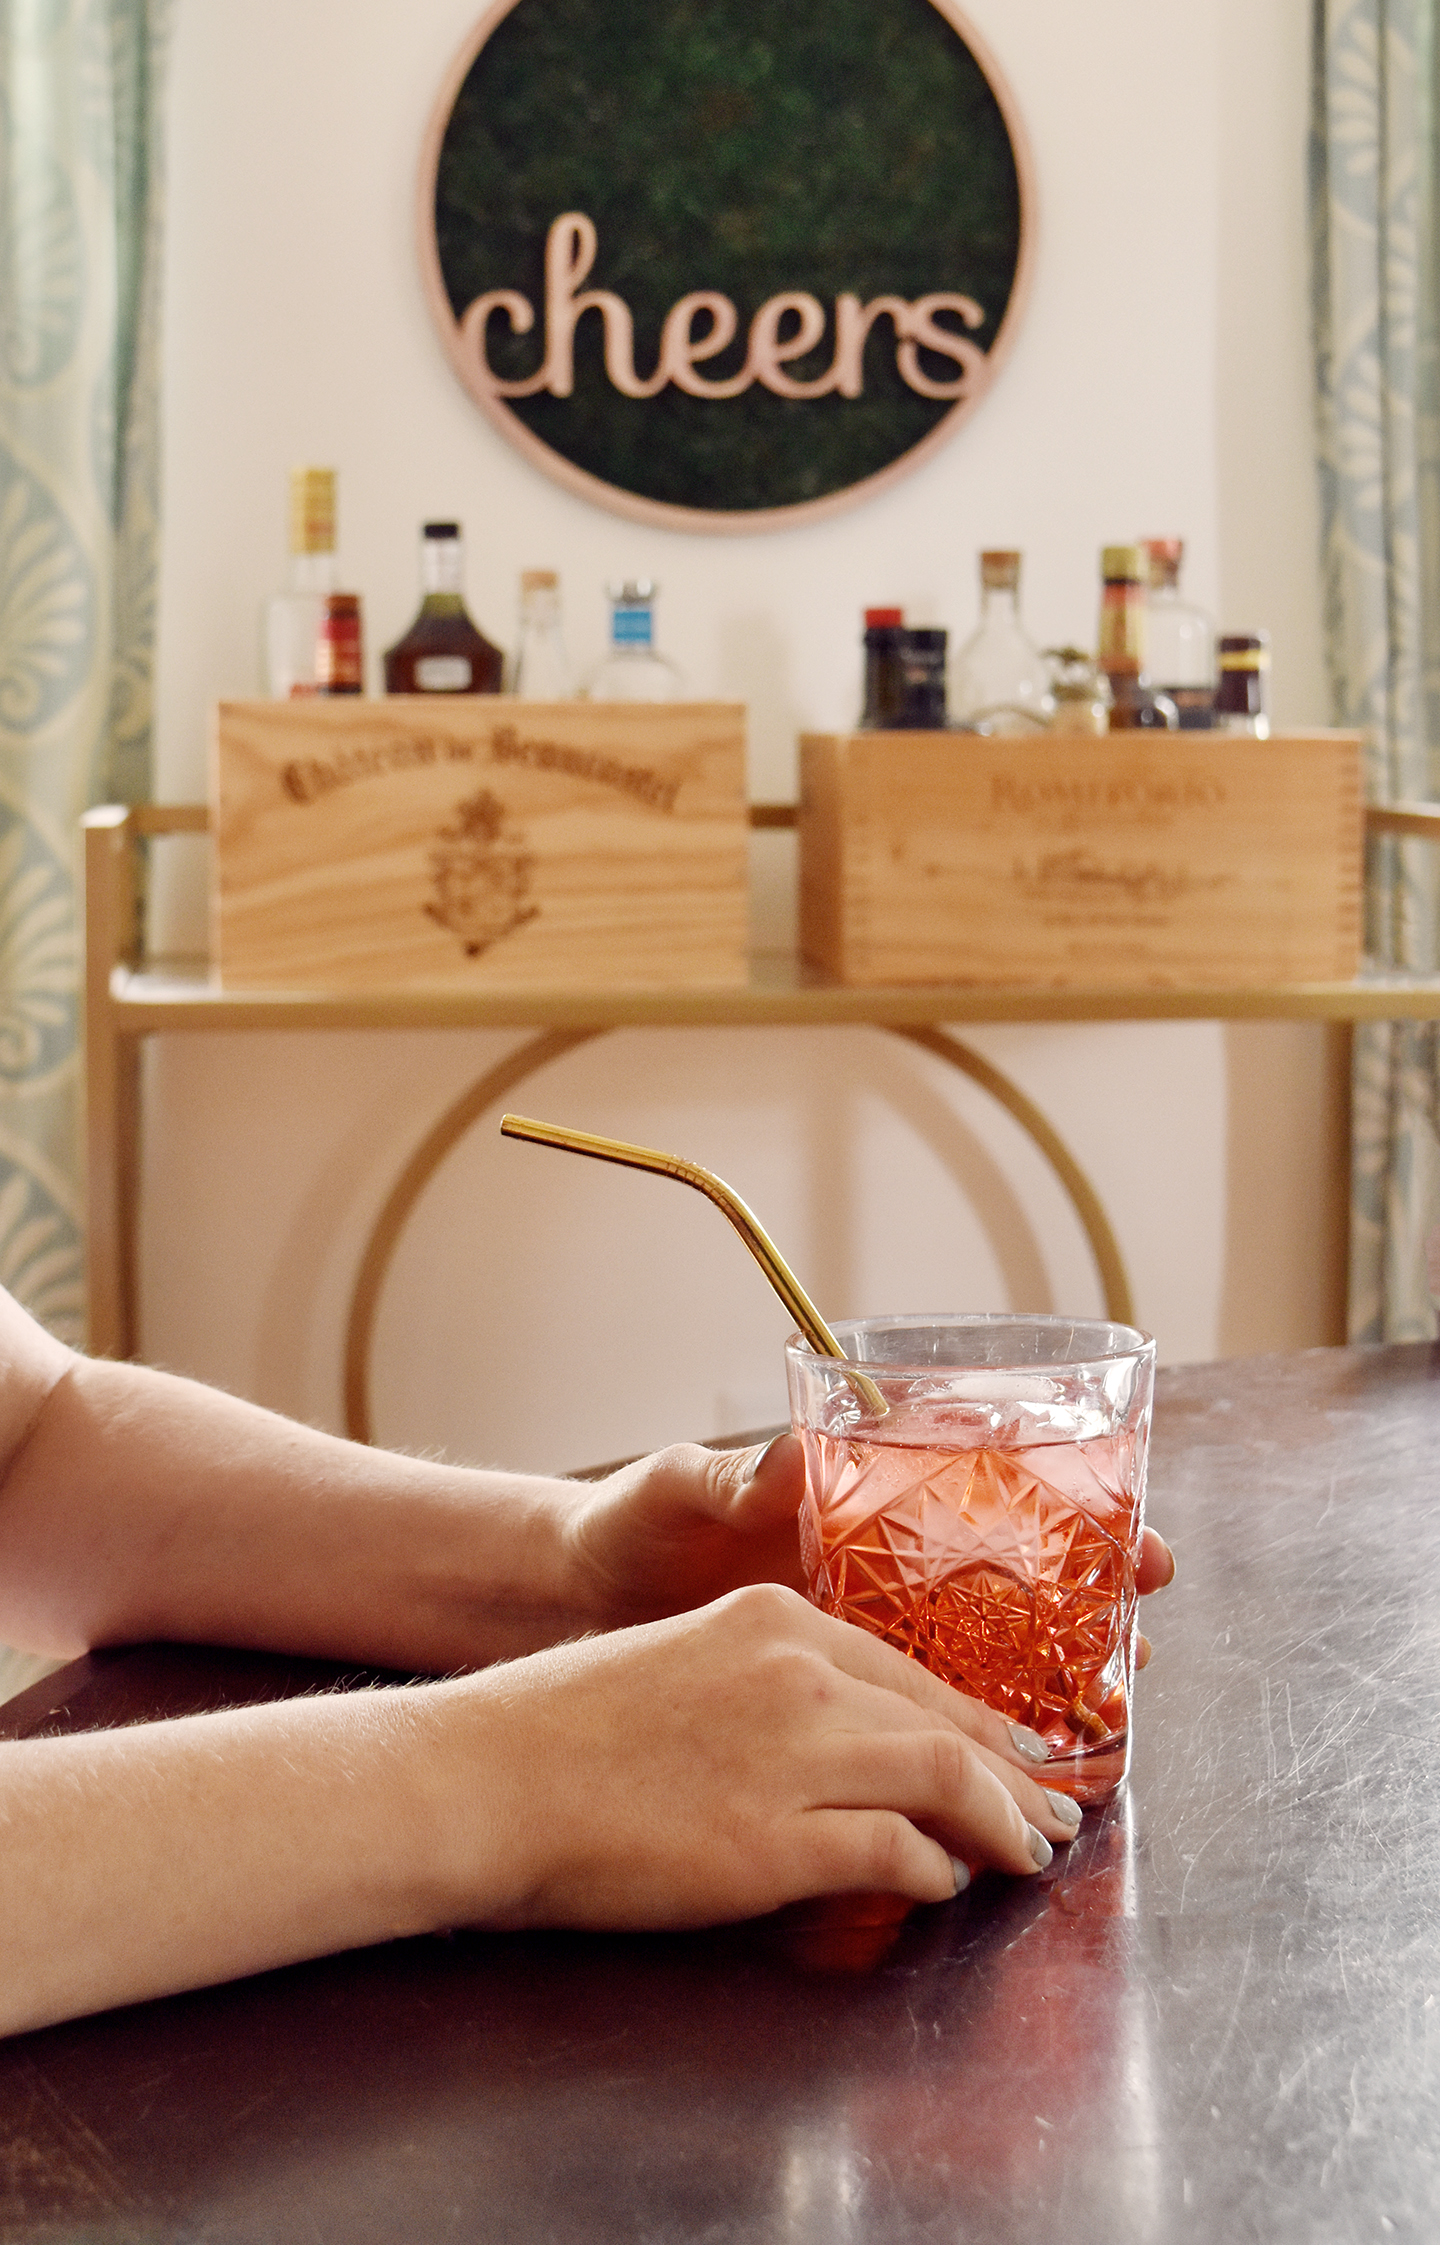
And that’s it! I hung mine above the bar cart in the dining room, but you could use this technique for any kind of sign… I could envision doing your kid’s name and hanging it in their bedroom, or perhaps “welcome” or “hello” for the entryway.
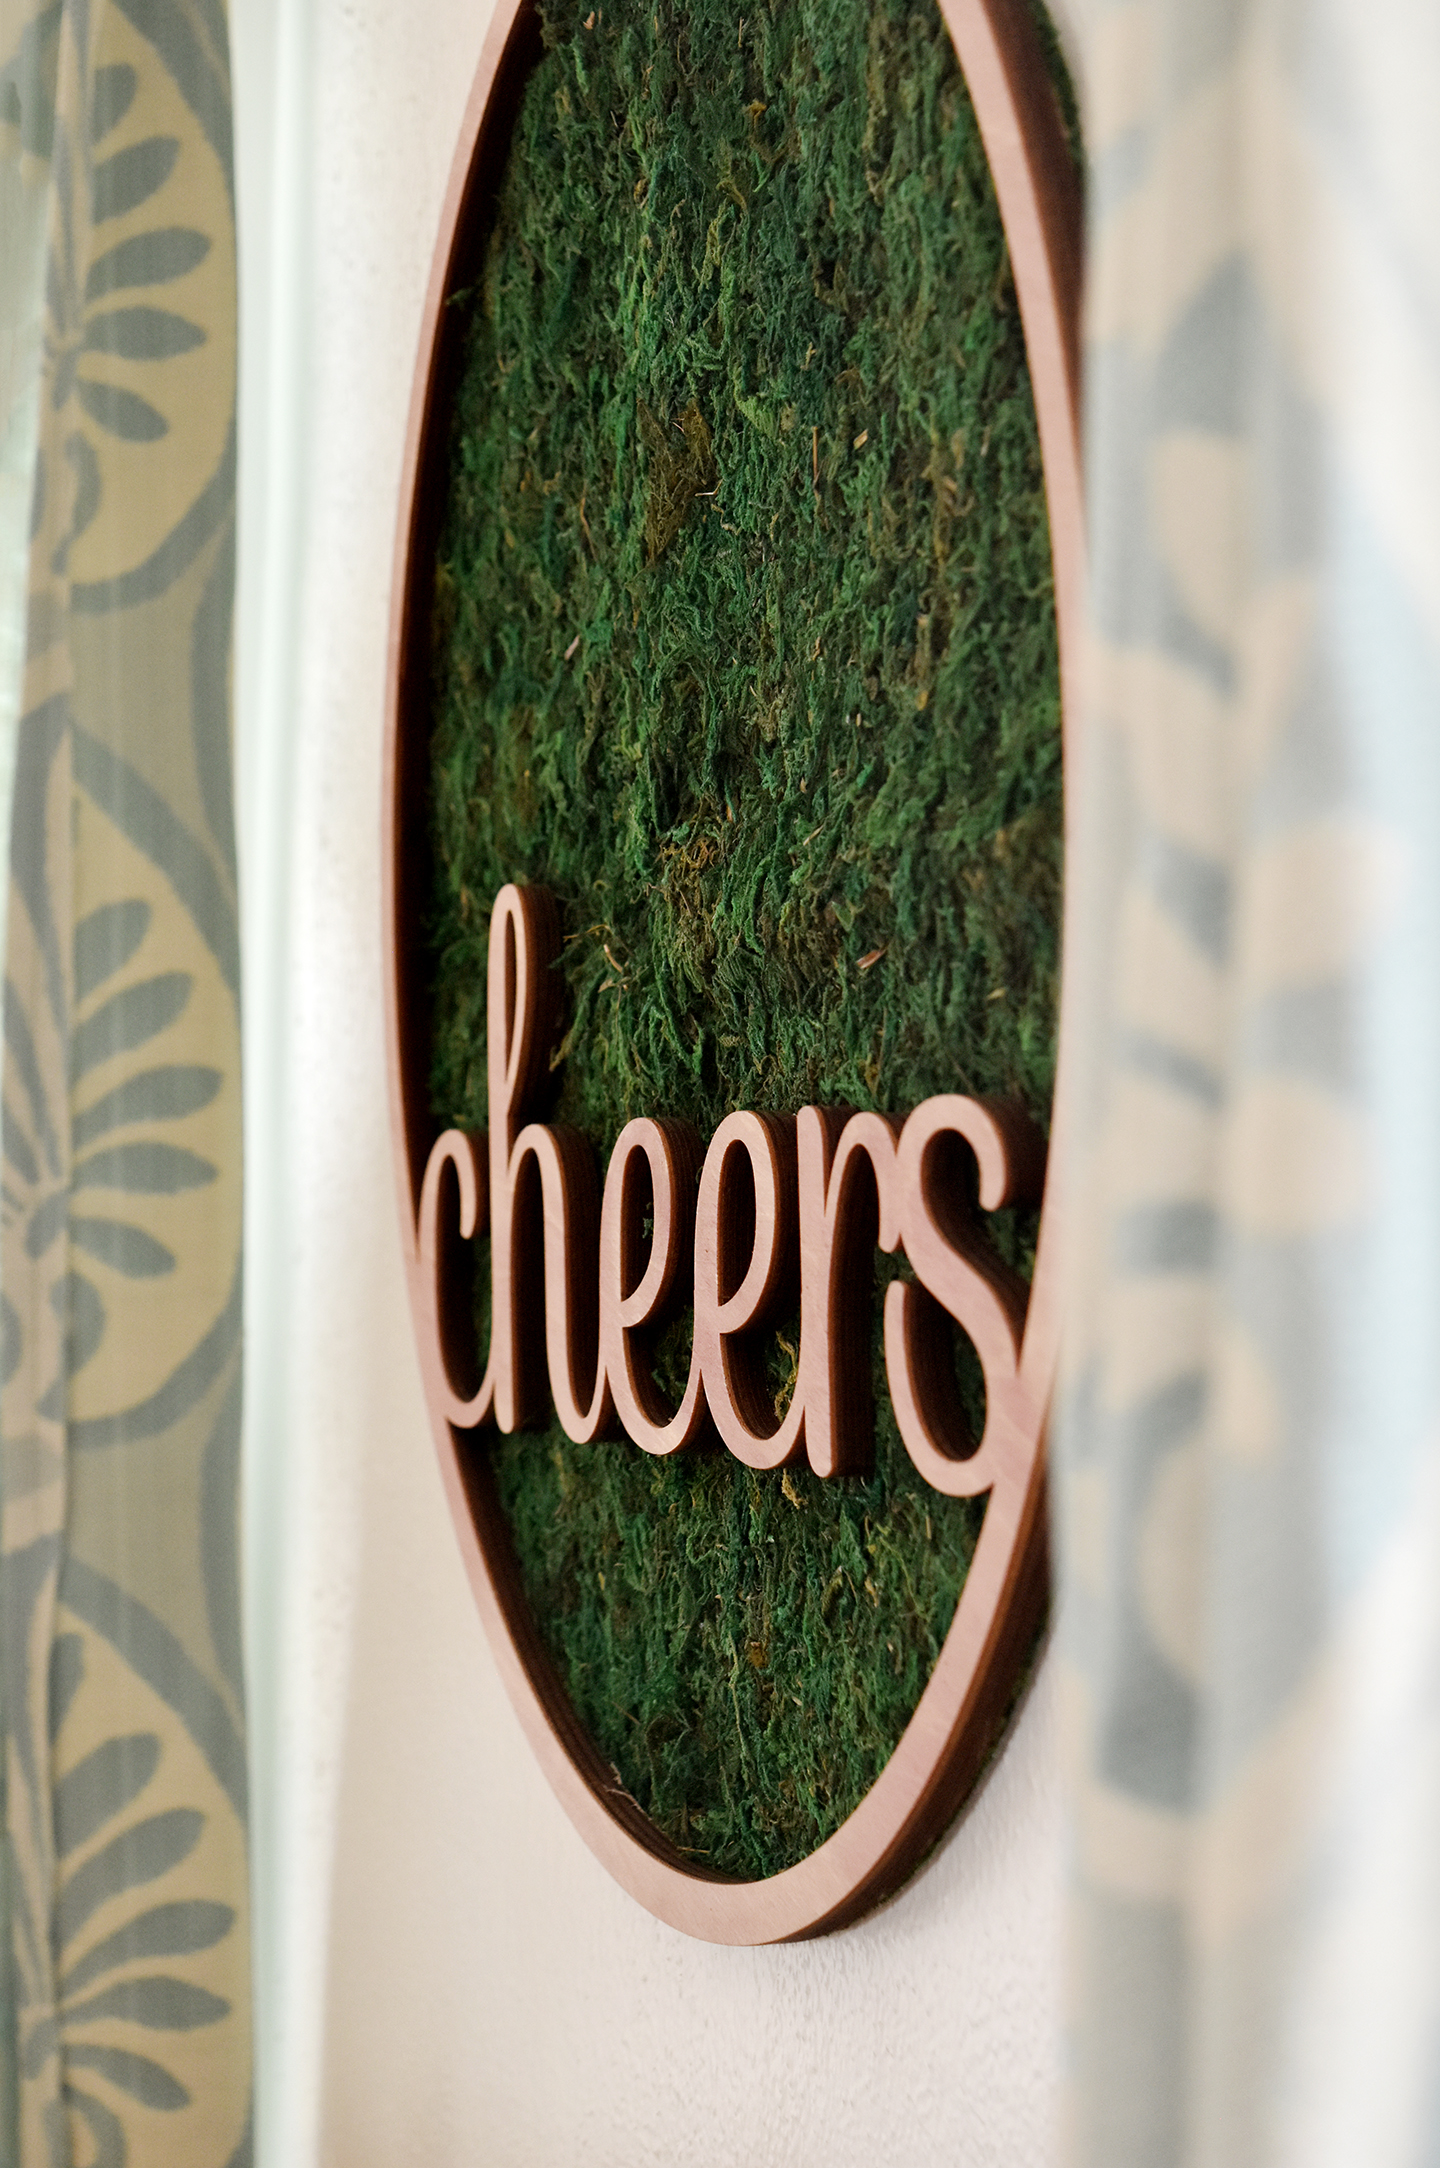
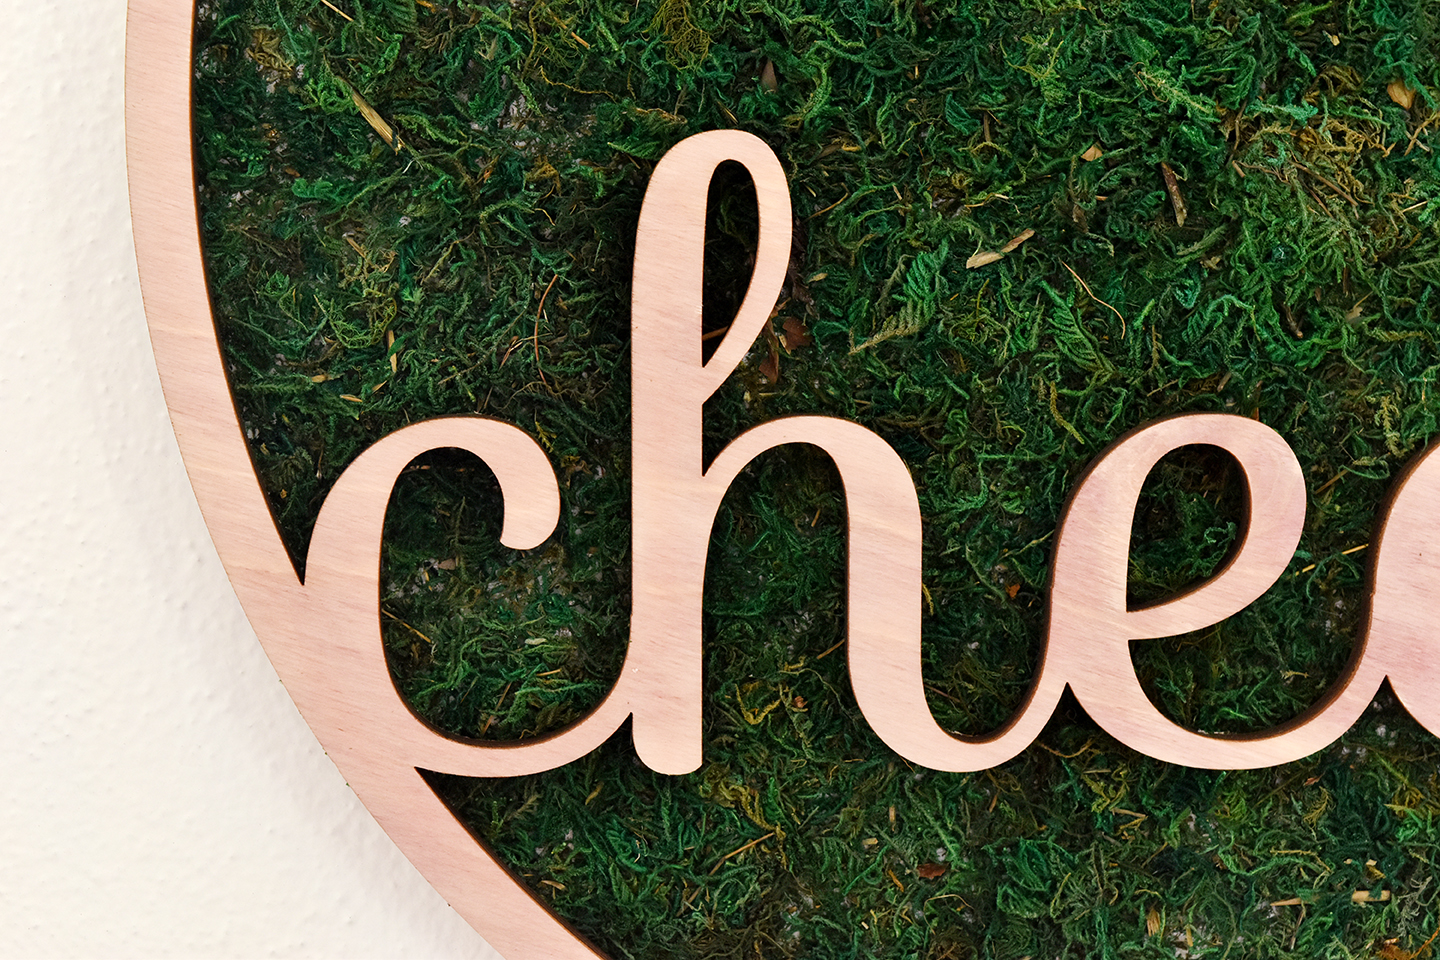
The moss really allows the wooden letters to pop, and it adds some texture as well.
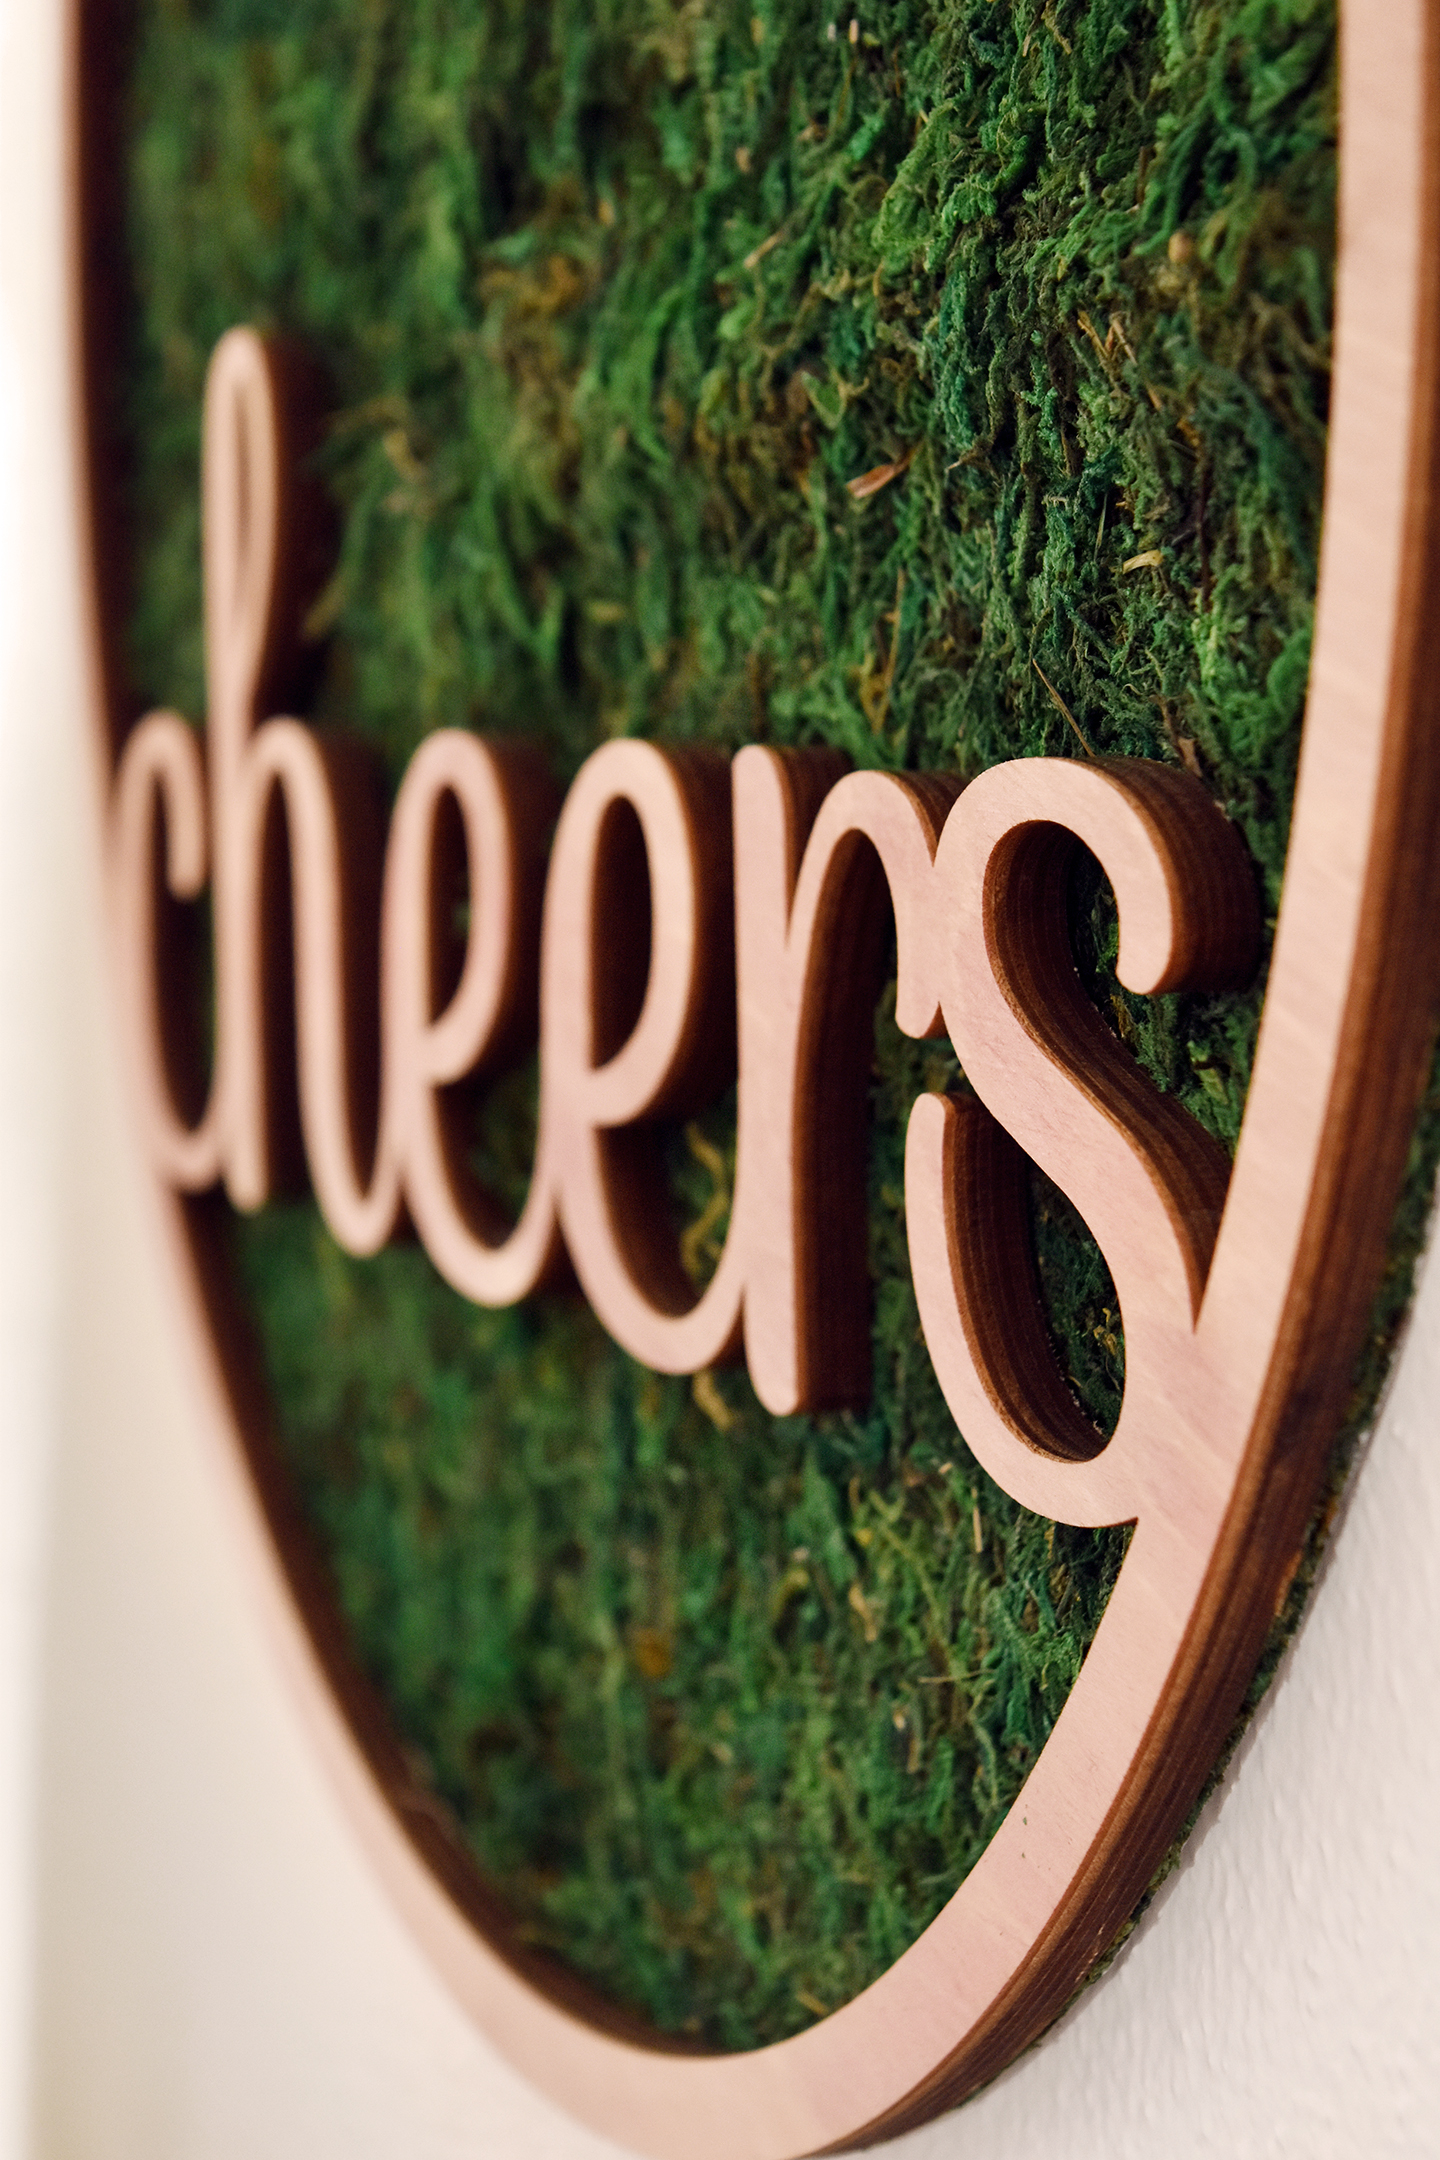
And that pink color! I just love the subtle hue that the wine gives the birch wood. (But if you’re not a fan, be sure to check out this coffee staining technique or this ombré watercolor look).
Cheers to your next craft project, friends!
This post was created in partnership with CraftCuts.
Thanks for supporting the brands that keep Design Fixation online!