
This post may contain affiliate links. This means that if you buy the cool stuff I recommend, I earn a small commission (but you still pay the same price). Thanks for helping me make a living doing my dream job!
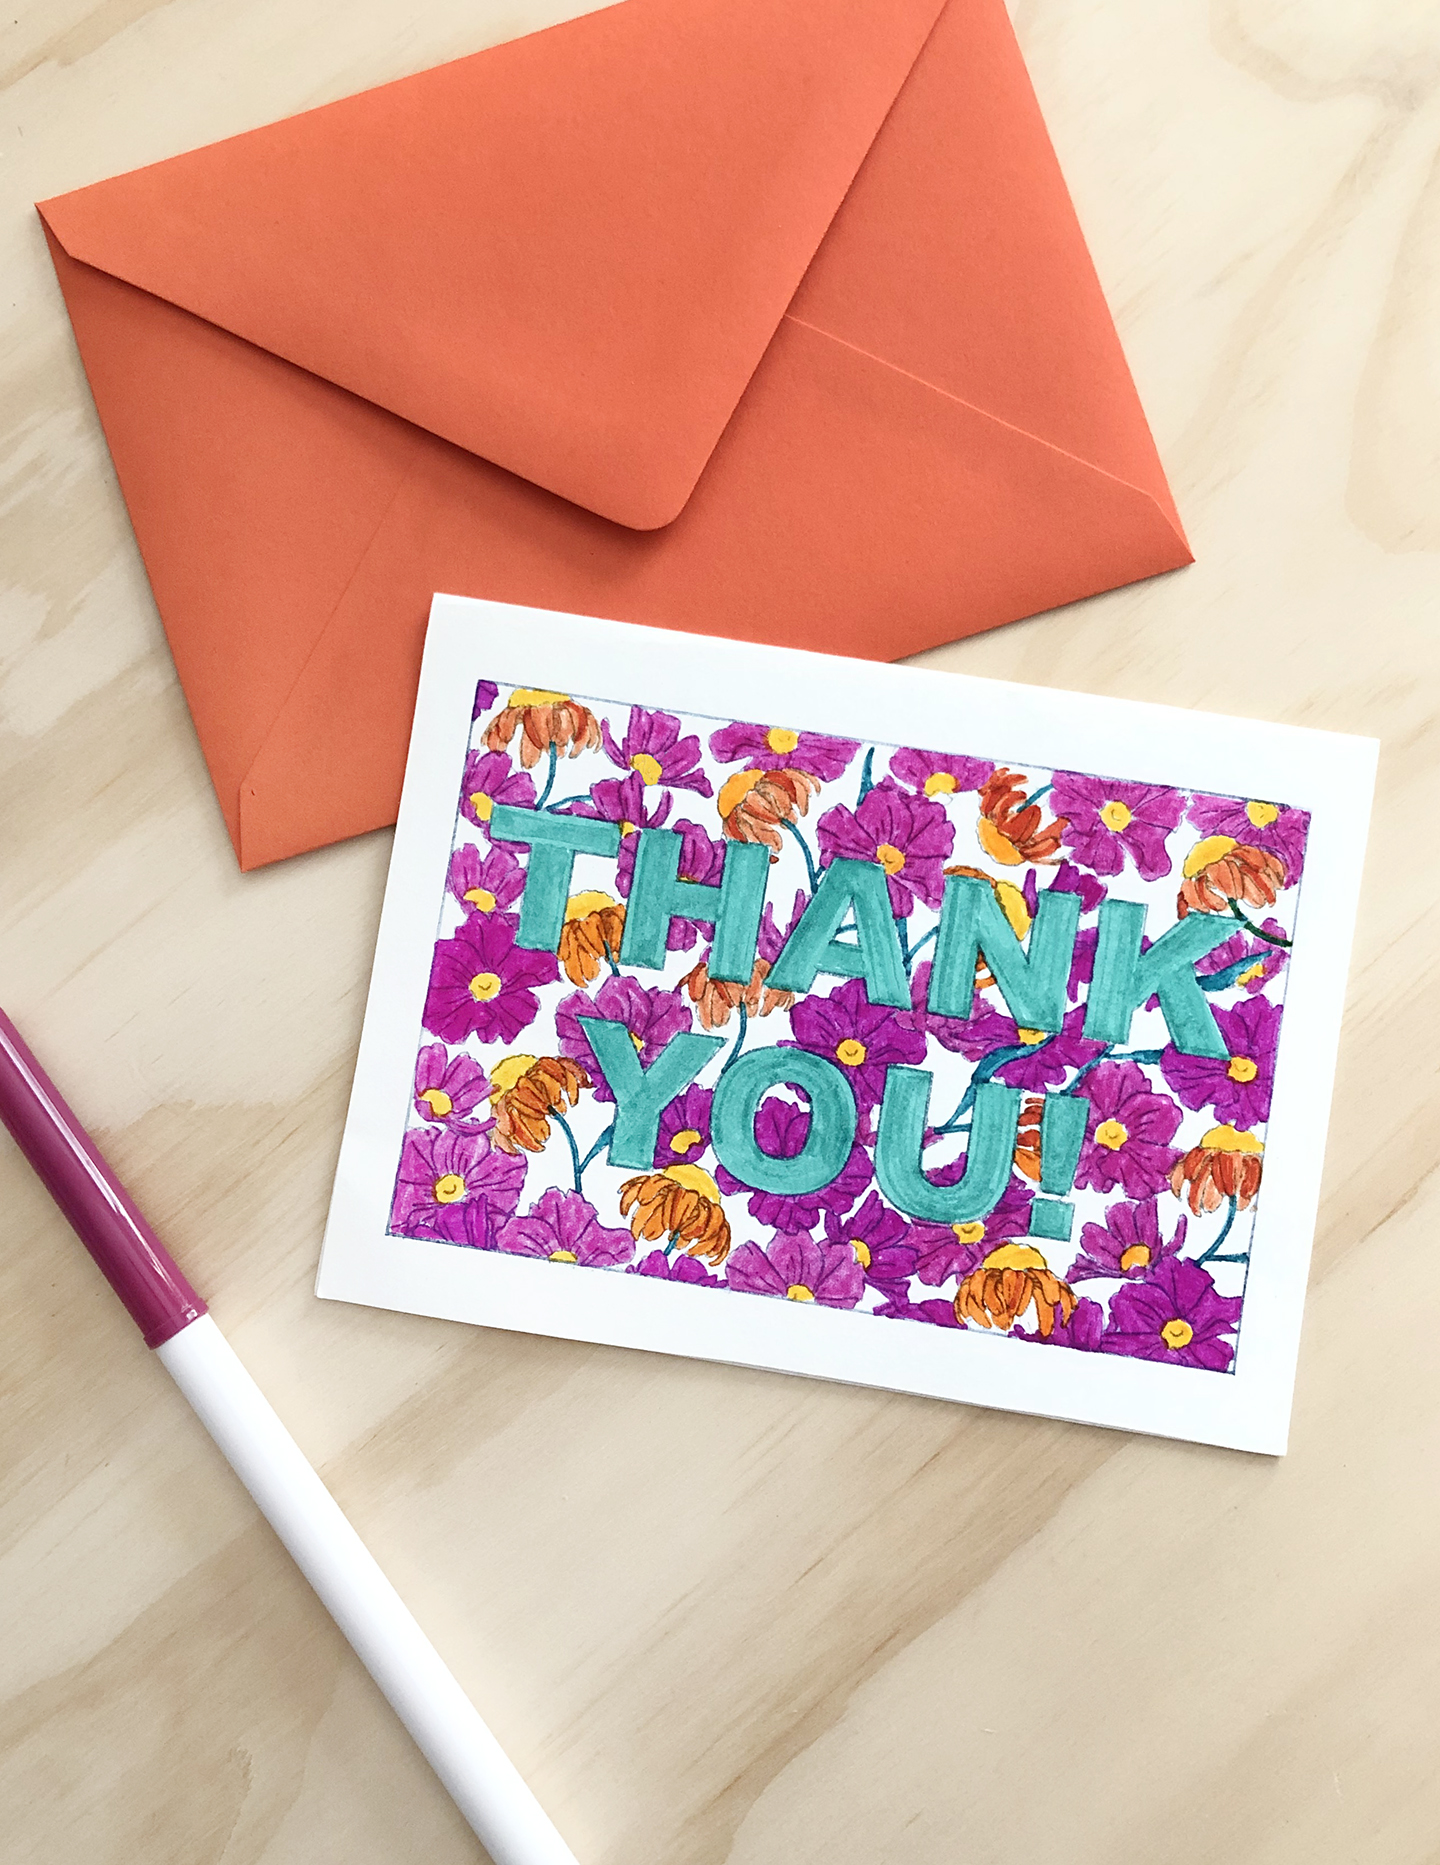
Call me old school, but I like to send thank you notes when I receive gifts. I think it’s a nice gesture that shows your appreciation. And I also love to color… so one day it occurred to me that it might be fun to combine these two things! So I created a design, and voilà – now I can make custom DIY thank you cards anytime.
I ordered my custom stamp from Rubberstamps.com, and it was incredibly easy. I just downloaded a free floral background and then added the words “thank you” on top.
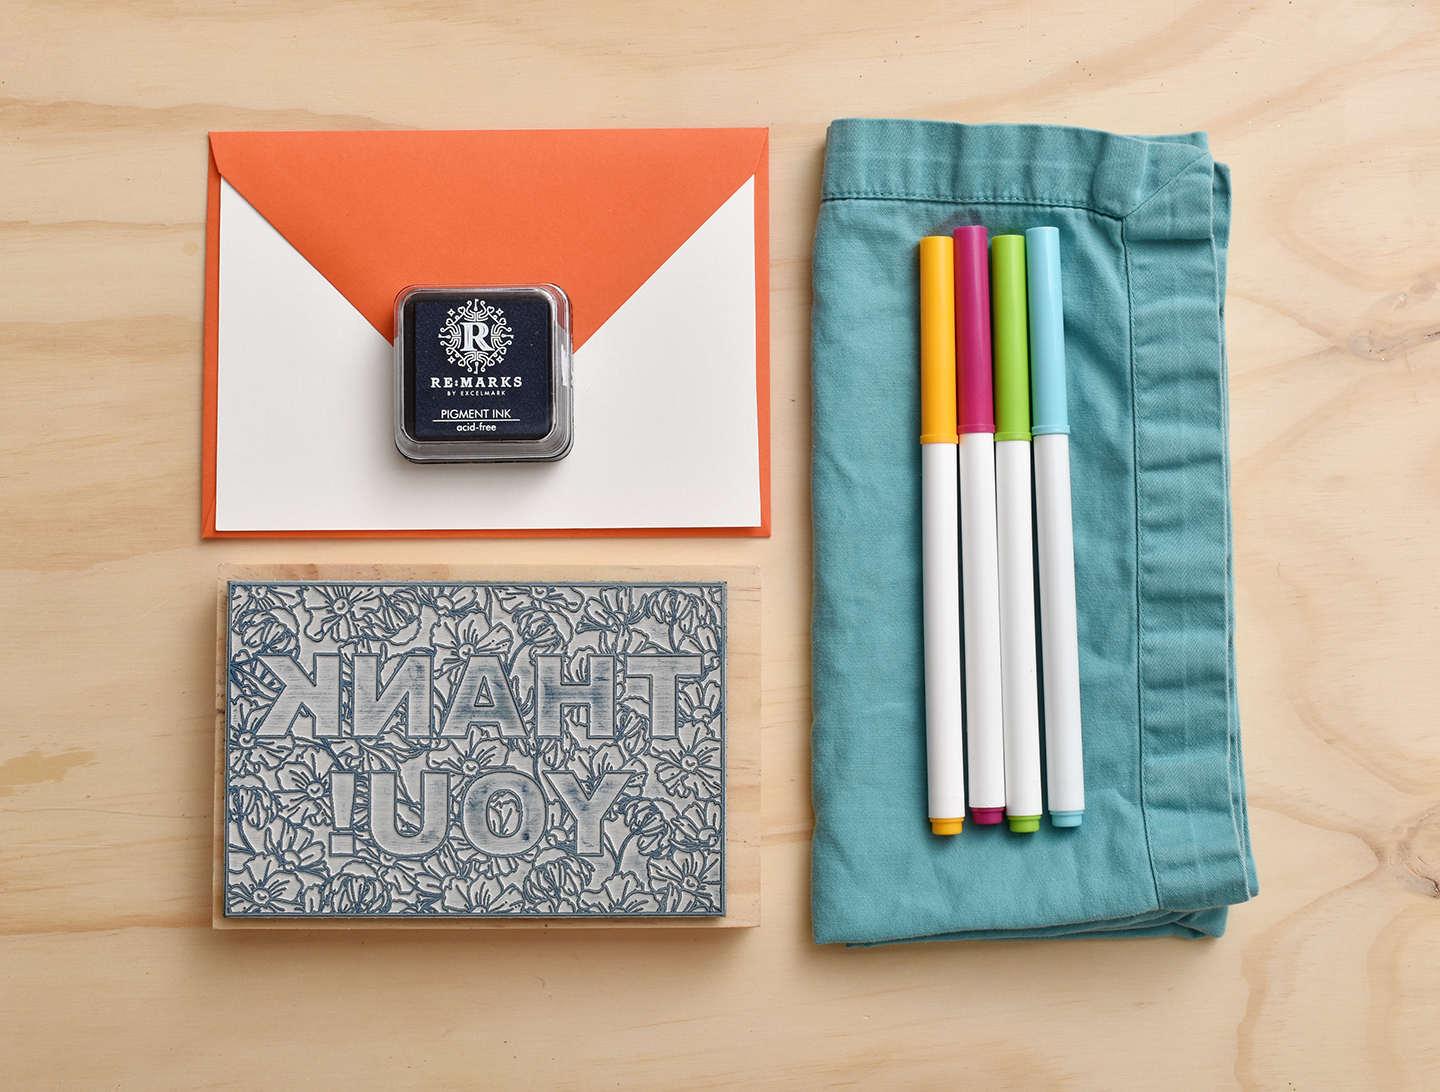
Once I received my stamp, I gathered my supplies:
- 4×6″ custom stamp from Rubberstamps.com
- Pigment Ink
- 5×7″ blank note card and coordinating envelope
- Napkin or other piece of fabric
- Markers, colored pencils or other coloring utensil

So let’s get started! Begin by rubbing the pigment ink across the stamp in a circular motion. Make sure to cover the entire stamp with as much ink as you can.
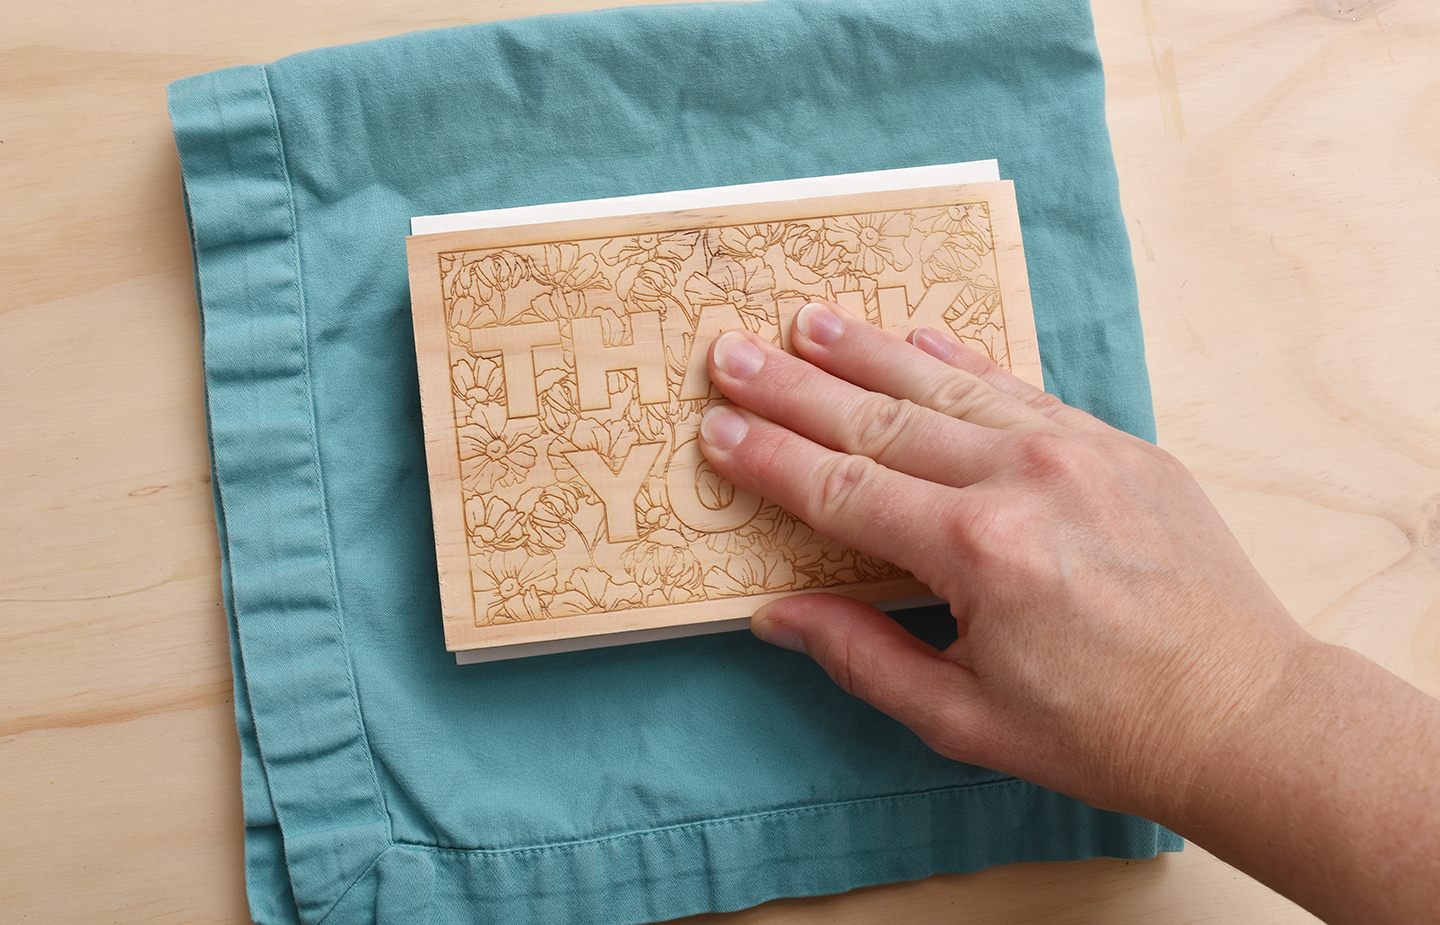
Place a napkin down on your work surface to add some padding underneath your note card (I find that this helps achieve a darker imprint). Press the stamp down firmly, putting as much pressure on it as you can.
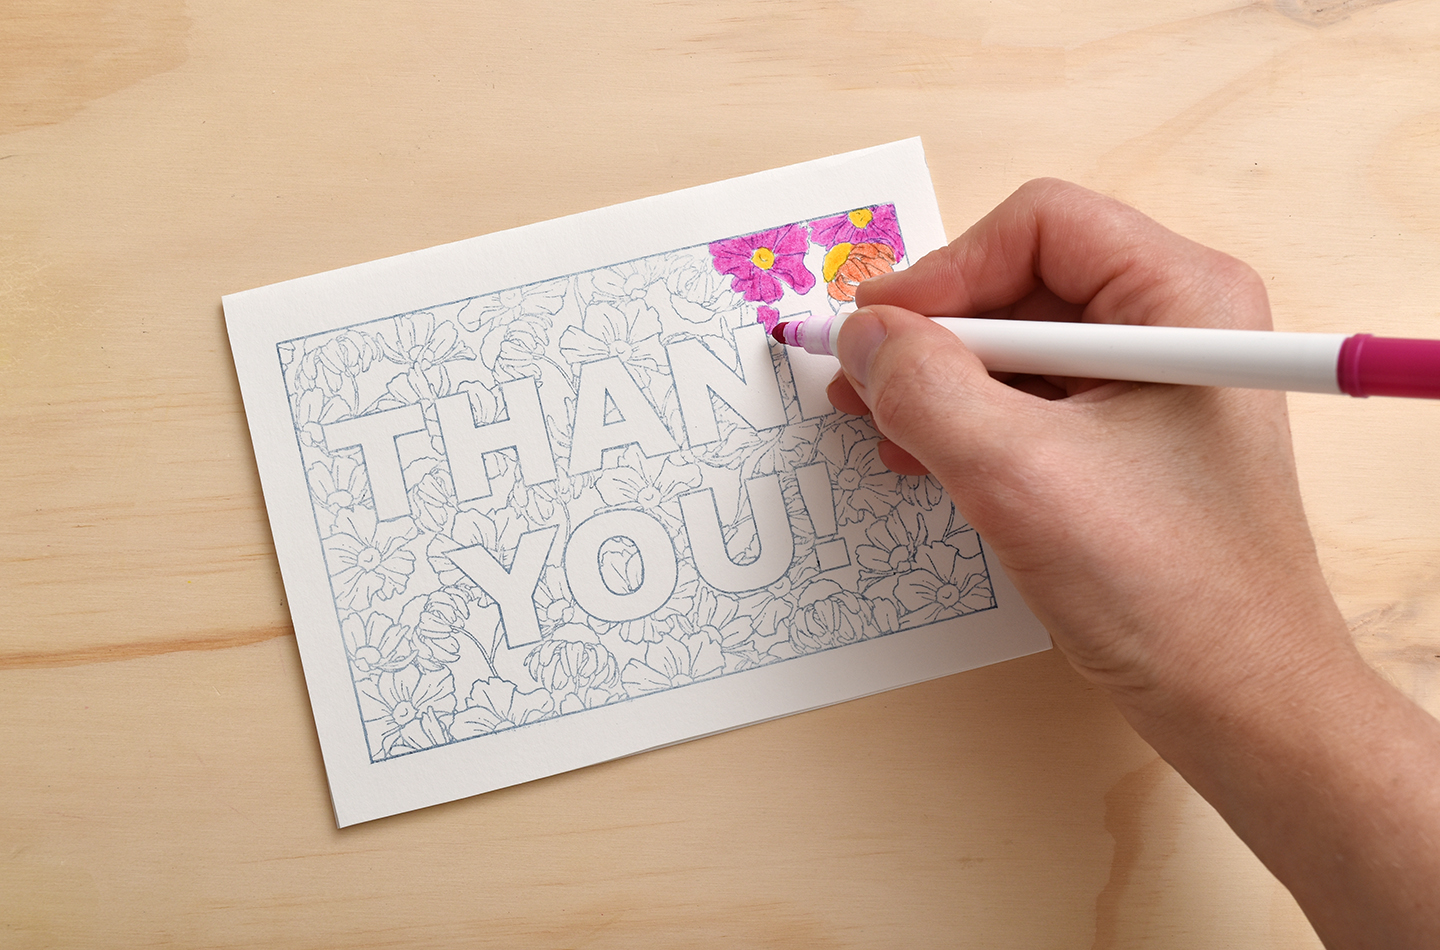
And that’s all you have to do to create the note card itself… now you can color it in however you like. I used markers, but you could also try colored pencils, calligraphy pens or watercolors. And you could even get the kids in on the fun!
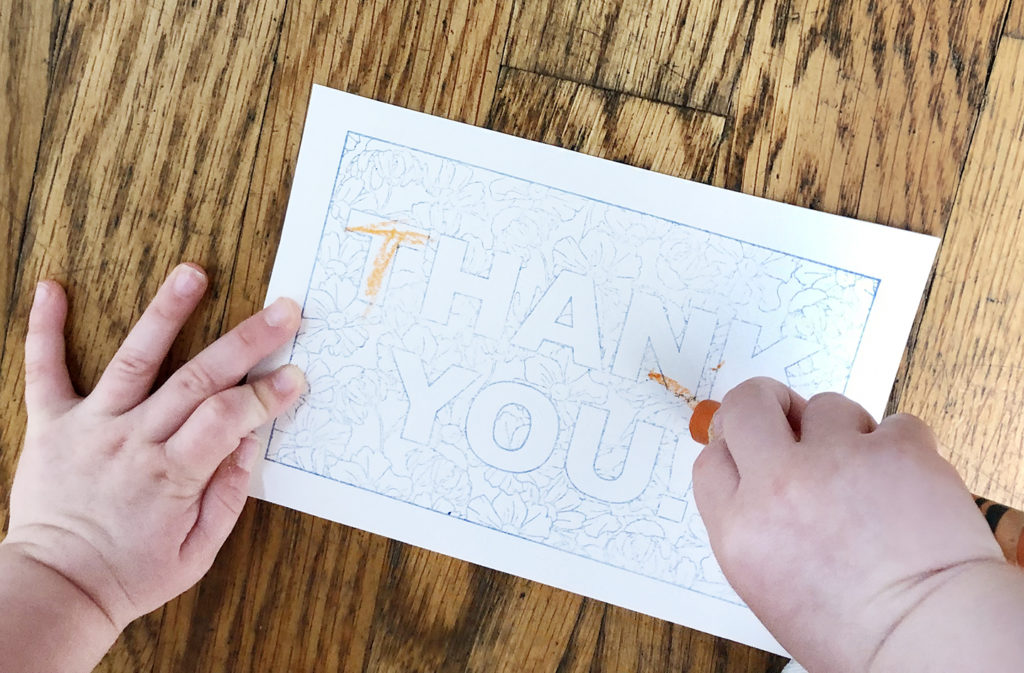
Can you imagine grandma and grandpa’s reaction if they received this in the mail?!
This is such a fun project for the whole family, and it’s so meaningful for the recipient. And if you’re in the mood for more rubber stamp DIYs, be sure to check these out.

These DIY thank you notes were created
in partnership with Rubberstamps.com.
Thanks for supporting the brands that keep Design Fixation online!