
This post may contain affiliate links. This means that if you buy the cool stuff I recommend, I earn a small commission (but you still pay the same price). Thanks for helping me make a living doing my dream job!
We recently celebrated our little one’s first birthday, and it was a little different than we had expected thanks to the pandemic. But we still had a wonderful time! We celebrated outdoors with only a few close family members… and we (okay I) still went over the top with decorations. I decided to paint wooden letters to create a personalized banner right above the place of honor – the high chair!
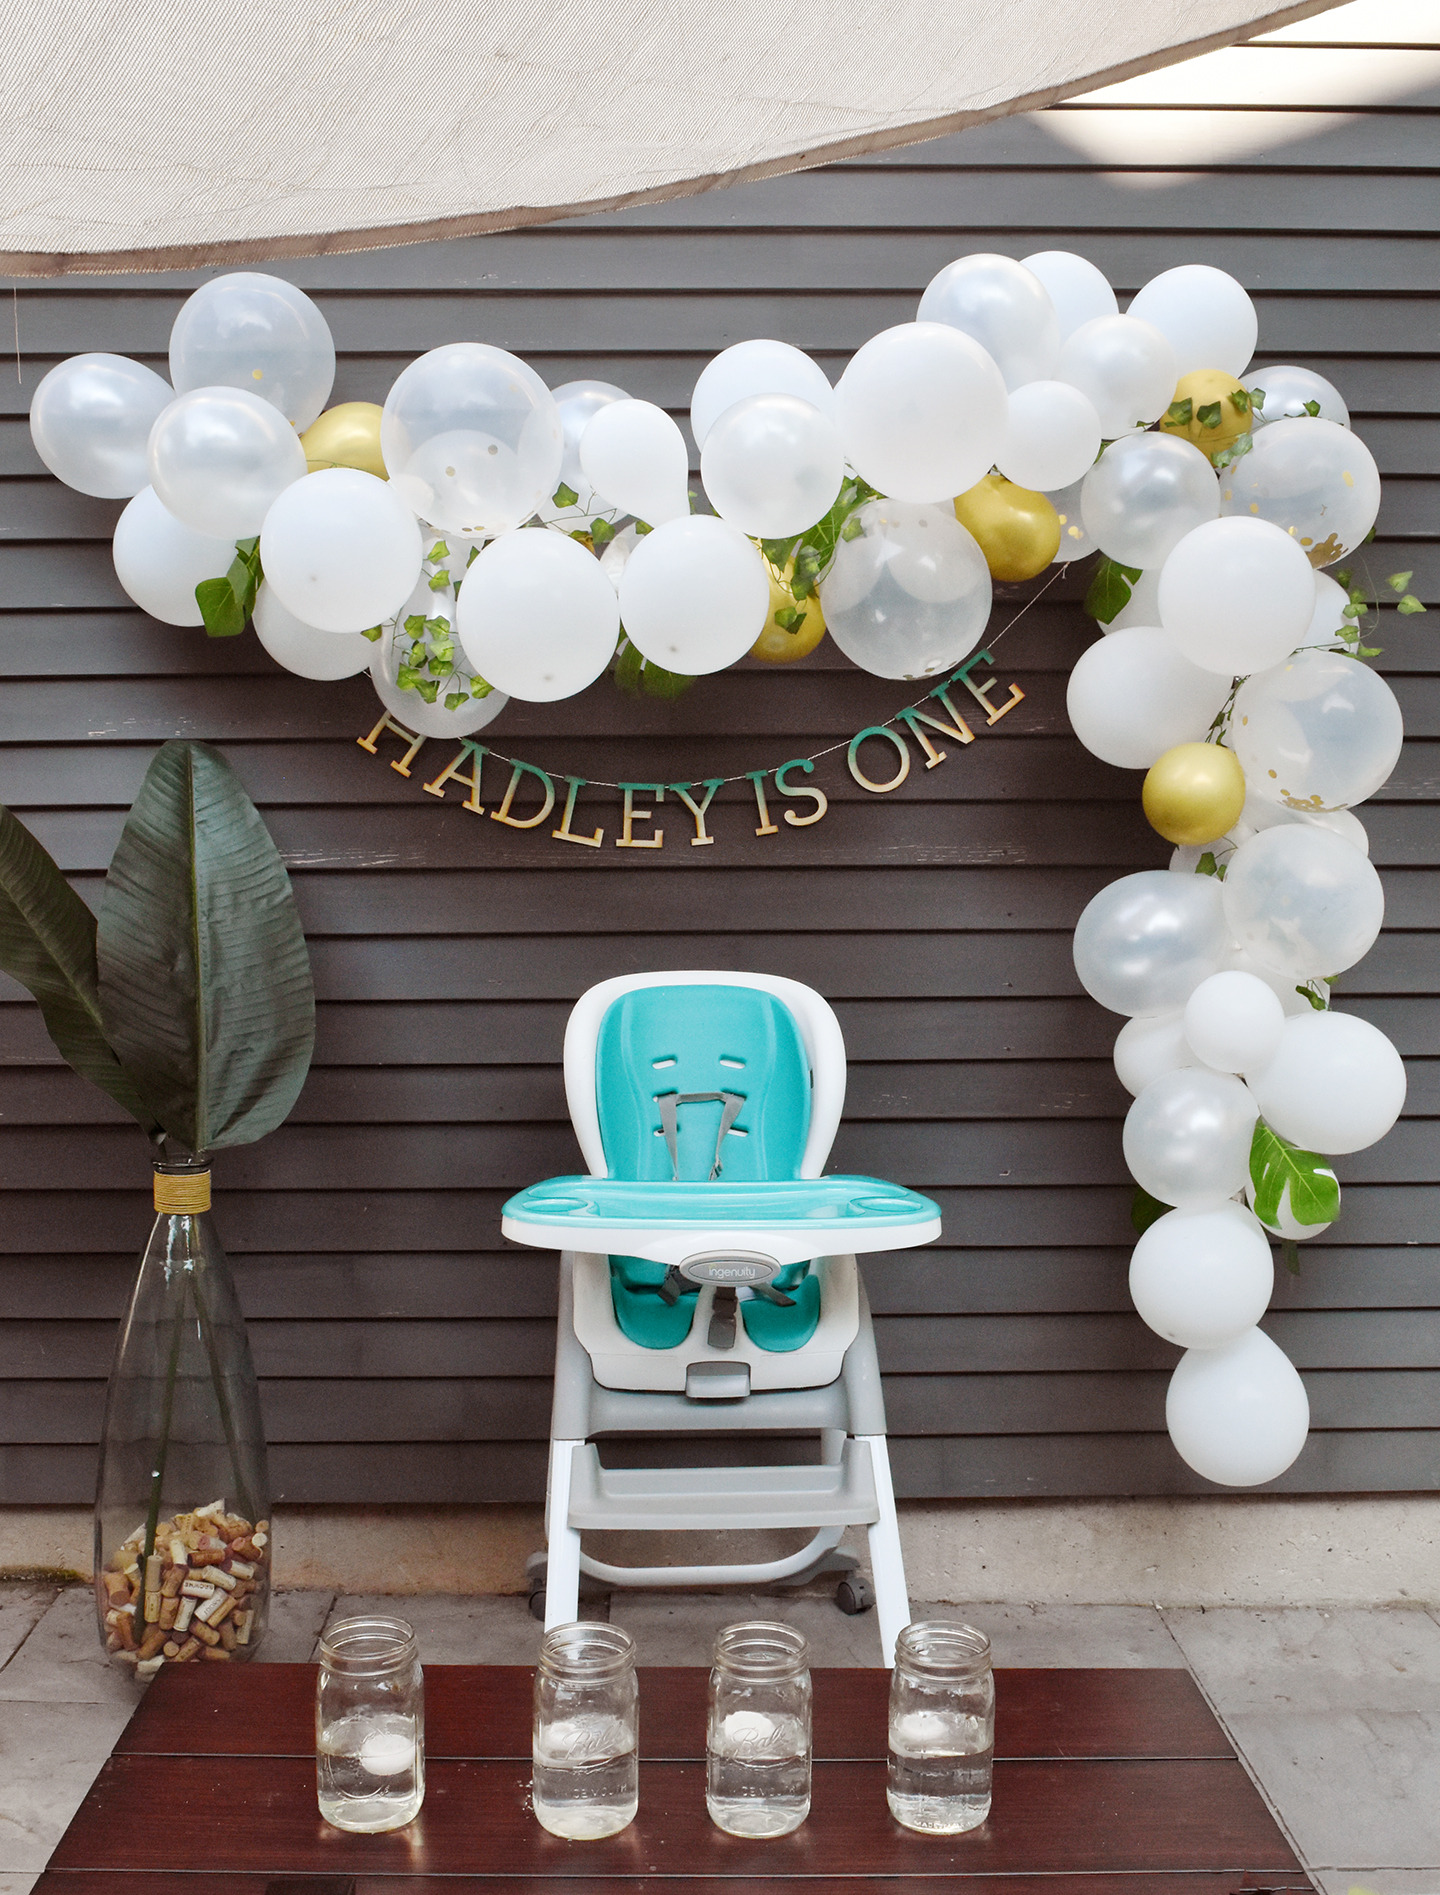
The real show stoppers were the wooden pieces from CraftCuts. I made a banner using their unfinished Baltic Birch letters and they also created a birthday cake topper for the smash cake. Of course I added my own DIY touch to the beautiful wooden pieces using a watercolor ombré effect. And I wanted to share the tutorial with you guys. It’s totally simple!
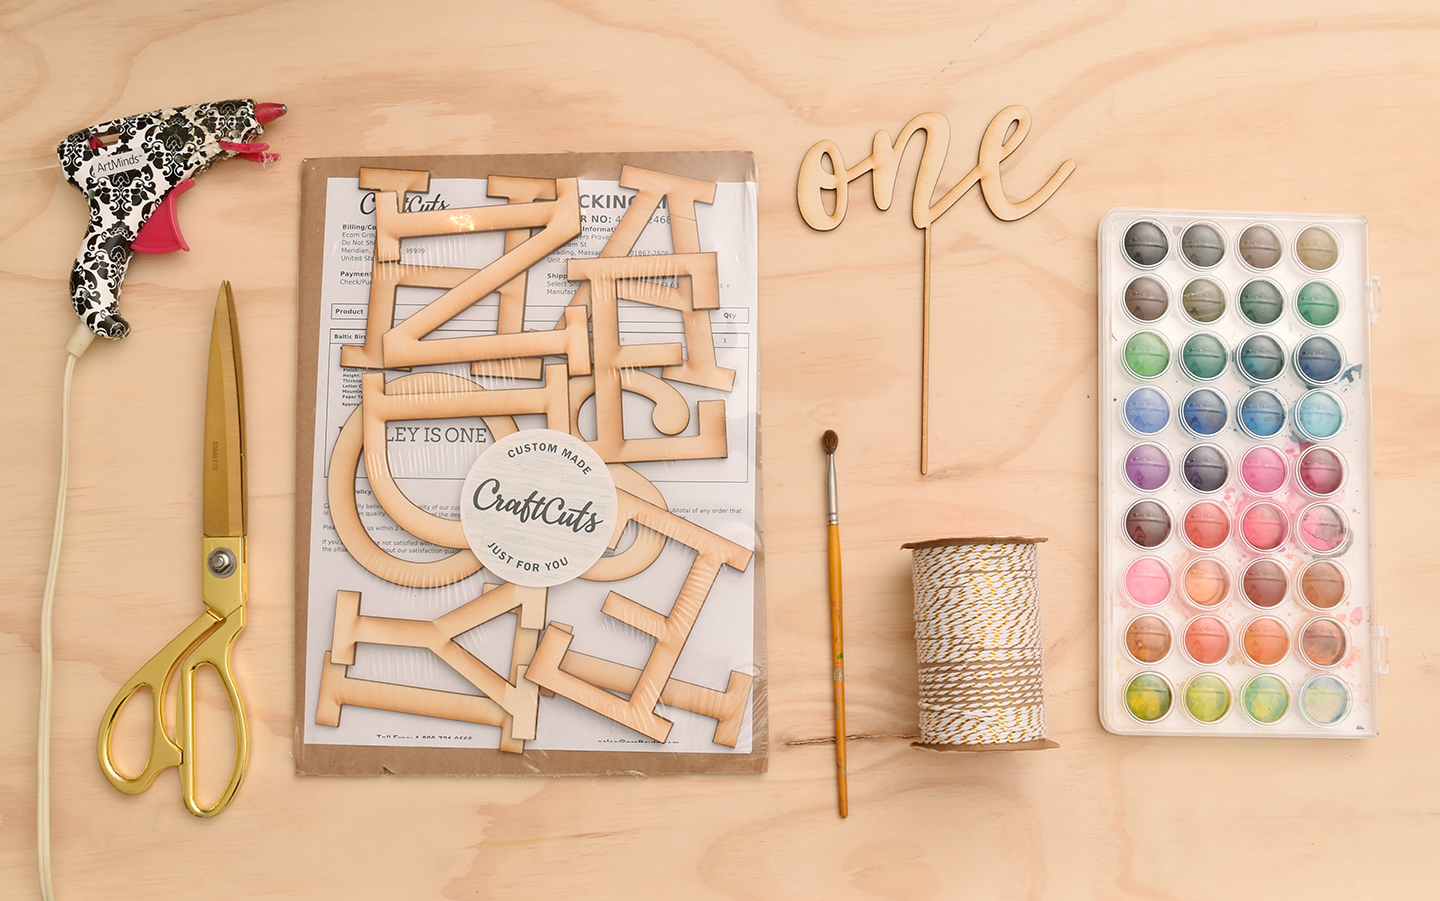
Materials You’ll Need To Paint Wooden Letters:
Wooden letters from CraftCuts
Watercolor paint
Paint brush
Water
To Create A Banner You’ll Also Need:
Hot glue gun
Baker’s twine
Scissors
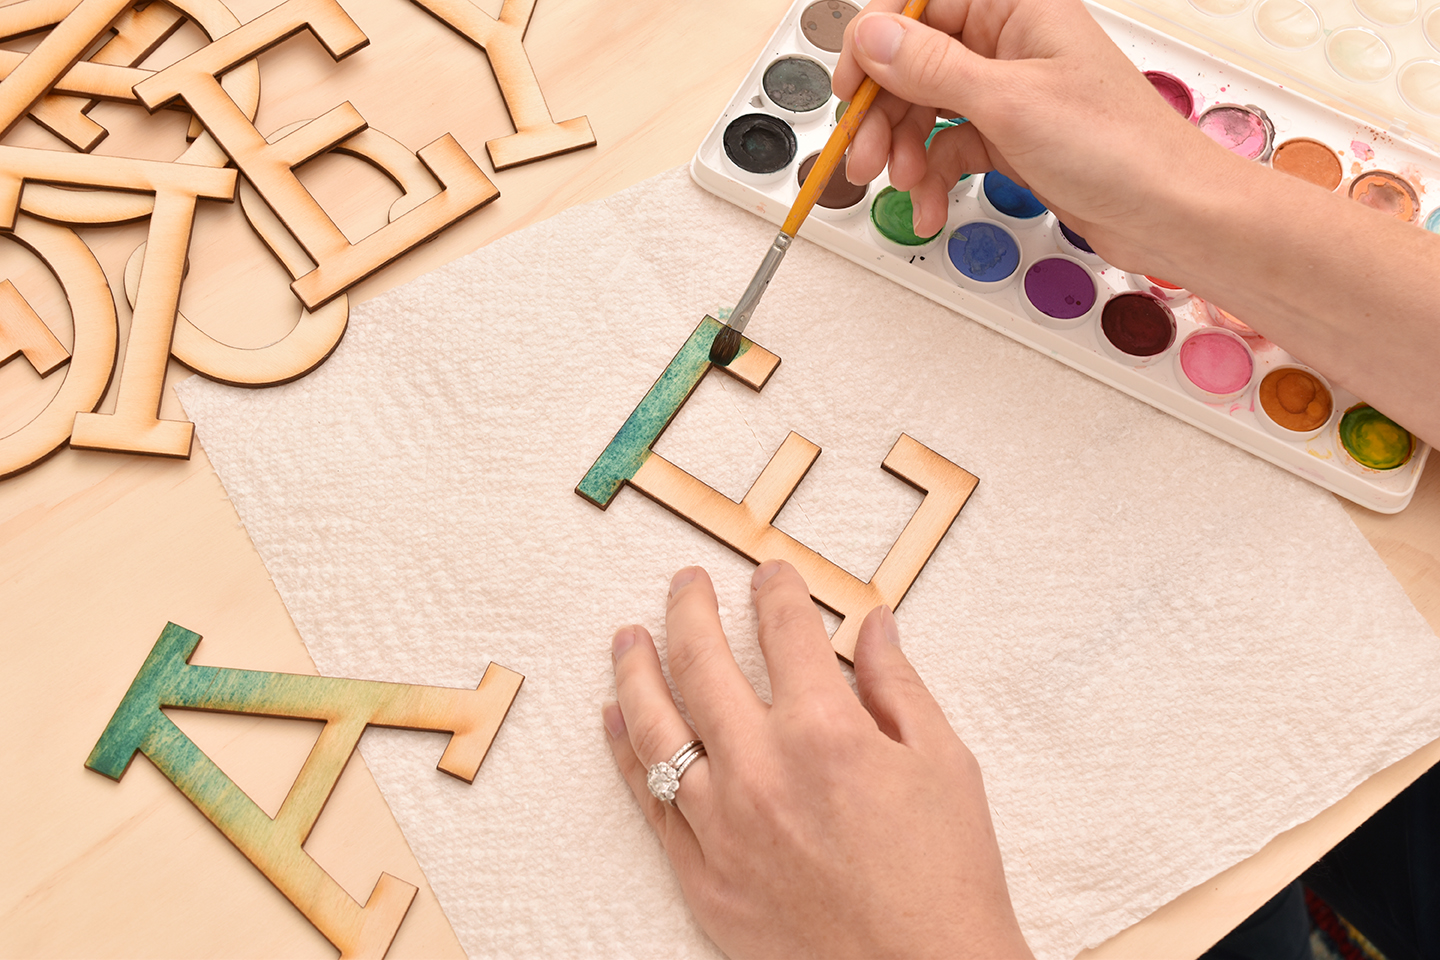
Begin by adding a bit of water to your chosen paint color and apply the saturated color across the top of the letter. Dip the tip of your brush in a jar of water to dilute the paint just a bit, and then paint another few strokes of paint below the area that you just painted. Continue in this manner until your brush is basically clean and you’re painting with only water. And that’s it! I told you it was really easy.
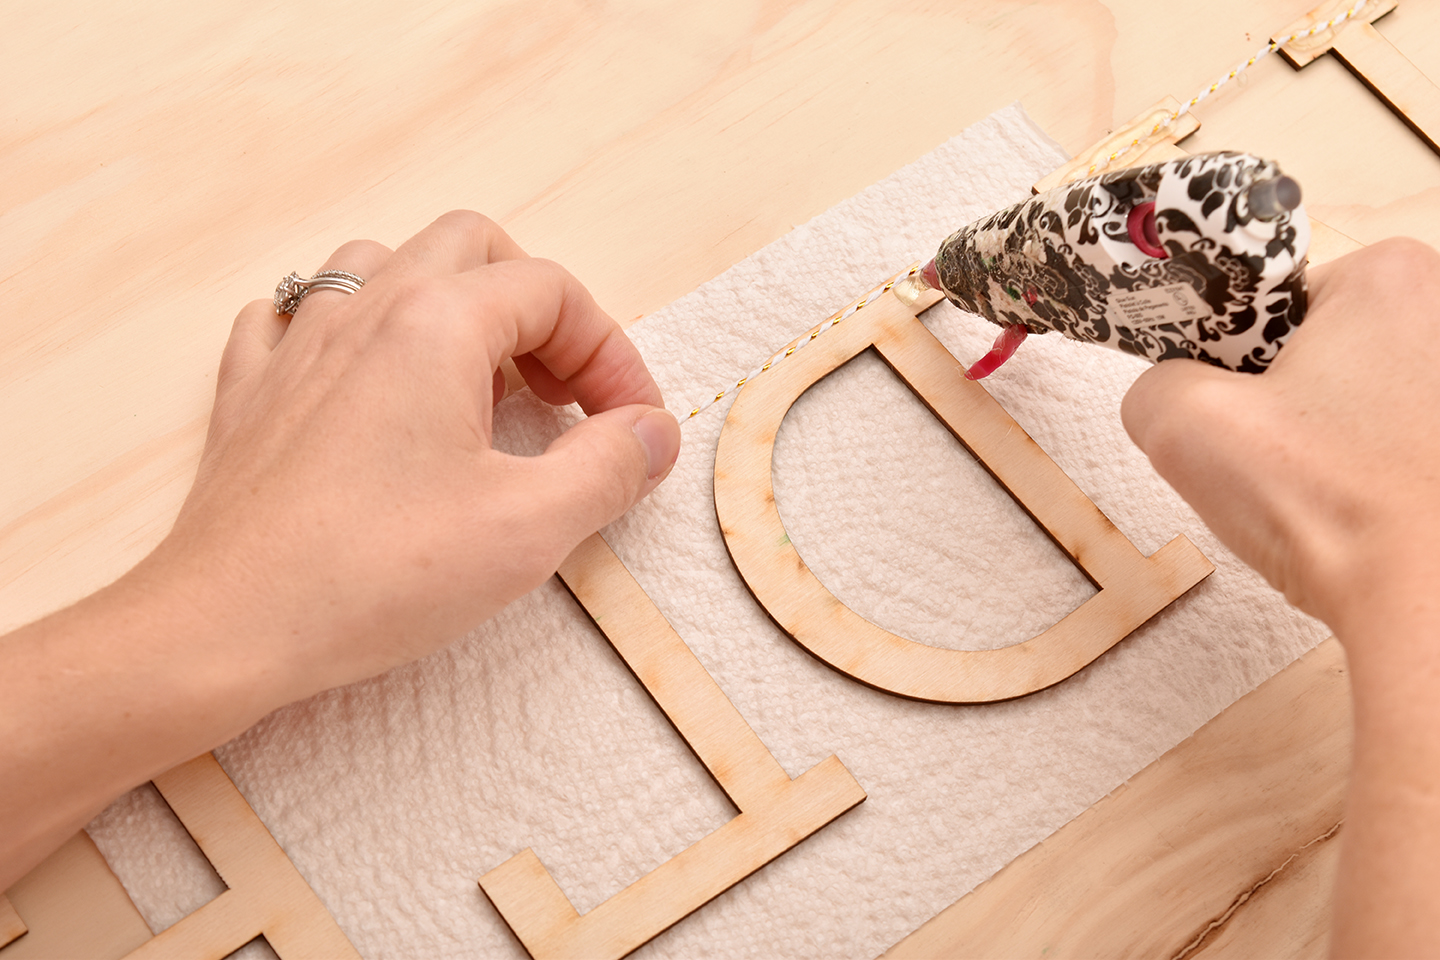
And to turn the letters into a banner, simply flip them over once they’re dry and cut a long piece of baker’s twine to attach them to. Run a thick line of hot glue across the top of the first letter and then sink the twine into the glue. Put another thin line of glue over the twine. Repeat the process for all of the letters.
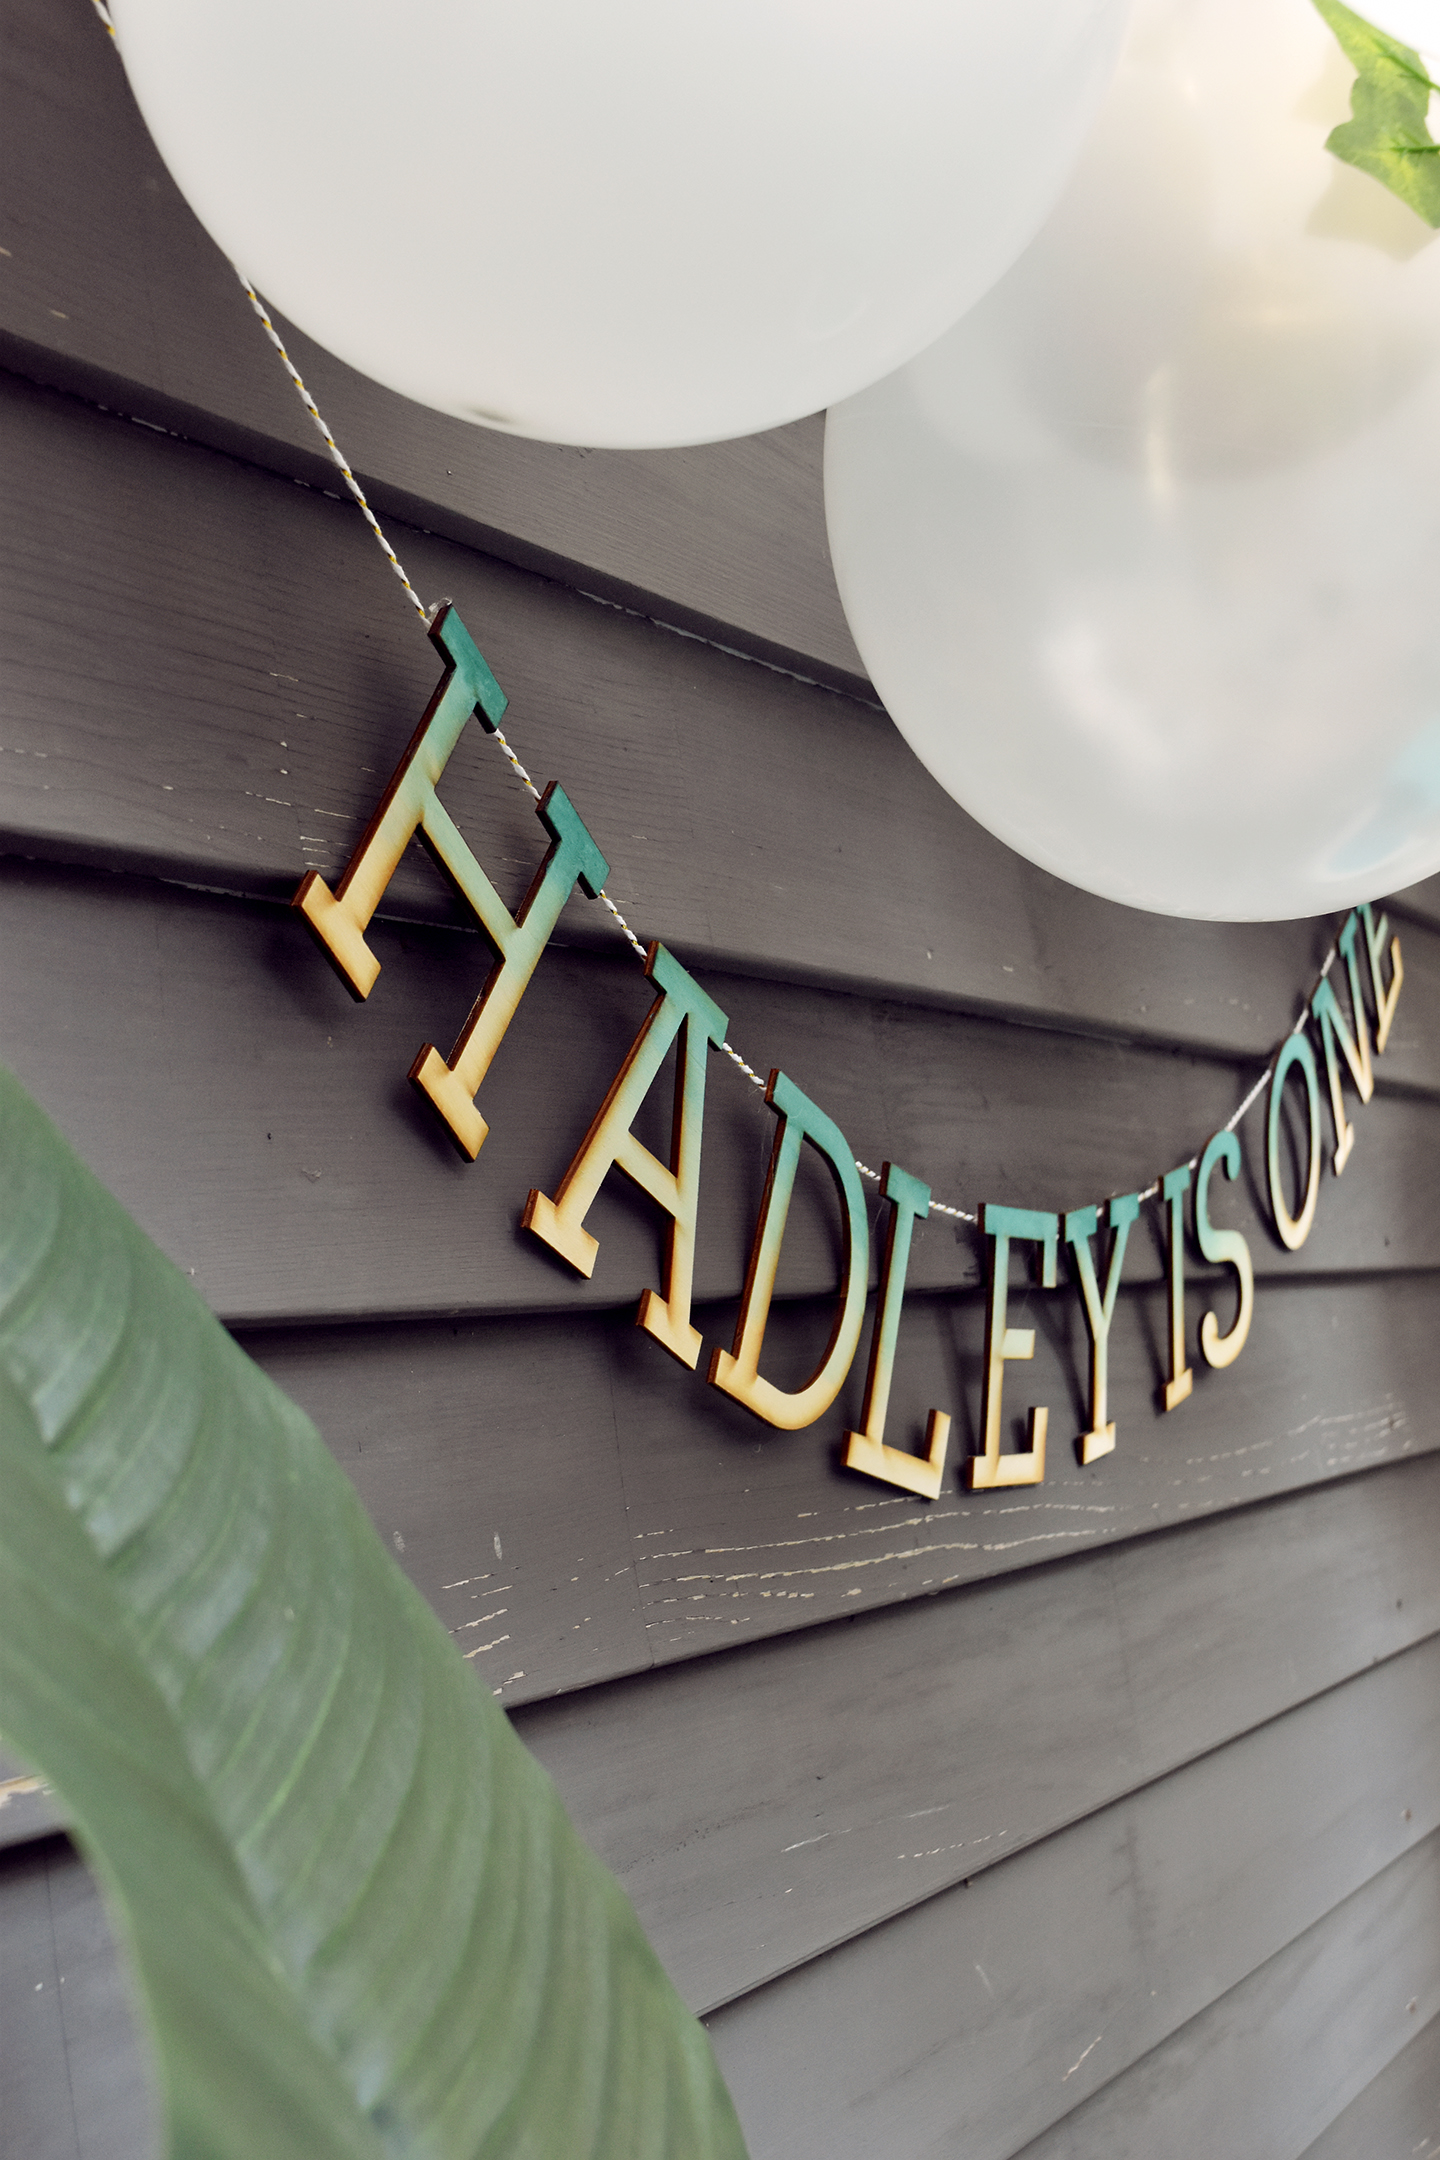
I hung mine up by tying loops on each end and attaching them to thumbtacks, but you could also use removable command hooks if you don’t want to damage the wall that you’re hanging it on.
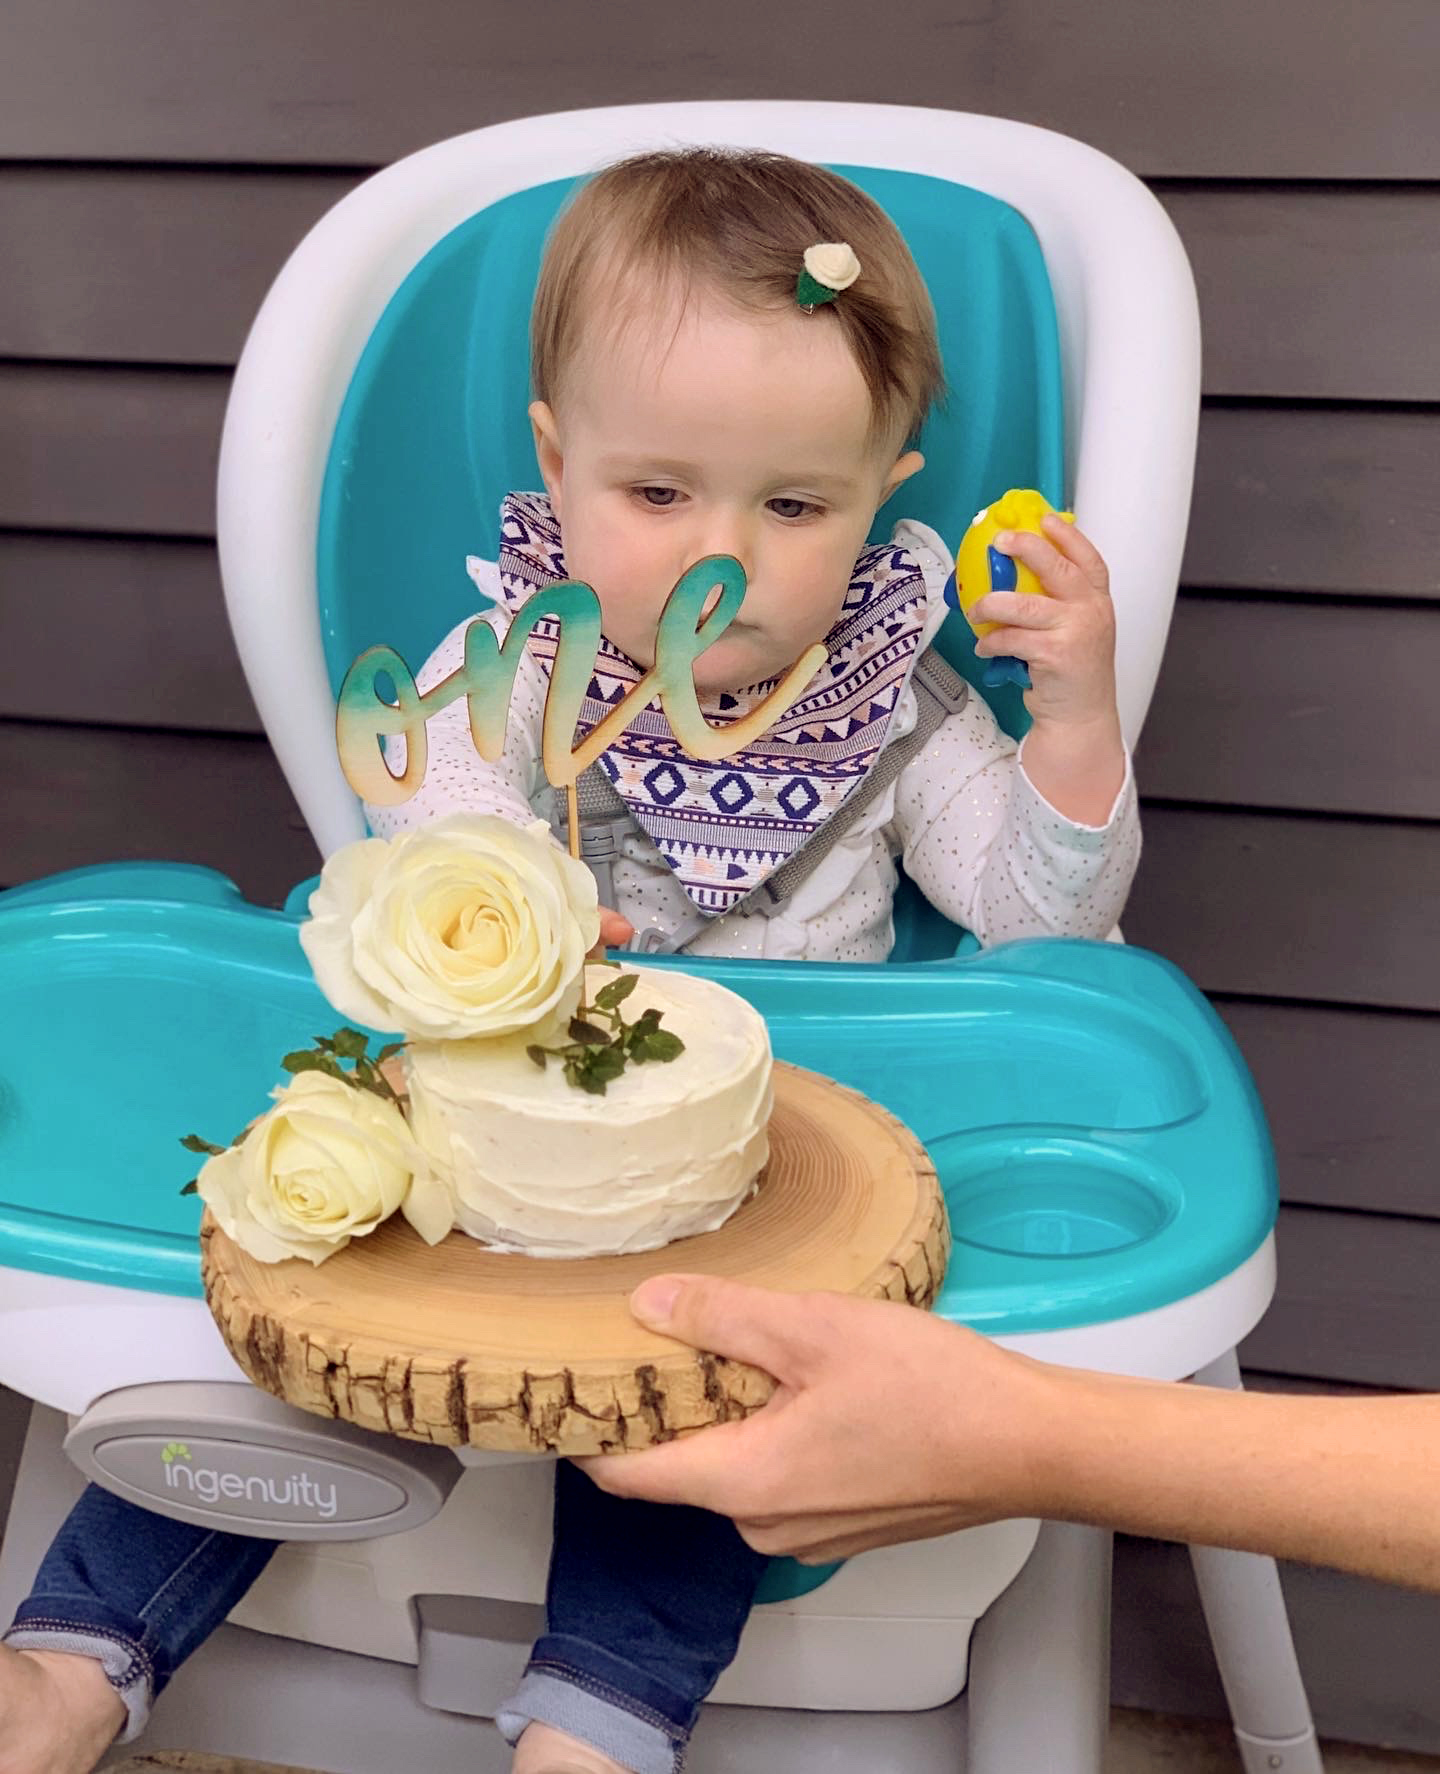
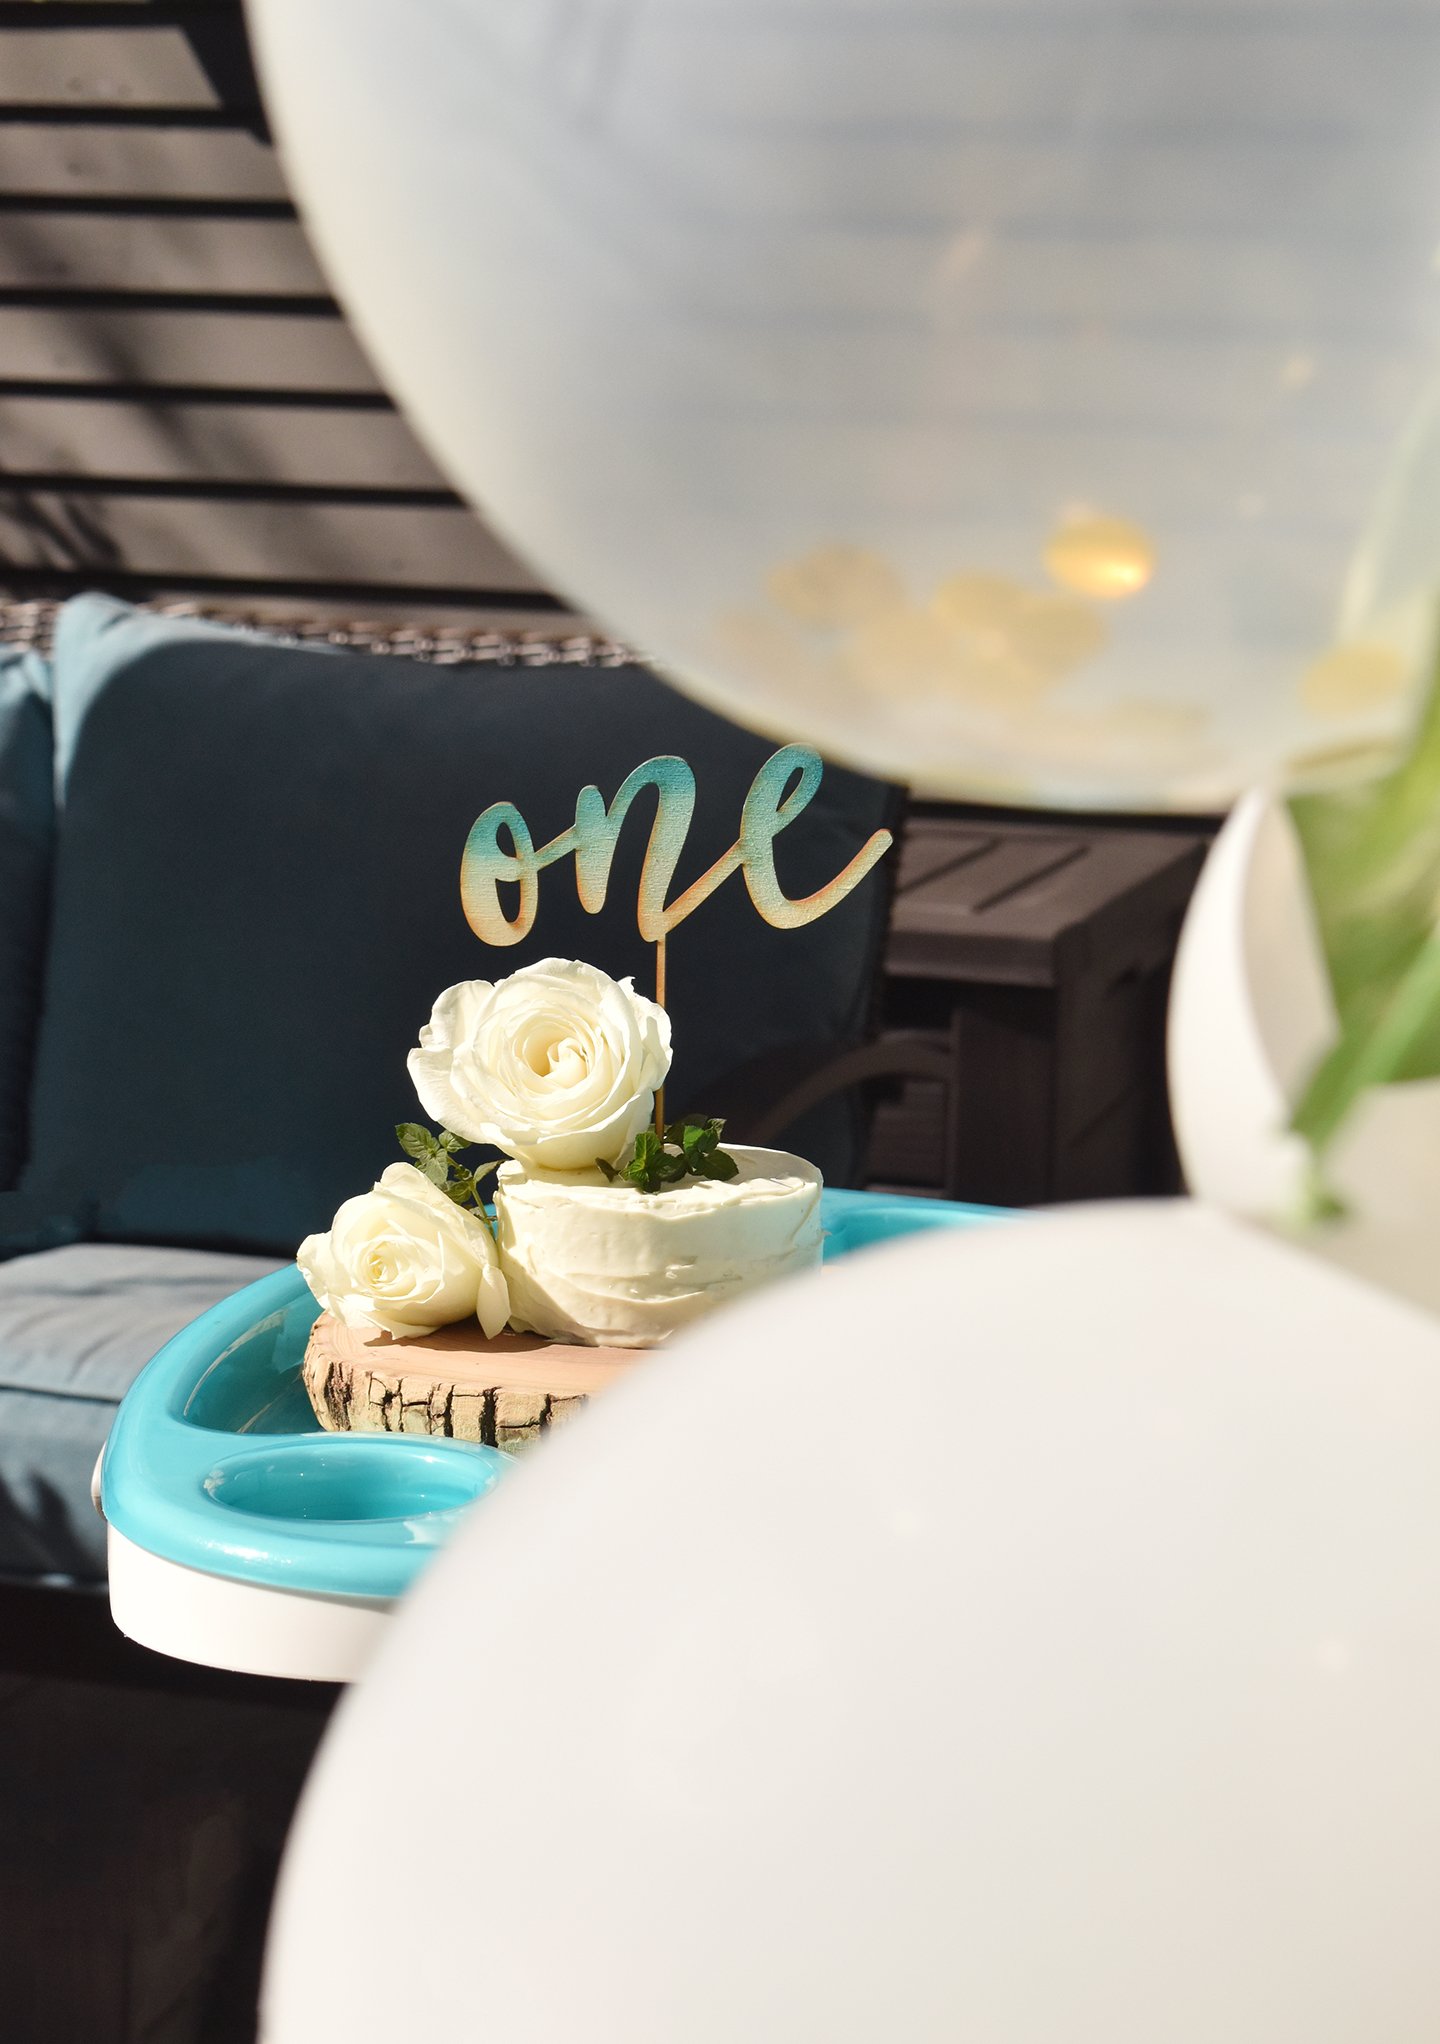
I used the same ombré technique on this beautiful cake topper that CraftCuts made for me. It added a fun typographical touch to the little smash cake (which she didn’t end up smashing haha).
I was a bit bummed that we couldn’t have all of our family and friends over to mark the occasion, but we were able to chat with everyone on Zoom. And I really do think that decorating helps to make any occasion feel more special, which is even more important these days. I’ll be sharing more about the party soon… so stay tuned!
If you’d like more wood-related DIY inspiration, be sure to check out these other projects.
This post was created in partnership with CraftCuts.
Thanks for supporting the brands that keep Design Fixation online!