This post may contain affiliate links. This means that if you buy the cool stuff I recommend, I earn a small commission (but you still pay the same price). Thanks for helping me make a living doing my dream job!
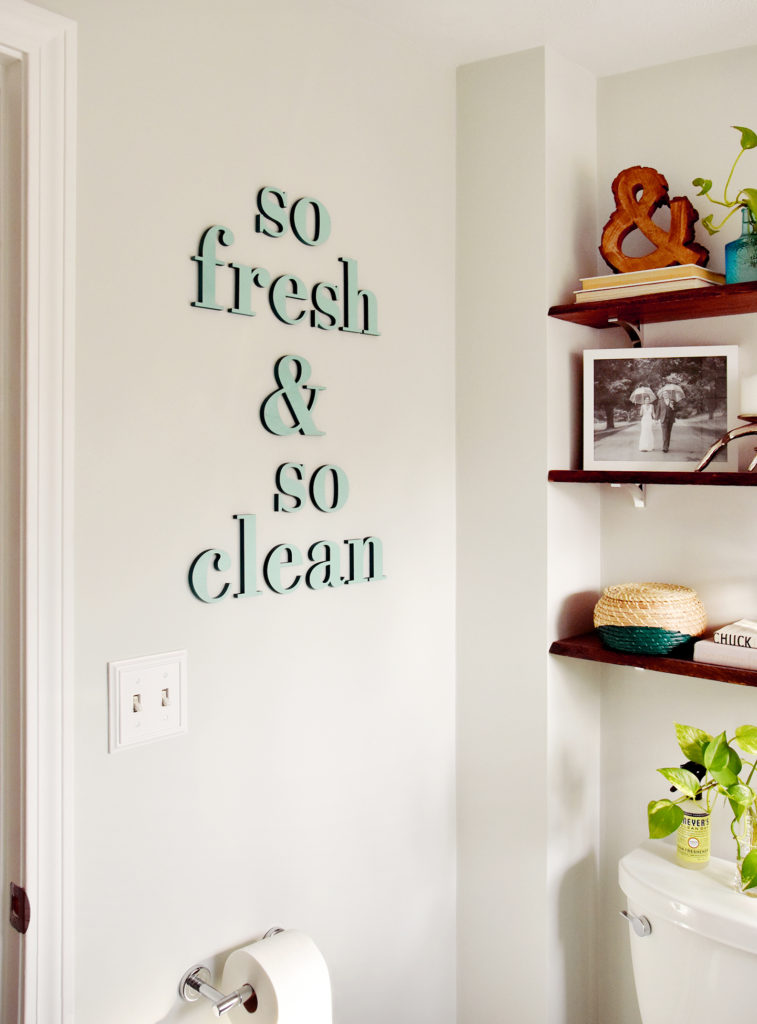
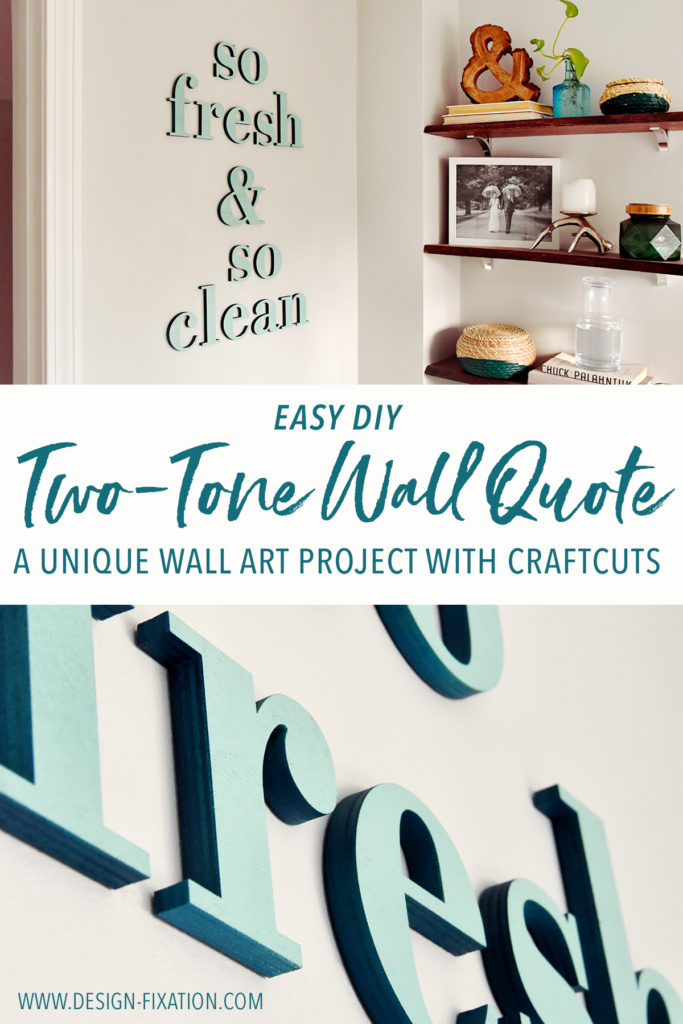
If you know me, you’re probably aware that I have a bit of a fixation with lettering. I studied graphic design at Skidmore College, so typography has been an interest of mine for almost two decades… but ever since I started getting into DIY home decor many years ago I’ve loved combining the two. Which is why I’m so pumped about today’s project, this quote wall art made out of two-tone wooden letters. And here’s the best part – there’s no taping required to mask off the spray paint! Click through to check out my easy trick.
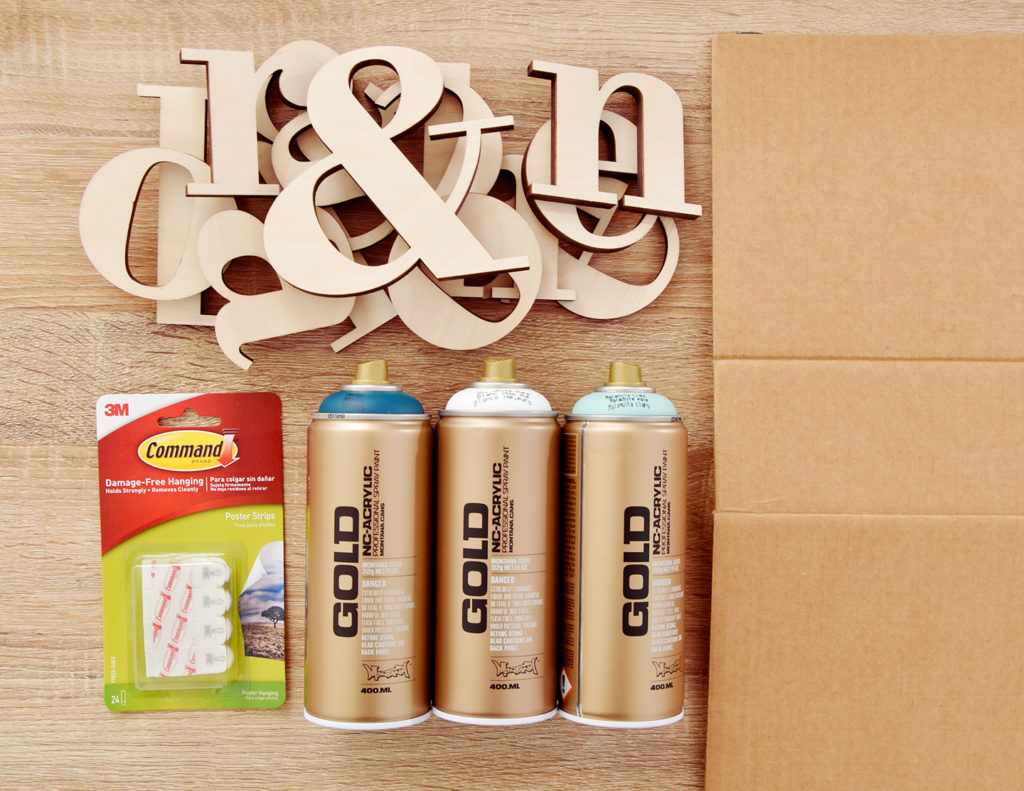
Here’s what you’ll need for your quote wall art:
- CraftCuts Unpainted Letters [Bodoni Bold Libre Font, with template]
- Montana Gold spray paint in at least two colors
- Command Poster Strips
- Scrap cardboard
- Pencil (not pictured)
- Tape to hold up the template (not pictured)
- Level (not pictured)
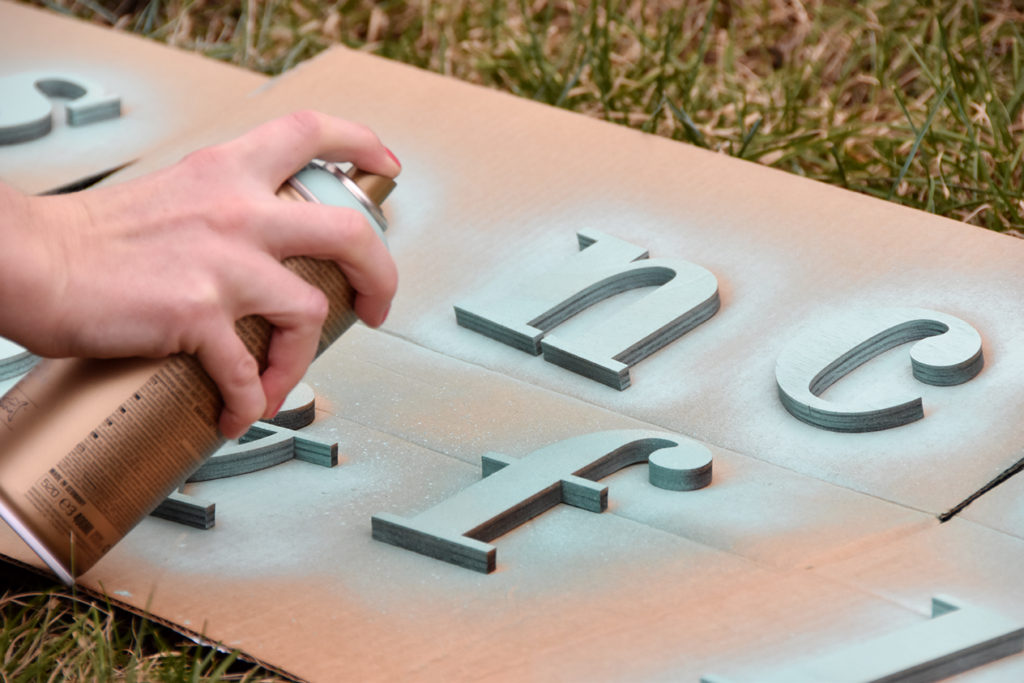
Step 1: Paint The Front of the Letters
The first step is to paint the fronts of the letters. Use multiple thin coats of spray paint (I like the Montana Gold brand the best, it is far and away the best spray paint I’ve ever used). Let the letters dry thoroughly.
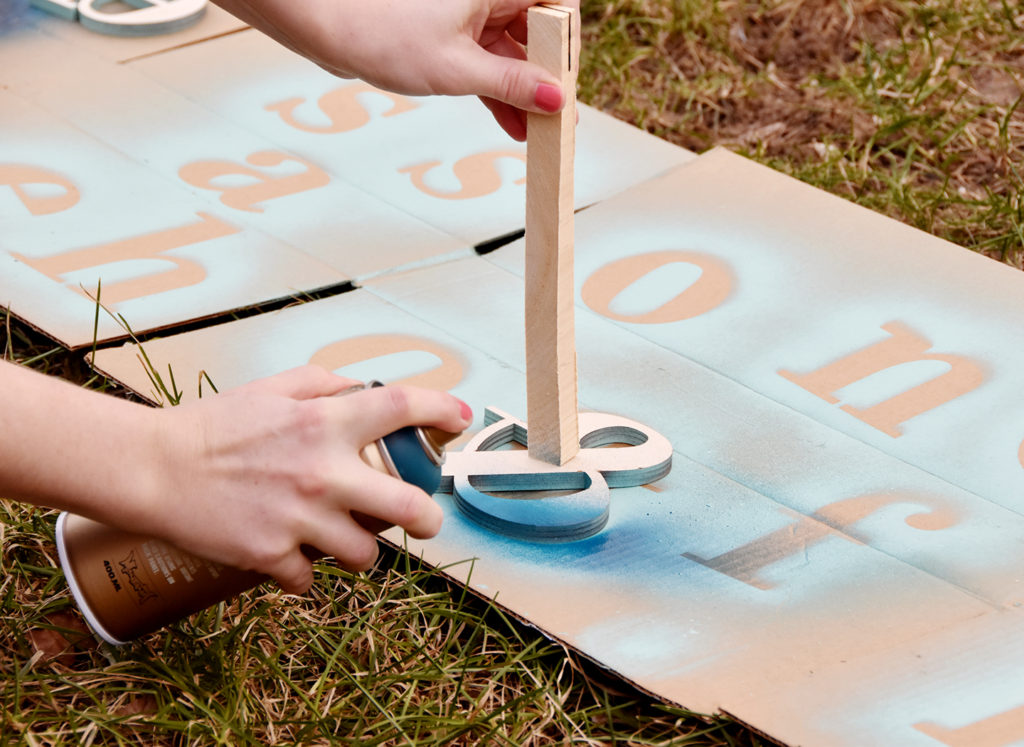
Step 2: Paint The Edges of the Letters
Next, flip the letters over so the fronts are laying face-down (and perfectly flat) on the cardboard. Use a piece of scrap wood or other implement to hold the letter in place, and spray the edges of the letters in the contrasting paint color. When you flip them over later, they’ll be perfectly painted with two tones – no painter’s tape required!
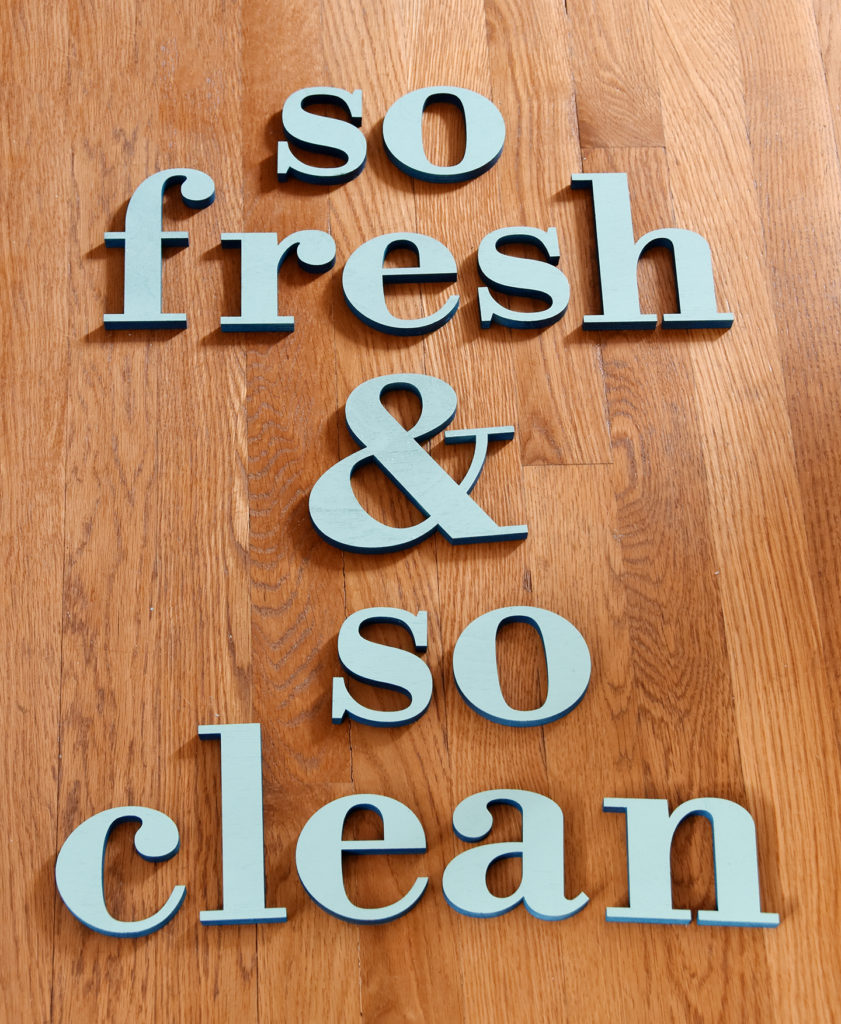
Step 3: Decide On Your Layout
Once your letters have dried thoroughly, lay them out on the floor in the arrangement that you’d like to use on your wall. Play around with them until you find something you like.
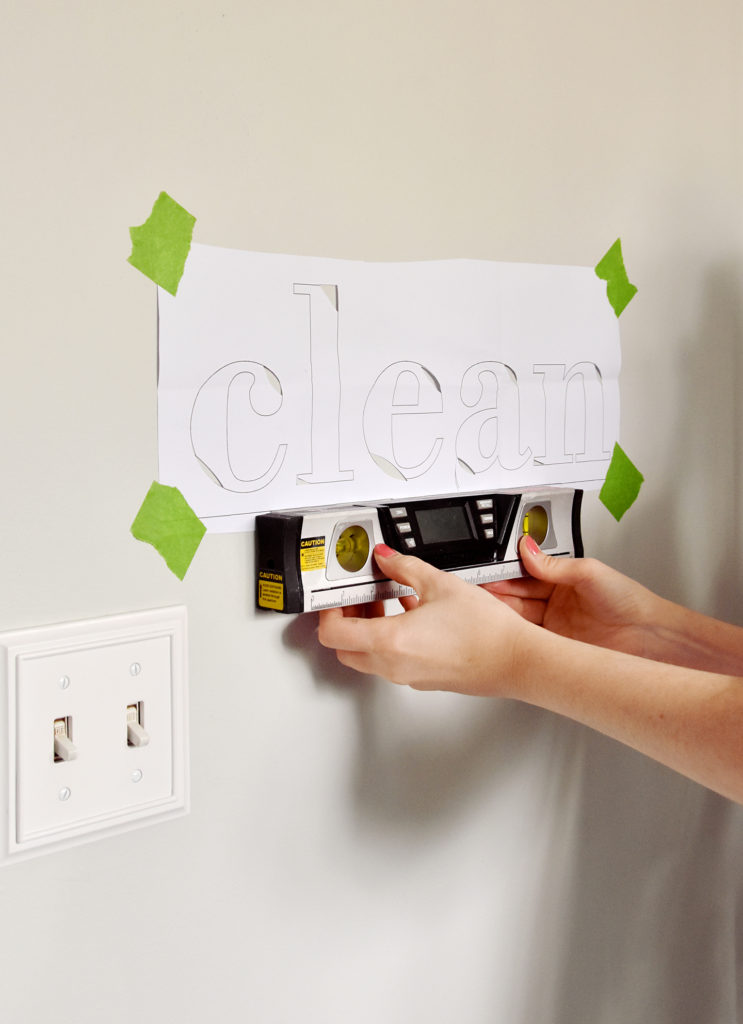
Step 4: Prepare The Template
CraftCuts makes it easy on you by giving you the option to use a mounting template. The template phrase will come in one long line, so cut the template words apart as needed, making sure to leave the leveling line intact (extend it with a ruler and pencil if necessary). Tape each word to the wall in its proper place, making sure to level each one.
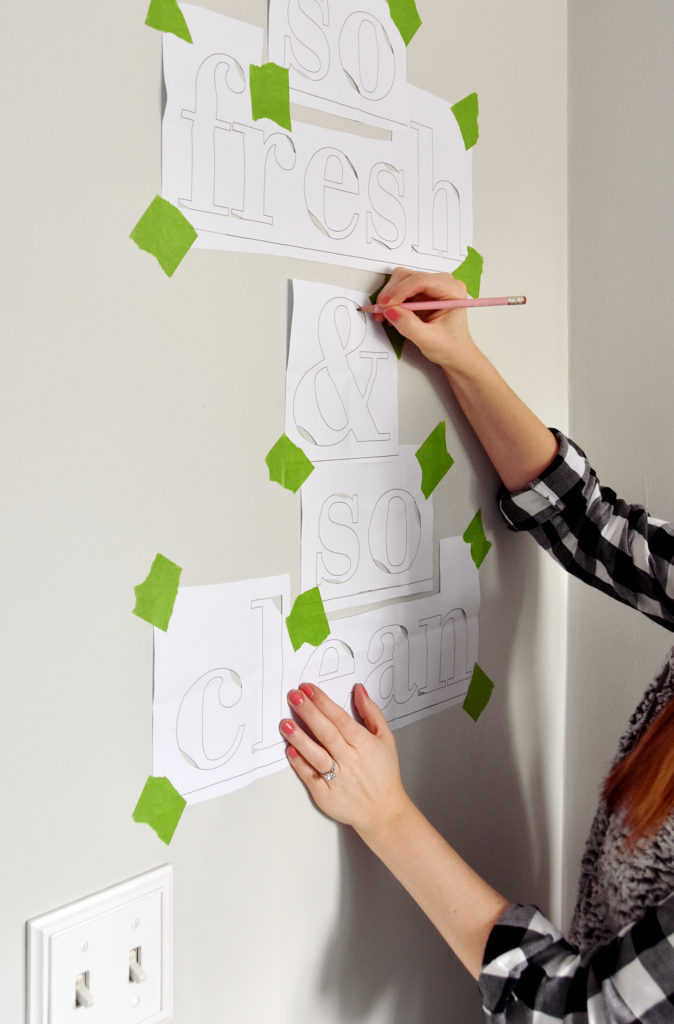
Step 5: Trace Around The Precut Holes
The template has precut holes in the edges of each letter so that you can mark their placement. Use a pencil to lightly trace around each hole.
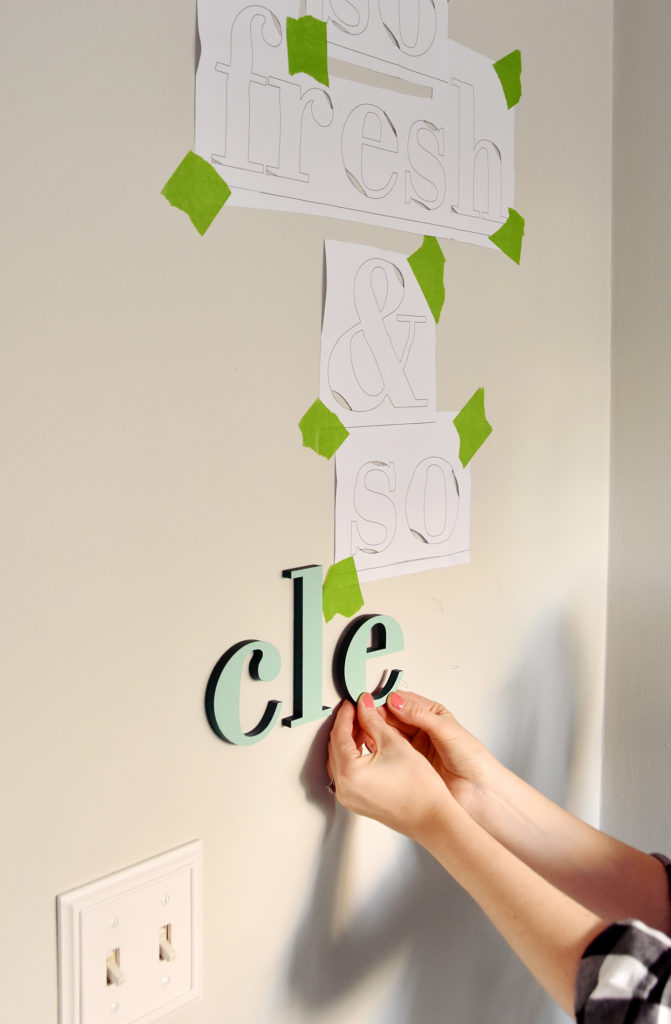
Step 6: Mount Your Quote Wall Art
Put one Command Poster Strip on the back of each letter. Remove one word template from the wall and attach the letters in its place. Press down on each letter to make sure it stays firmly attached to the wall. Repeat the process with the rest of the words.
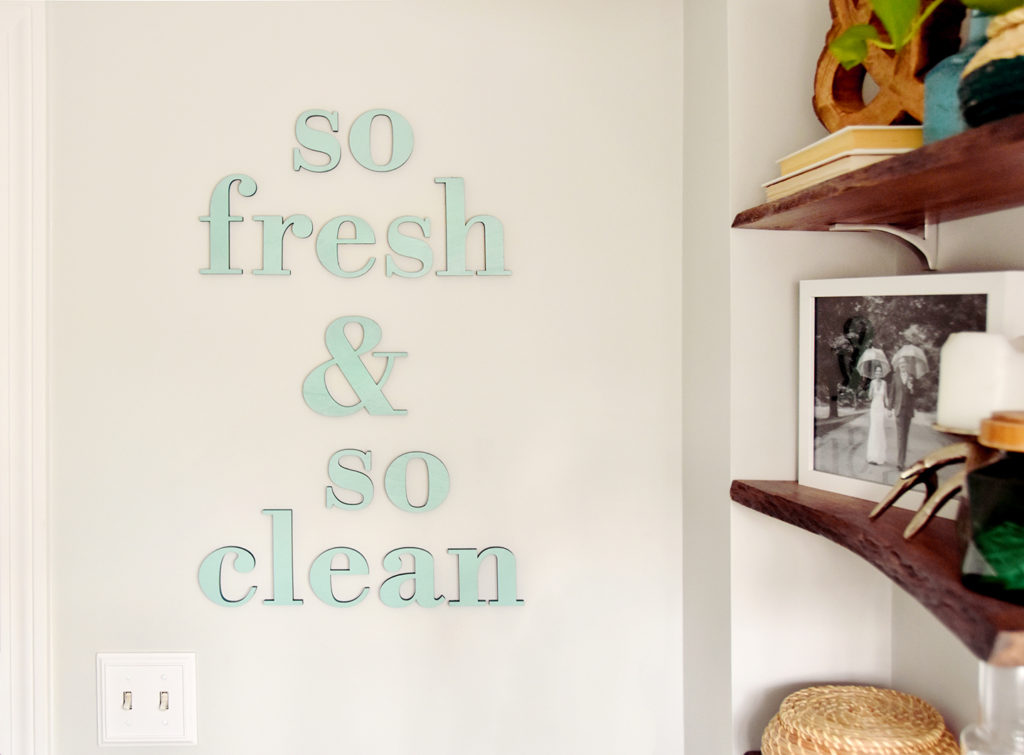
And your wooden quote wall art is complete! Easier than you thought, right? I love how unexpected it feels in our newly-renovated bathroom… you don’t even notice it until you’ve walked all the way into the room (not that it’s very a very big space lol 🙂 ).
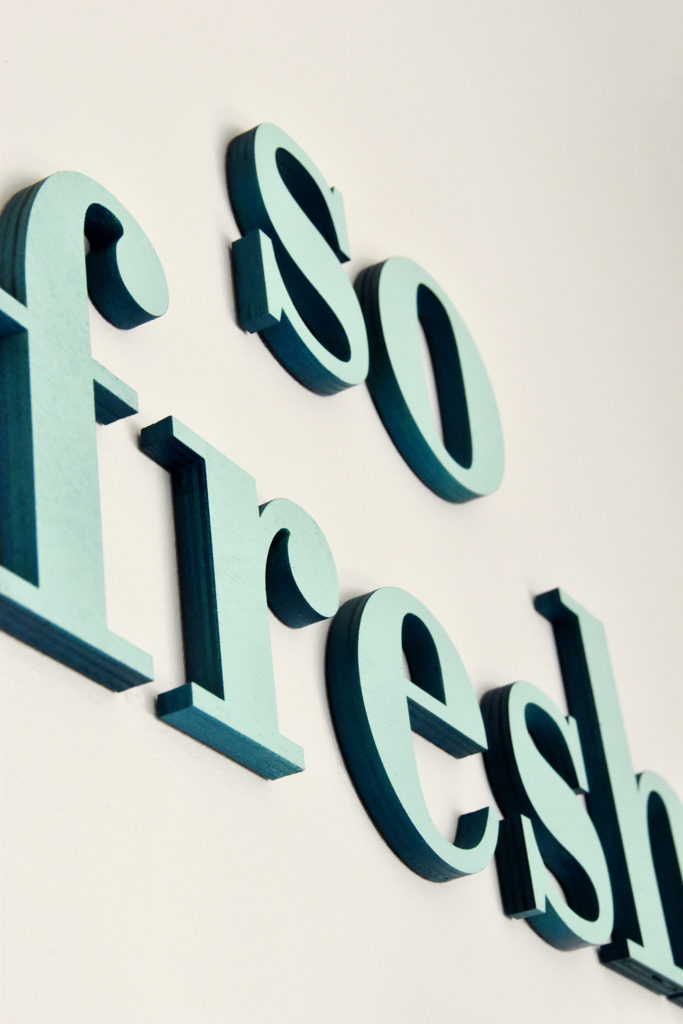
The two-tone look really makes the quote stand out, and adds a little pizzazz. It’s one of those touches that I think makes things look much more finished and professional.
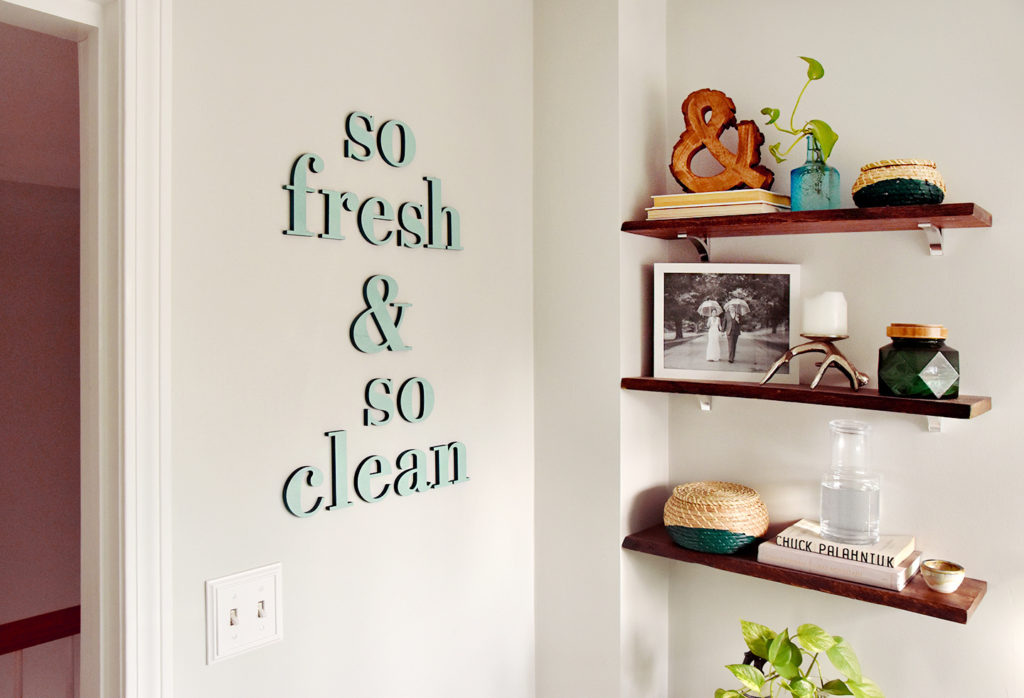
CraftCuts has a wide variety of different fonts, and you can do any word or phrase you like! They have different materials to choose from as well… I think it would be fun to do our last name for the entryway, or it could be fun to do a first name in your little one’s nursery. So many options!
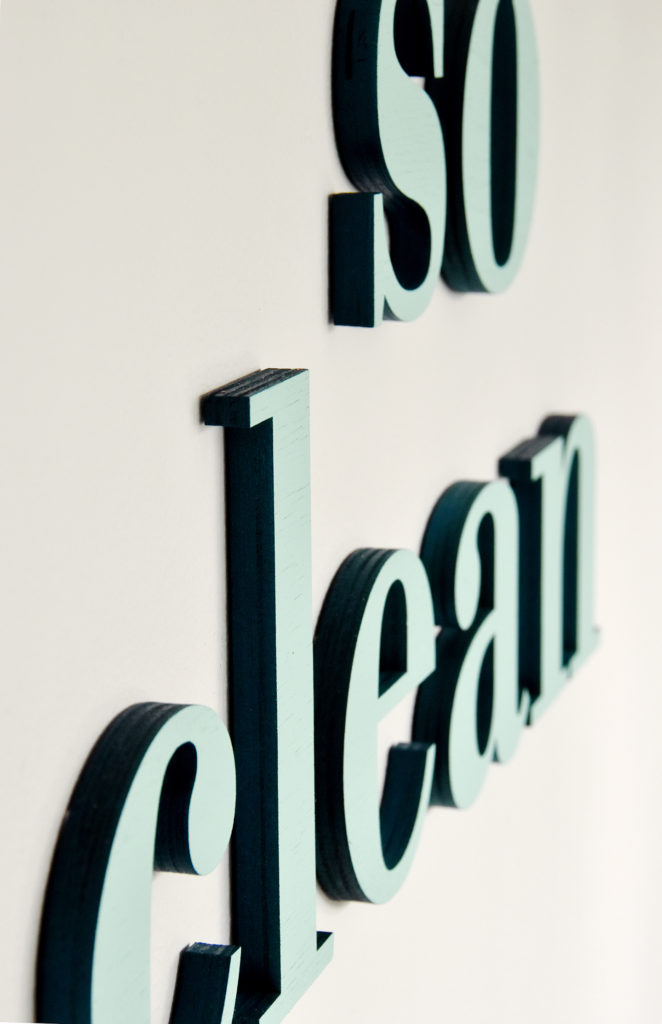
Pop over to their website to check out everything they have to offer. Thanks for reading friends, hope this project inspires you to add some fun words and phrases to your home!
This post was created in partnership with CraftCuts.
Thanks for supporting the brands that keep Design Fixation online!

Comments are closed.