
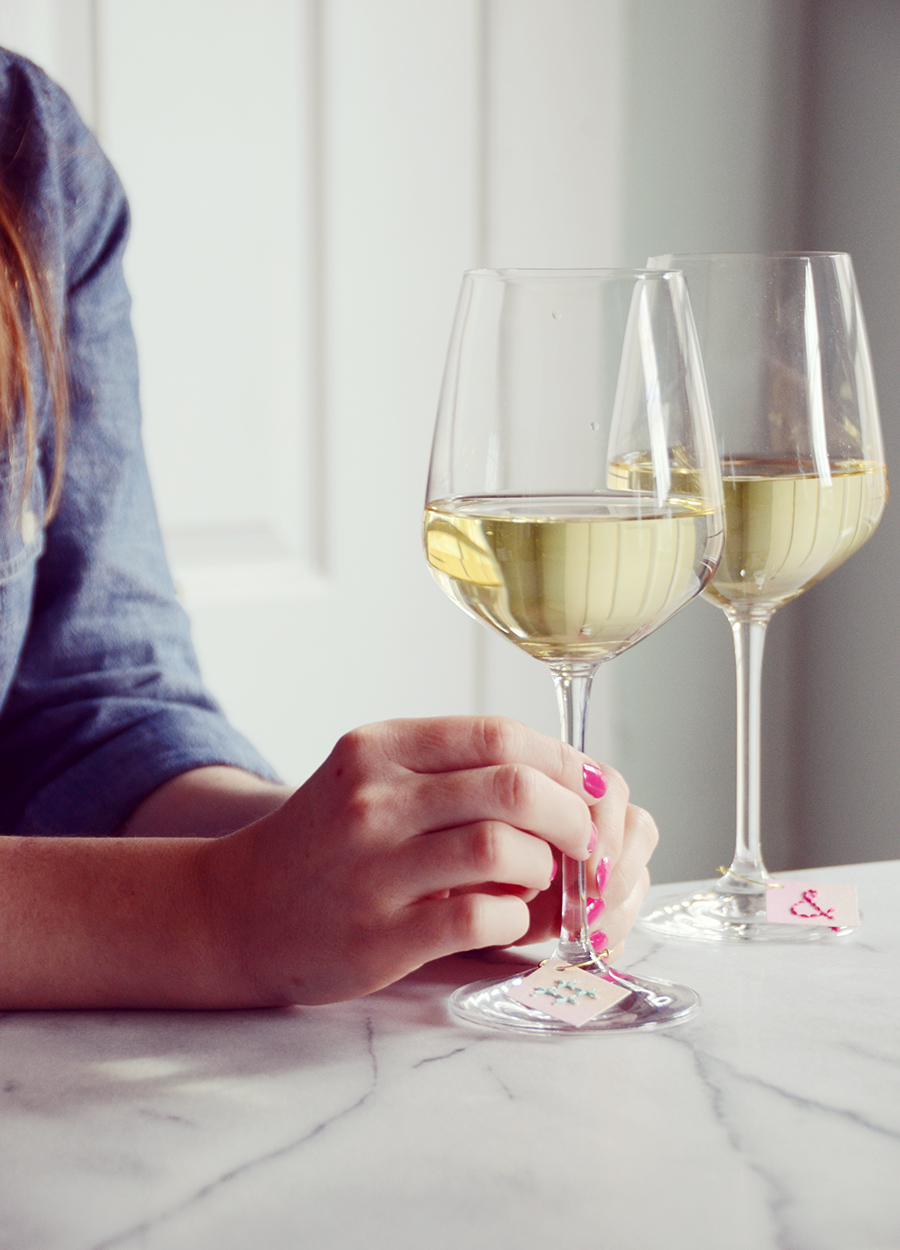
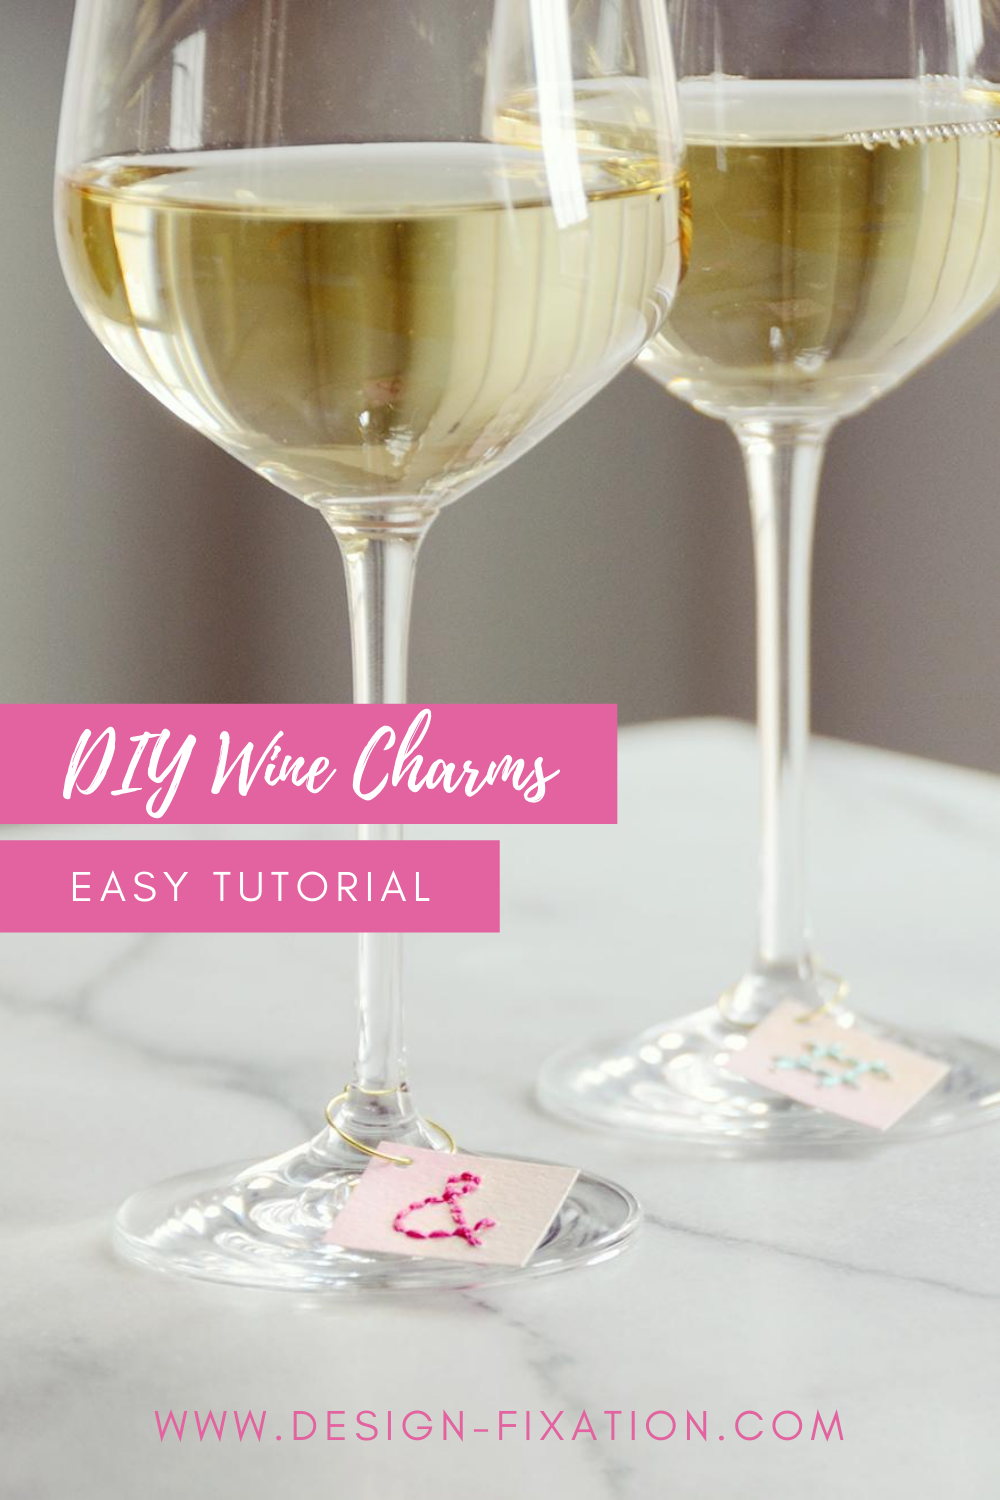
If you like to host dinner parties or have the girls over for rosé all day, then you probably have a set of wine charms on hand to dole out as you serve the vino. Add to your collection with these colorful stitched paper DIY wine charms. They’re easily customizable, and oh-so-pretty.
I made little kits with the materials and instructions for this project and handed them out at Alt Summit along with my business cards a few weeks ago, and they were a hit. Hope you guys like them as much as all my new blogger friends did! So here we go.
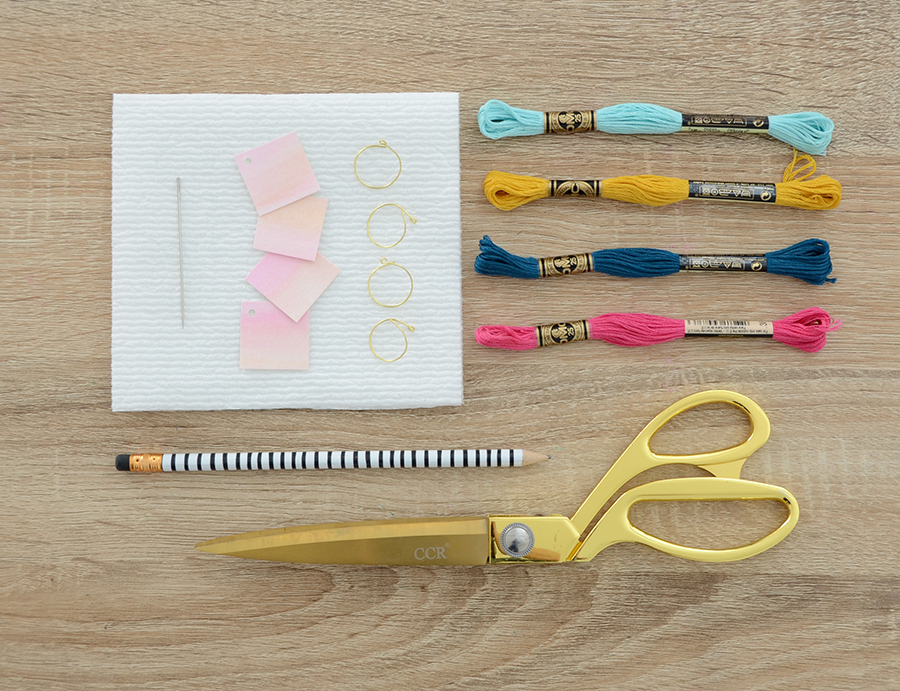
Materials For Your DIY wine charms:
- Embroidery floss
- Watercolor painted paper squares
- Wire earring hoops
- Embroidery needle
- Paper towels
- Pencil
- Scissors
- Hole punch (not pictured)
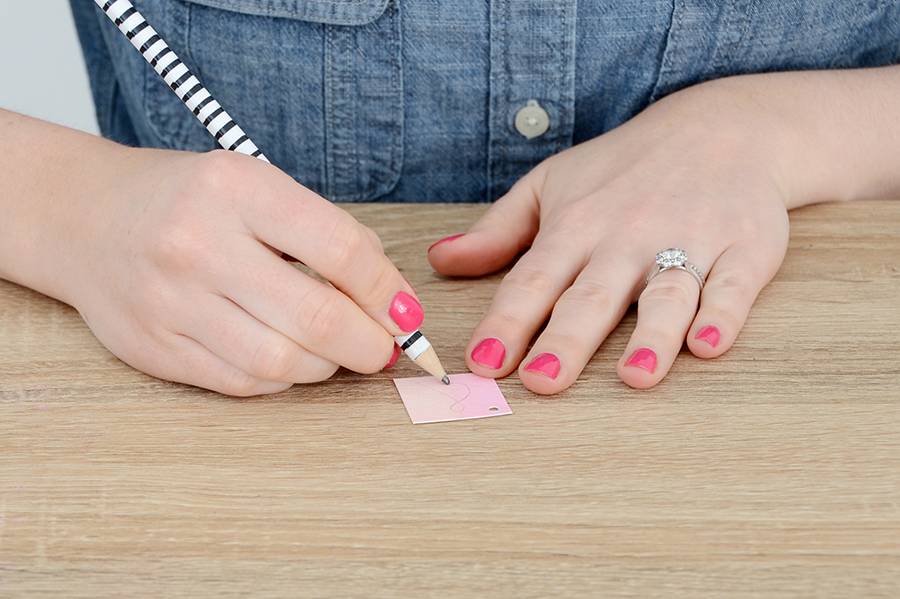
Step 1
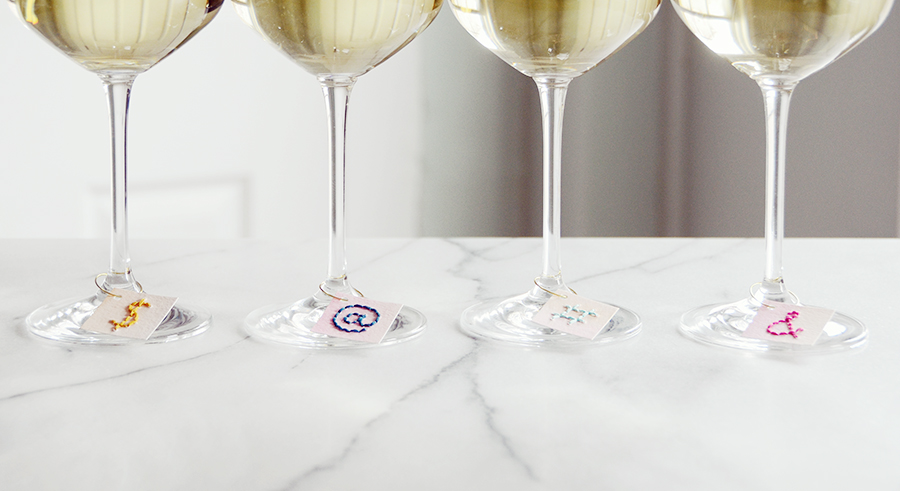
Begin by painting a piece of thick watercolor paper with a watercolor wash. Let it dry, and then cut out one inch squares and punch holes in the corner. Use a pencil to lightly draw a symbol on one of the paper squares. I used an ampersand, a hashtag, an “at” symbol and a dollar sign.
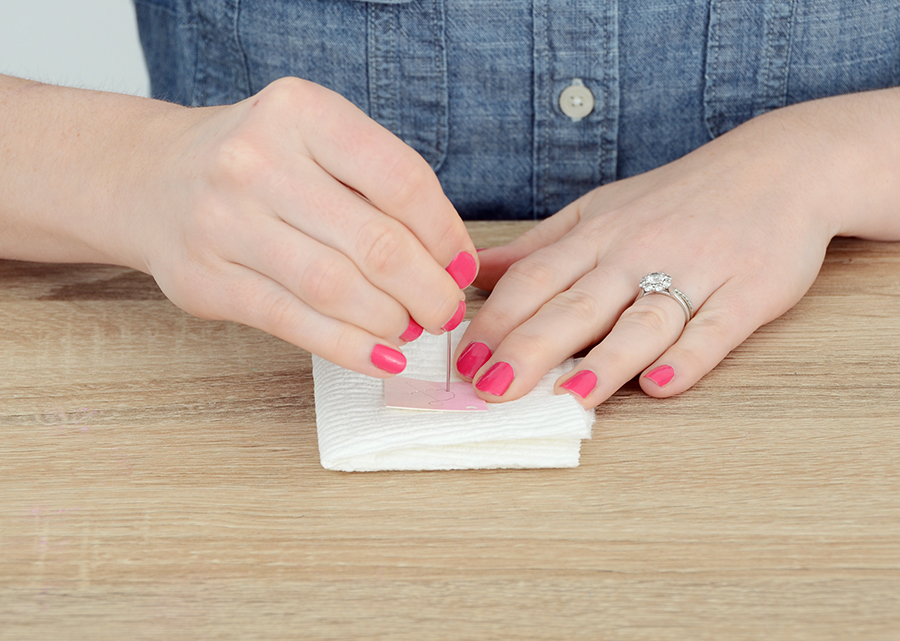
Step 2
Next, fold up a paper towel four times and place the square on top of it. Use the needle provided to poke holes along your pencil line, every 1/8 inch.
Step 3
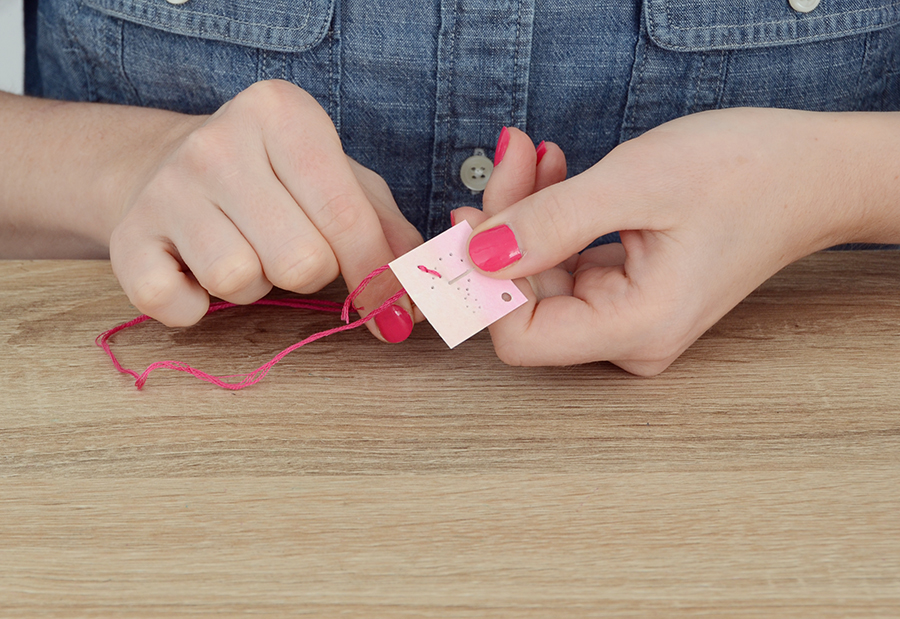
Thread your needle with a piece of embroidery floss and knot the end. Begin stitching through the holes using a classic backstitch – this means that you will make one stitch forward, then on the back side you’ll poke it through the next hole and then back down through the previous one. Here’s a great diagram. Repeat this until you’ve gotten to the end of your symbol.
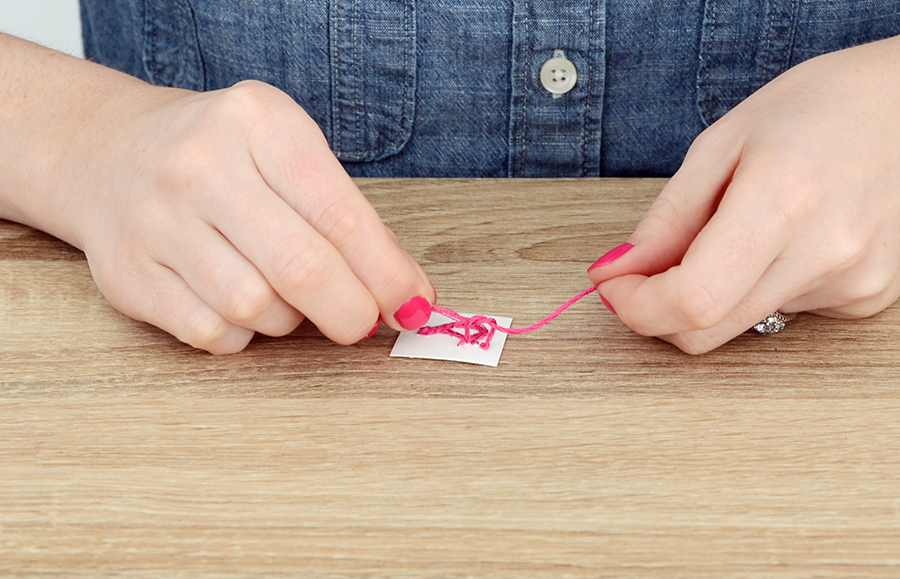
Step 4
Tie the two tails together and trim the ends. Last, bend the end of the wire hoop outwards just a bit using the edge of your scissors and insert the wire through the hole on the paper square. Repeat the whole process on the other squares, and you’ll have a stylish set of wine charms for your next dinner party!

The end result is unique, colorful and fun… everything you’d want in a set of wine charms. You can get creative with the shapes and symbols too – you might consider using a punch to cut out round shapes or stitch letters or numbers. The sky’s the limit!
Interested in more DIY wine accessories? Check out my leather tassel DIY wine charms and my tassel wine stopper.
Comments are closed.