This post may contain affiliate links. This means that if you buy the cool stuff I recommend, I earn a small commission (but you still pay the same price). Thanks for helping me make a living doing my dream job!
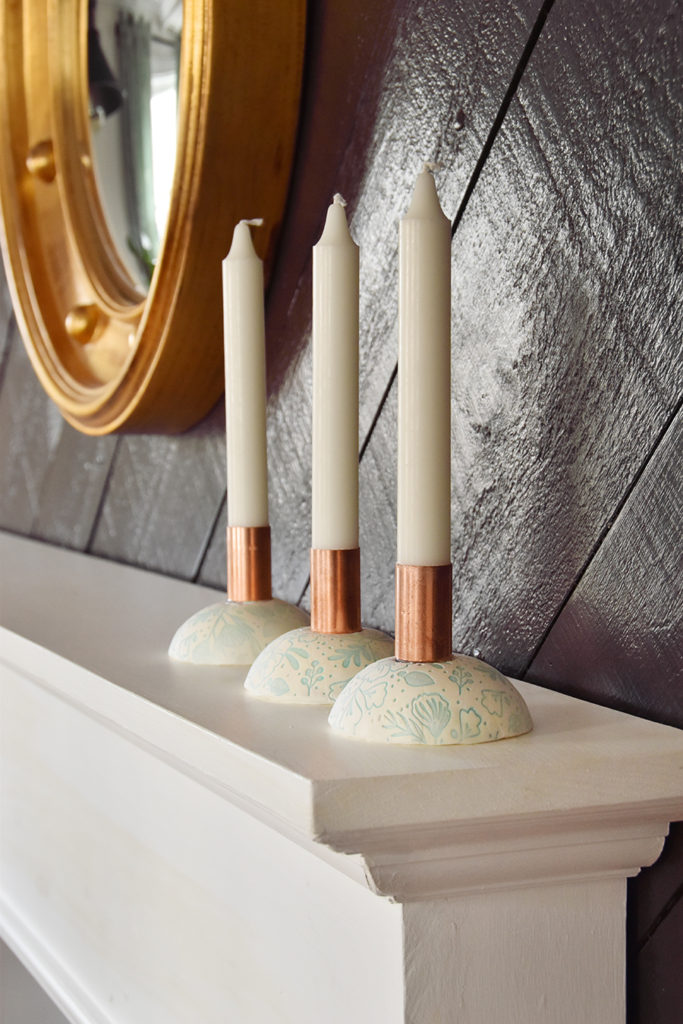

Today I have another DIY for you… and this is a special one. It’s part of a blogger project called the Make It Challenge that focuses on clay – and you won’t believe how different all of the gorgeous creations came out! Don’t miss them down at the bottom of this post. I decided to make a set of clay candle holders using a printed clay technique which I combined with copper pipe pieces. And they were surprisingly easy to make! Keep reading to check out the full photo tutorial.
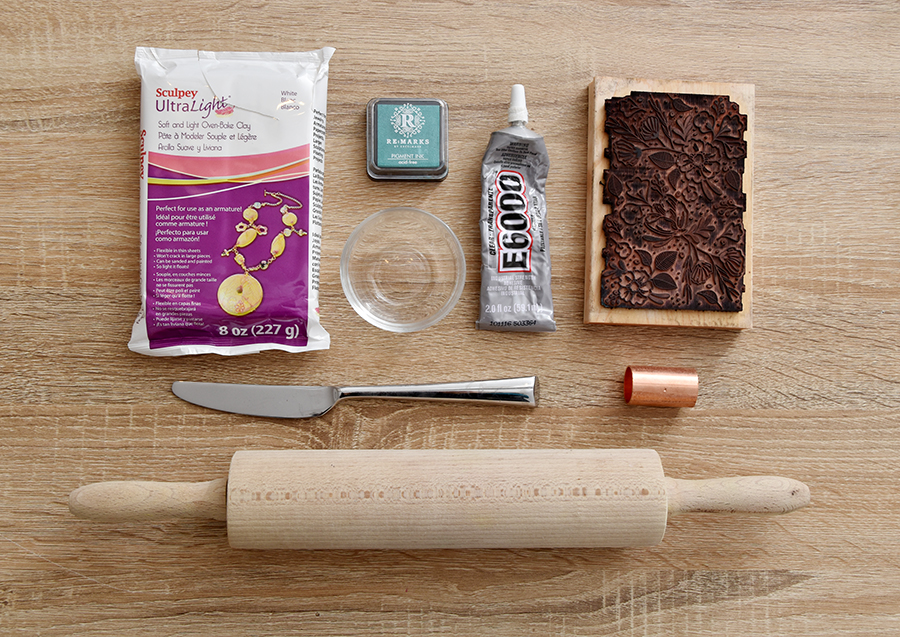
Materials For Your Clay Candle Holders
- Sculpey UltraLight Clay
- Large rubber stamp
- Stamping pigment ink
- E6000 Adhesive
- Glass nesting bowls to use as guides
- Butter knife
- 1″ copper pipe coupling
- Rolling pin
You guys, let me start by saying that this UltraLight clay is incredible. It’s so much more pliable than regular polymer clay and it’s much lighter weight too… which is important for certain projects.
Step 1: Roll It Out
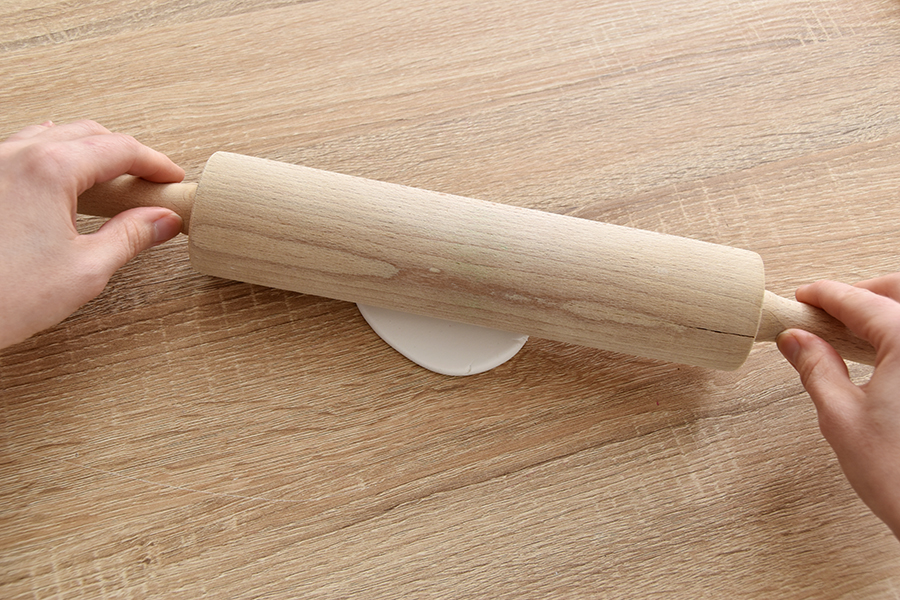
Begin by flattening a piece of clay using a rolling pin until it’s about about a quarter inch thick. This will be super quick and easy if you’re using the UltraLight clay!
Step 2: Mark The Edge
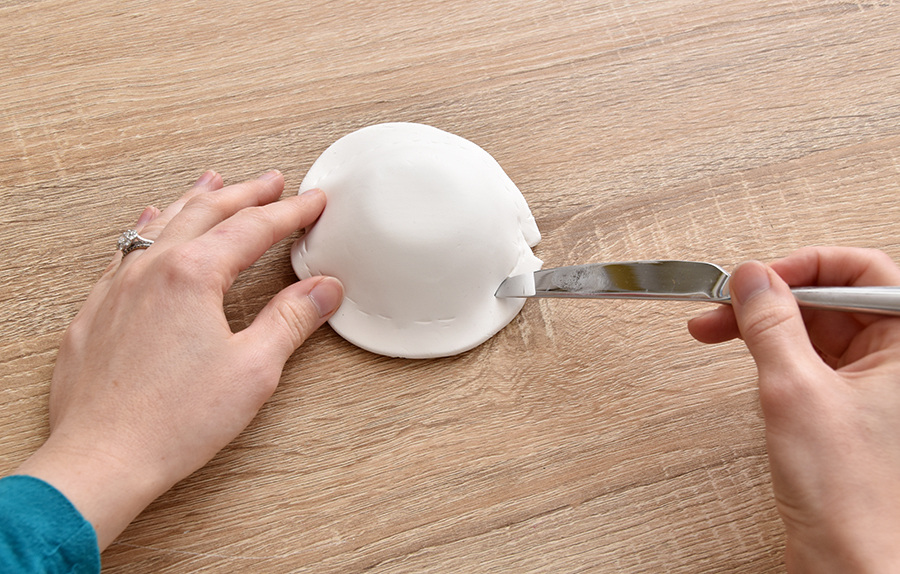
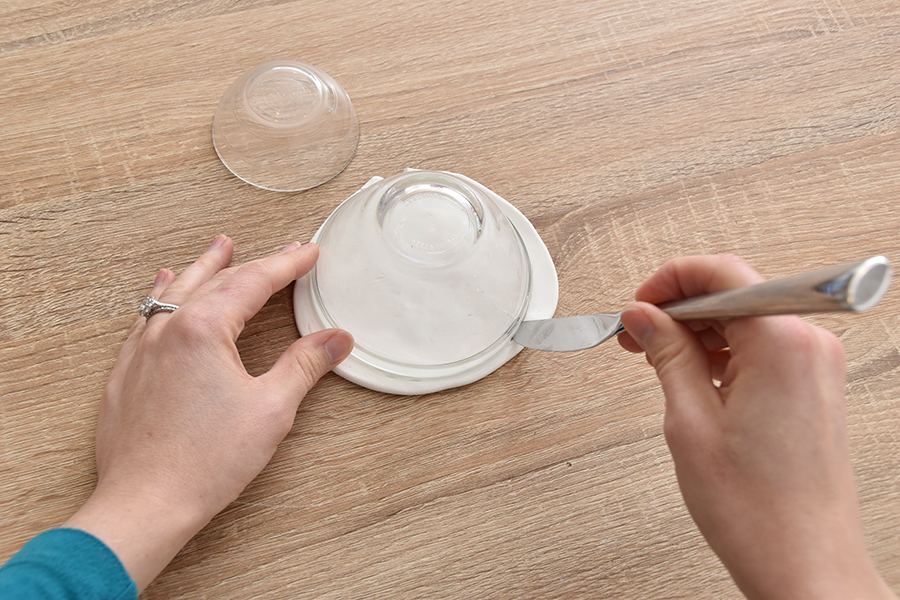
Next, place the clay slab on top of a small glass bowl and gently mark the place where the bowl meets your work surface.
Step 3: Cut Out The Circle
Remove the slab from the small glass bowl and use a larger one that matches the circle that you just marked off as a guide to cut a circle.
Step 4: Clean The Stamp
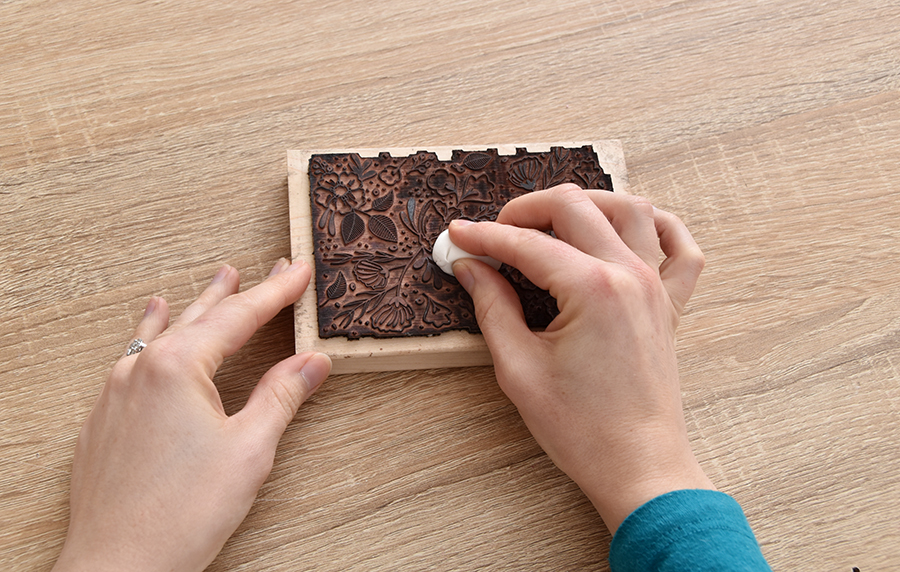
Next, clean off your large rubber stamp. Soak it in soapy water and scrub with a rag, then remove ink from inside the crevices by dabbing a small piece of clay over the surface.
Step 5: Ink The Stamp
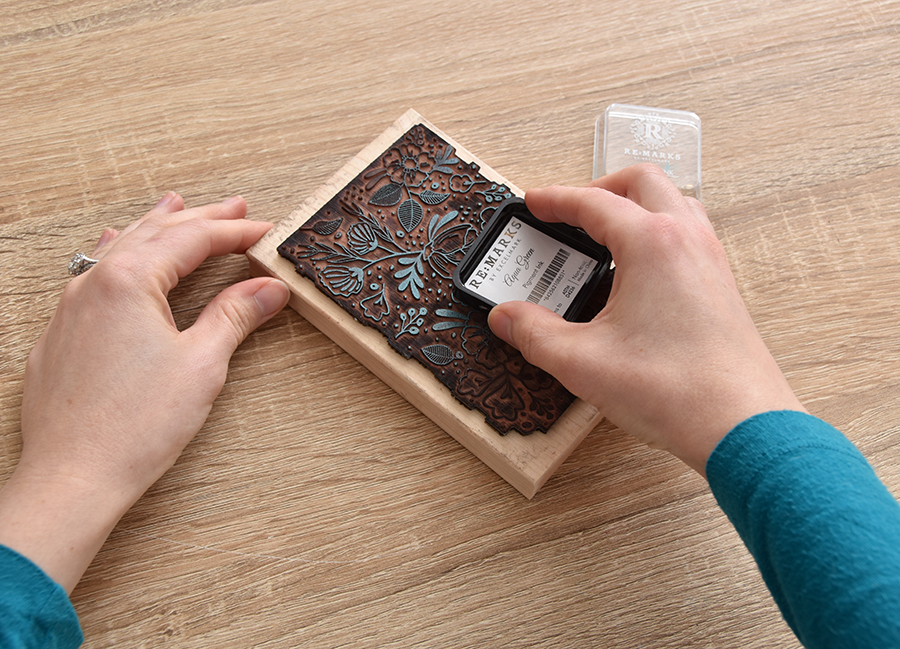
Apply ink to the surface of the stamp, making sure that the entire pattern is covered.
Step 6: Stamp The Clay
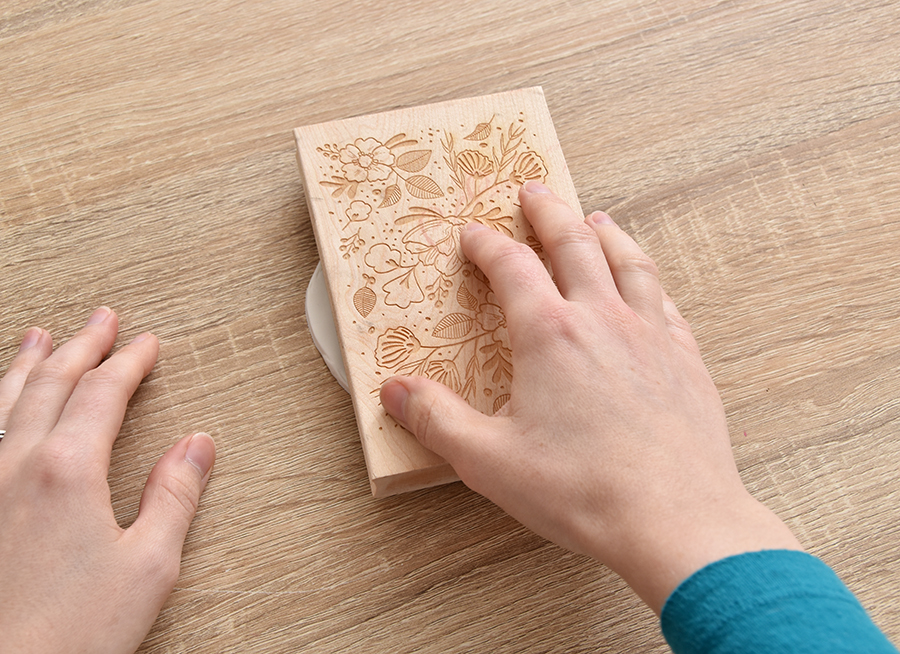
Gently press the stamp down onto the clay. If it doesn’t quite reach across the entire piece of clay, re-ink it and press it down again over the spot that’s unstamped.
Step 7: Shape The Clay
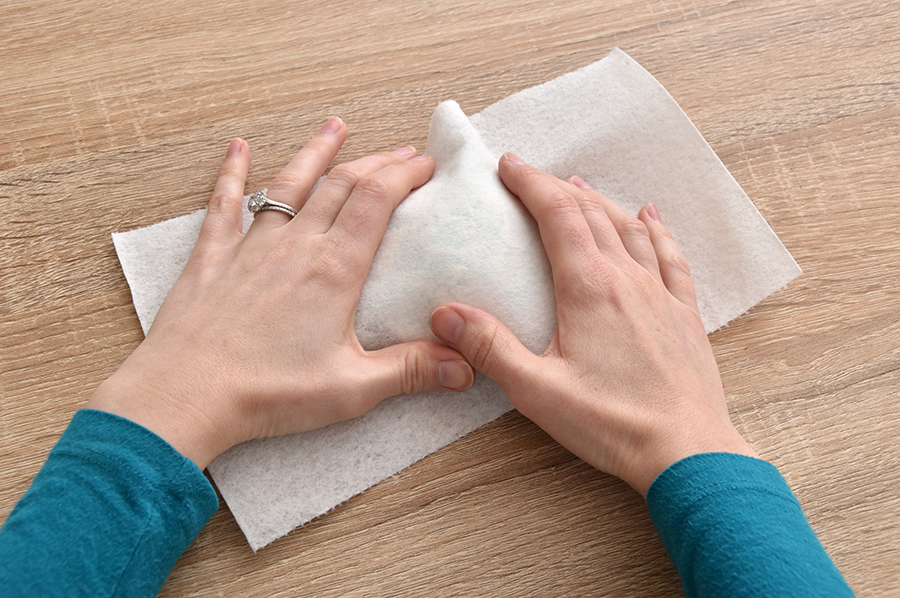
Let it dry for a half hour or so, and then place it on top of the smaller bowl and press it lightly down to form it into a dome shape again. Place a paper towel in between the clay and your hands so the ink doesn’t transfer to your hands (or back onto the clay).
Step 8: Indent The Clay
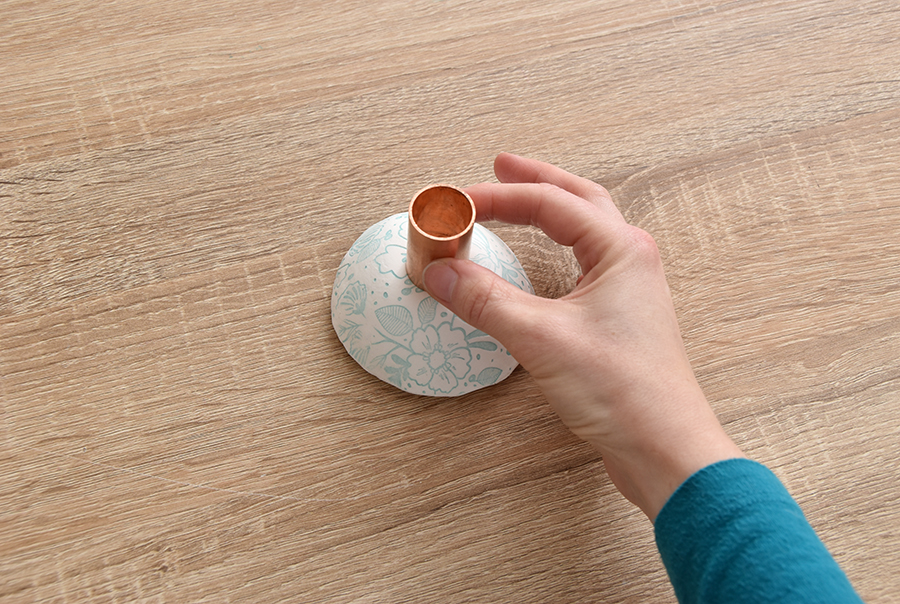
Press the copper pipe piece into the top of the clay dome so there is an indentation where it will eventually be placed.
Bake your clay dome according to the instructions on the package.
Step 9: Glue The Pipe
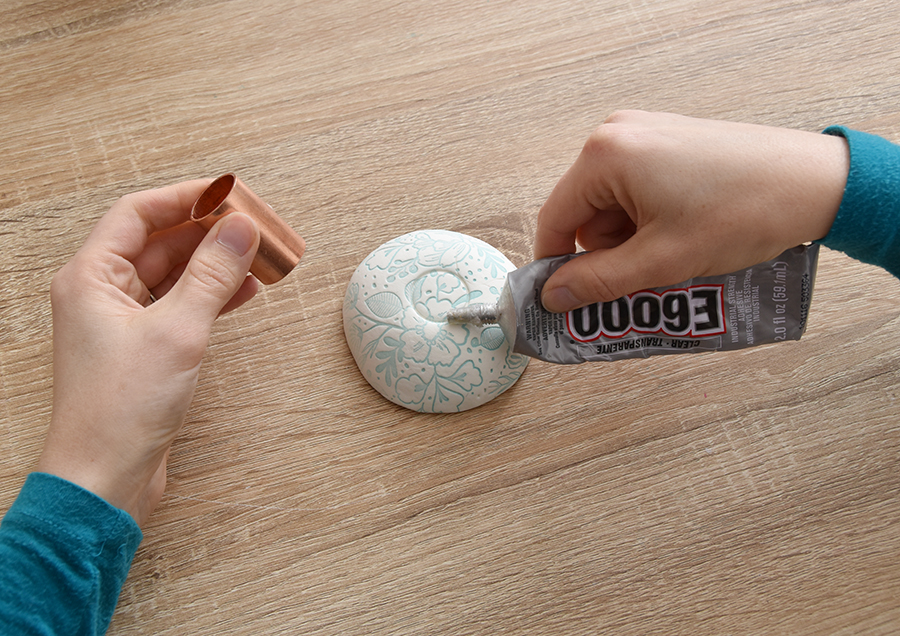
Let it cool completely, then put a ring of E6000 adhesive around the indentation and place the pipe into the glue. Put a candlestick into it while it dries to make sure that it is straight.
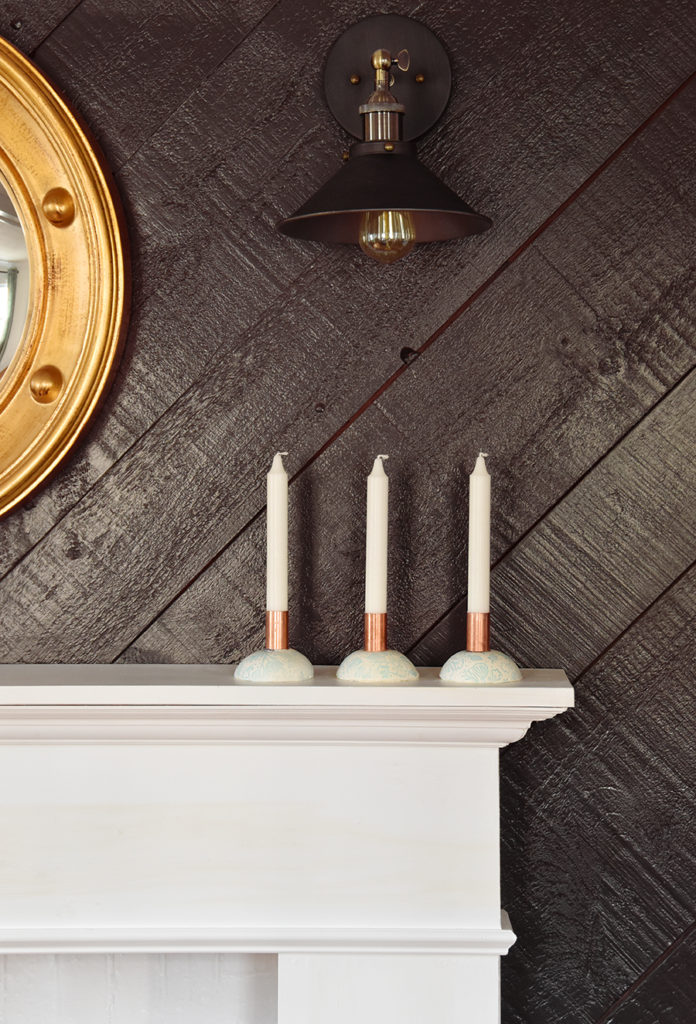
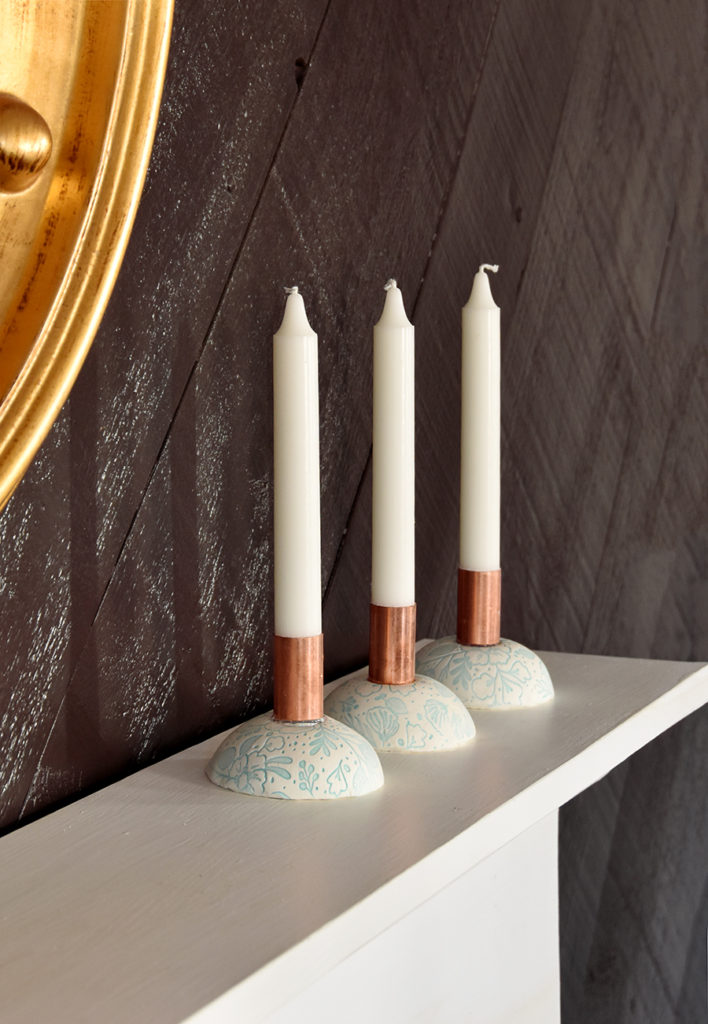
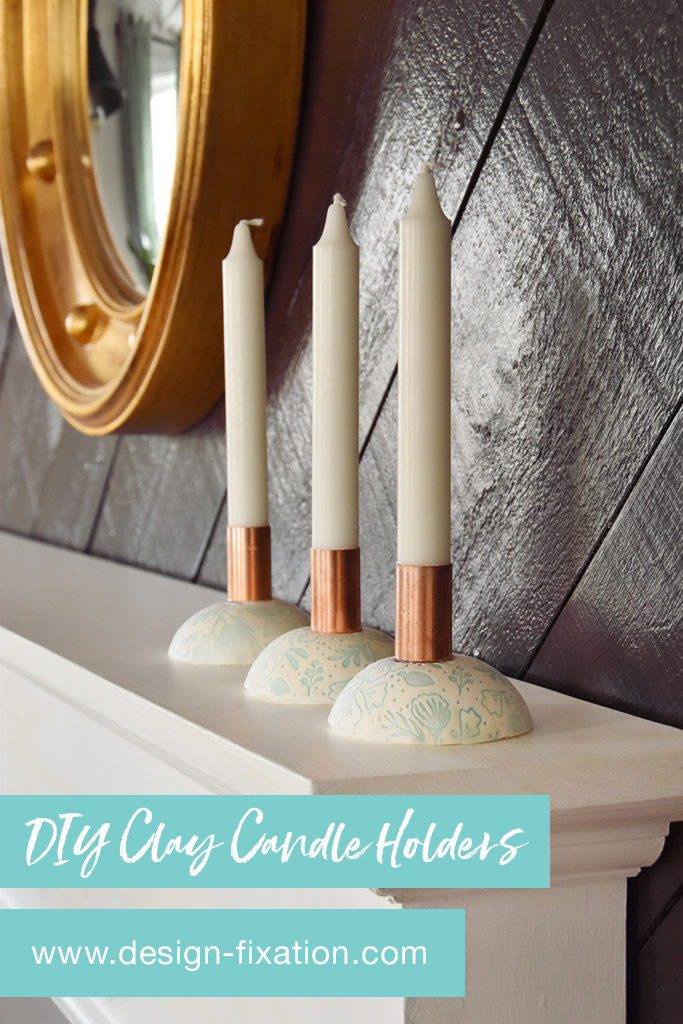
And your clay candle holders are done! The finished product is unique with its interesting patterned surface and metallic pipe couplings, yet still totally functional… IKEA Jubla candlesticks fit absolutely perfectly into the pipes!
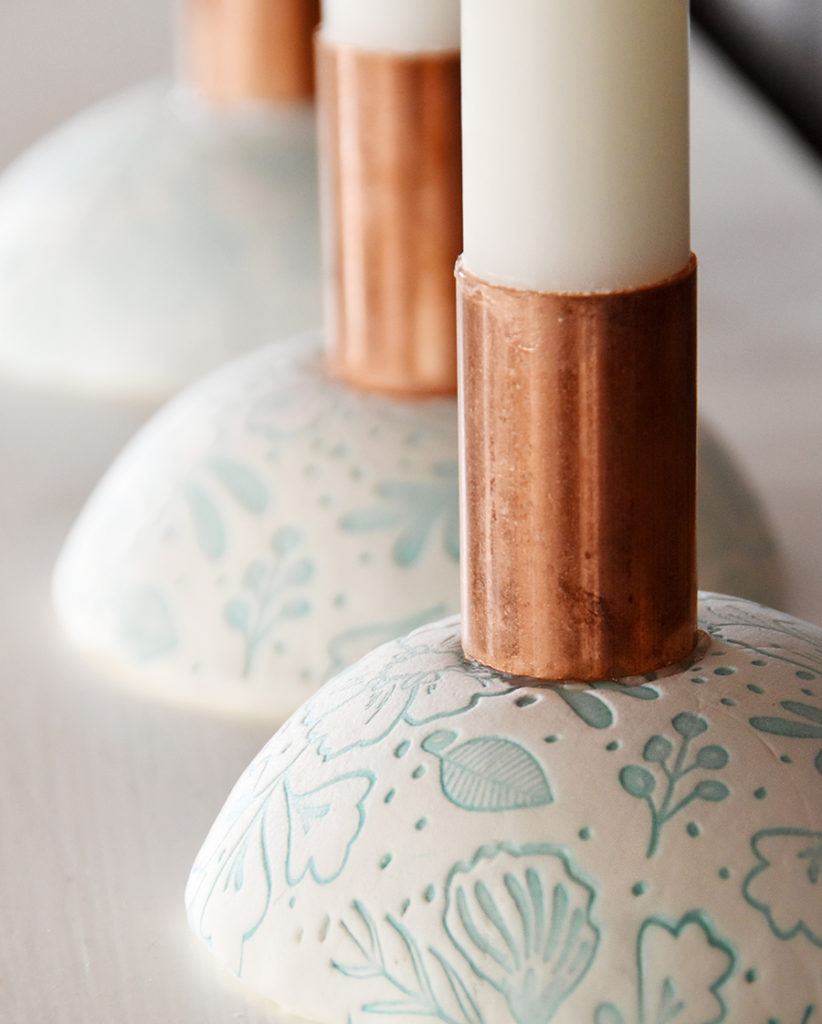
You can really get creative with the pattern, too… you could use a few different stamps and you might even try a different ink color for each stamp.
If you’d like to join in the challenge, make your own clay DIY and share it on Instagram tagged with #makeitchallenge for a chance to be featured on the Make It Challenge Community Insta page!
And now, without further adieu, it’s finally time to share all of the incredible projects from the other bloggers participating in the Make It Challenge this time around. The links are below the beautiful images… I hope they inspire you as much as they did me!
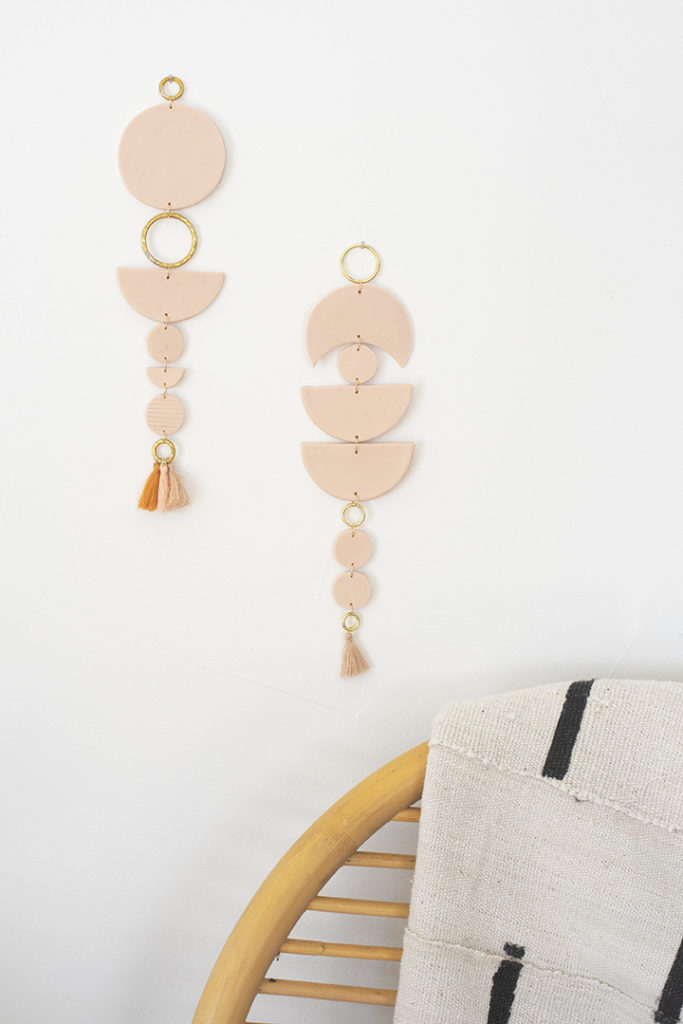
Clay Wall Hanging by Alice and Lois 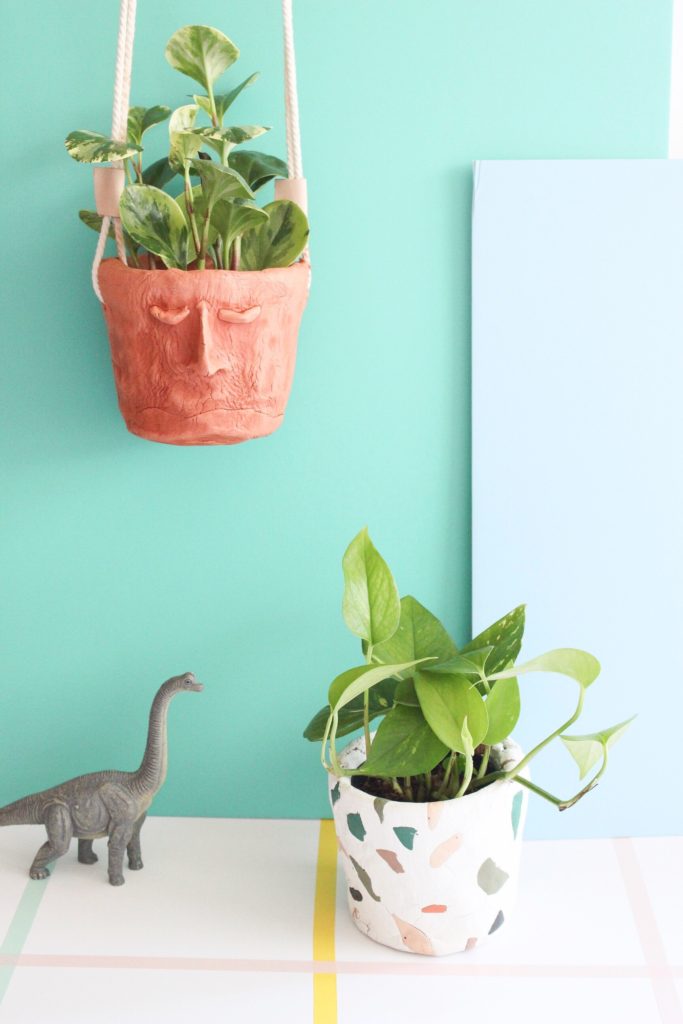
DIY Clay Planters by Spatial Dwelling 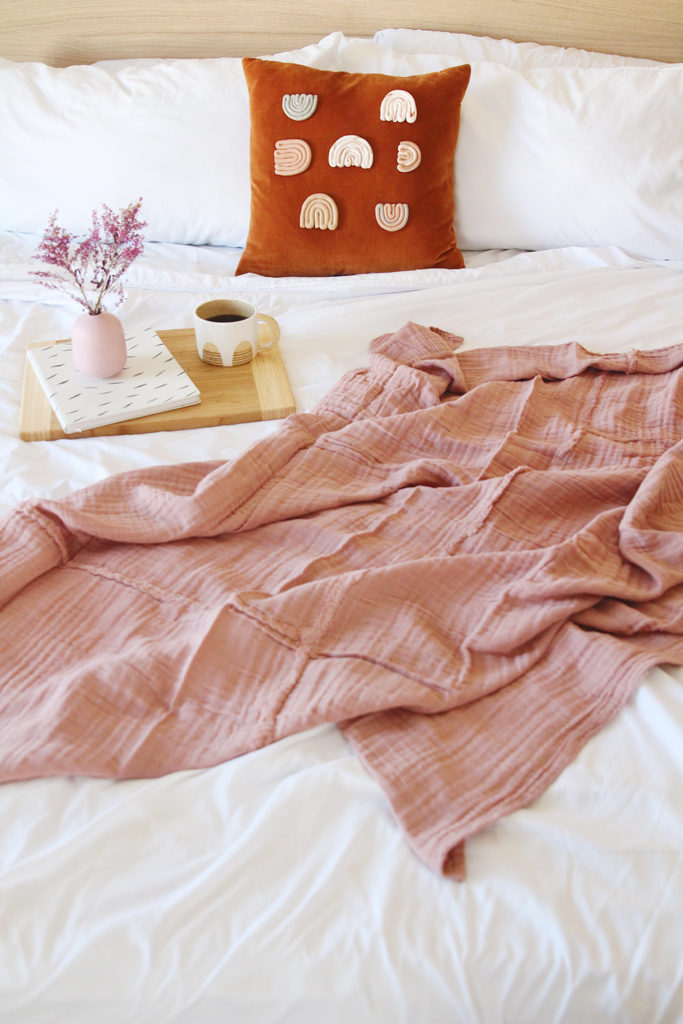
Clay Bead Pillow Decorations by Bliss Makes 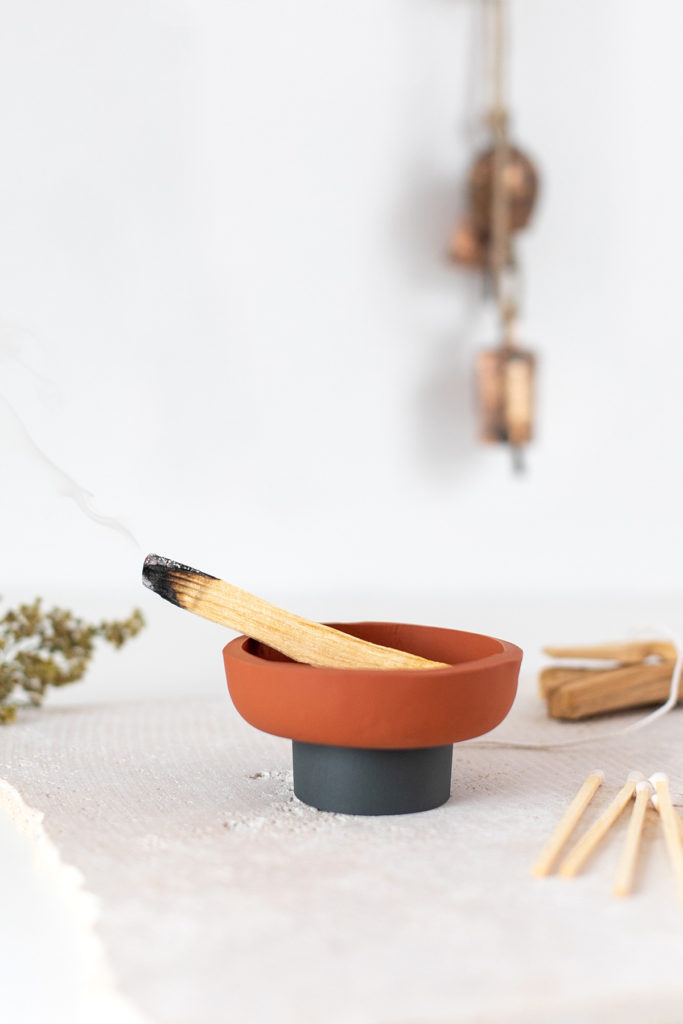
DIY Palo Santo Holder by ctrlcurate 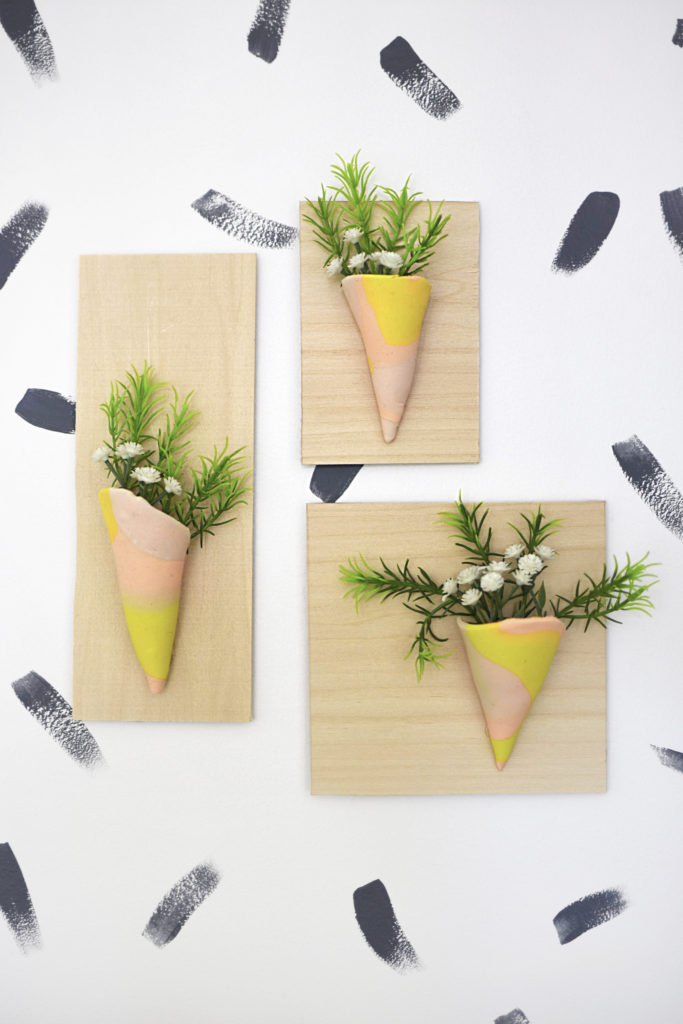
Clay Vase Wall Hanging by Delineate Your Dwelling 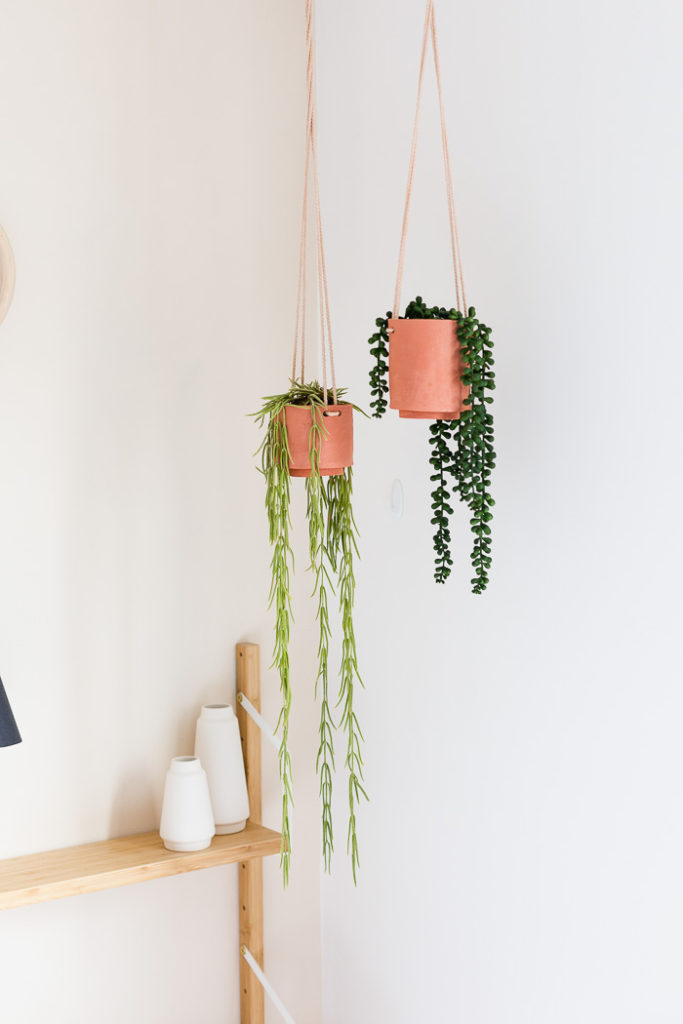
Clay Terracotta Hanging Planters by Fall For DIY 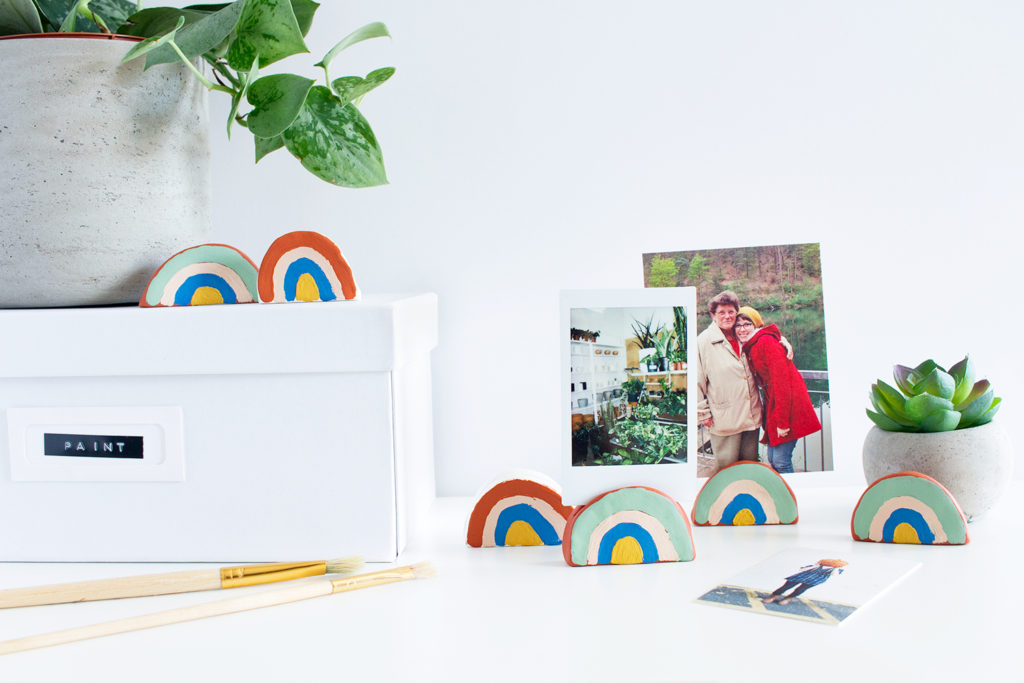
Clay Rainbow Photo Holder by Idle Hands Awake 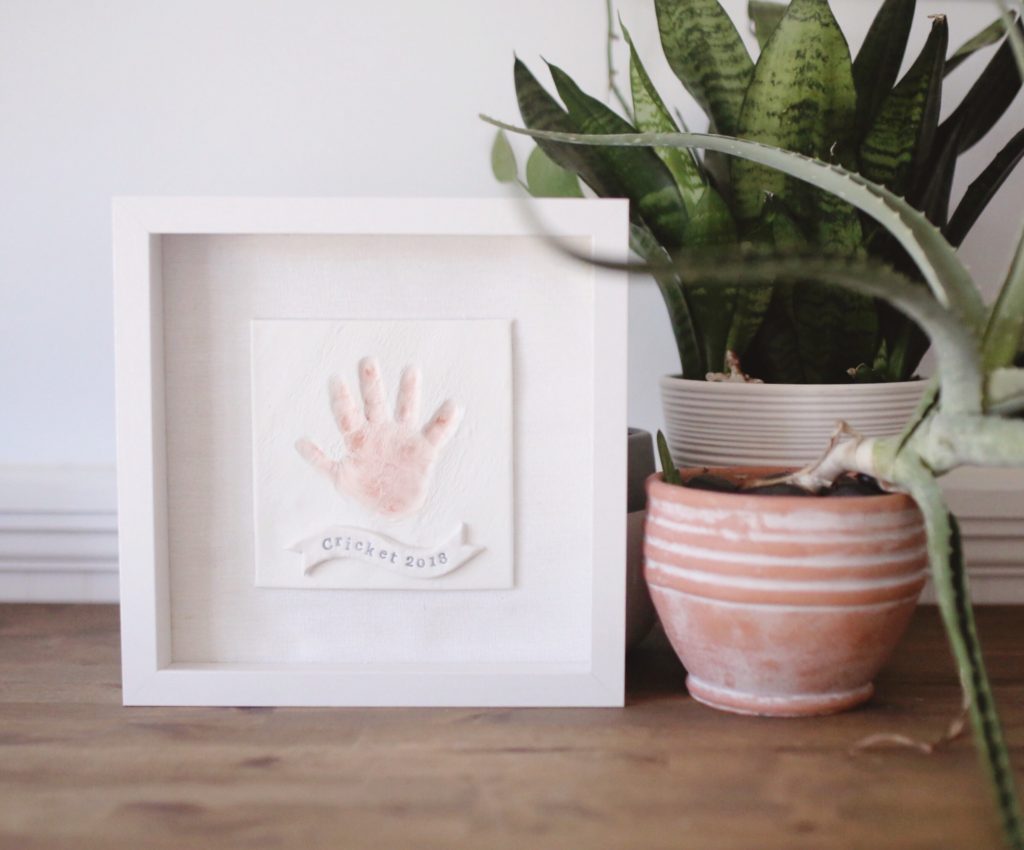
Baby Handprint Keepsake by Shrimp Salad Circus
DIY Clay Wall Hanging by Alice and Lois
DIY Clay Planters by Spatial Dwelling
Make Clay Beads To Decorate A Pillow by Bliss Makes
DIY Palo Santo Holder + Match Striker by ctrlcurate
Make Clay Vase Wall Hanging by Delineate Your Dwelling
DIY Terracotta Clay Hanging Planters by Fall For DIY
DIY Clay Rainbow Photo Holder by Idle Hands Awake
DIY Baby Clay Handprint Keepsake Frame by Shrimp Salad Circus

Comments are closed.