This post may contain affiliate links. This means that if you buy the cool stuff I recommend, I earn a small commission (but you still pay the same price). Thanks for helping me make a living doing my dream job!
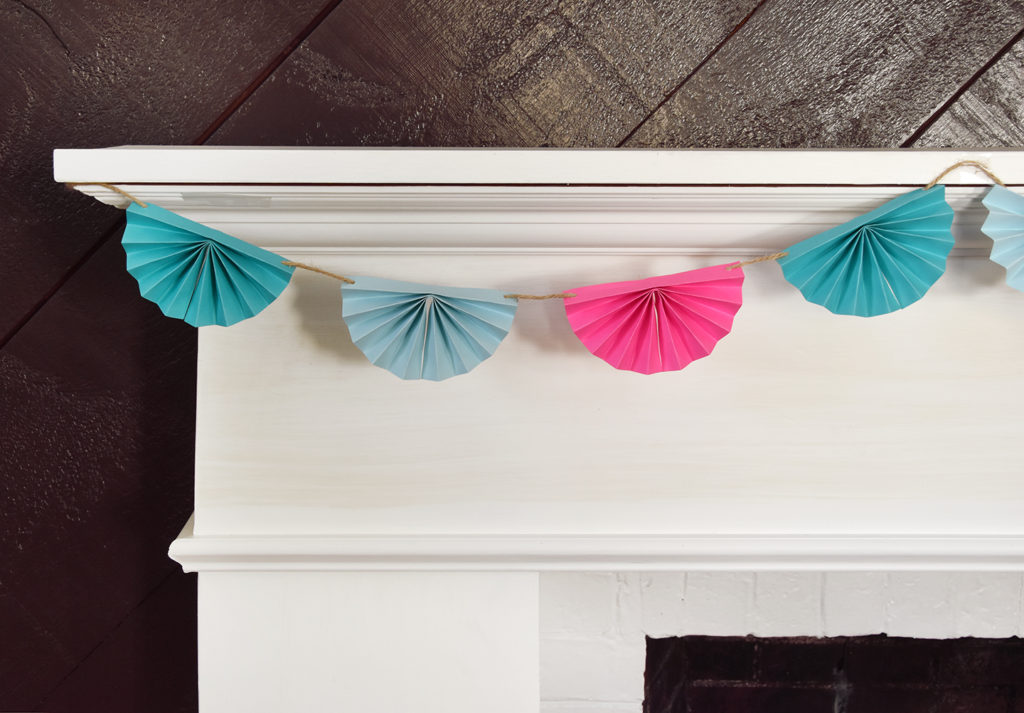
In case you haven’t noticed, I have a thing for accordion-folded paper (here’s proof: example 1 and example 2). This DIY paper garland is the perfect decoration for your next party, shower or event… or just to put on the mantel for spring! It looks fancy, but it’s incredibly easy to make. Pinky swear.
I made a video with a quick overview of the process for my video-loving fans out there. And keep scrolling for a full photo tutorial.
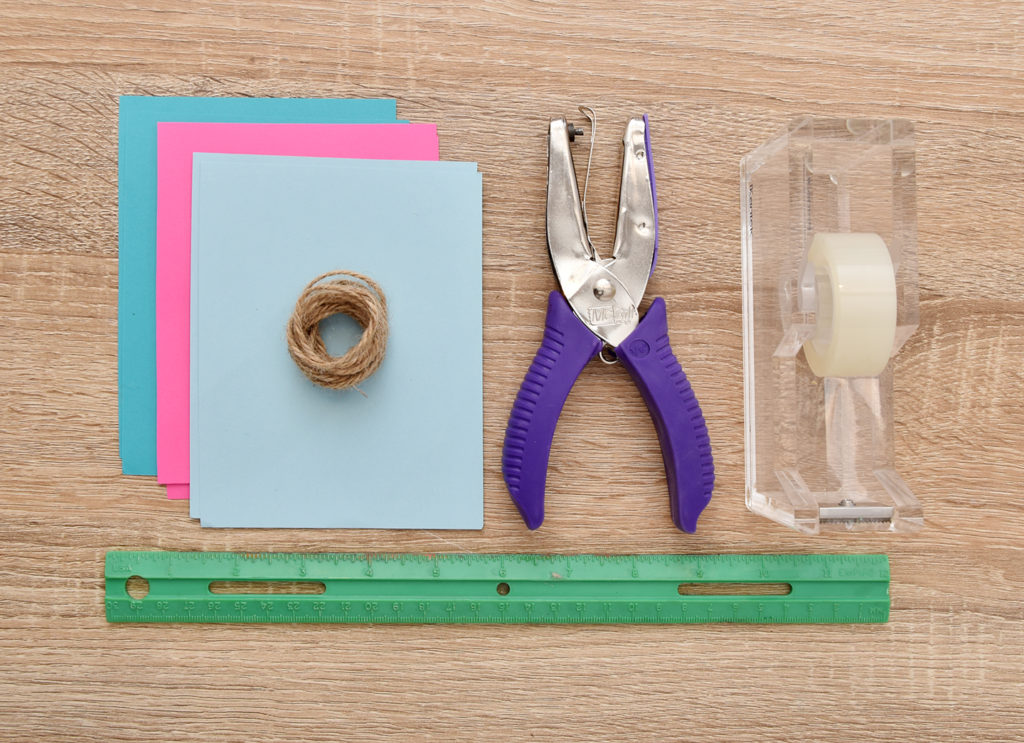
DIY Paper Garland Materials
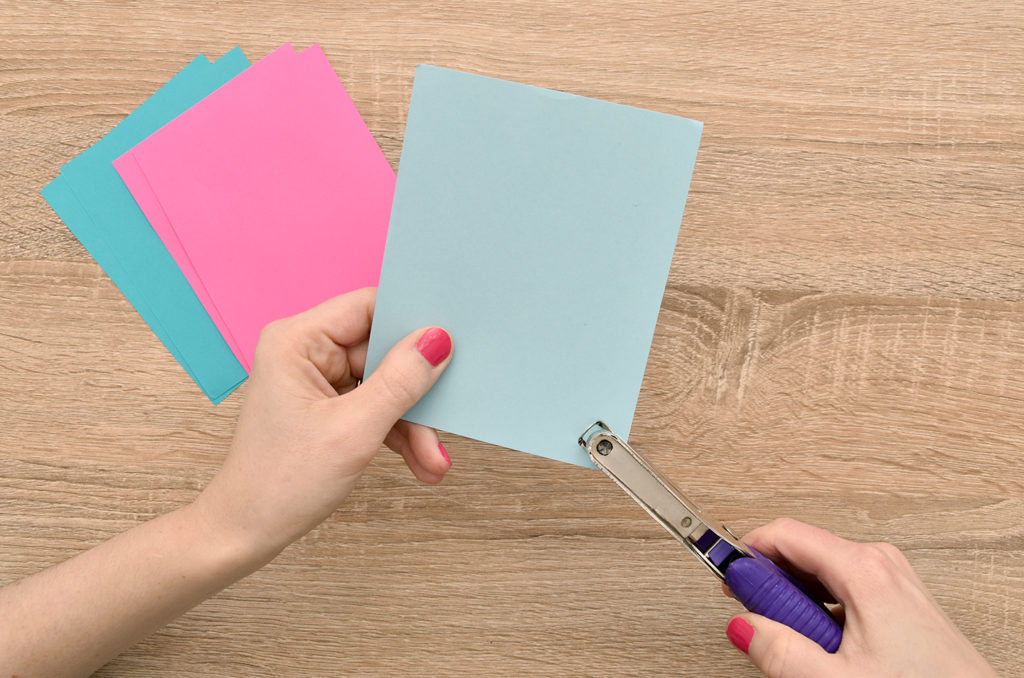
Step 1: Punch Holes
Begin by cutting your paper to size if it didn’t come in 4.25 x 5.5″ rectangles (this is 1/4 of a letter sized page). Punch holes in the bottom corners of all of your rectangles.
A note about paper: below are the exact kinds of paper I used… they worked perfectly for this project, and the colors were really quite beautiful in person. They are all letter sized so I just cut each page into four equal sized pieces.
Hammermill 24lb Light Blue Paper
Astrobrights 24lb Terrestrial Teal Paper
JAM 24lb Magenta Paper
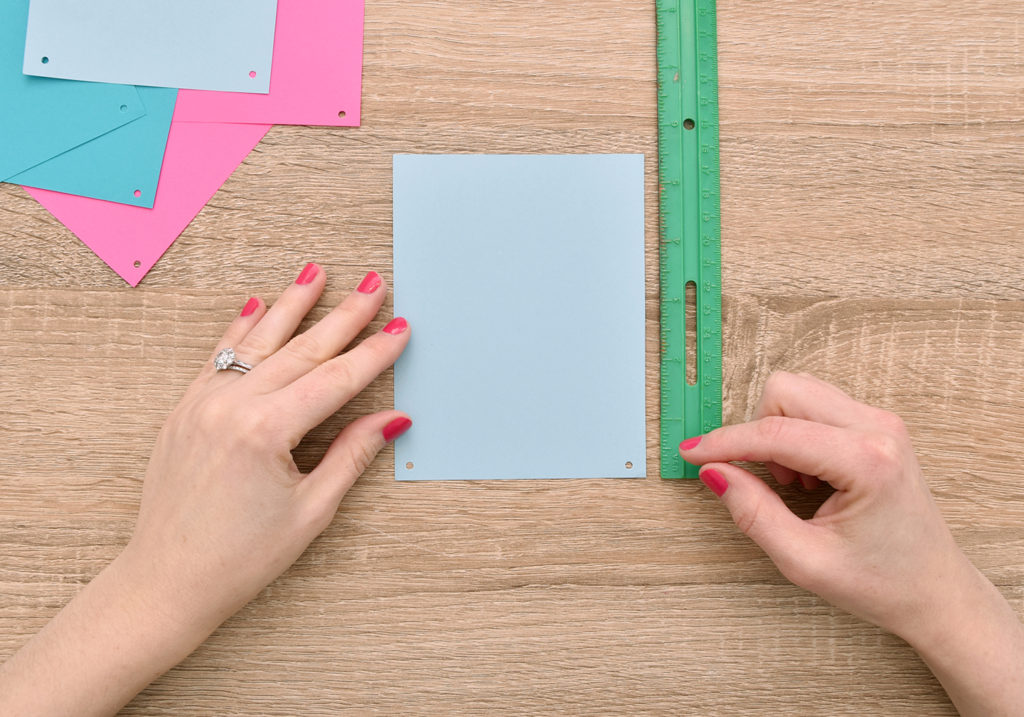
Step 2: Measure Folds
Put a ruler next to your rectangle. You will want to make a fold every 1/2 inch, and this should work out to about 9 folds.
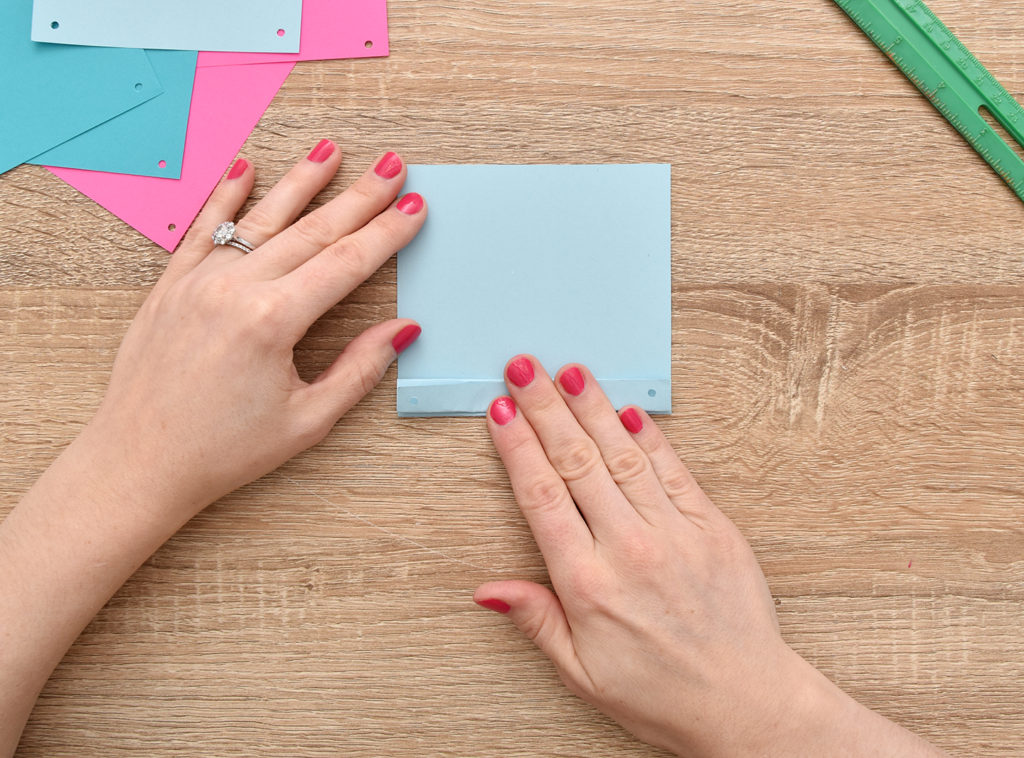
Step 3: Start Folding
Fold the paper into 1/2 inch folds and trim off any excess. Repeat for the rest of the rectangles.
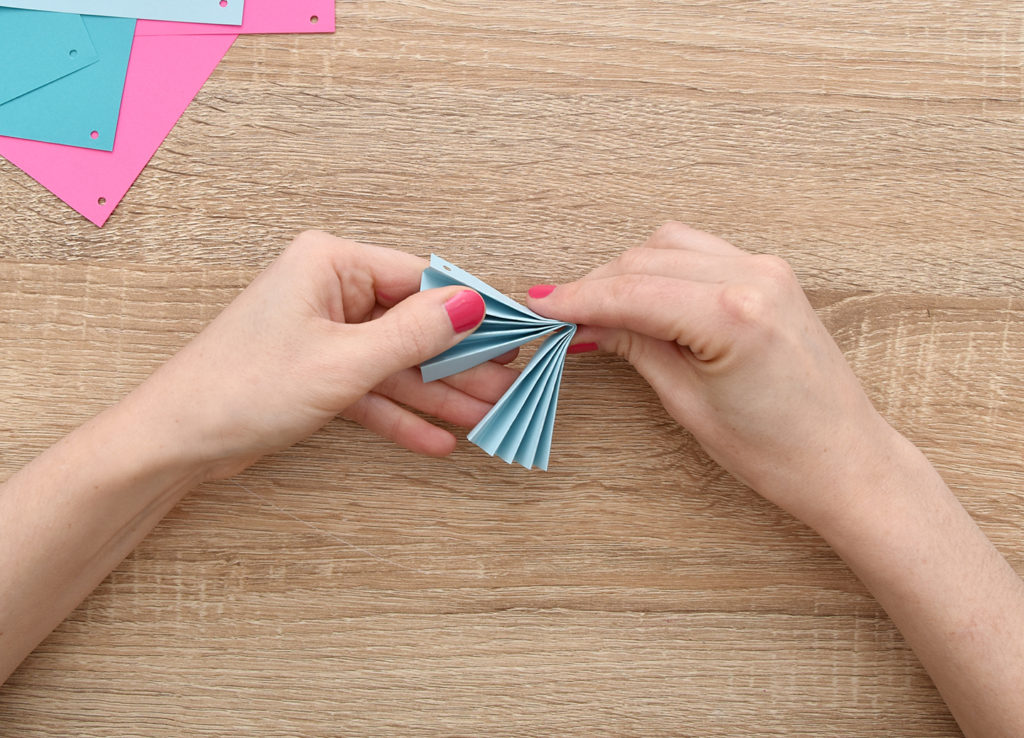
Step 4: Fold In Half
Fold this piece in half like a bow tie as shown above and repeat for the other rectangles. Make sure that the holes are on the top of the bow tie.
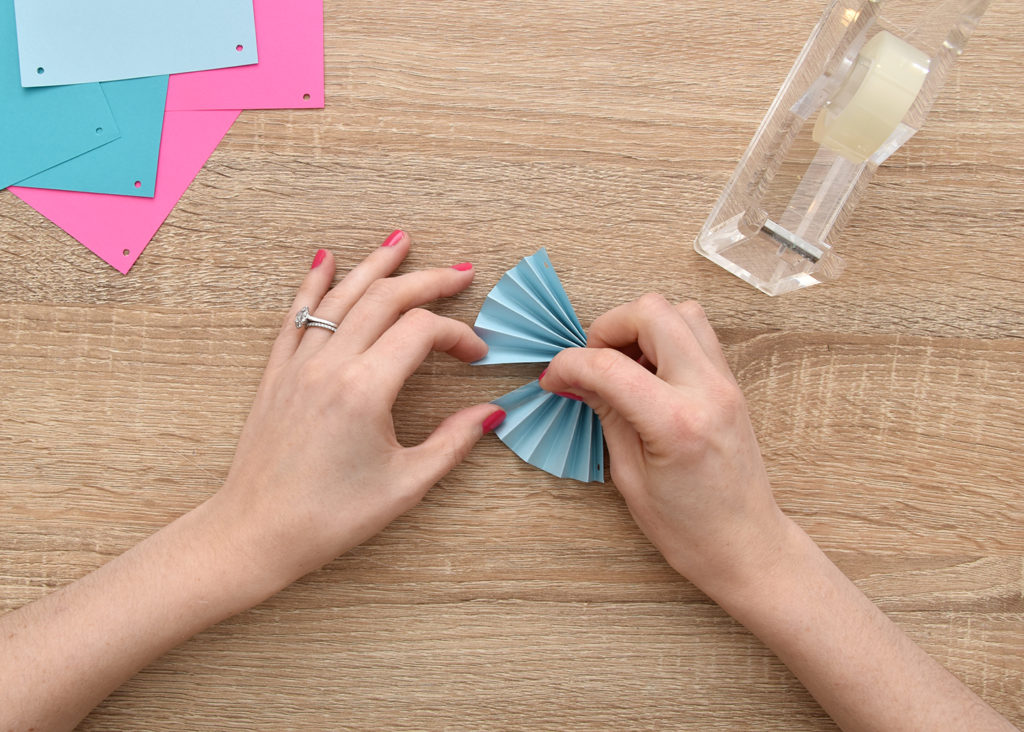
Step 5: Tape The Connection Point
Pull the edges of one side of the bow tie together to form a semi circle and tape those edges together.
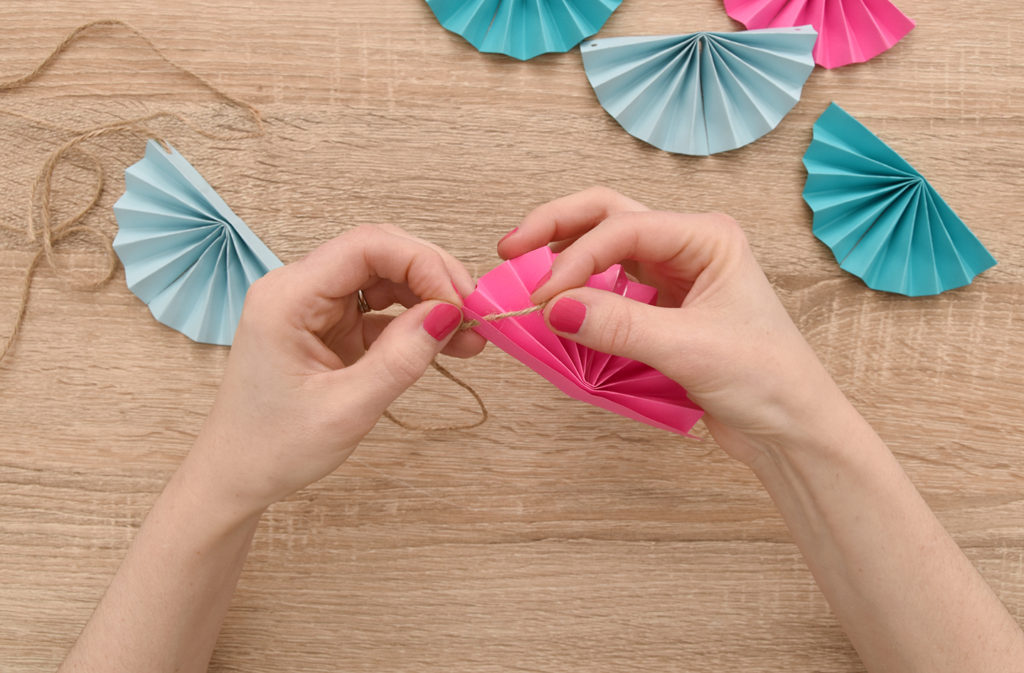
Step 6: Thread The Twine
Thread the end of the jute twine down through one of the holes, along the back and then up through the other hole. Repeat the same process for the rest of the semi circles. Add as many pieces as you like, alternating colors.

The back should look like the image above, with the jute tucked underneath and the tape on the same side (if you did nine folds, then this should be the case). Attach the garland to the mantel or wall with clear tape and you’re all finished!
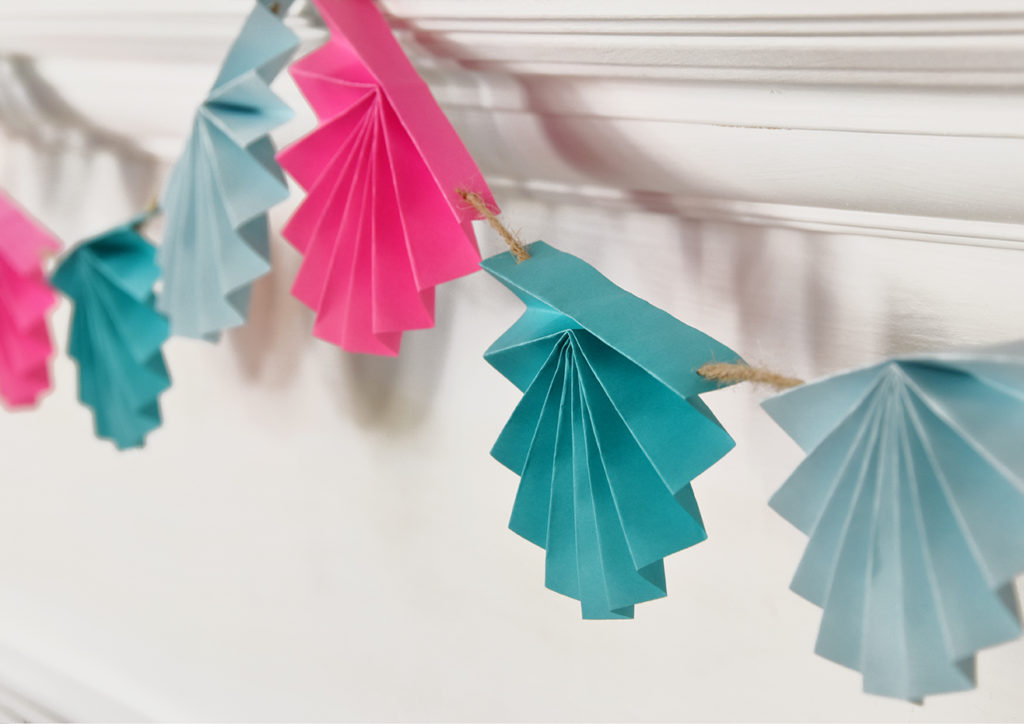
This is the most versatile DIY paper garland I’ve seen… you can customize the colors, size, twine and even the shapes – the semi circles can be attached one on top of the other to form full circles.
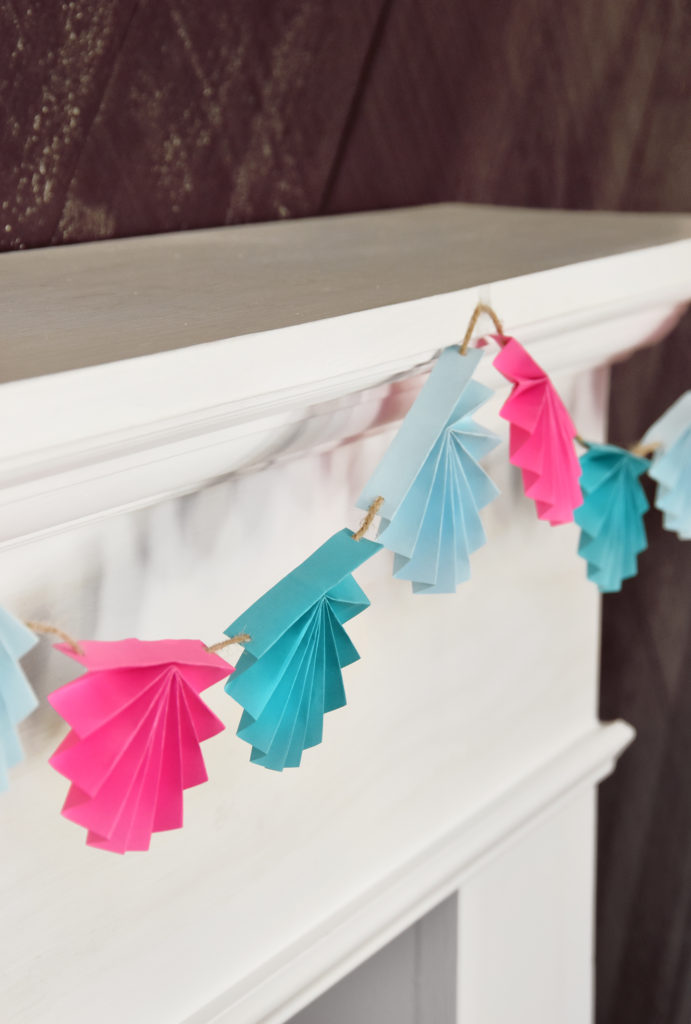
I love how quick these are to make, too; it only took me about a half hour to make.
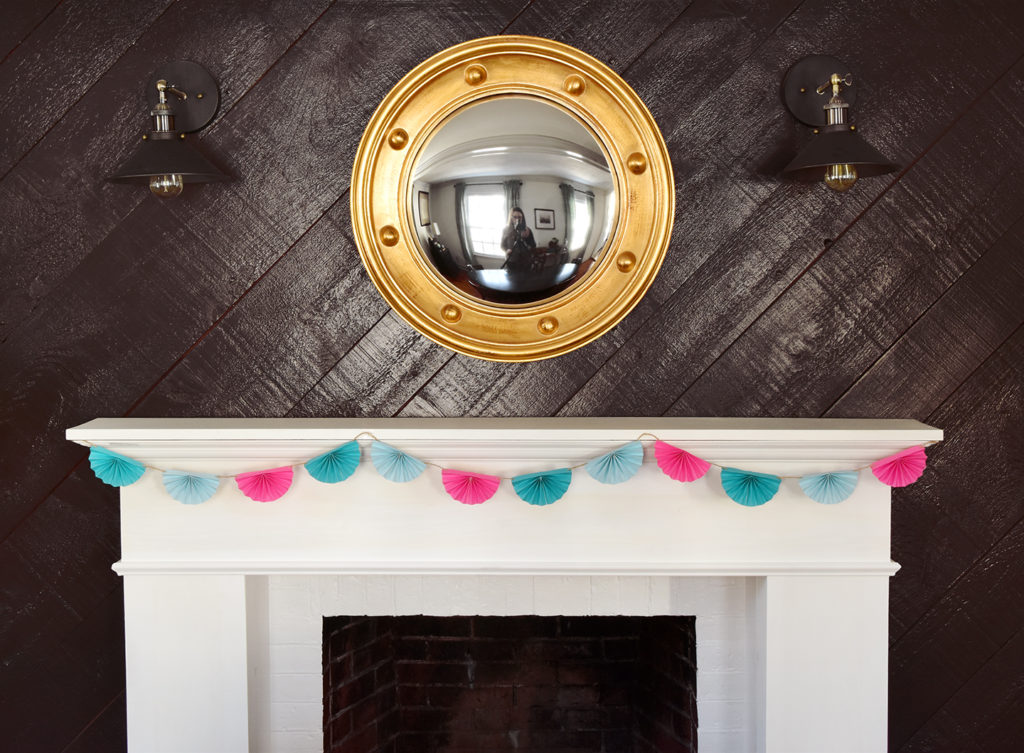
We had friends over the other night for a Mexican-themed taco bar dinner and I hung my garland on the mantel in the dining room… it added lots of festive color to the space. If you want to check out my other folded paper DIY, check it out here. Have fun making your garlands friends!

Comments are closed.