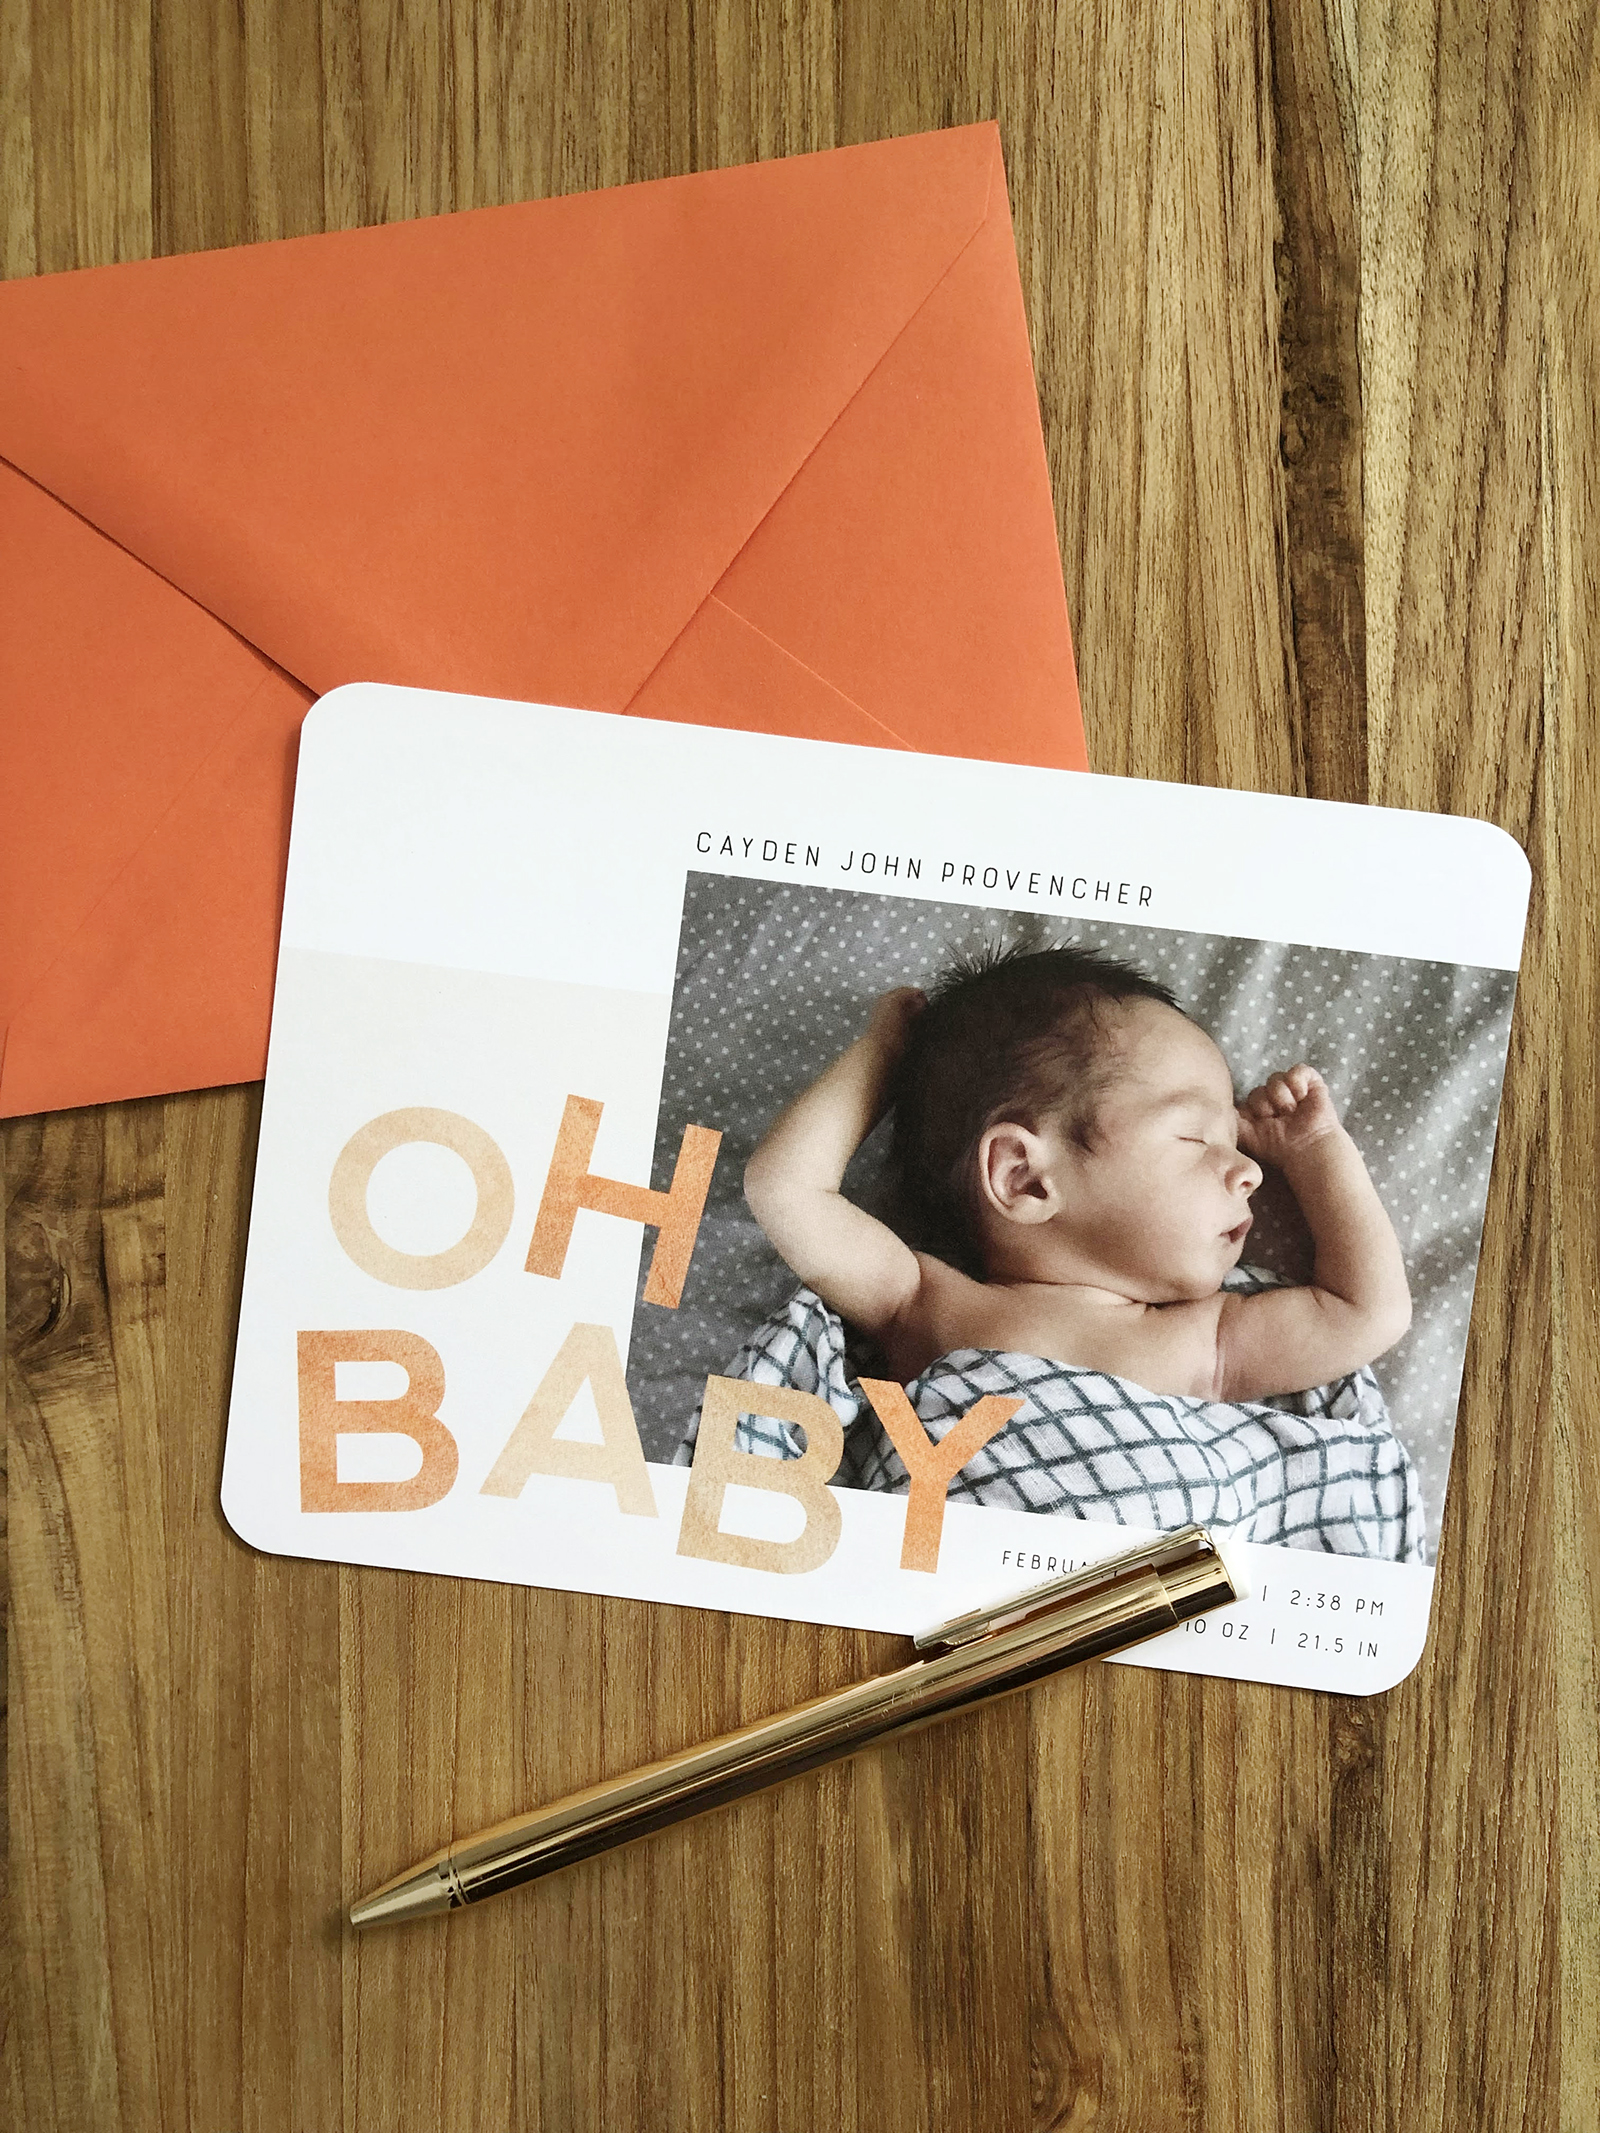
It can be hard to organize a newborn photo shoot with a professional photographer when you’re so sleep deprived you can barely manage to make a cup of coffee. Not to mention the unpredictability of your tiny new bundle of joy… odds are, she or he will fall asleep or need to eat the second the photographer steps through the door. But here’s the good news – you can take the photos yourself! I used to work in a portrait studio and have done my own newborn shots for both of my kids, so today I wanted to share some helpful newborn photo ideas and tips for taking your own photos so you can skip the frustration and save some money while you’re at it.
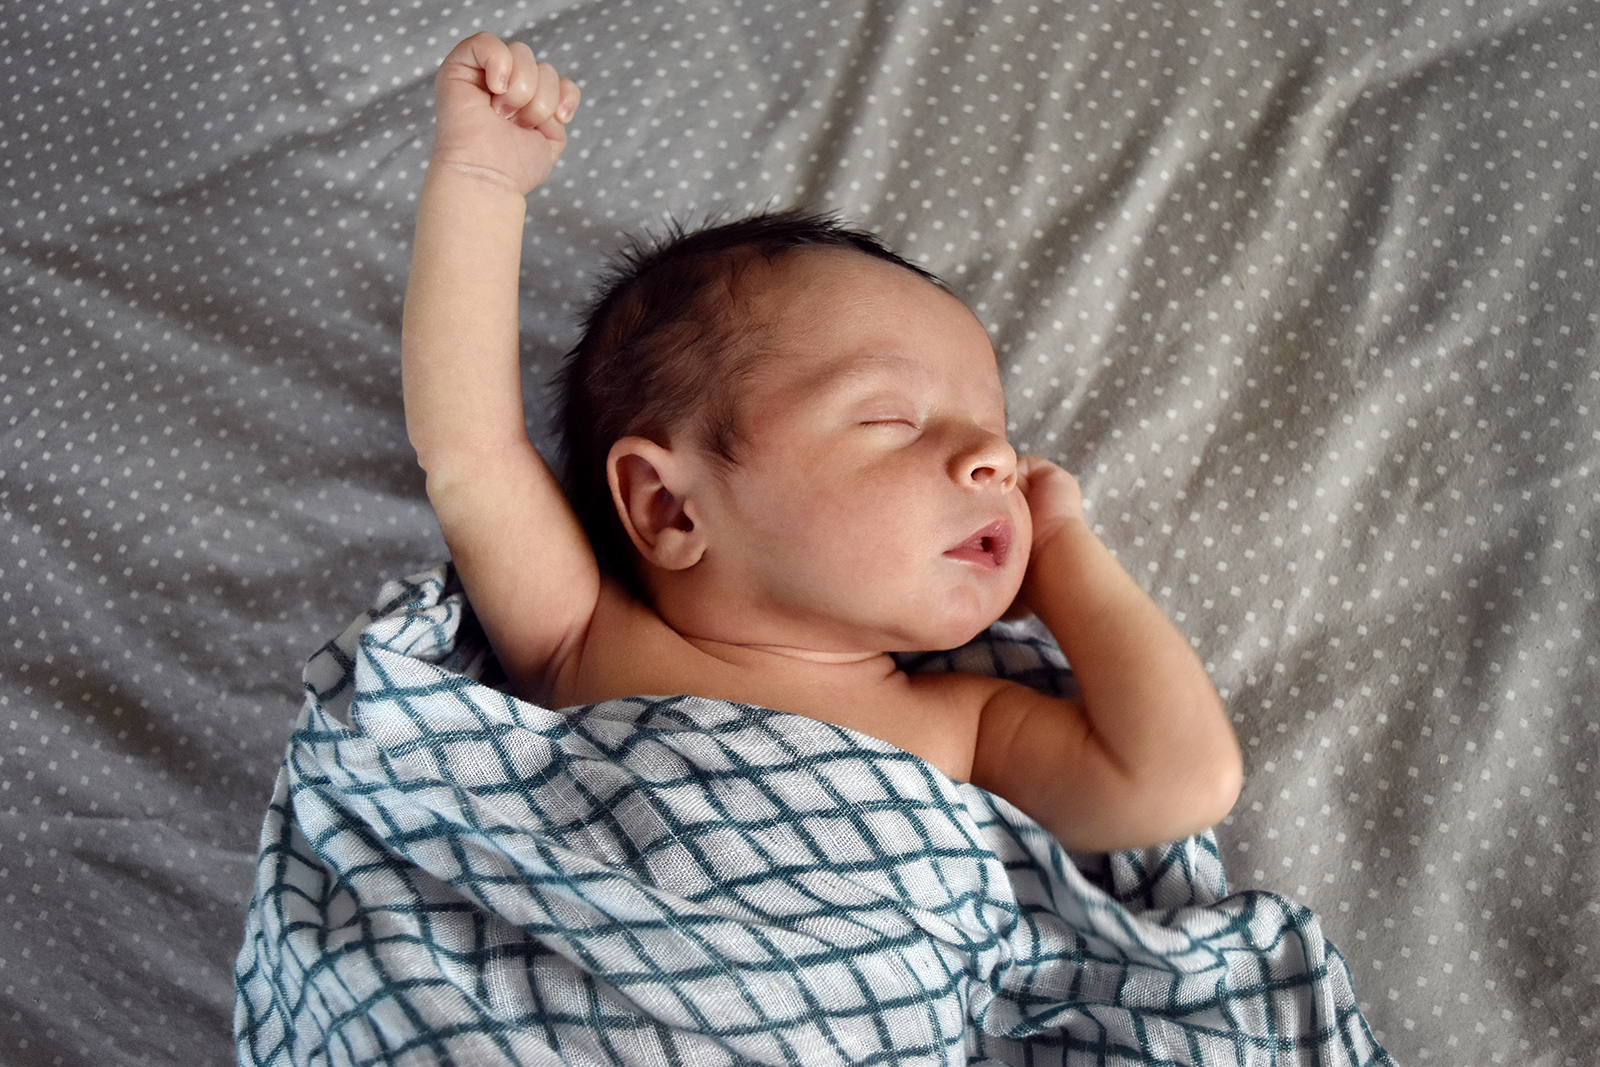
Start by deciding on the location of your photo shoot. It should be somewhere comfortable, warm and with tons of natural light. For Cayden’s photo shoot I chose to put him on our bed on a gray sheet with a subtle dot pattern. Try to avoid super bold patterns as they will distract from the cuteness of your babe and look a bit chaotic on a birth announcement. This grid pattern might even be a little too busy, but it’s too late now 🙂
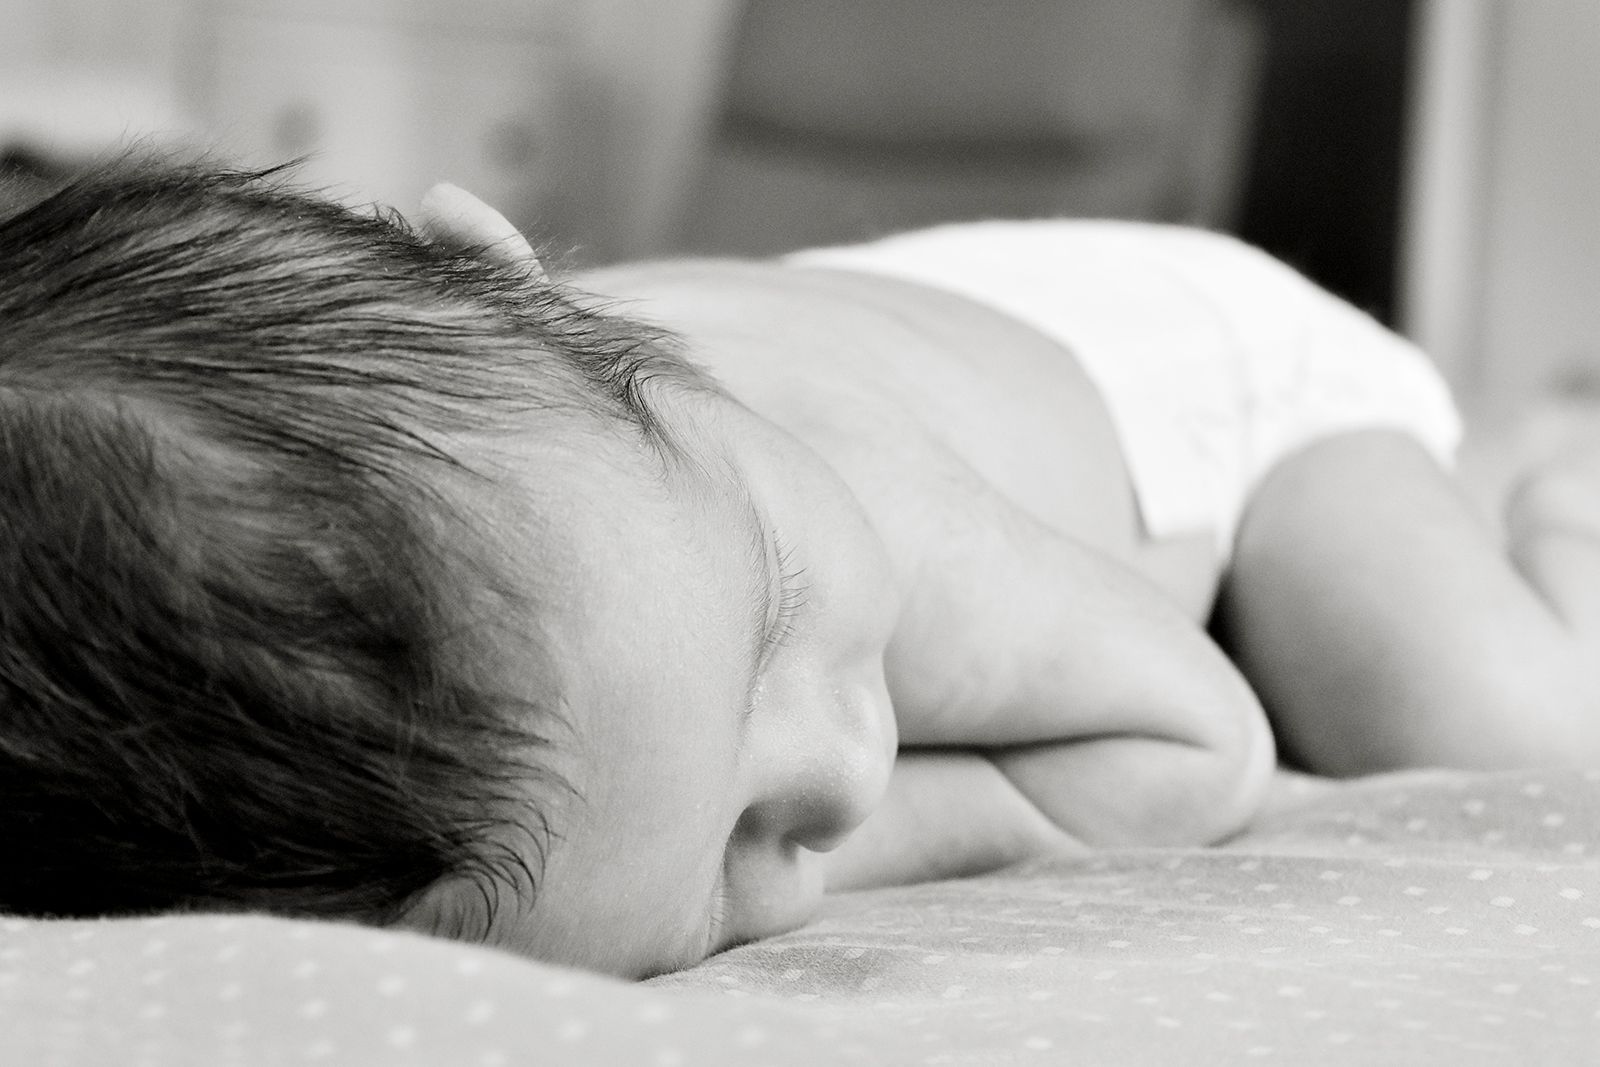
Next, decide what your baby will wear. Some people choose to have their little one wear nothing at all… which always looks adorable but is risky business (especially with a boy – nobody wants a pee-soaked camera!). We did just a diaper, and you can also add a diaper cover if you feel like getting fancy. You’ll also want to have a few cozy blankets and soft swaddles around in case you want to lay your baby on them or wrap or drape them for a different look. Again, make sure they are solid colors or very simple patterns.
You’ll also need to decide what kind of camera to use. You can certainly use your phone… be sure to turn the flash off, and try experimenting with portrait mode. If you want to use a DSLR camera but don’t know much about them, grab a user-friendly one like mine (the Nikon D5600) and set it on auto.
And now it’s time to get started! Here are some newborn photo ideas and tips for getting the best looking photos.
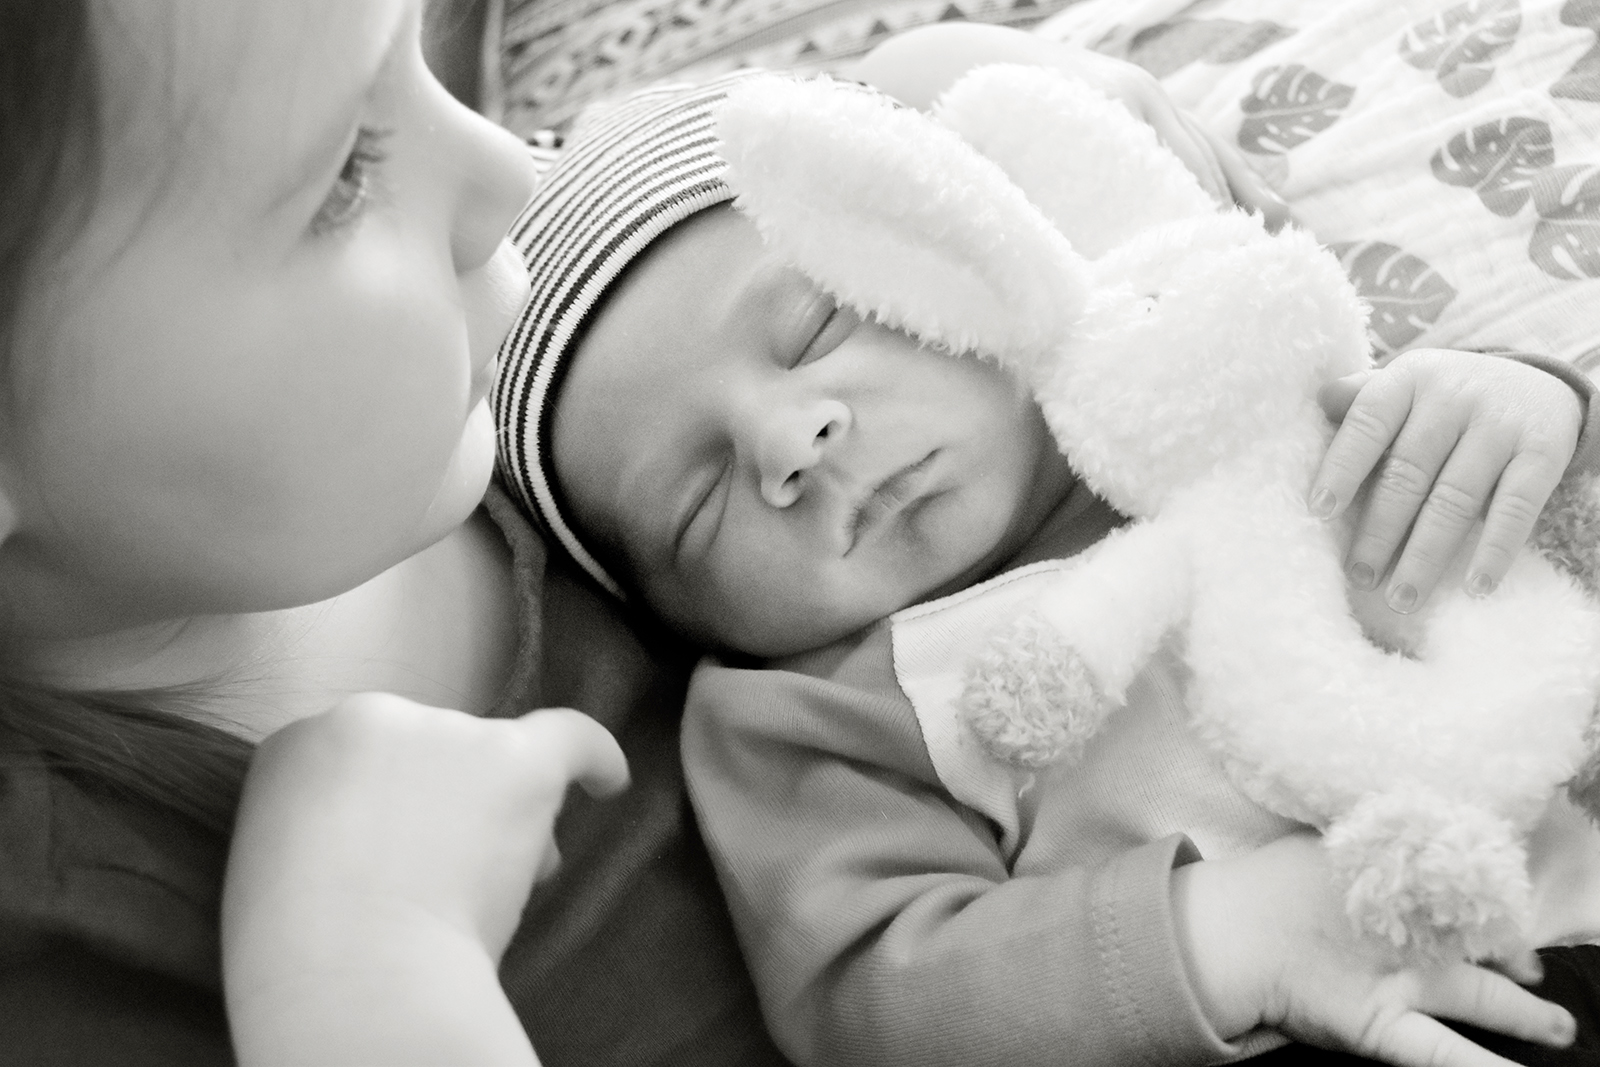
- Put your baby in different positions. Try on his or her back, side, tummy with legs tucked underneath, etc.
- Shoot from different angles. Start above, then try below and from all sides. And don’t forget about using a variety of close-ups and wider shots too.
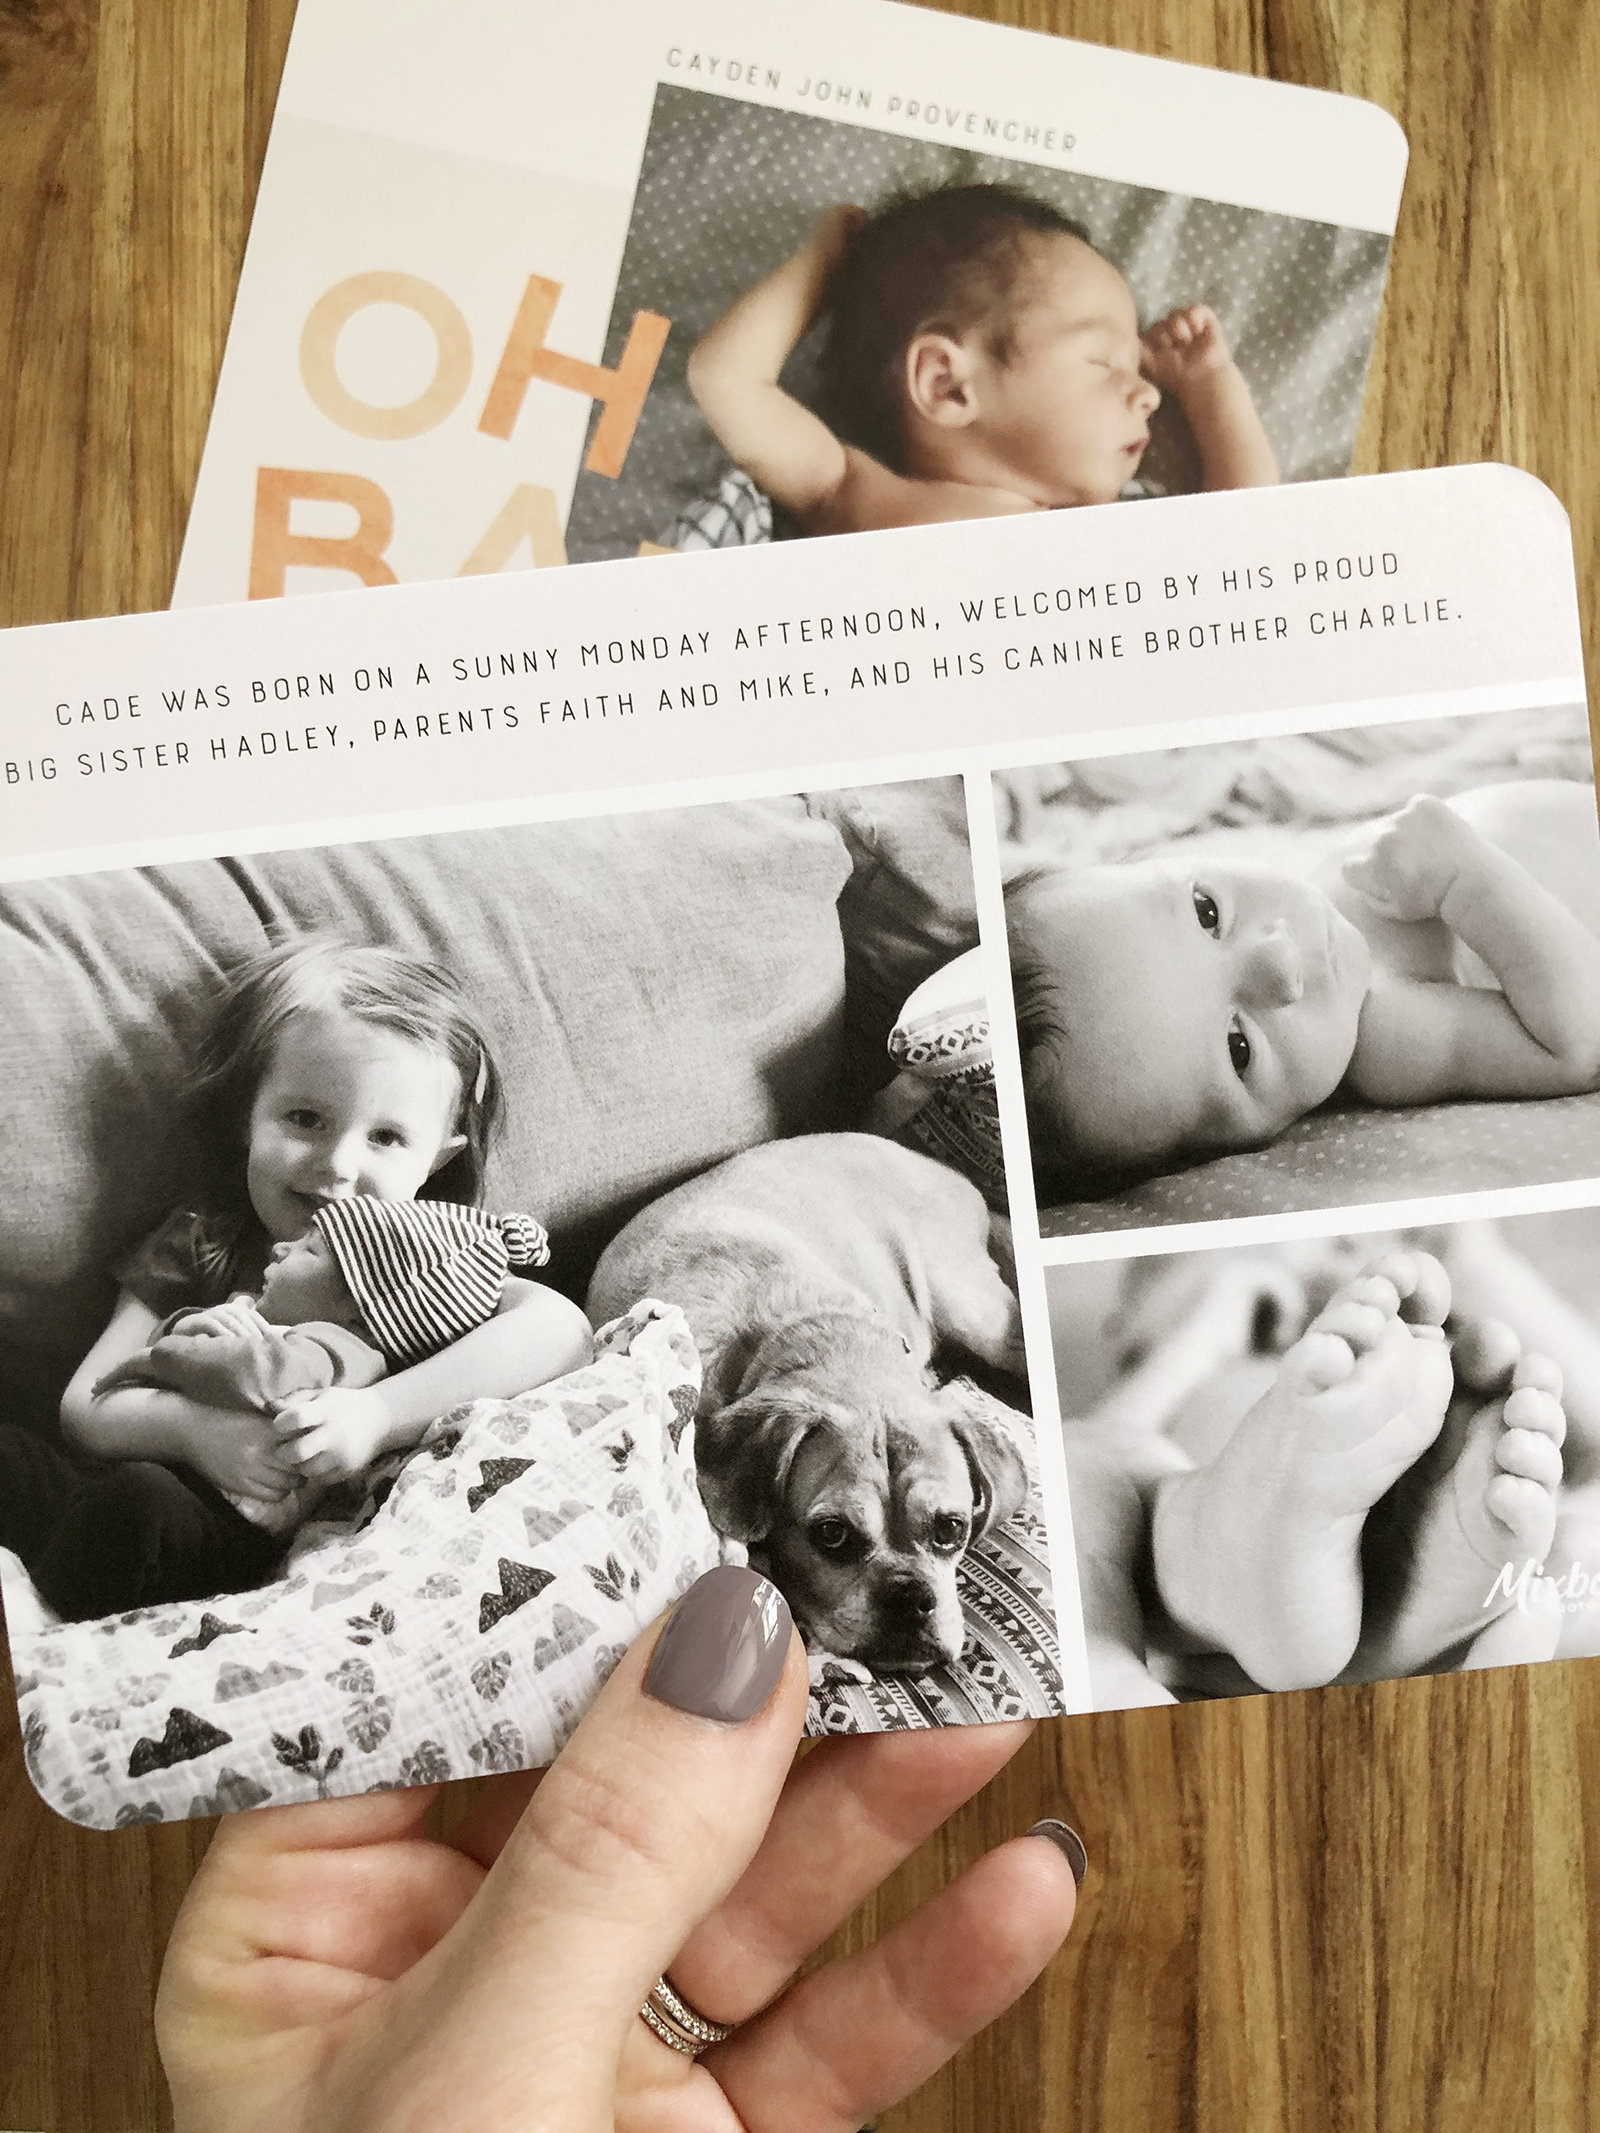
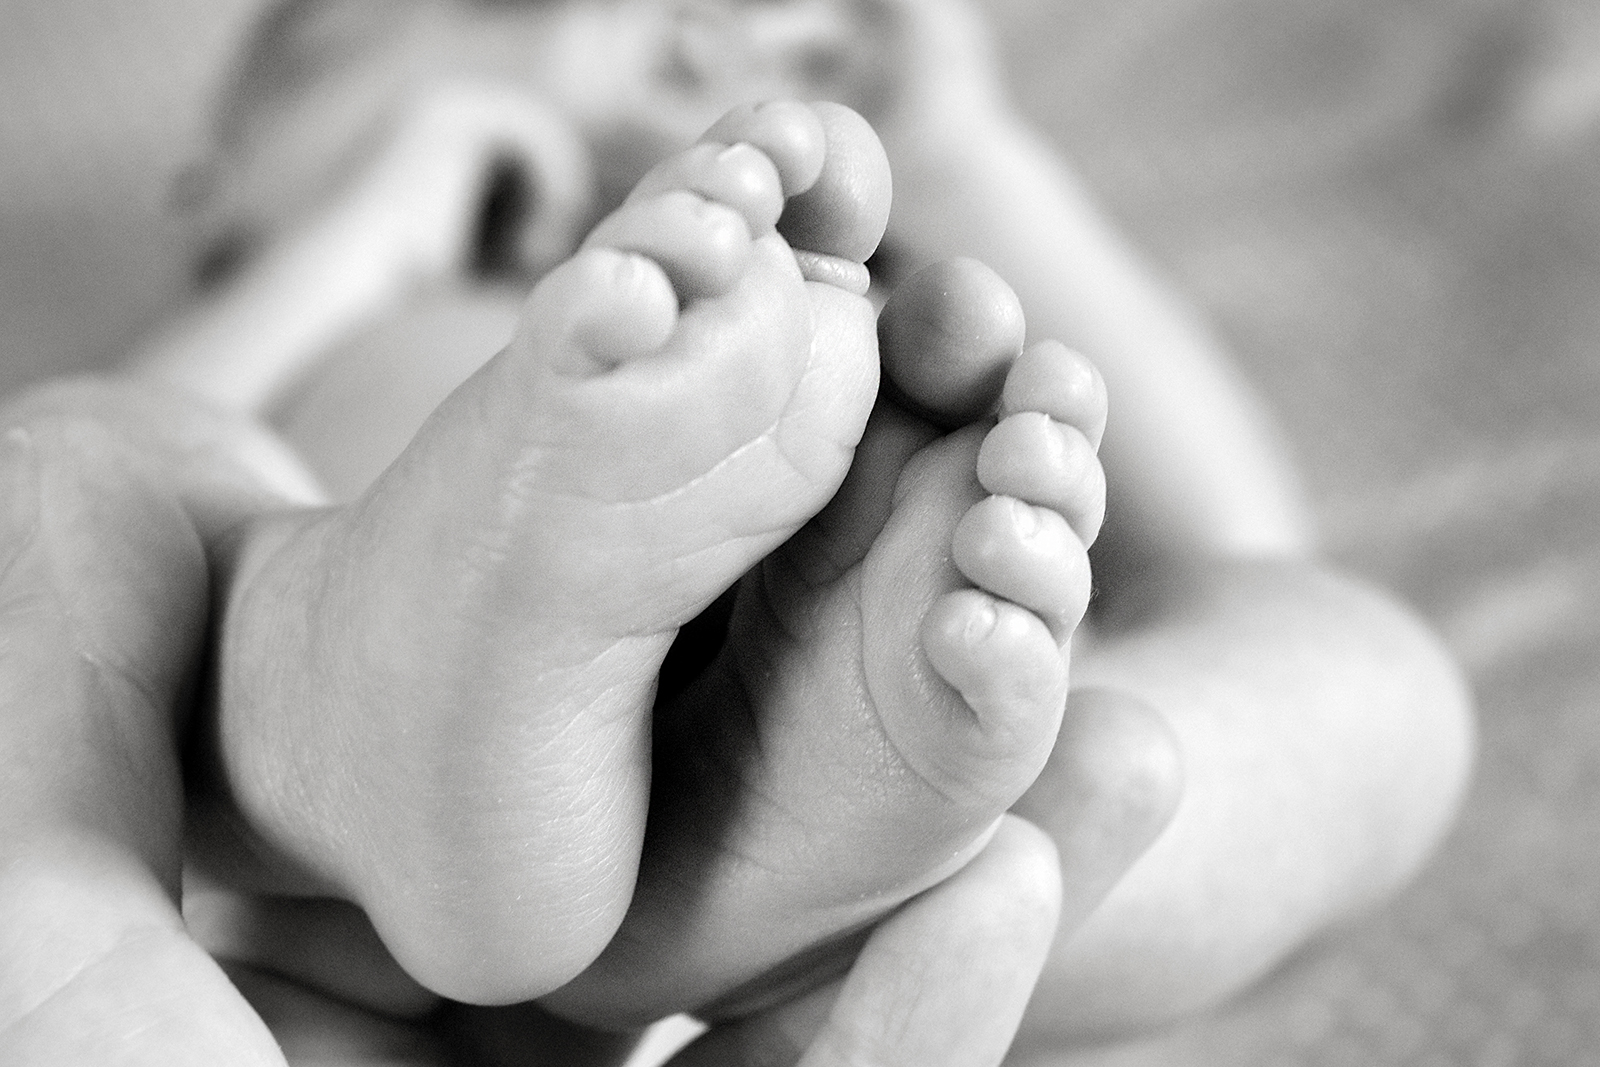
- Include other family members. Have a parent hold the baby over their shoulder and get a closeup of baby’s face from behind, hold baby’s feet in your hands (see below… I did this one myself with a tripod and the timer) and have siblings get in on the fun by holding baby in their lap.
- Use editing software to spruce up your photos. Use Photoshop, Lightroom or any other photo editing software or app to make your photos look even better once you’re done. Make sure the images are bright, warm and have plenty of contrast. I also like to make most of my images into warm black and whites, but this is a matter of taste. Just be sure to always keep the original color file because you never know when you might need it.
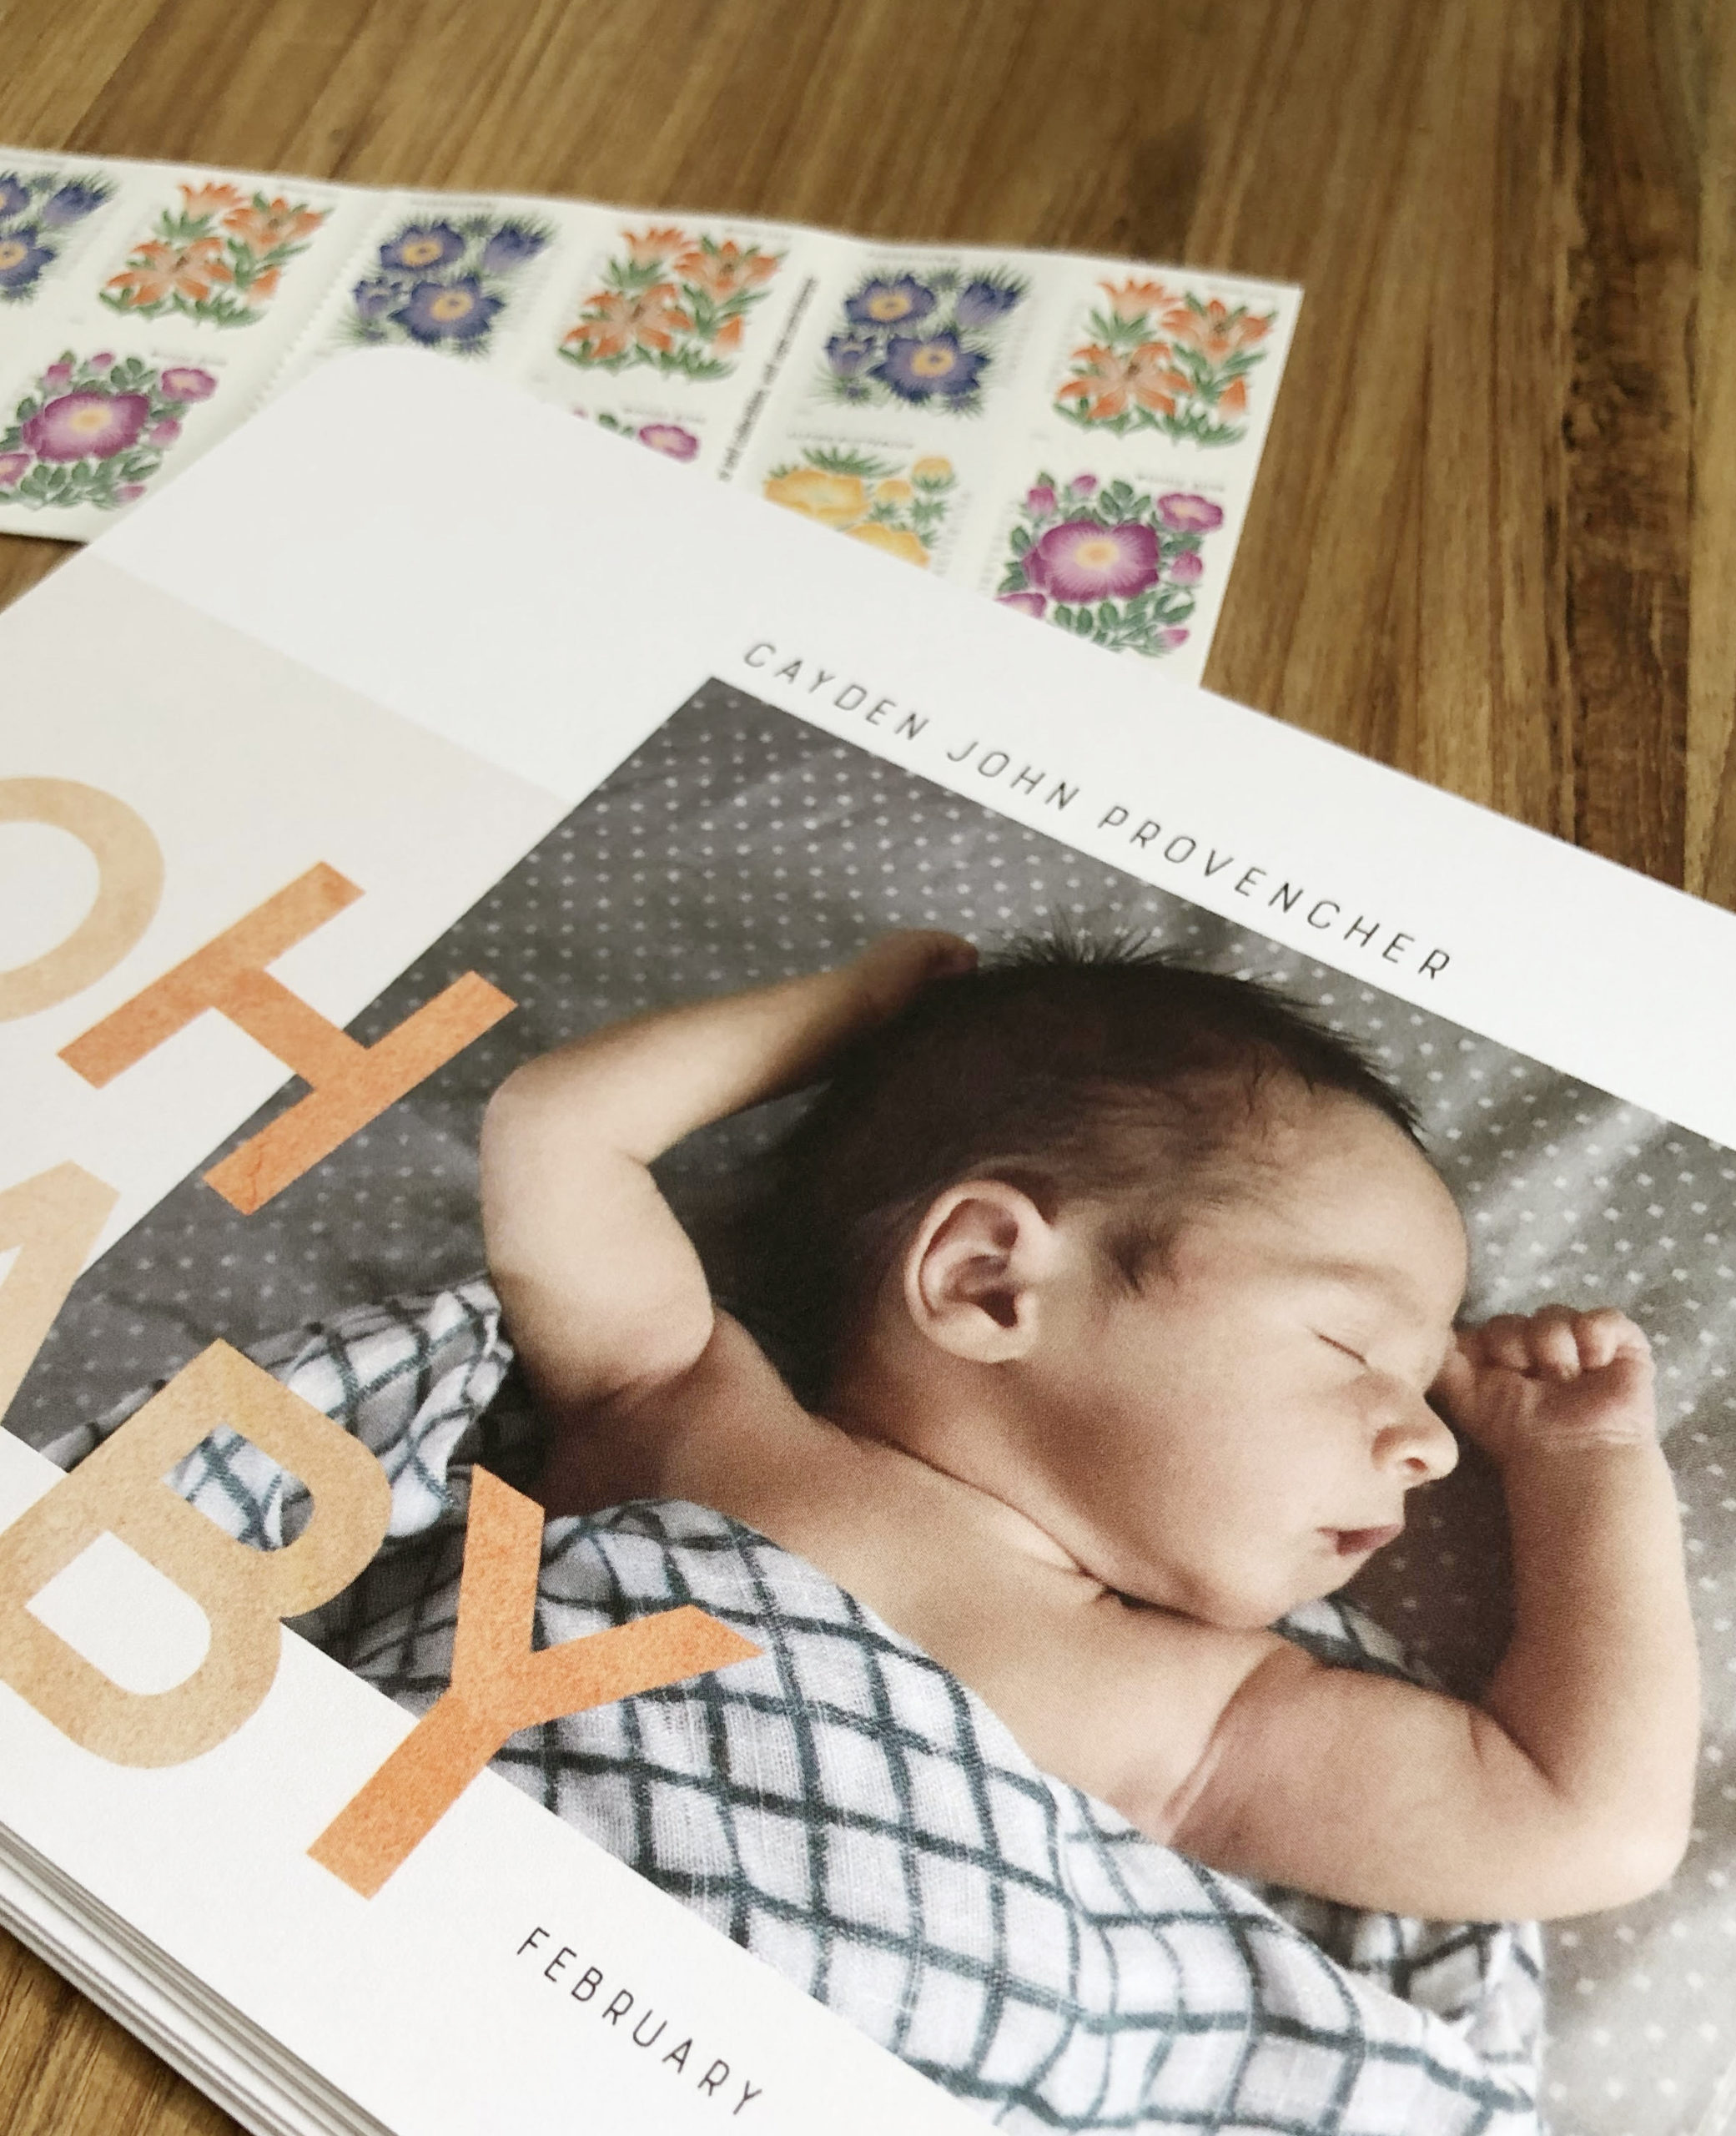
And last, it’s time to put all those adorable photos to good use! We used four of them on our birth announcement that we got from Mixbook, and I couldn’t be happier with the quality of the cards. I always use Mixbook for my holiday cards, announcements and any other printed cards so of course this was no different… they have an awesome website which makes the card design process so easy. You can choose one of their hundreds of pre-made layouts and then edit it however you like (or just upload your own if you’re a graphic design whiz). Be sure to check out all of their beautiful birth announcement templates here. I used this one.
And that’s it! Best of luck with your photo shoot (and your new little one). If you’re looking for other parenting-related inspiration, head right over here.
This post was created in partnership with Mixbook.
Thanks for supporting the brands that help keep Design Fixation online!
