
This post may contain affiliate links. This means that if you buy the cool stuff I recommend, I earn a small commission (but you still pay the same price). Thanks for helping me make a living doing my dream job!
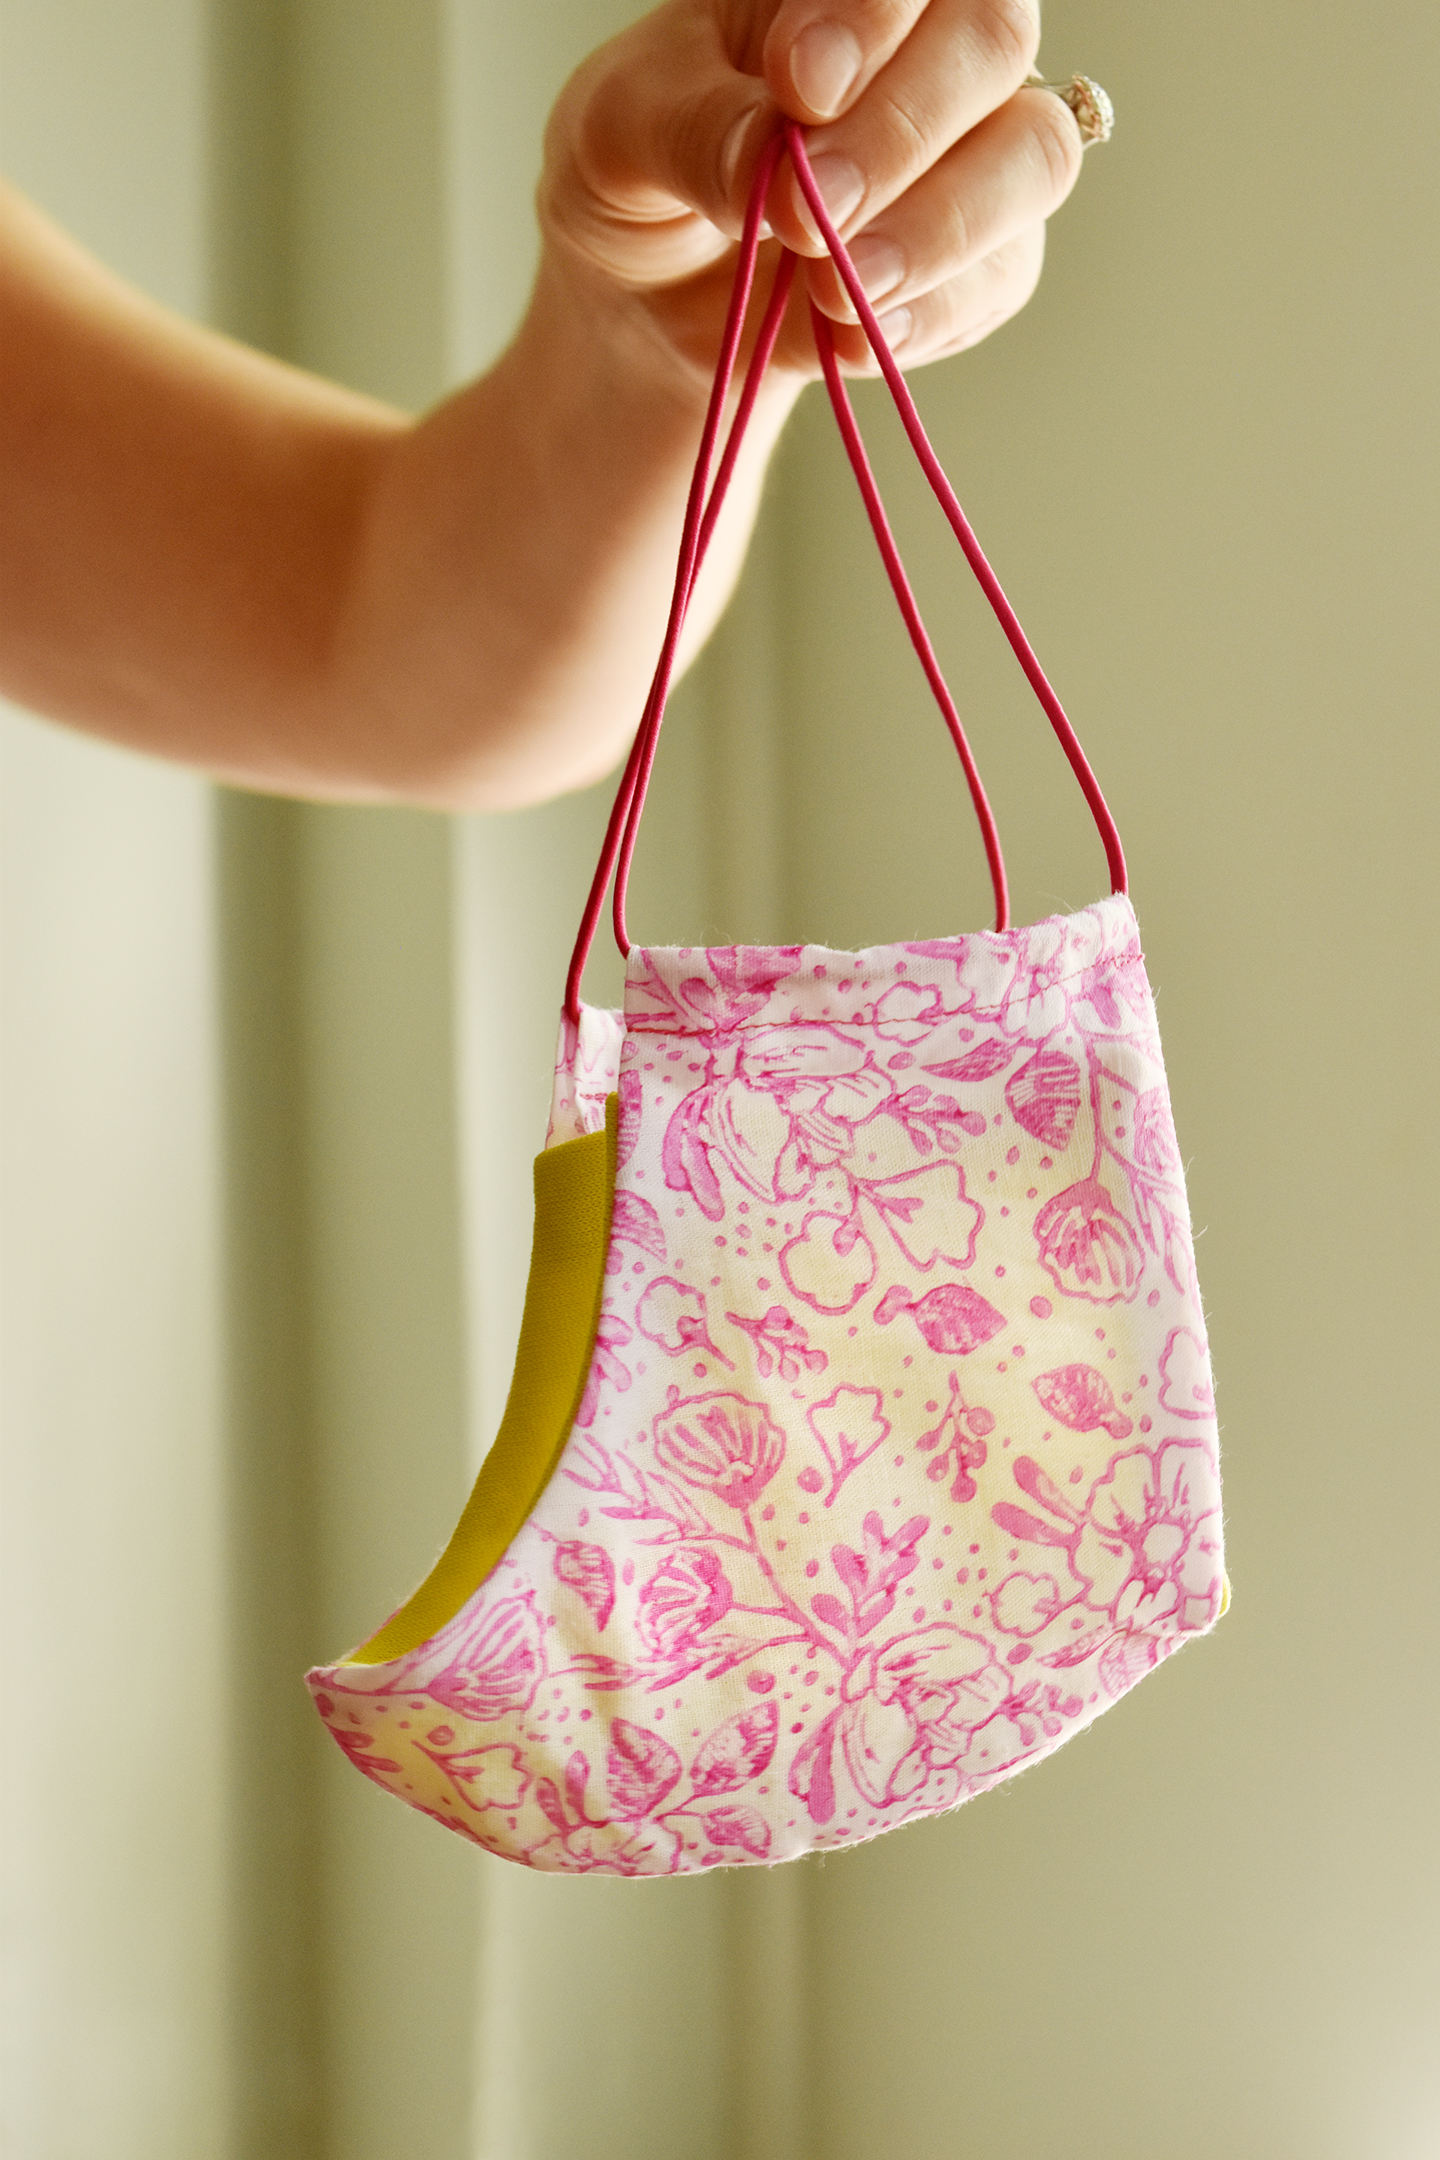
Like it or not, it looks like face masks are here to stay. They’re even becoming an accessory that you can use to make a fashion statement, so why not have a little fun and really personalize them? Today I’ll be sharing how to make your own custom fabric using rubber stamps and fabric paint to create a beautiful DIY face mask! Keep reading to check out the tutorial.
The first step is to choose your rubber stamp. I used this large floral stamp from Rubberstamps.com, but you could choose any stamp you like. I’d recommend picking one that has mostly narrow raised lines rather than wide raised areas because the fabric paint doesn’t cover large areas very evenly. So let’s get started!
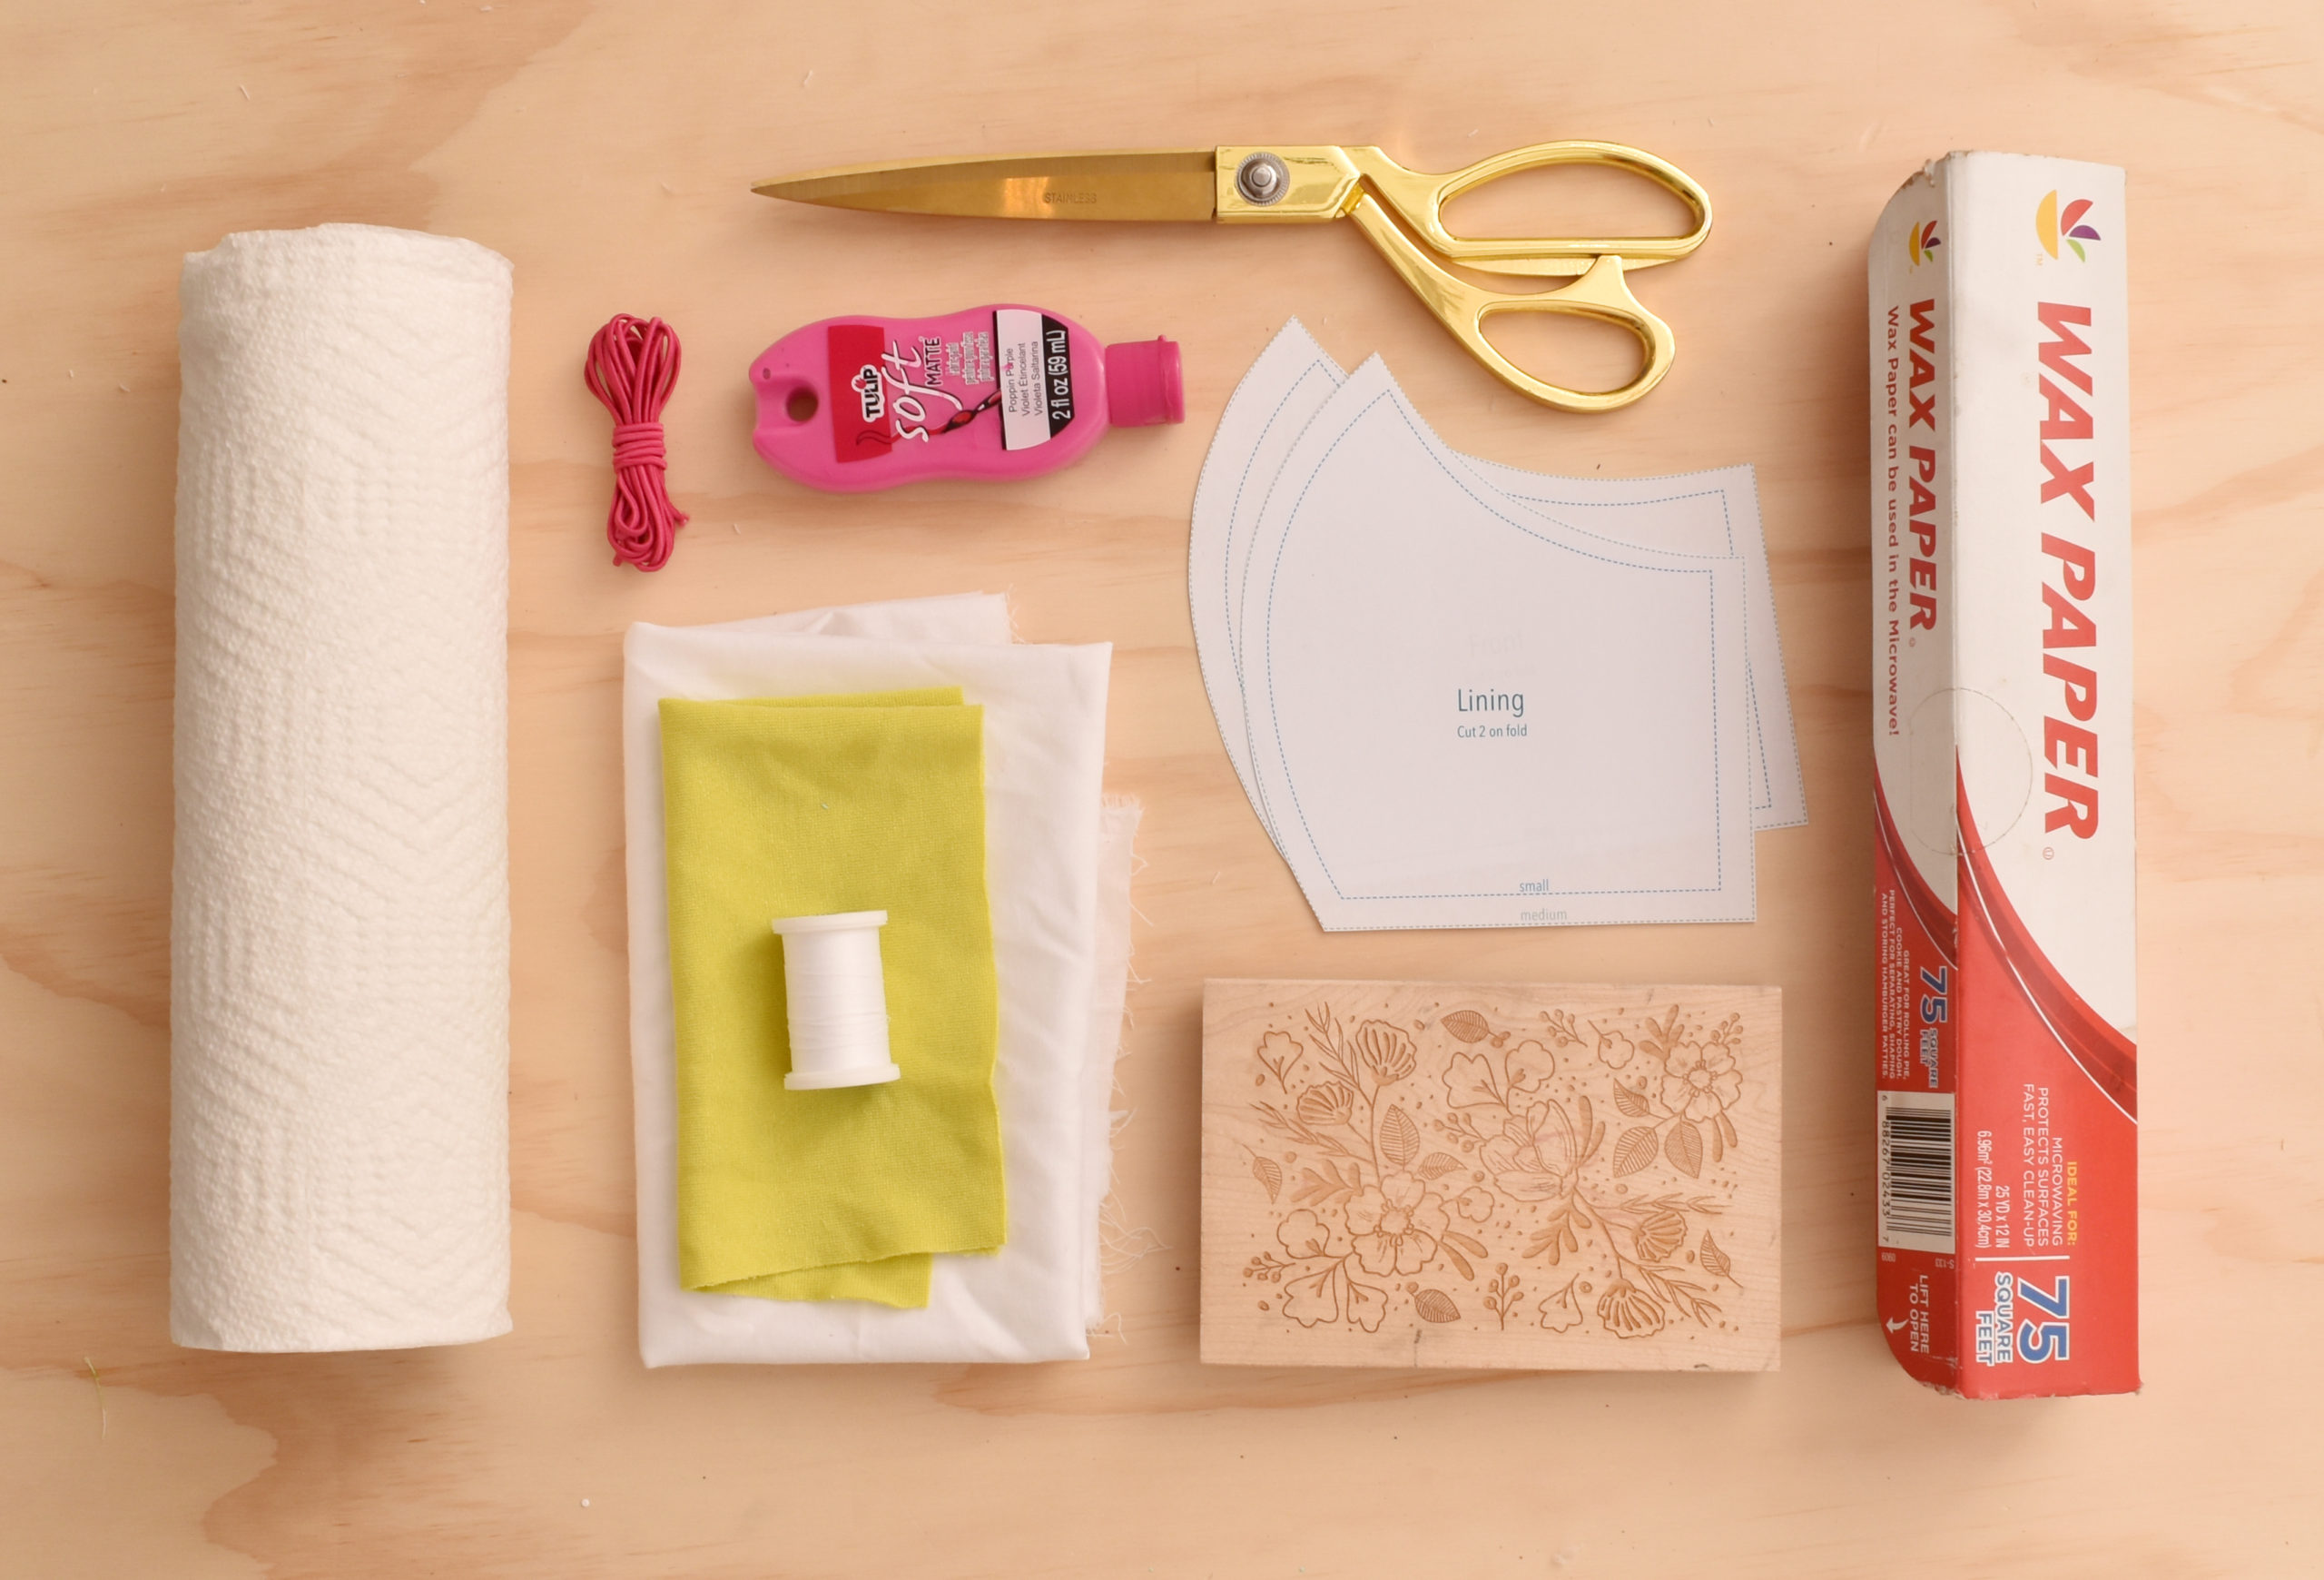
DIY Face Mask Materials
- Large rubber stamp
- Fabric paint
- Paintbrush (not pictured)
- Wax paper
- Paper towels
- Face mask pattern
- Scissors
- 7×15″ fabric in two colors
- Thread
- Sewing machine
- Thin elastic (I used 2mm wide)
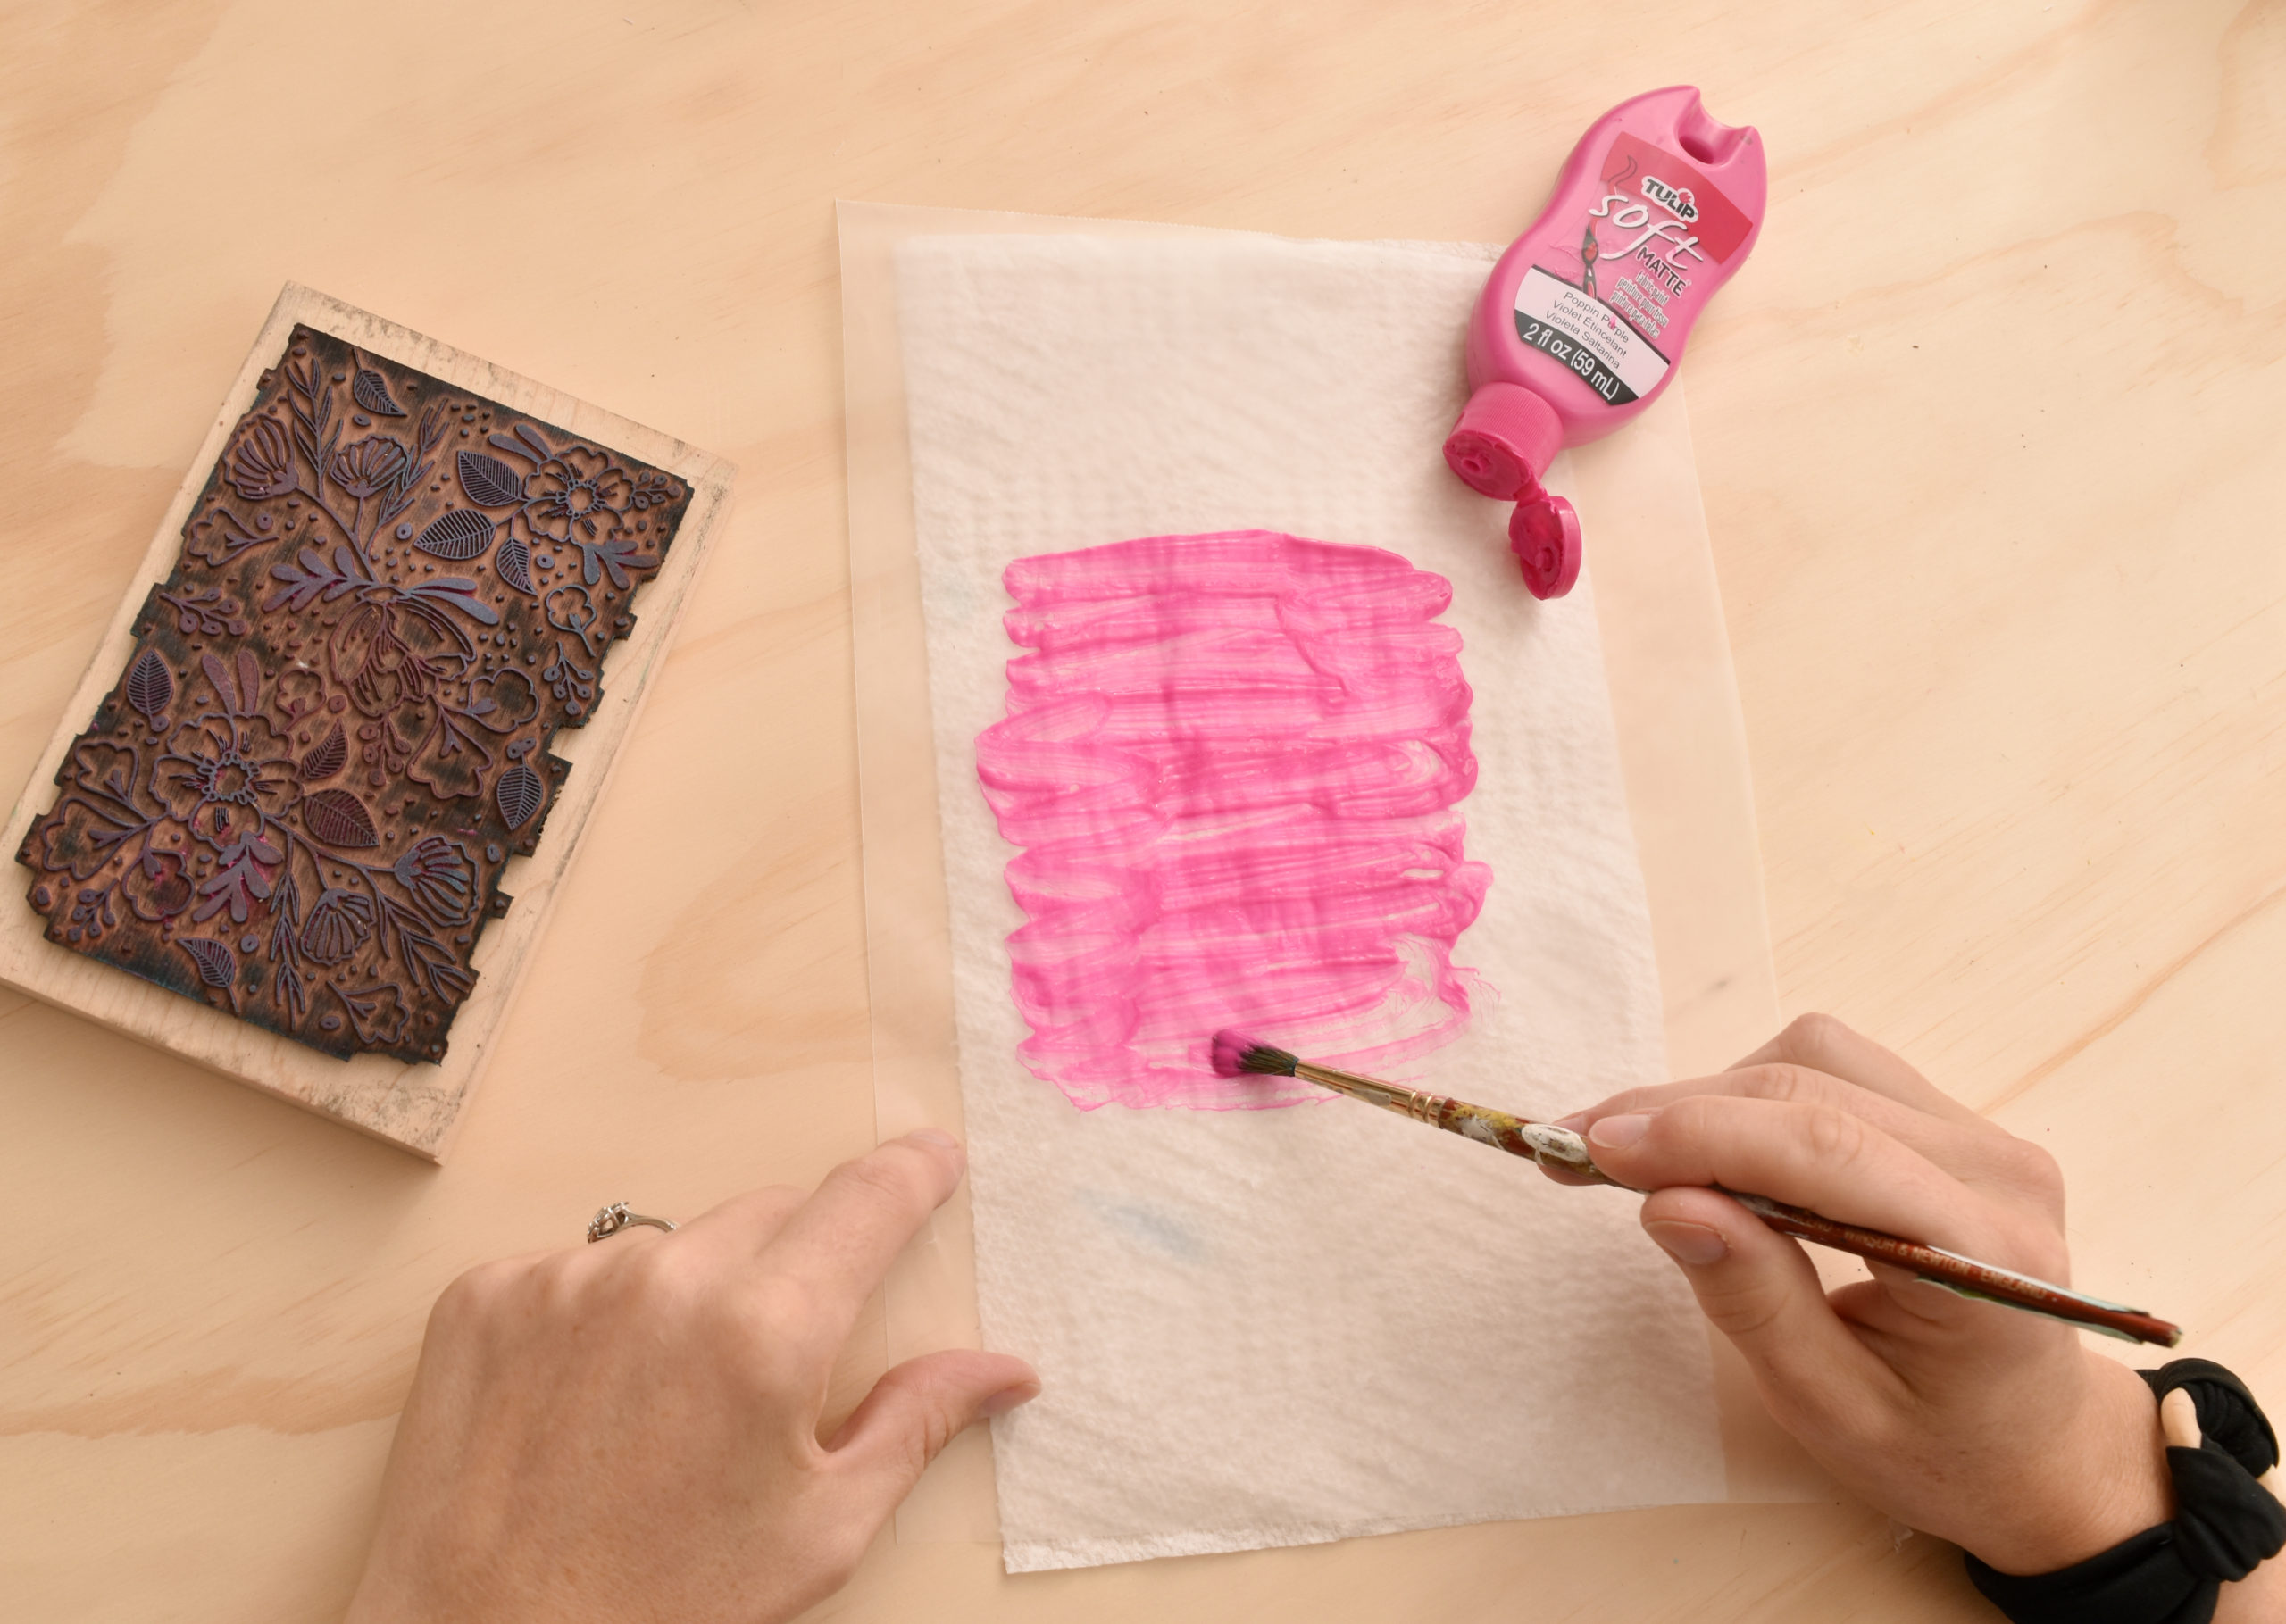
Begin by putting some fabric paint on a piece of wax paper. Use a paintbrush to spread it out so that it’s covering an area that’s larger than your rubber stamp.
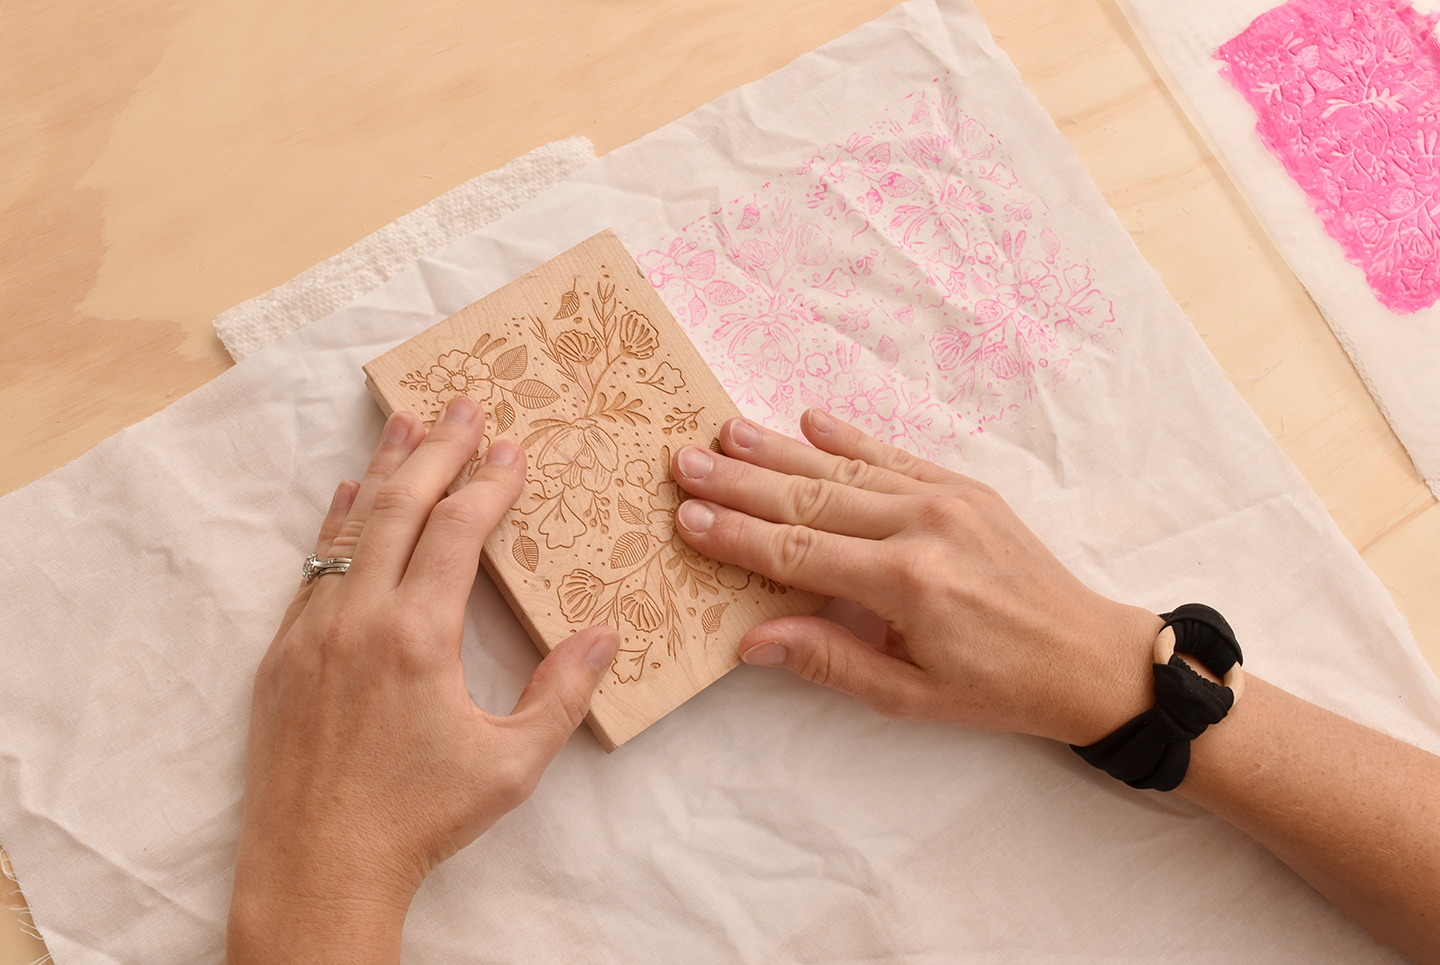
Lay the fabric you’d like to print on down on your work surface with a piece of paper towel underneath. This will protect your table, but more importantly, it will add a bit of padding so the fabric paint will adhere better. Dip your rubber stamp in the painted area a couple of times and then carefully lay it down on the fabric. Press very hard, taking care not to move the stamp around.
Repeat the process right next to the first place you stamped until you have enough printed area for the front pieces of your mask.
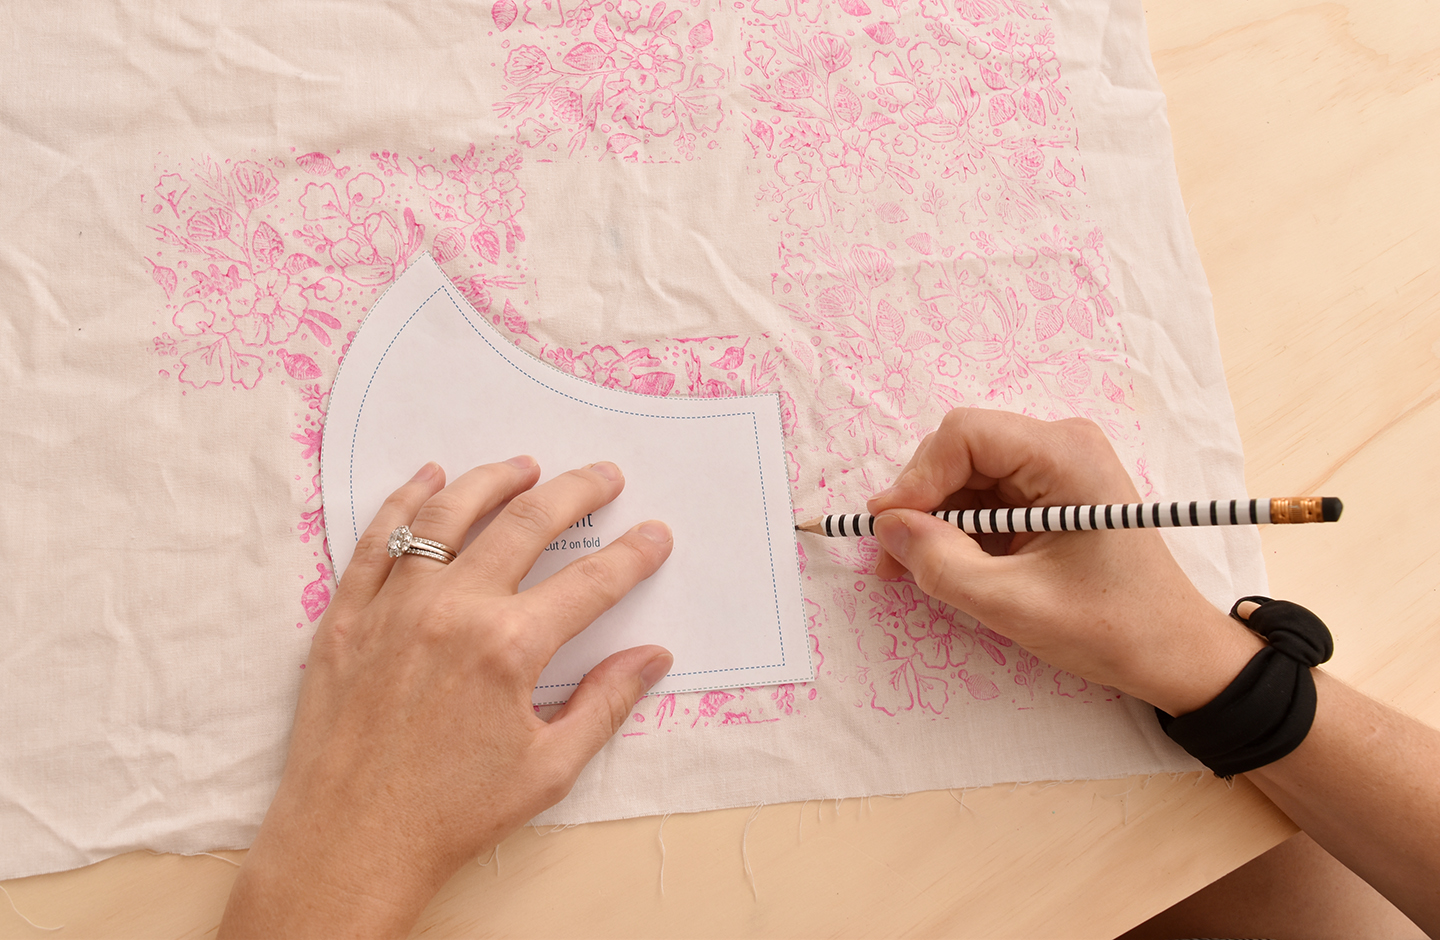
Cut out the pattern pieces in your desired size and trace around the front piece on the fabric once the paint is dry.
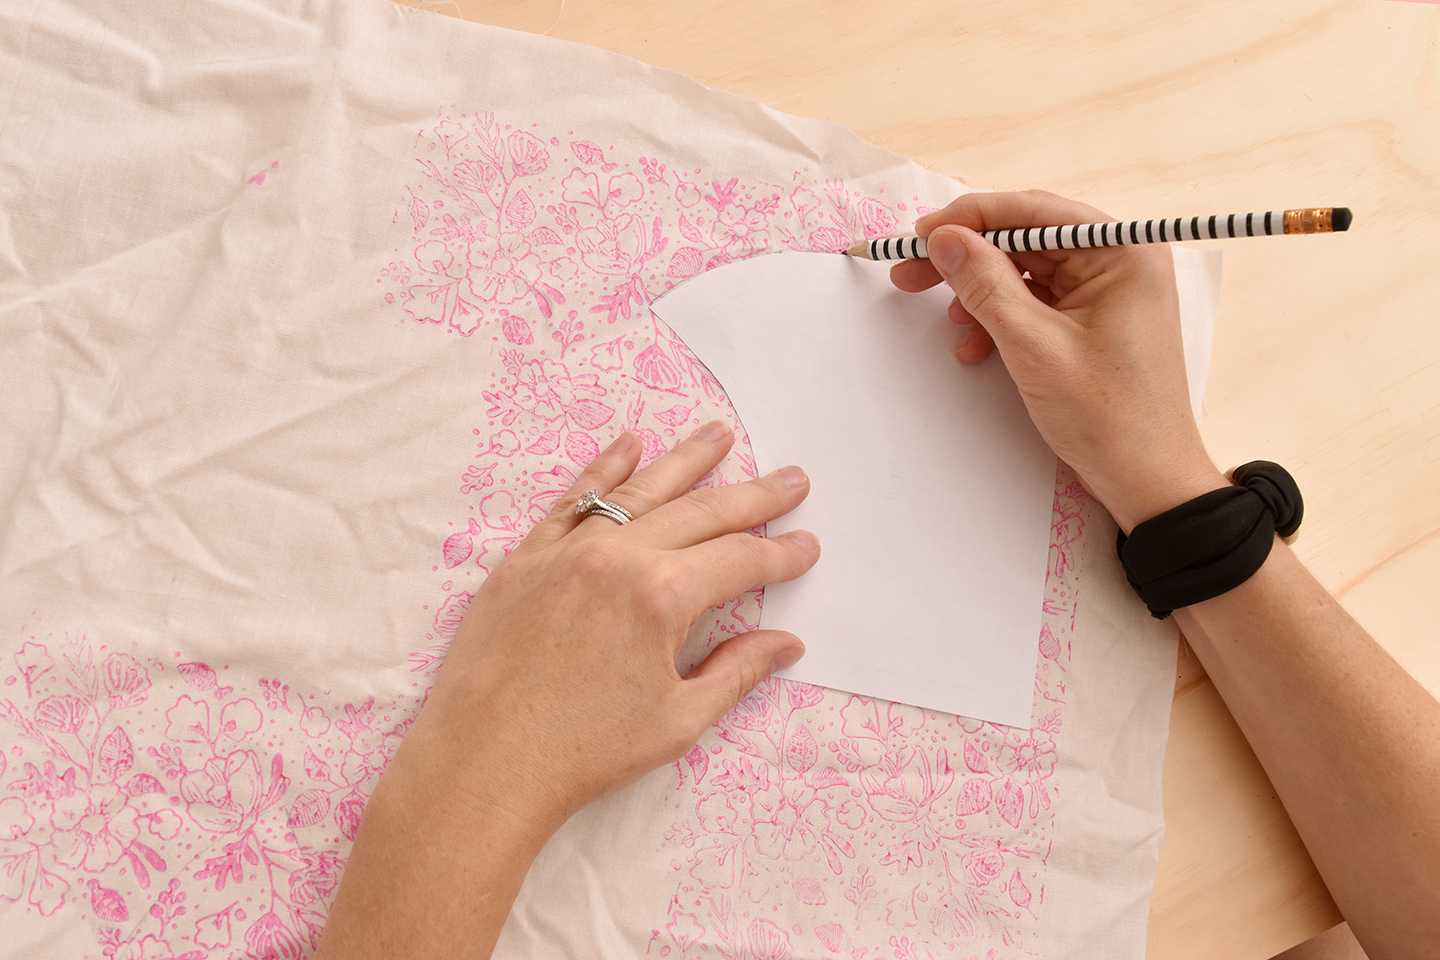
Flip the front pattern piece over so it’s upside down and trace around it on a different printed area. Cut out those two pieces that you’ve just traced.
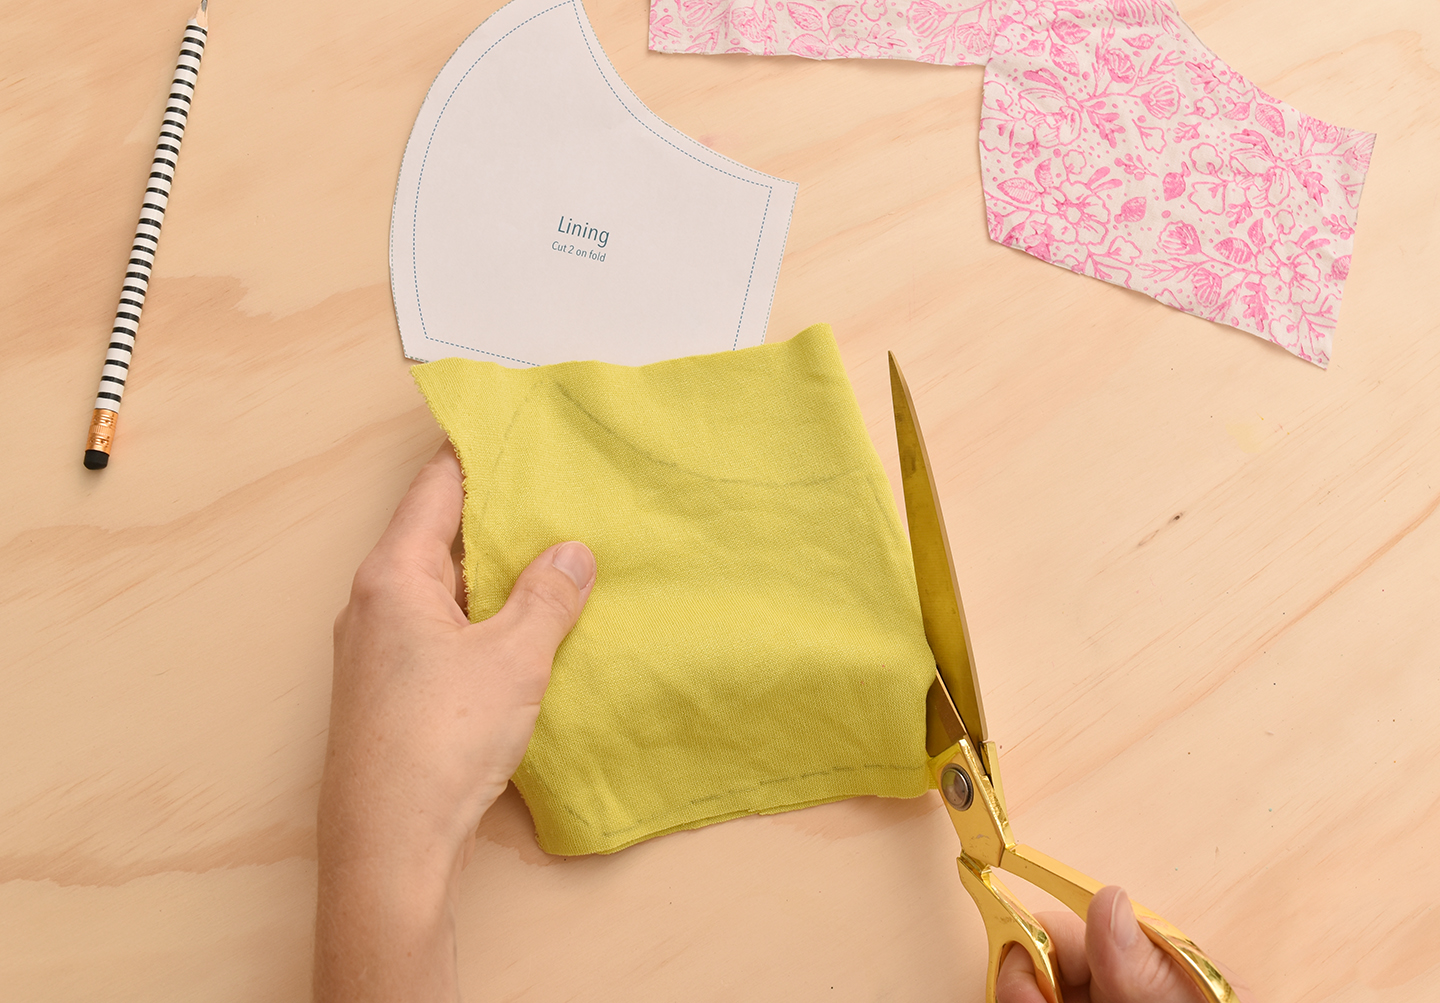
Now lay out your lining pattern piece on top of the contrasting fabric and trace and cut around it just as you did for the front piece. Flip it over and then trace and cut it out to create the other lining piece.
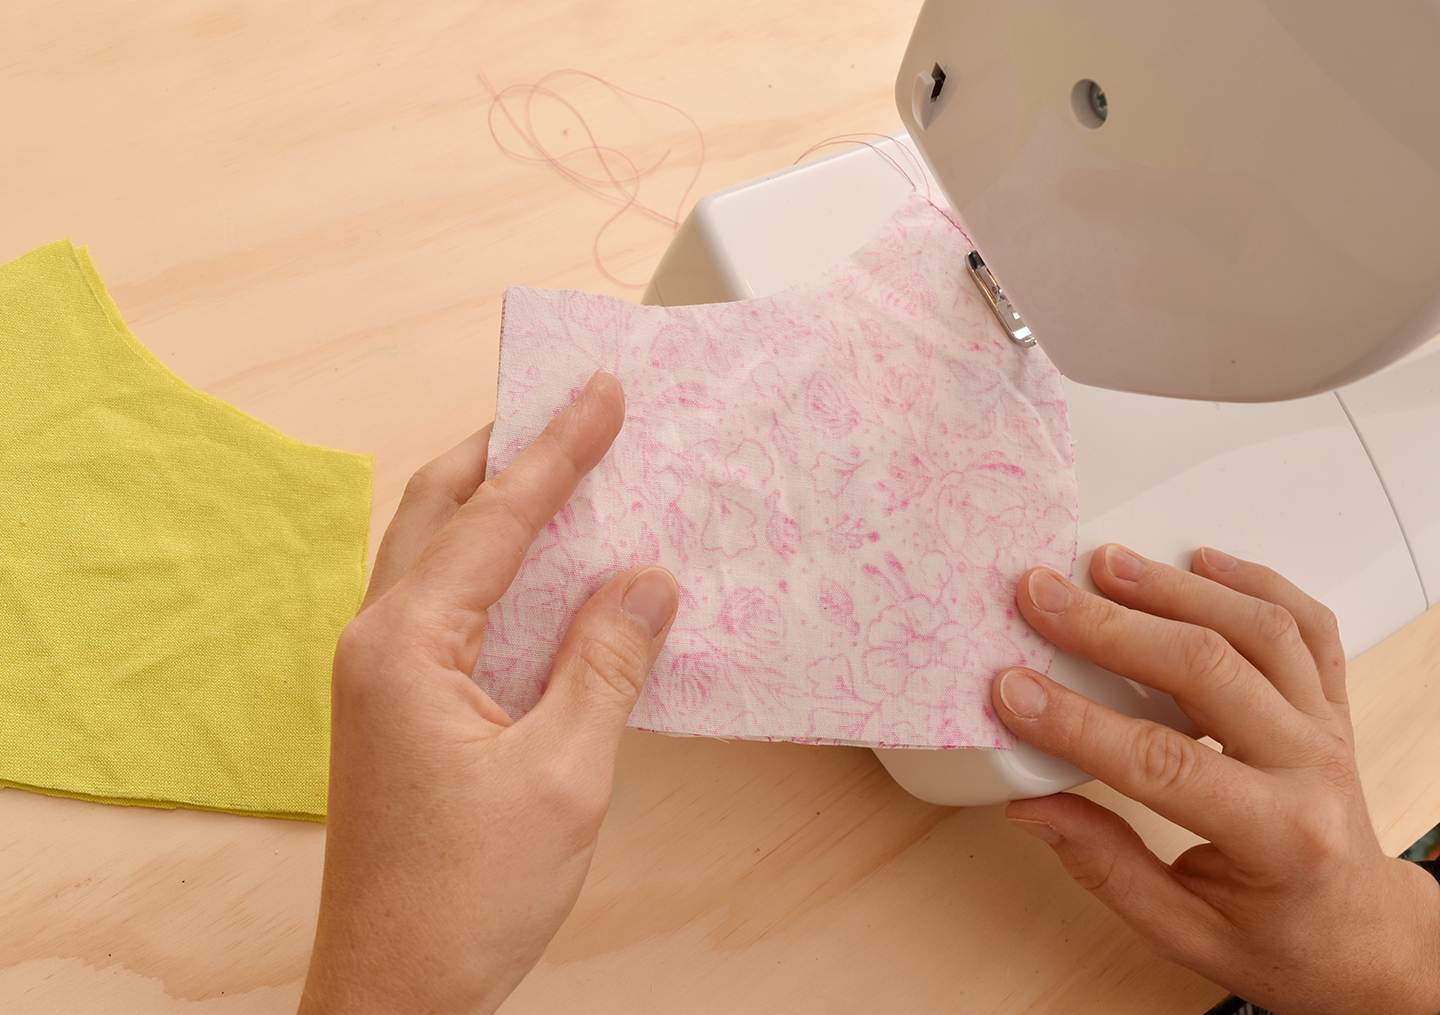
With right sides together, sew around the convex curve of the front pieces. Do the same with the lining pieces.
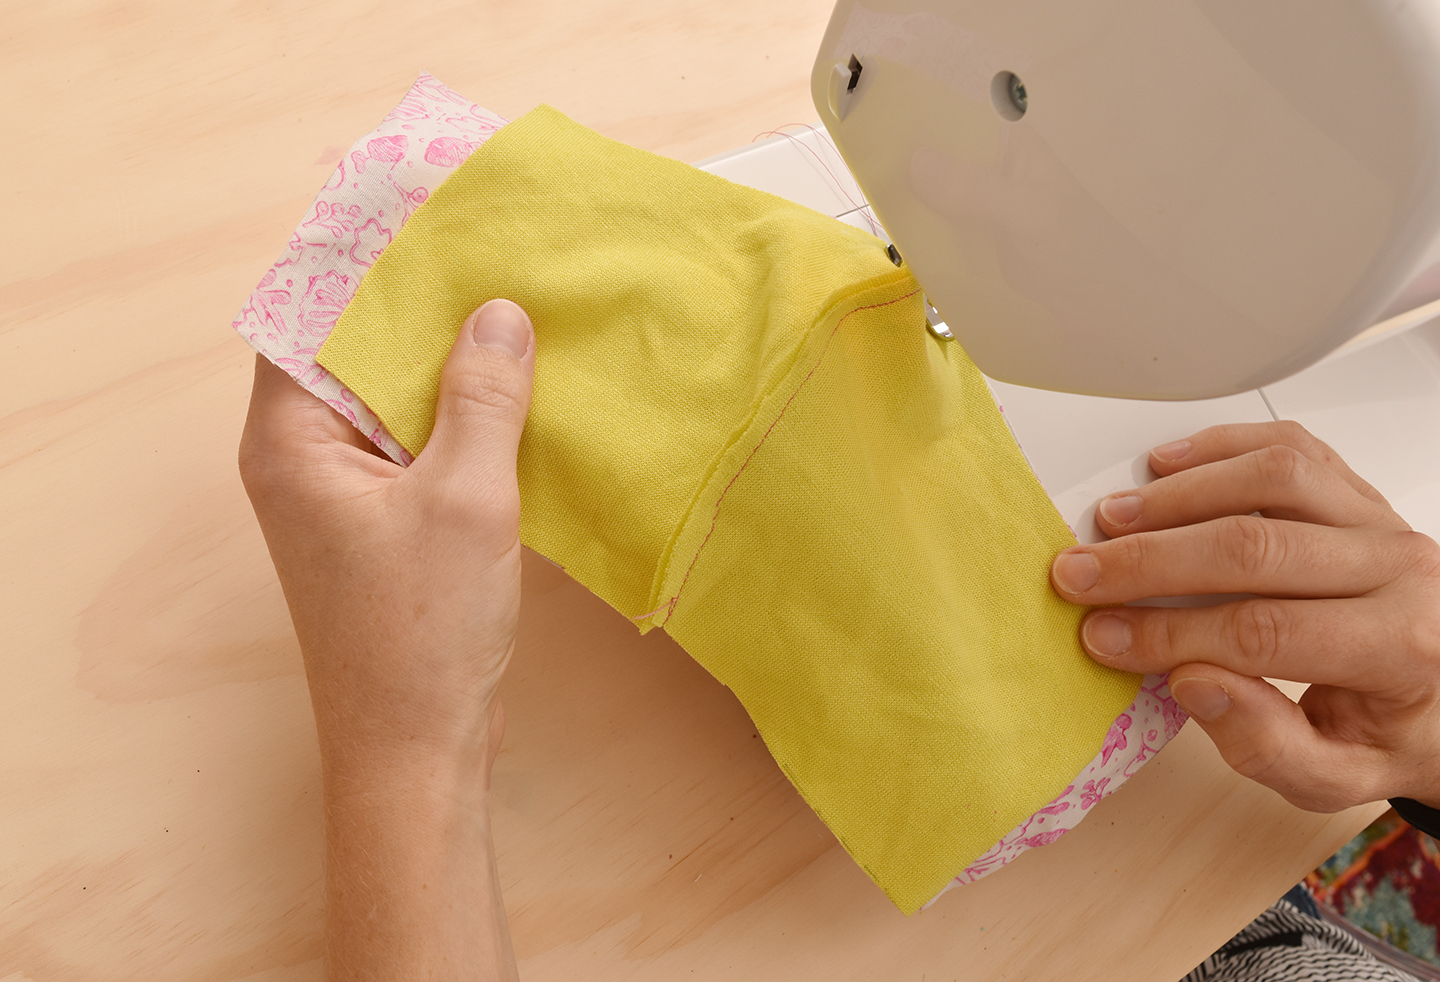
Begin sewing the front and back pieces together at the center seam as shown above, with right sides together. Make sure the center seams are lined up with each other.
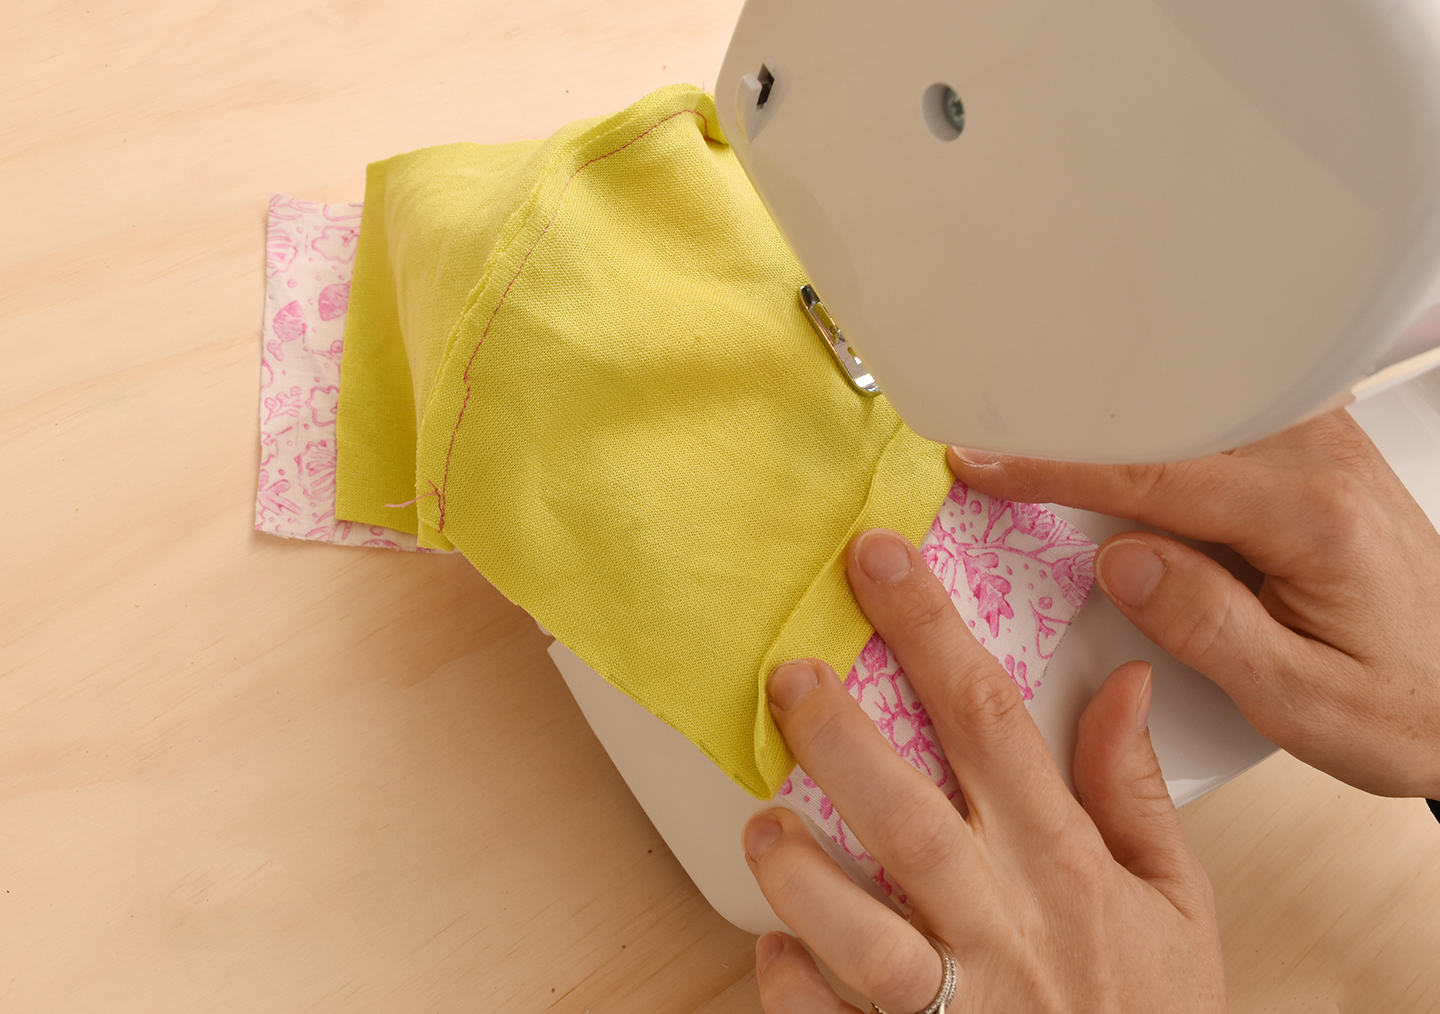
When you get one inch from the edge of the lining fabric, fold it over by half an inch and then continue sewing to the folded edge of the lining (see image above). Repeat this step for the opposite edge and the bottom edges as well.
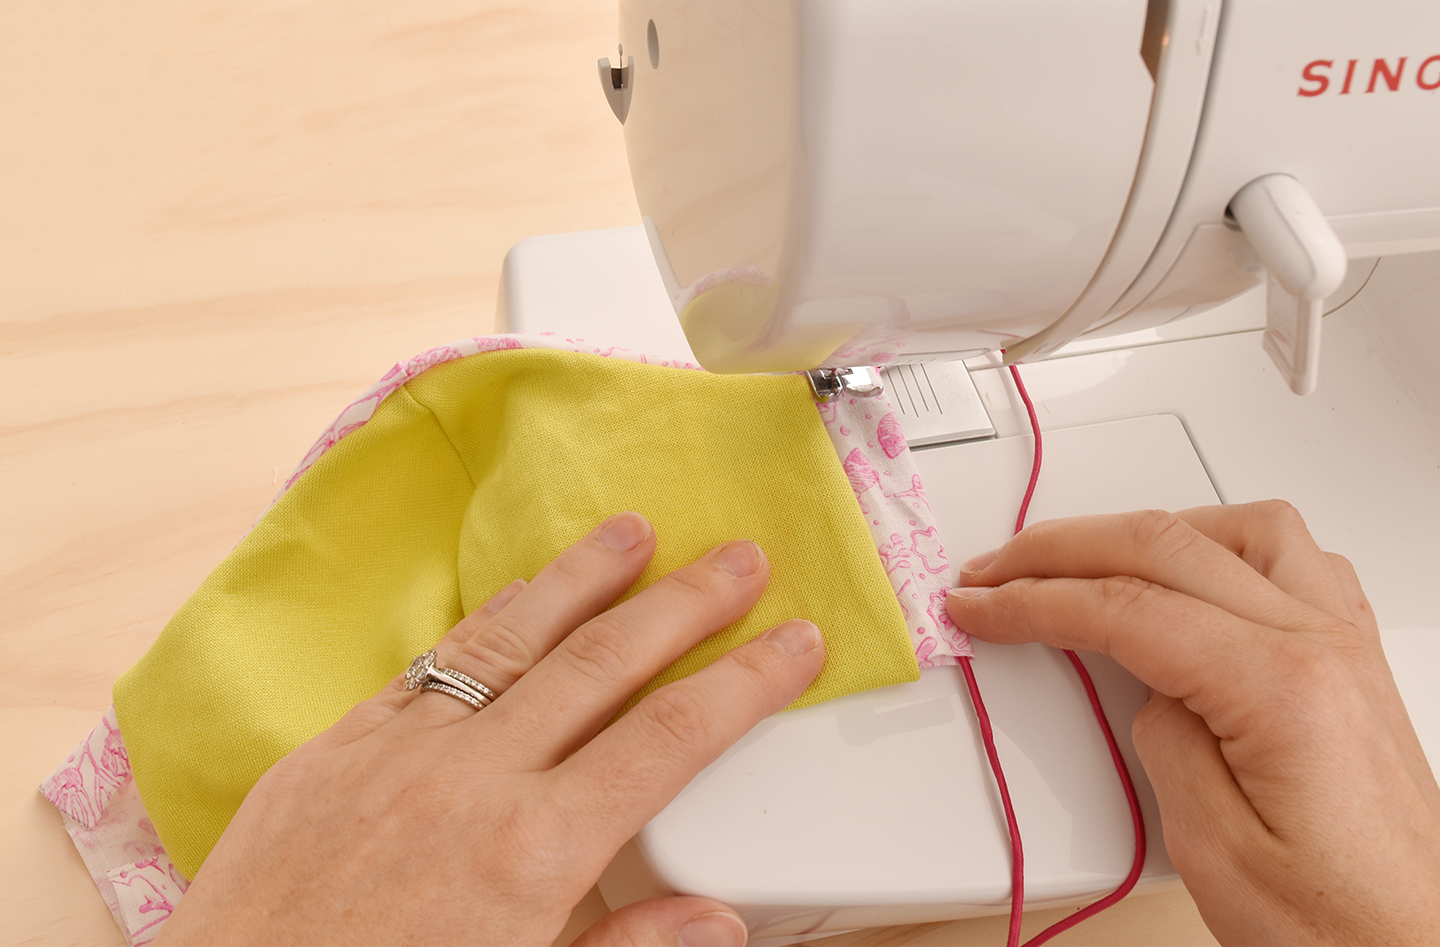
Turn the whole thing right side out and then fold over the remaining flaps on the front pieces to create casing for the elastic. Sew between the elastic and the edge of the lining, being careful not to catch the elastic with the needle. Do the same on the opposite flap.
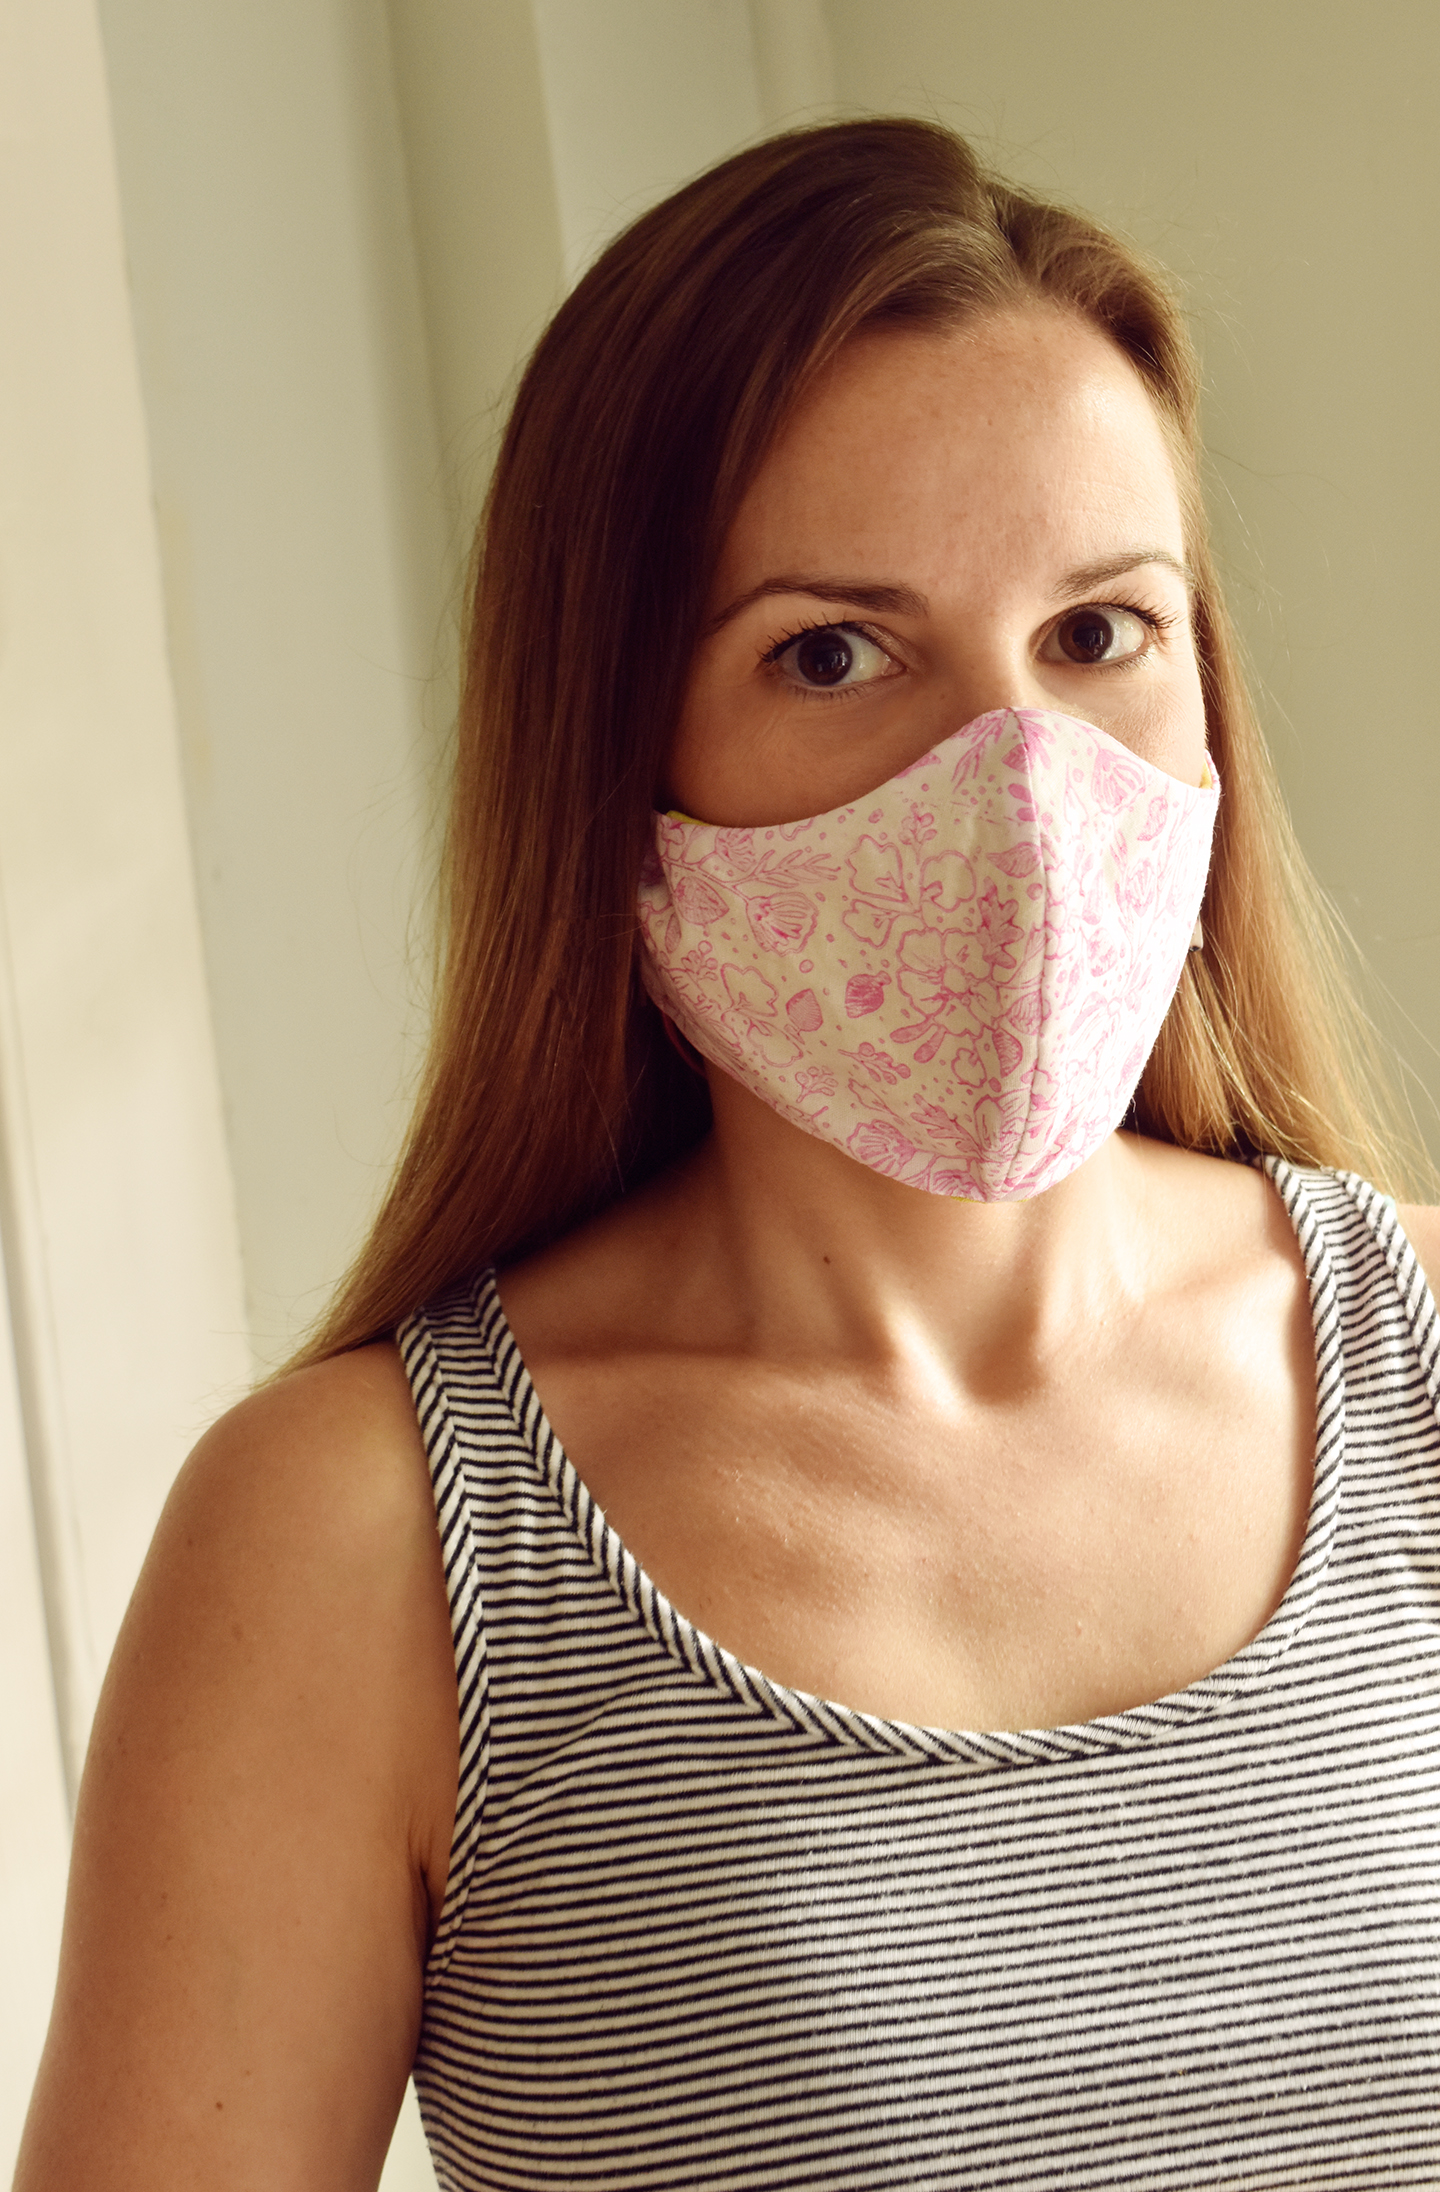
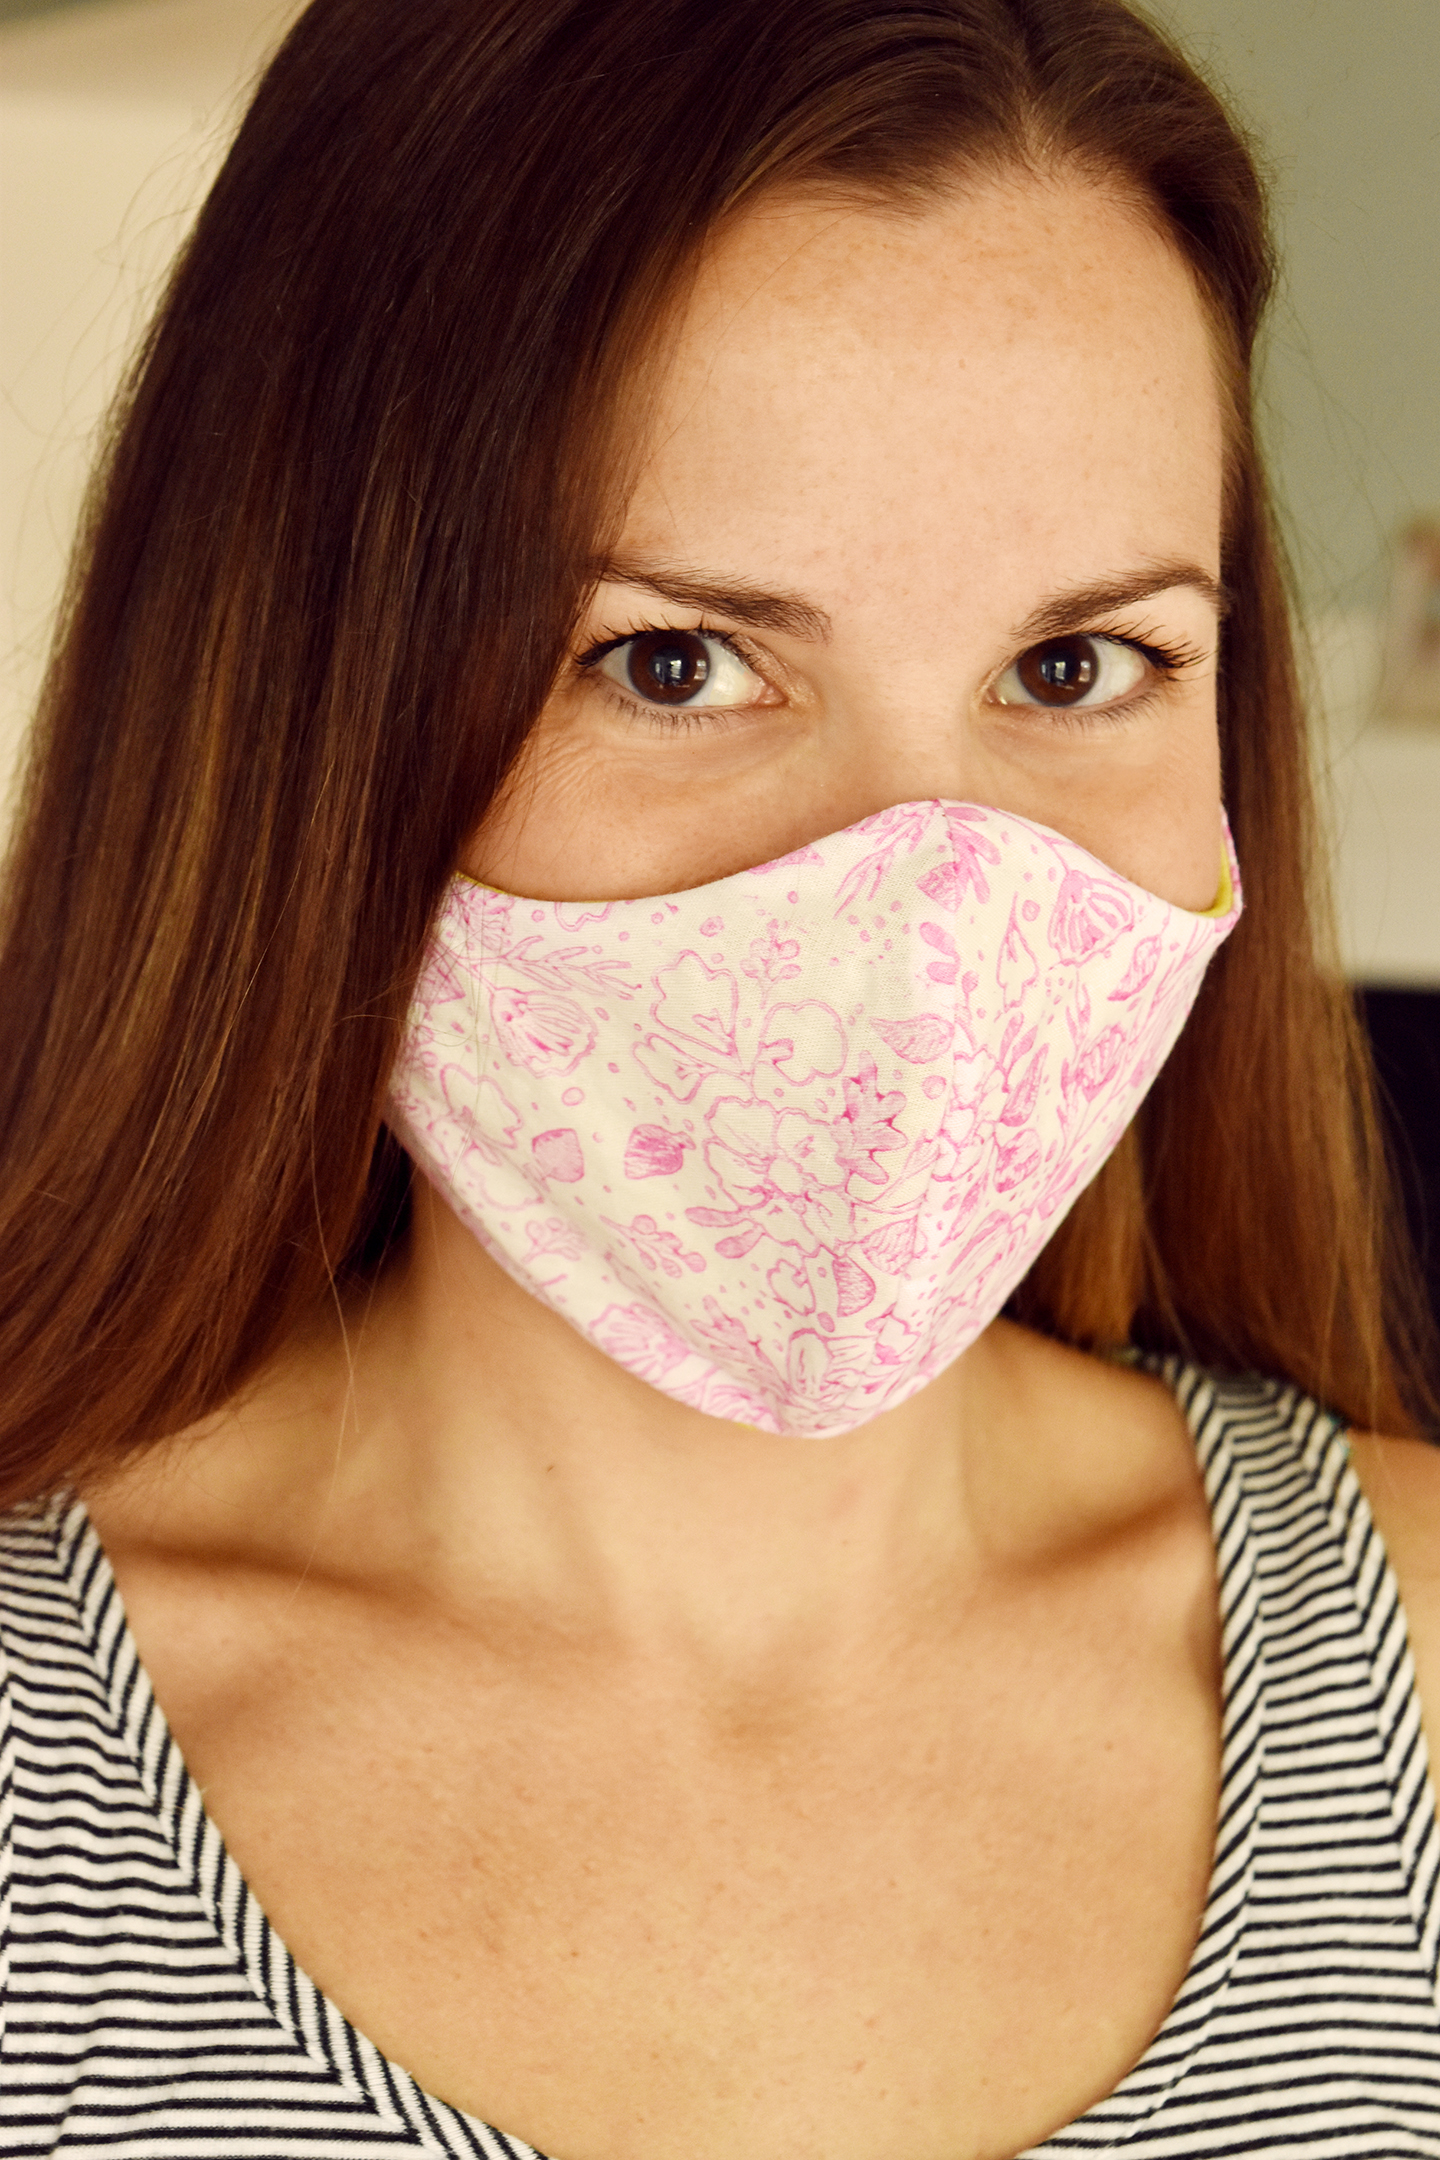
Tie the elastic and then tuck the knot inside the casing… and your DIY face mask is finished! This is such a fun way to really show off your own unique style – not a single soul will have the same mask as you!
This DIY face mask was
created in partnership with Rubberstamps.com.
Thanks for supporting the brands that keep Design Fixation online!