This post may contain affiliate links. This means that if you buy the cool stuff I recommend, I earn a small commission (but you still pay the same price). Thanks for helping me make a living doing my dream job!
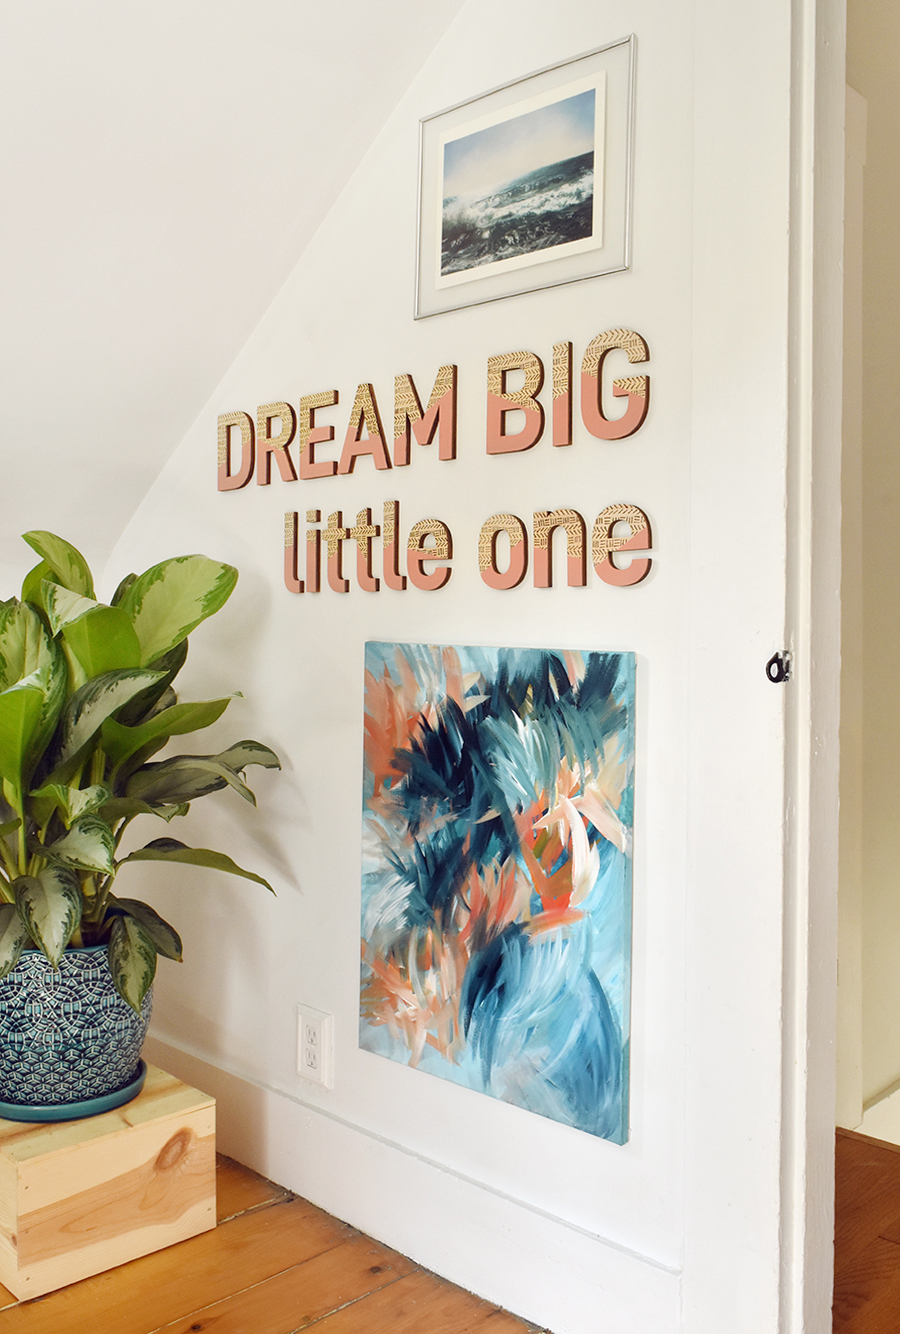
Baby Provencher’s due date is fast approaching, which means that Mike and I have been hard at work preparing the nursery. Those of you who have been here before are probably aware that I’m a big fan of typography, so I knew I wanted to have some kind of quote on the wall.
And after having success with my last quote project, I thought I’d use the same wooden letters from CraftCuts this time around to make some type of color block wall art. I’ve always loved the quote “dream big little one,” and I took it a step further by playing with the typography a little bit, putting the “dream big” in caps and the “little one” in lowercase letters.
The inspiration for the surface design came from these letters that used to be sold at Land of Nod before it became Crate & Kids. But I wanted to put my own spin on it… so to keep it more cohesive, I stuck with one color and pattern throughout all of the letters. And I’ve been loving the look of mud cloth patterns lately, so that’s where my inspiration came from for the pattern. Read more about this beautiful African design here. So let’s get started!
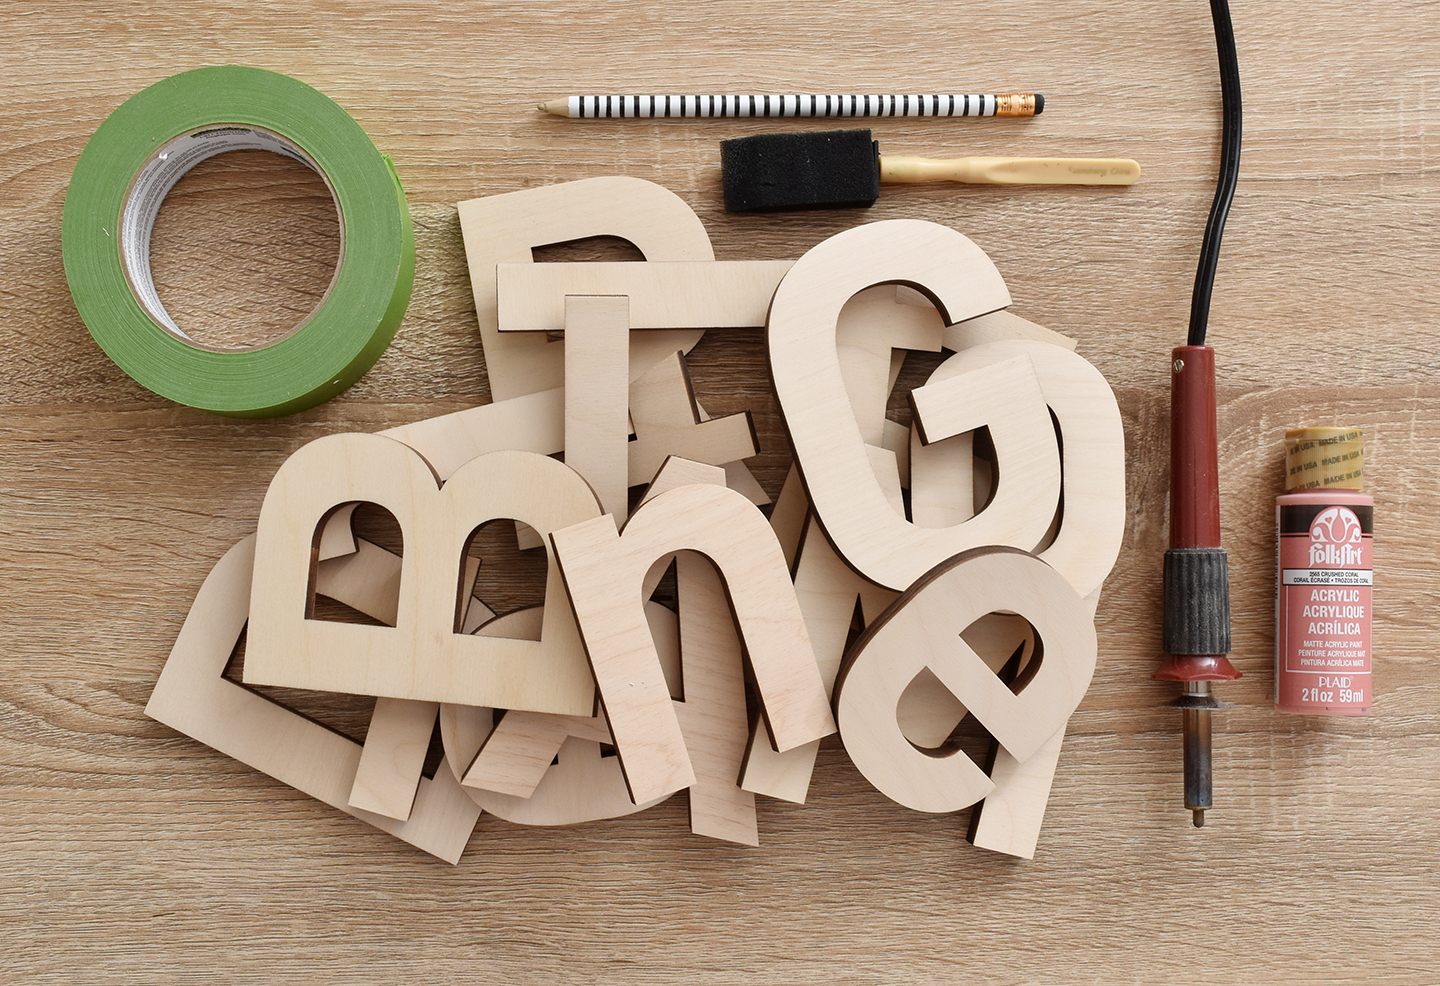
Here’s what you’ll need to create your DIY color block wall art letters:
- Wooden letters from CraftCuts
- Acrylic craft paint
- Painter’s tape (Frog Tape is my fave)
- Foam paint brush
- Pencil
- Woodburning tool

Begin by taping off the letters on the diagonal. I’d suggest laying out your letters in order so you can see how the color blocked sections will look together.
I would recommend using Frog Tape… I find that it creates a much cleaner line than any other painter’s tape I’ve tried. Press the tape down very firmly on the bottom edge that will be painted. This will activate the adhesive on the tape, preventing any paint from seeping underneath.
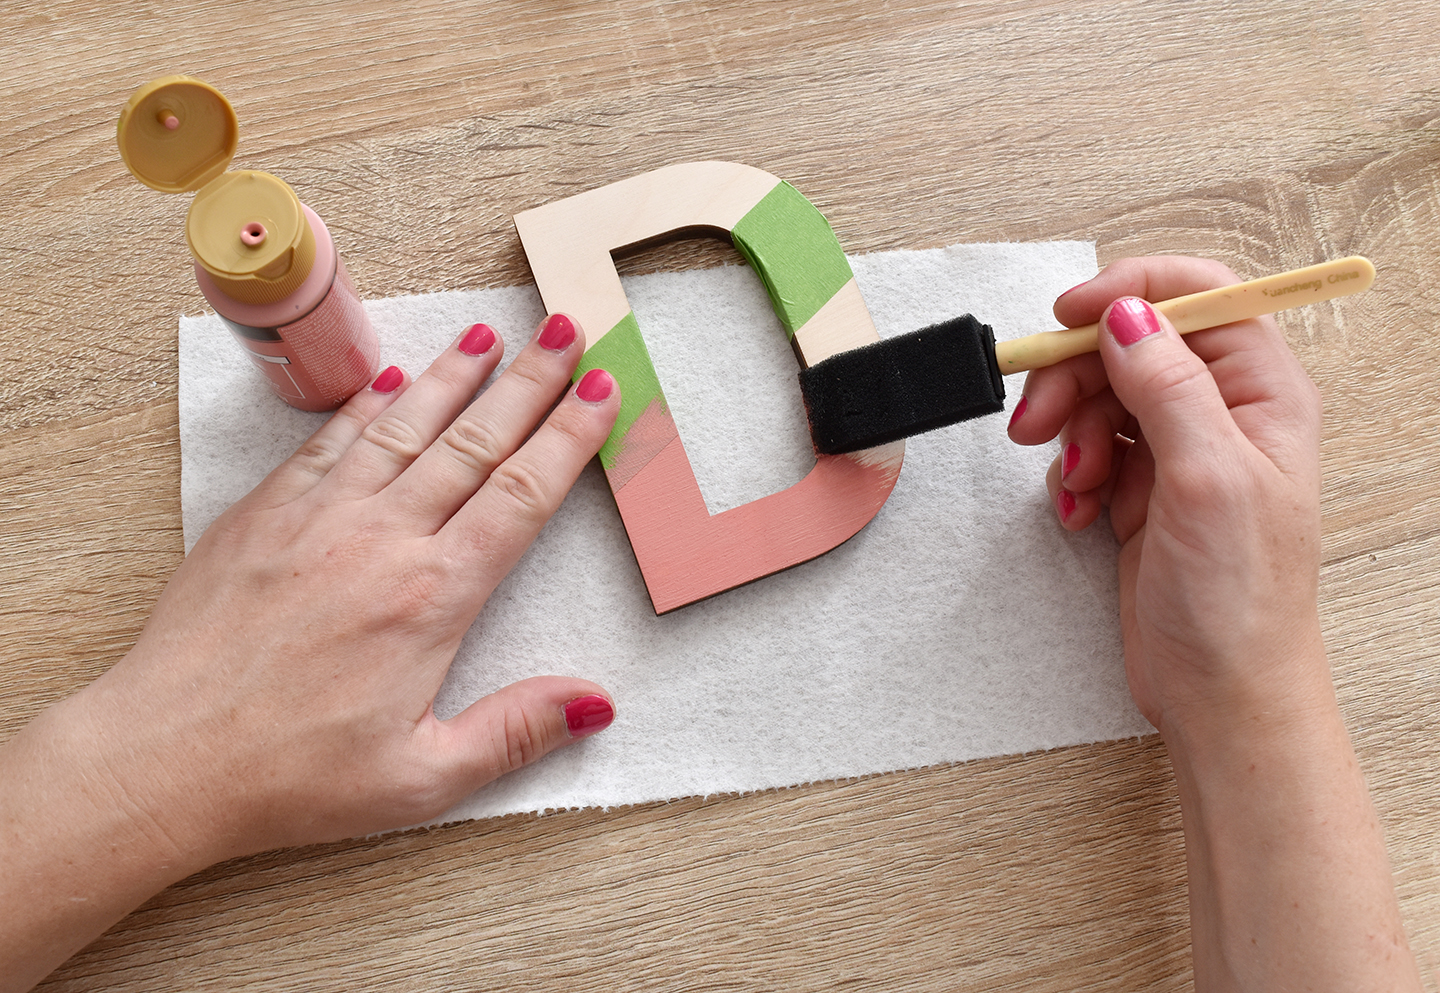
Next, use a foam brush to paint the bottom section of each letter. Carefully remove the tape after the paint has dried slightly, making sure not to get any wet paint from the tape on the unpainted wood section of the letter.
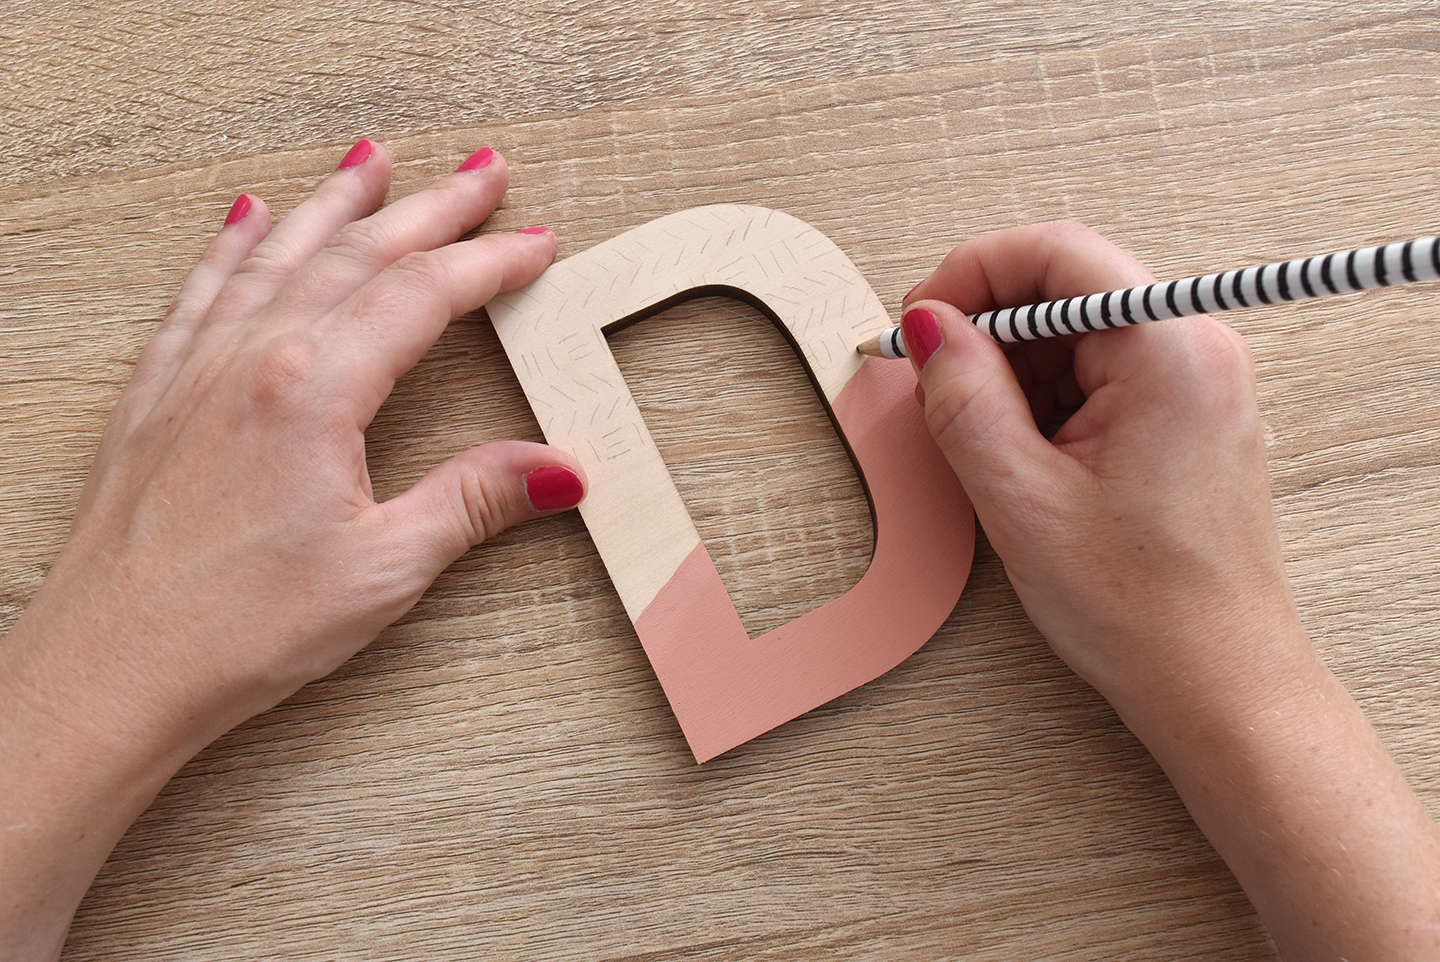
Begin sketching out your pattern on the top of each letter. I did a mud cloth inspired pattern, but you could get very creative here… polka dots, stripes, zig zags, etc.
One note though… I find that curved lines are more difficult to create using the woodburner, so I usually stick to straight lines.
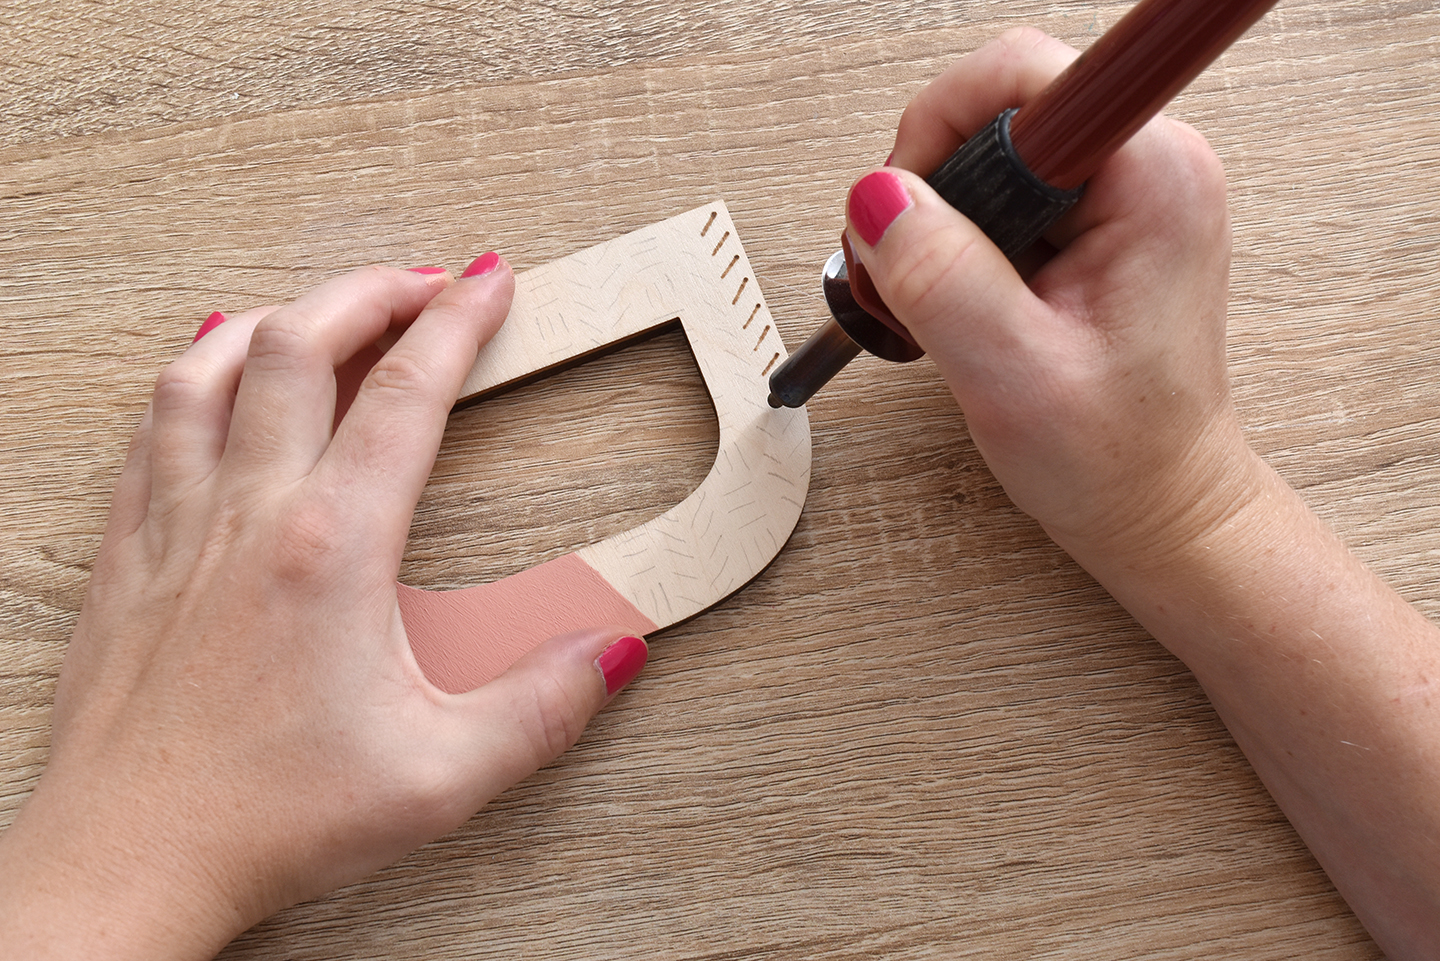
Heat up your woodburning tool and test it out on a piece of scrap wood if you’ve never used it before. It takes a little getting used to. Once you’re comfortable with it, begin going over all of the pencil lines that you’ve created. If there are any stray pencil marks that you didn’t cover, you can erase them with a clean white eraser.
And next, it’s time to mount your quote on the wall!
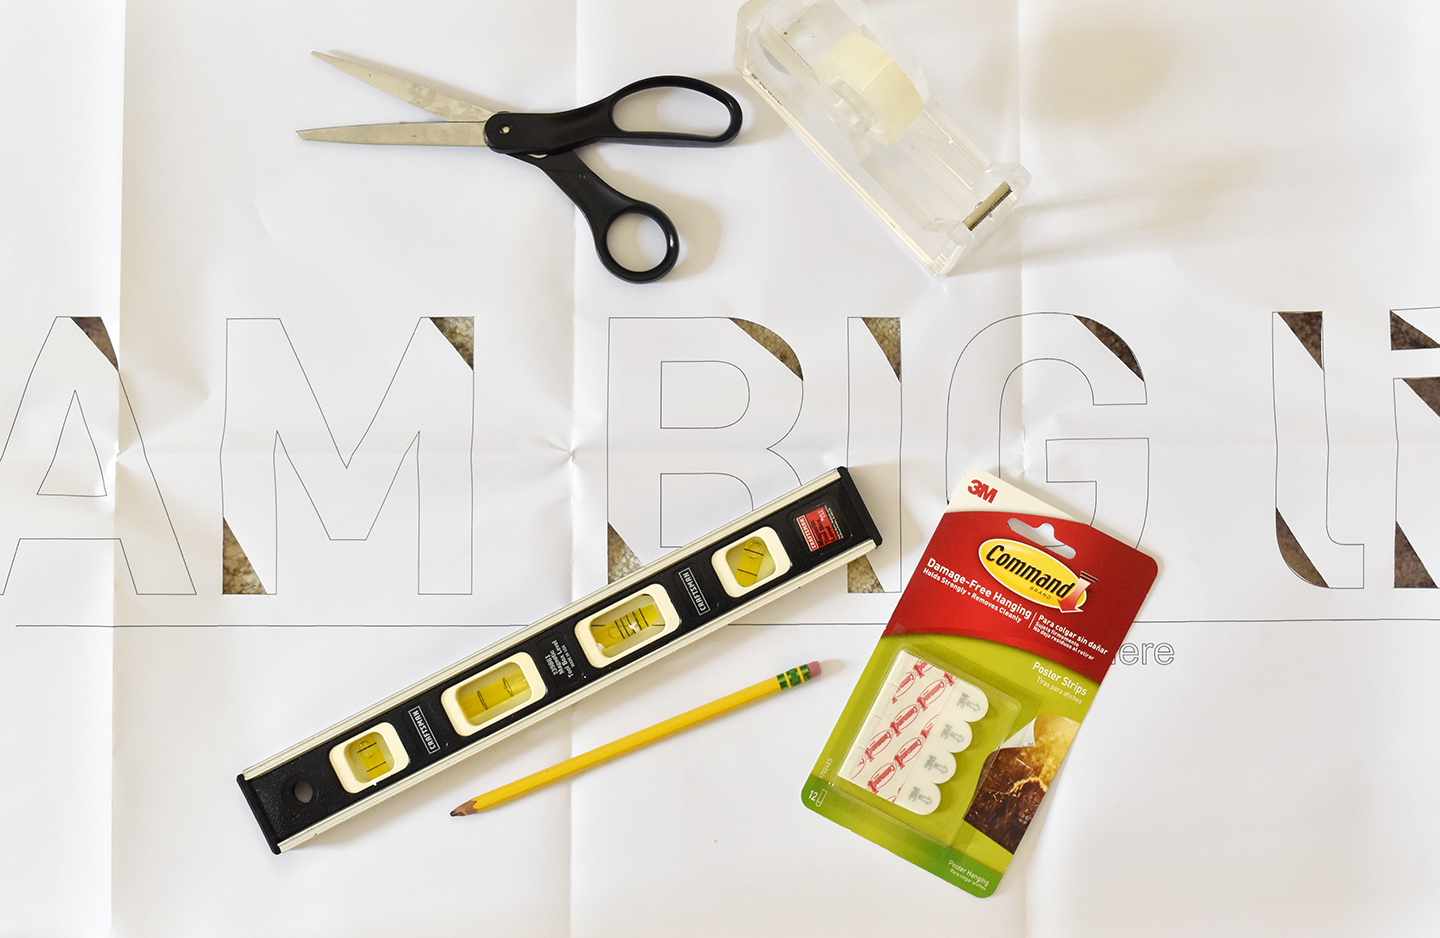
You’ll need the paper template that can be purchased along with your letters (definitely be sure to get this… it makes mounting your quote infinitely easier), a level, a pencil, 3M Command Poster Strips, scissors and tape.
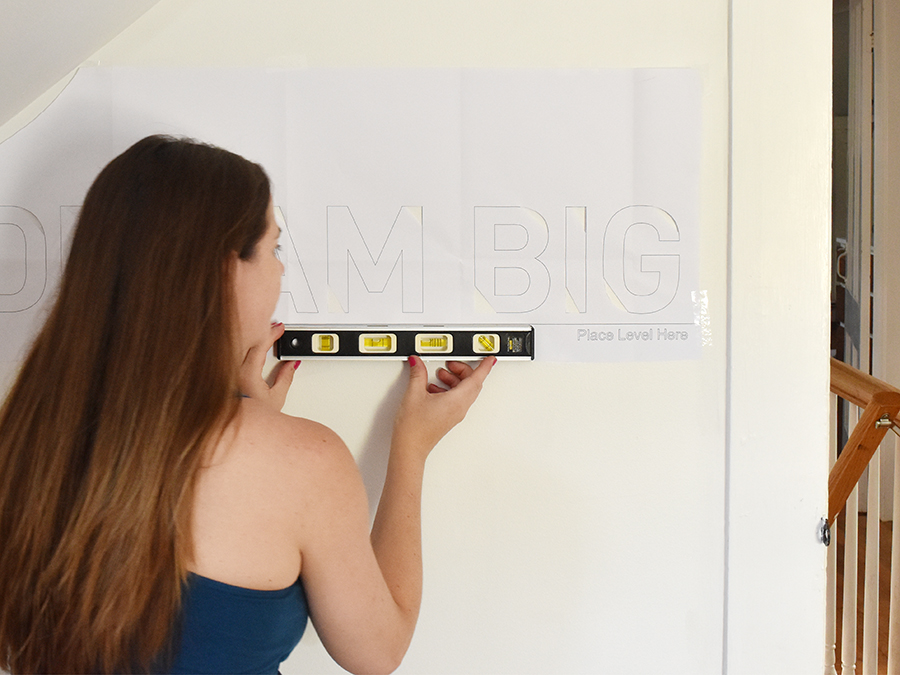
The first step is to tape your paper template to the wall, making sure it’s level. I wanted my quote to be stacked, so I cut the template in half and placed “dream big” on one line and “little one” on another.
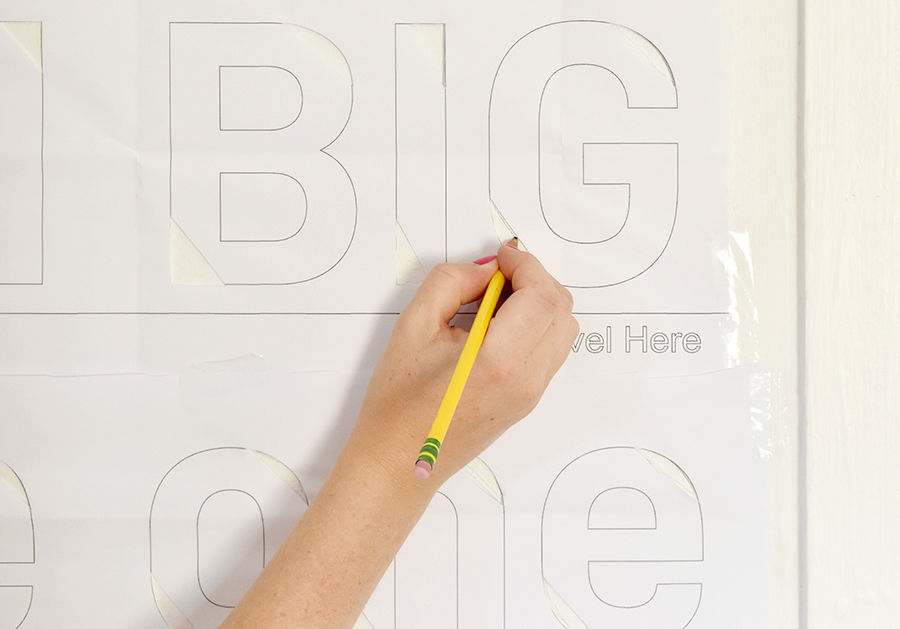
Once everything is taped securely to the wall, lightly trace the cutouts within each letter with a pencil.
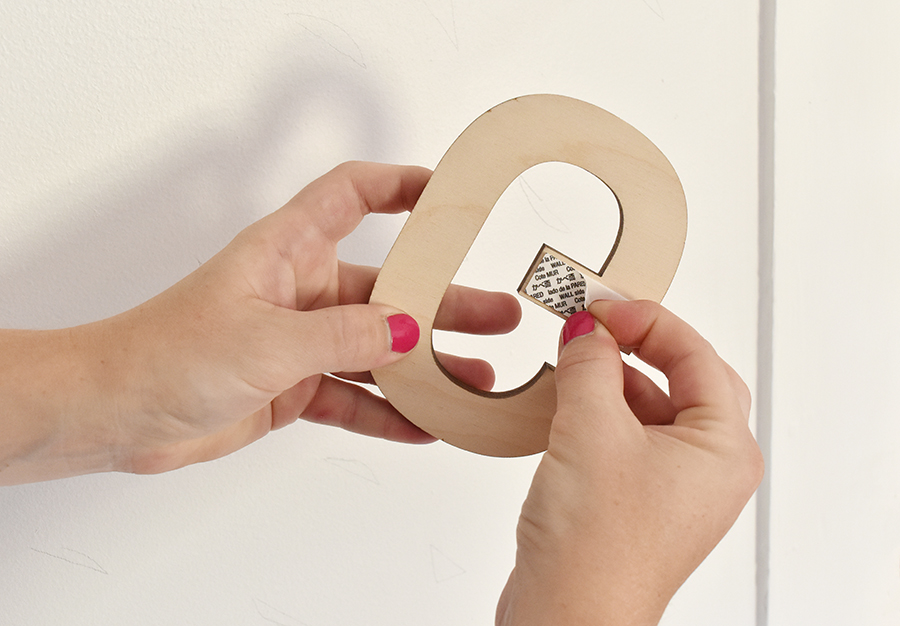
Place a poster strip on the back of the first letter and press the letter firmly on the wall over the pencil guides. Repeat for the rest of the letters, and you’re finished!
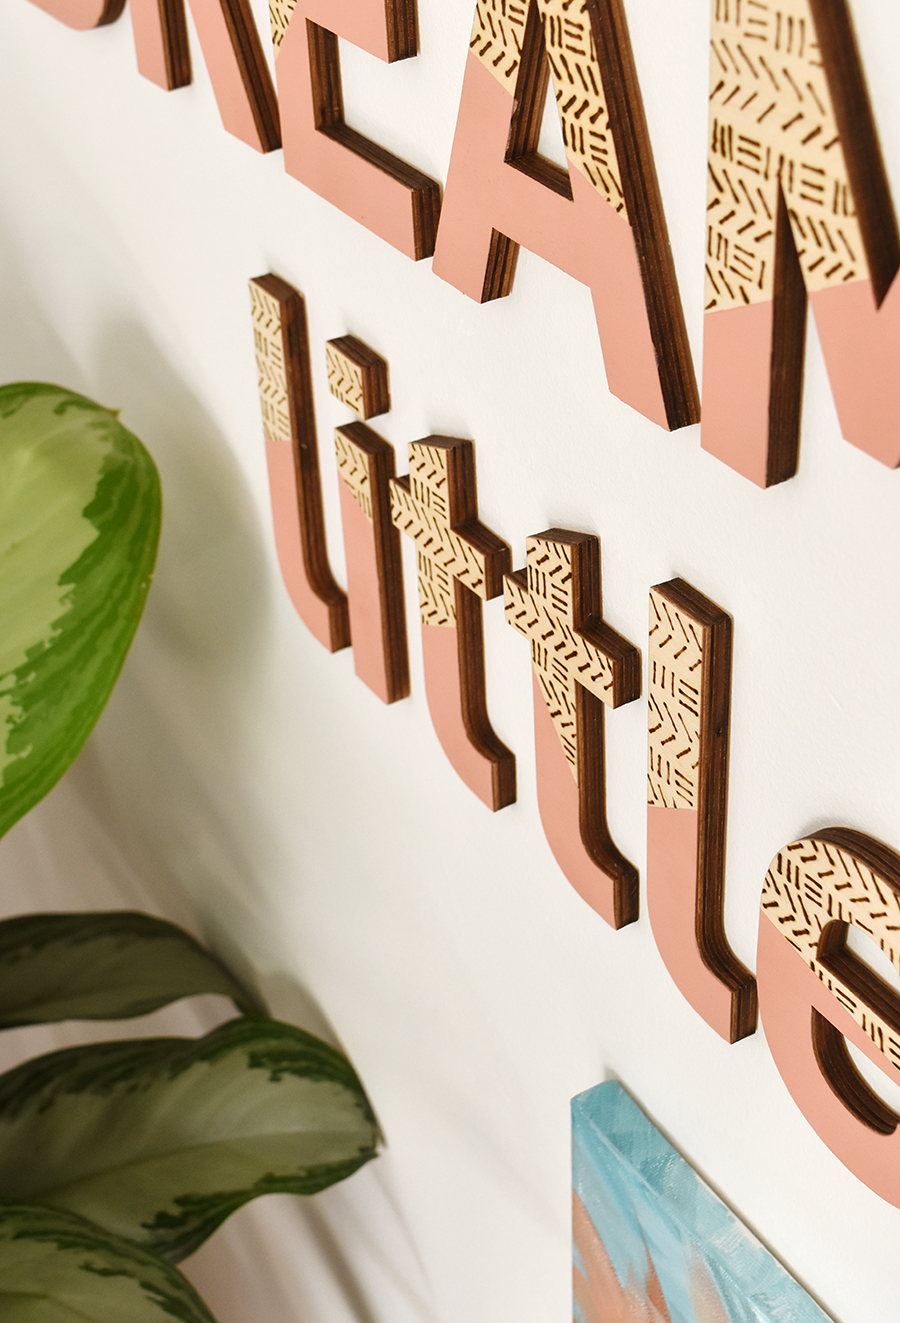
It’s such a fun way to add character to any wall… and it can be customized in so many different ways!
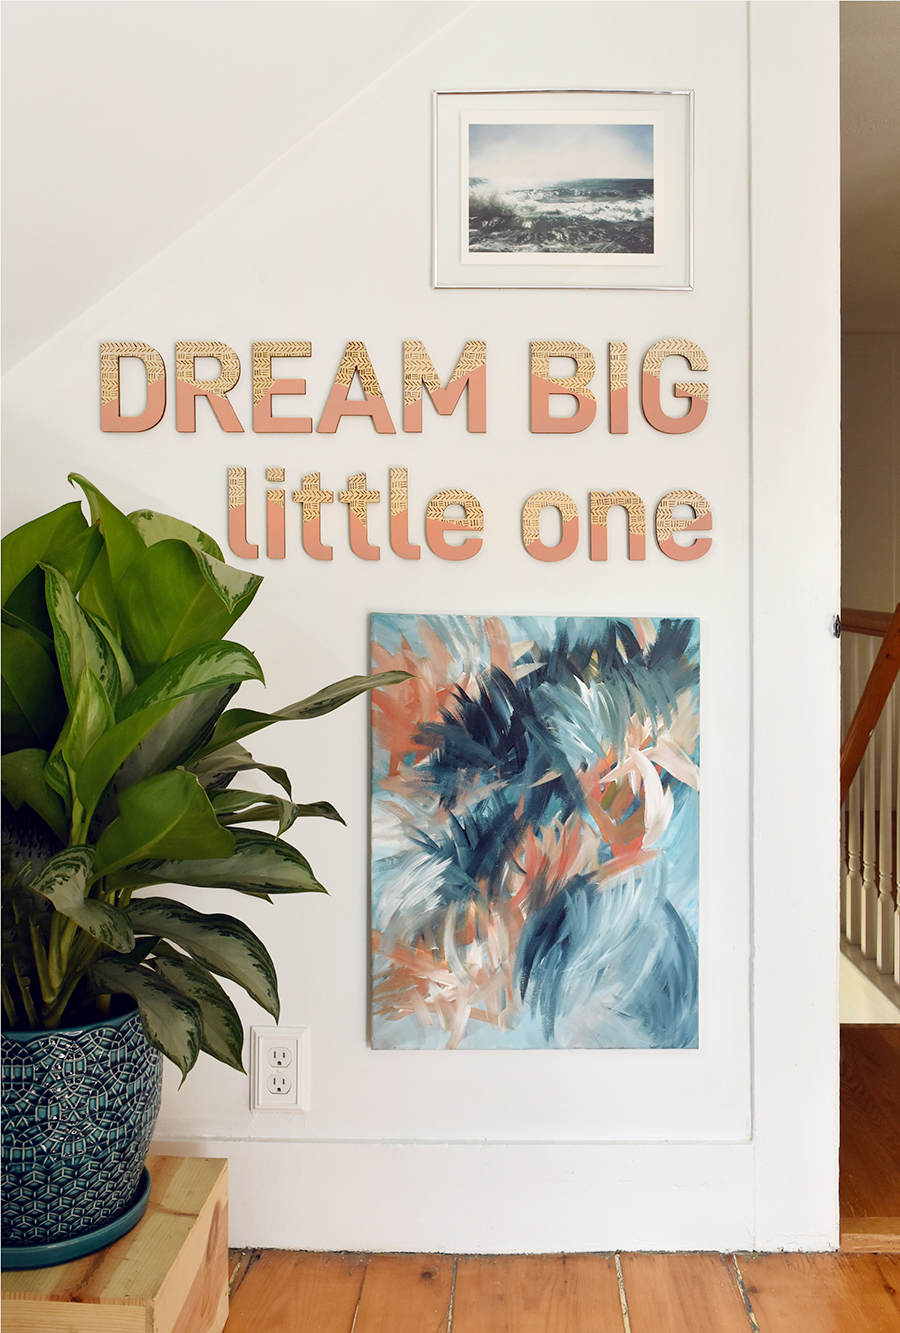
This photo makes me laugh because the rest of the room looks like a hurricane hit it… just outside the frame is a mess of baby clothes, half finished handmade shelves and quite a few other projects. But eventually we’ll get it all done. Baby steps 😉
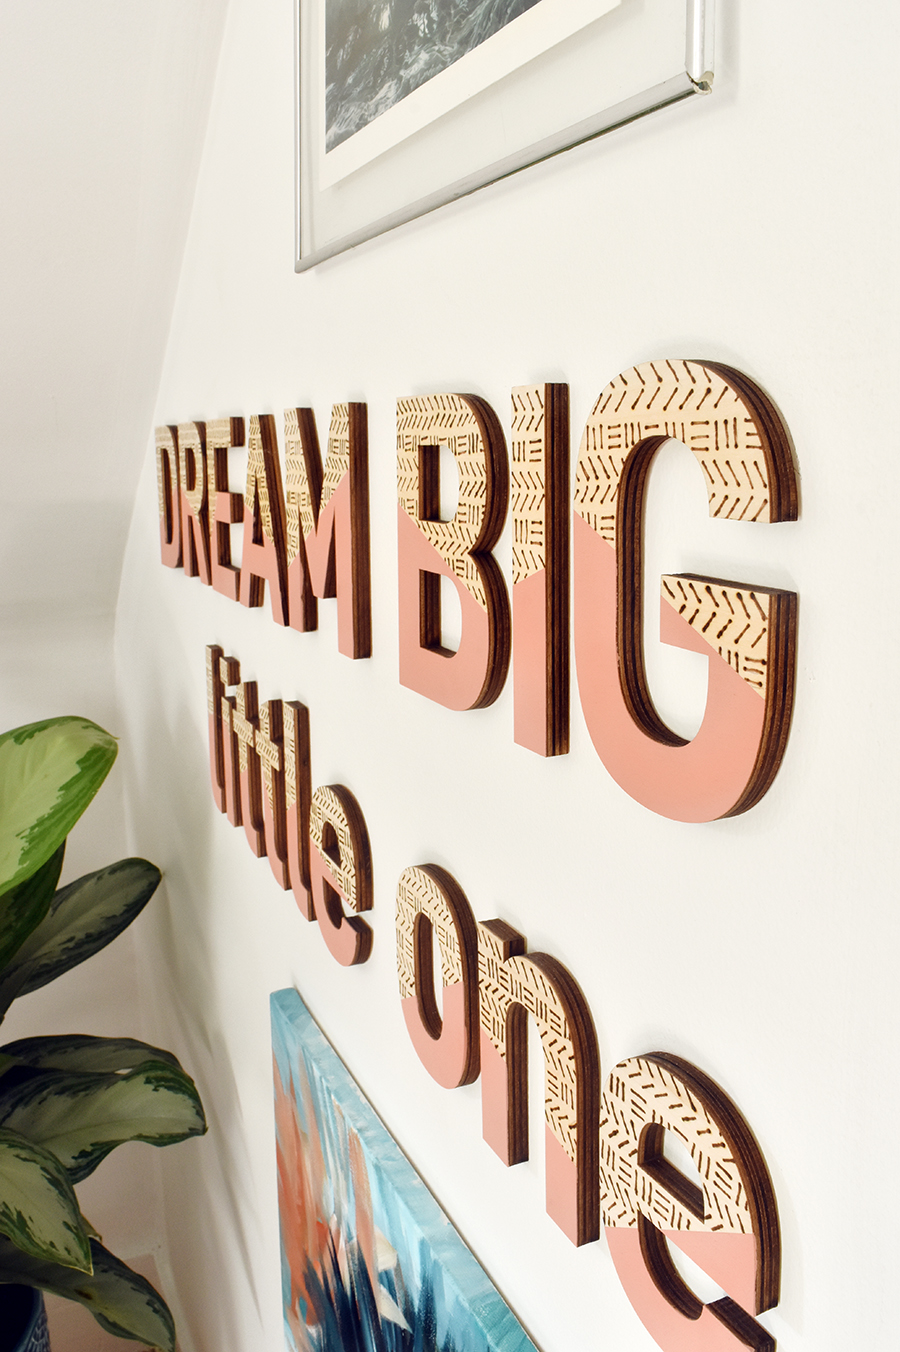
I love the mud cloth pattern because it looks great up close and from far away – it adds movement without being overwhelming. But you could totally use another pattern… anything really!
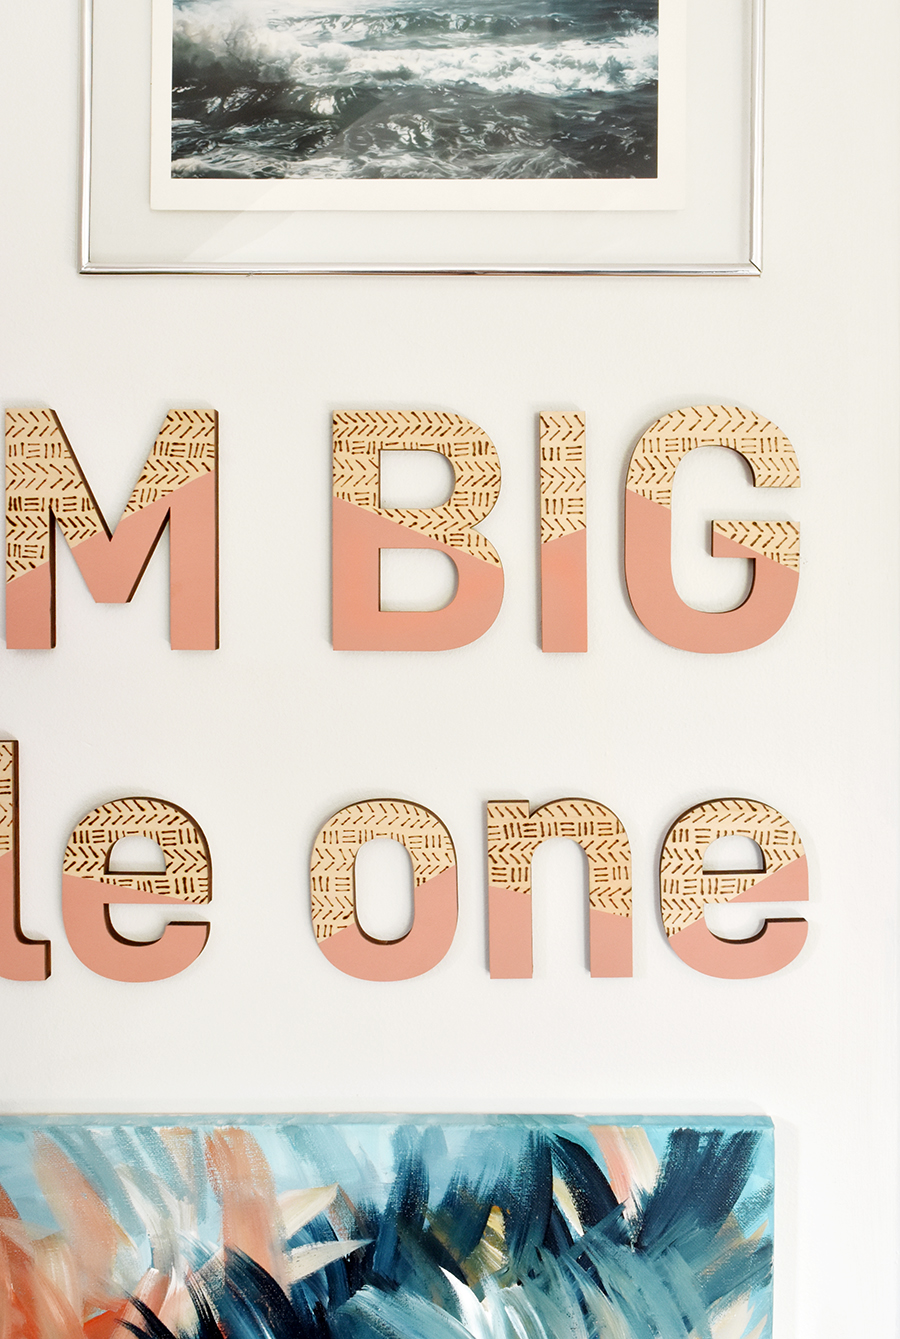
Hope you enjoyed my color block wall art tutorial… more nursery sneak peaks coming soon!
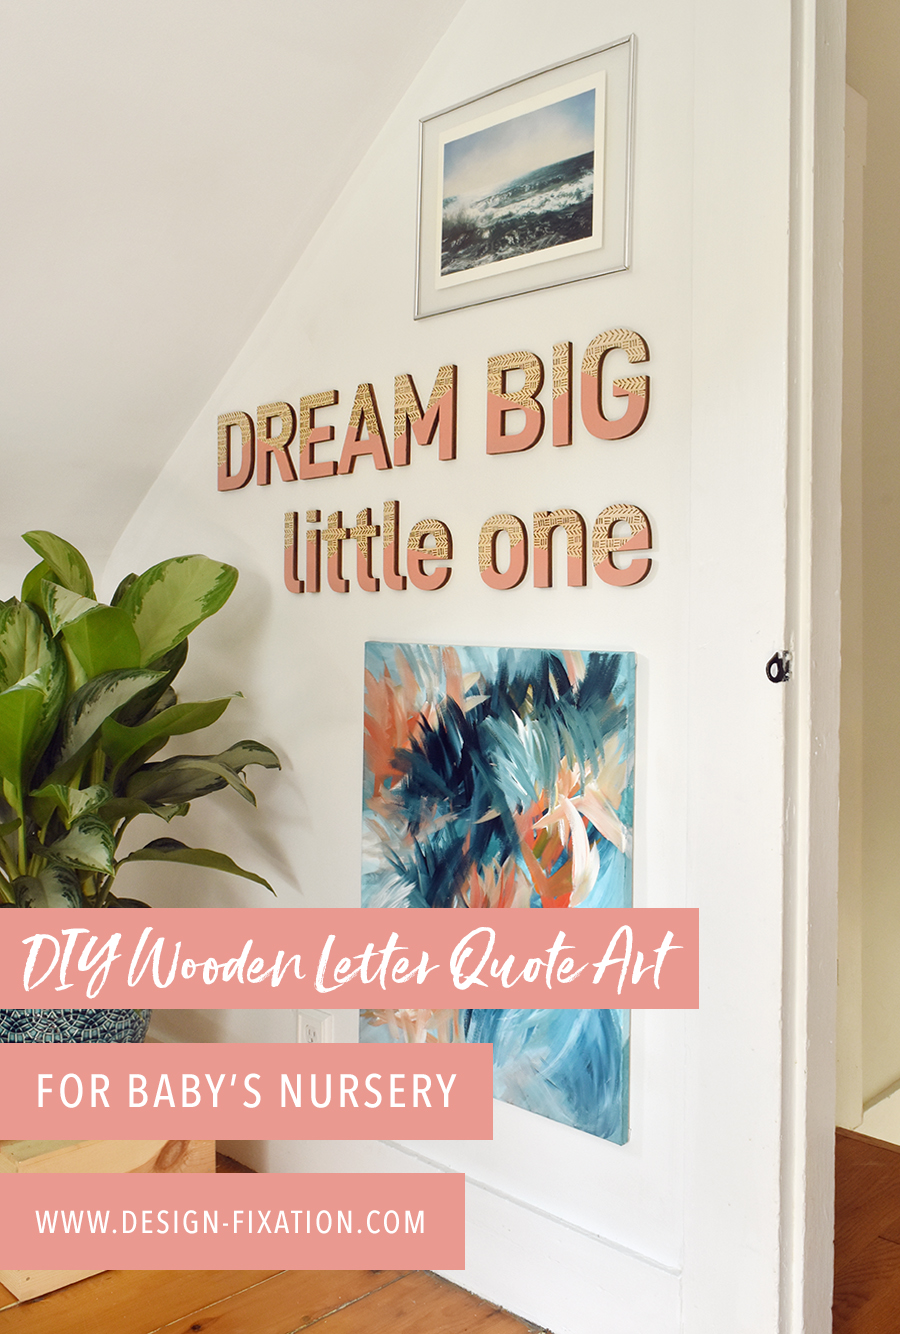
This post was created in partnership with CraftCuts.
Thanks for supporting the brands that keep Design Fixation online!

Comments are closed.