
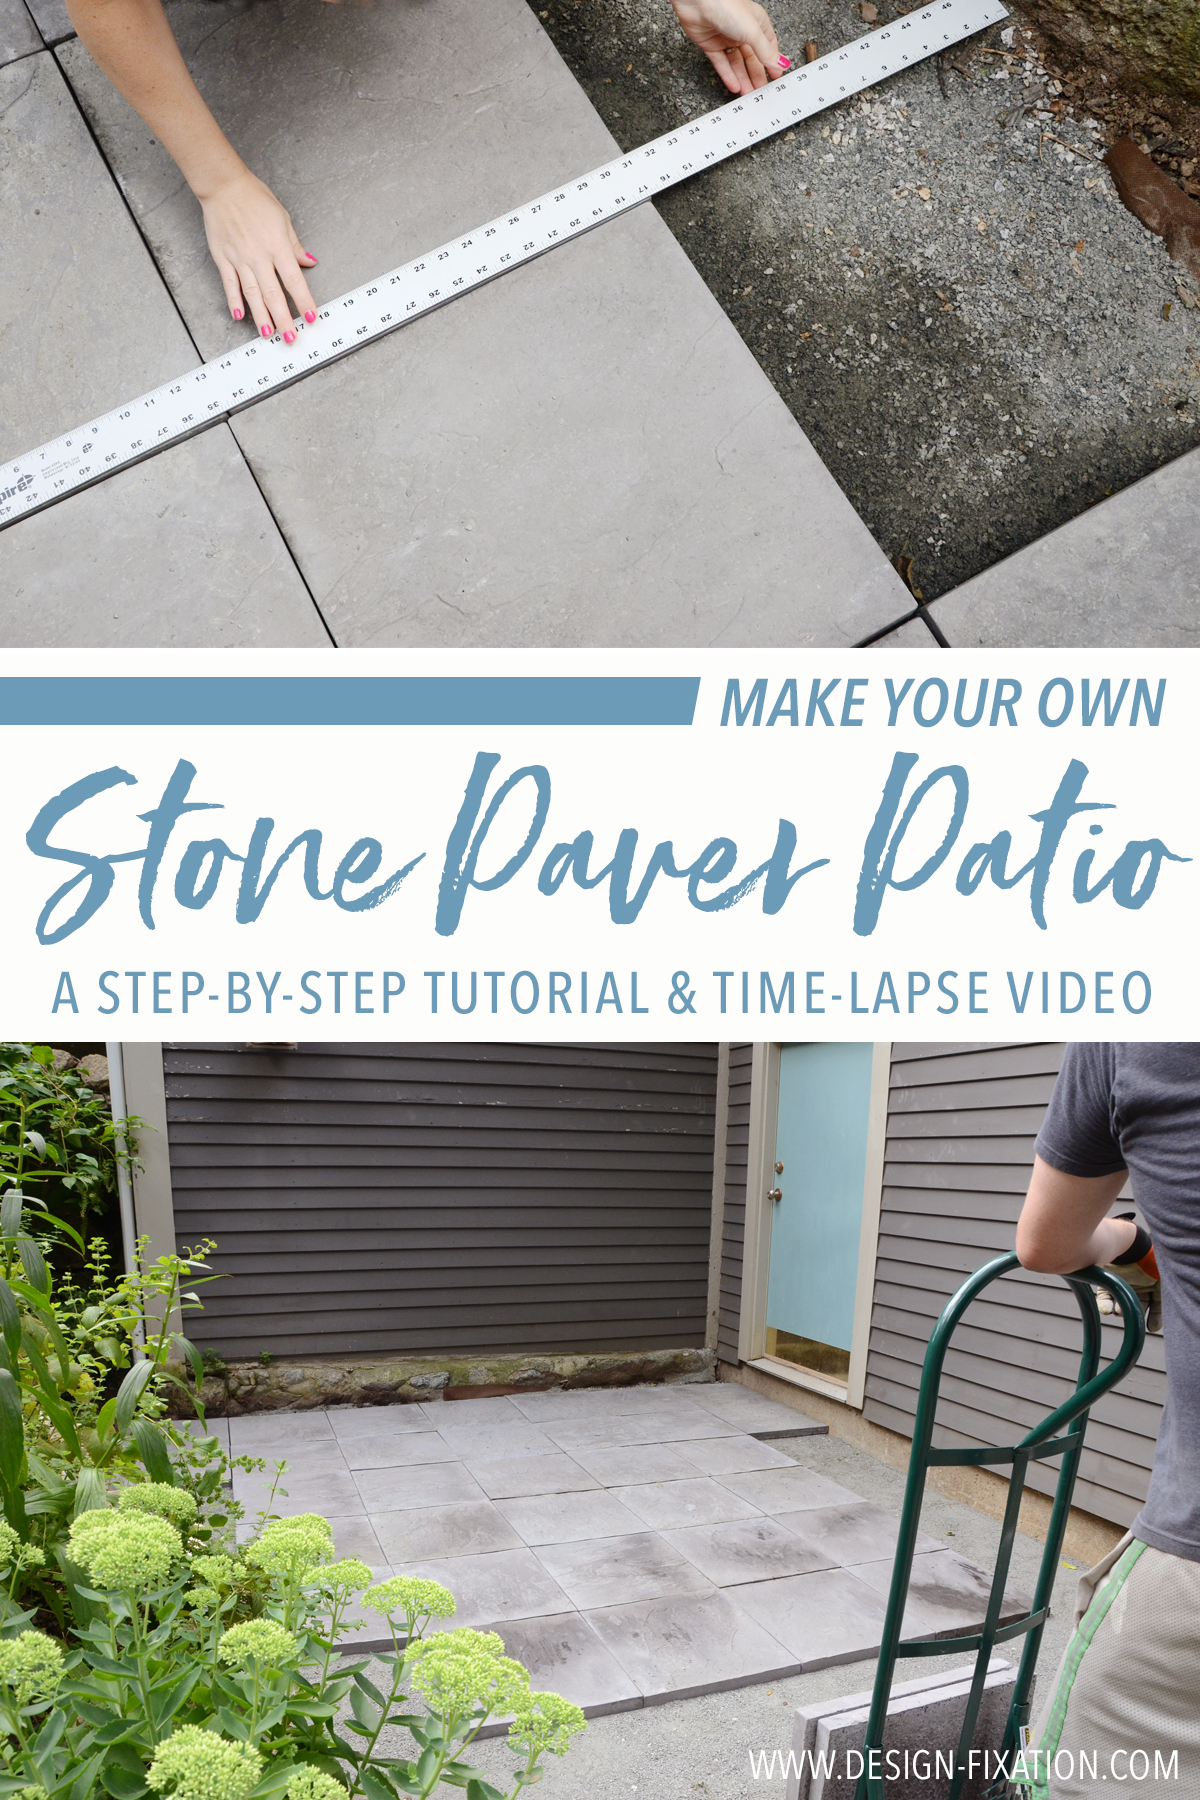
Recently I posted before and after images of our new stone paver patio… and today I’m sharing the tutorial in case you’re inspired to spruce up your outdoor space too! Keep reading to check out my full step-by-step photo tutorial, as well as a fun time-lapse video of the whole process.
MATERIALS
- Stone pavers
- Gravel paver base
- Paver sand
- Landscaping fabric
- Landscape edging
- Chalk
- 10 foot long, 4 inch diameter PVC pipe
- 10 foot long 2×4
- String
- Dowel rod
TOOLS
- Wet cutting tile and stone saw
- Tamper
- Utility knife
- Rubber mallet
- Shovel
- Bow garden rake (or any heavy duty rake)
- Ruler
- Level
- Wide taping knife
- Push broom
- Wheelbarrow
- Work gloves
- Protective eyewear
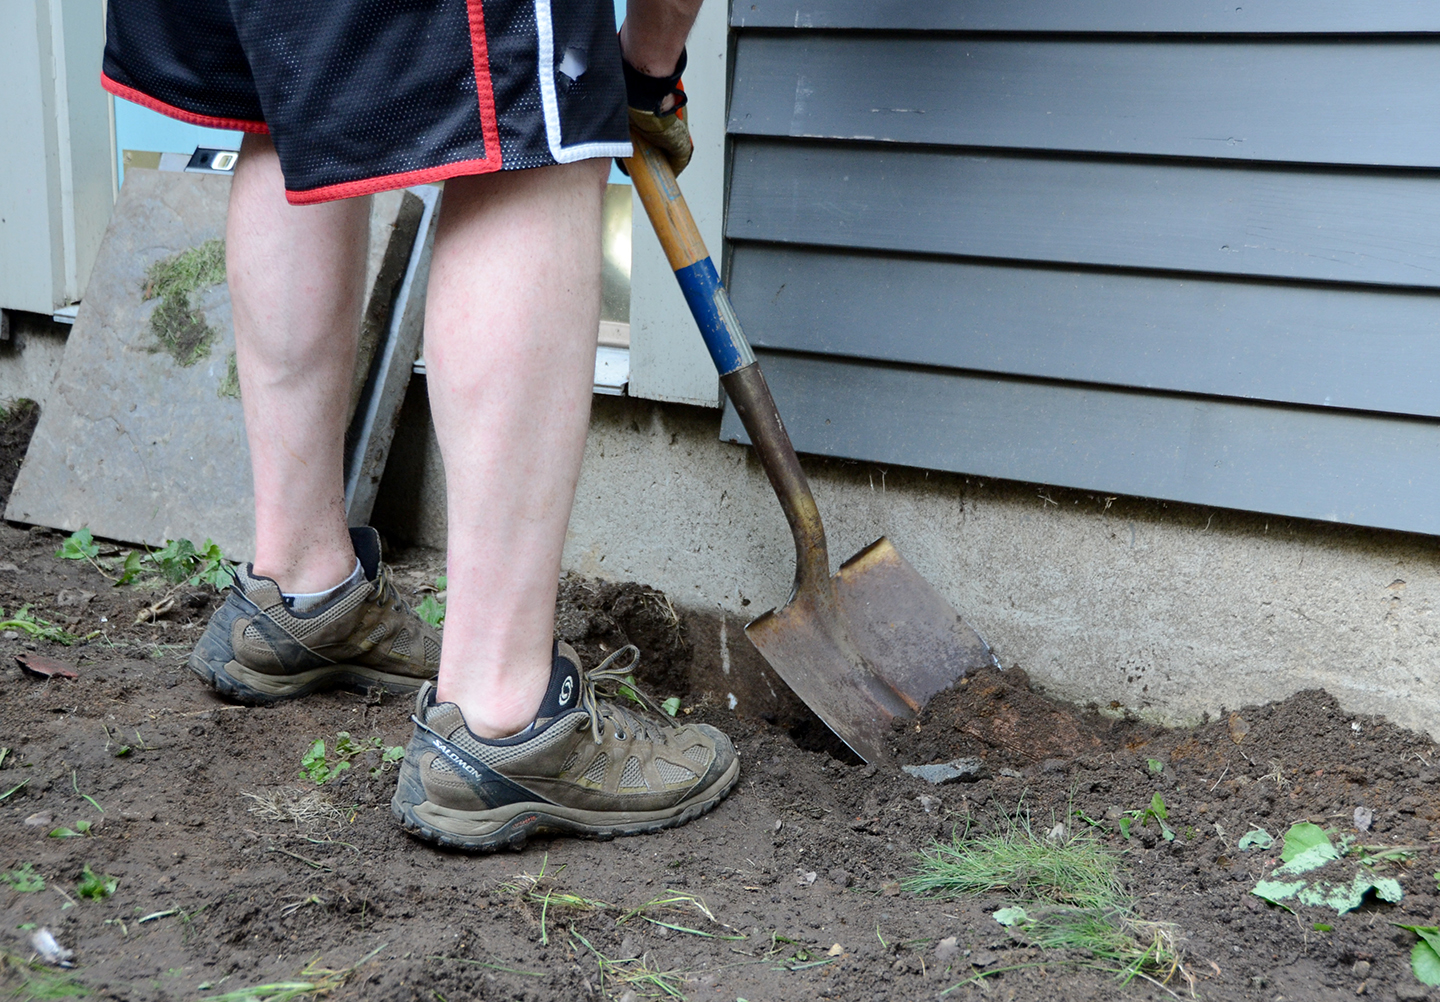
1. Begin digging your patio area.
Start by digging out the area where you’d like to place your stone paver patio. You’ll want to add 4 inches of gravel and 1 inch of sand, plus the depth of the pavers. Preparing the area is the most time consuming part of the process, so don’t get discouraged. Once you’ve dug down to the appropriate depth for the whole area, make sure it is level by laying a long 4 inch diameter PVC pipe across the area with a level on it. Flatten and compress the area using a tamper.
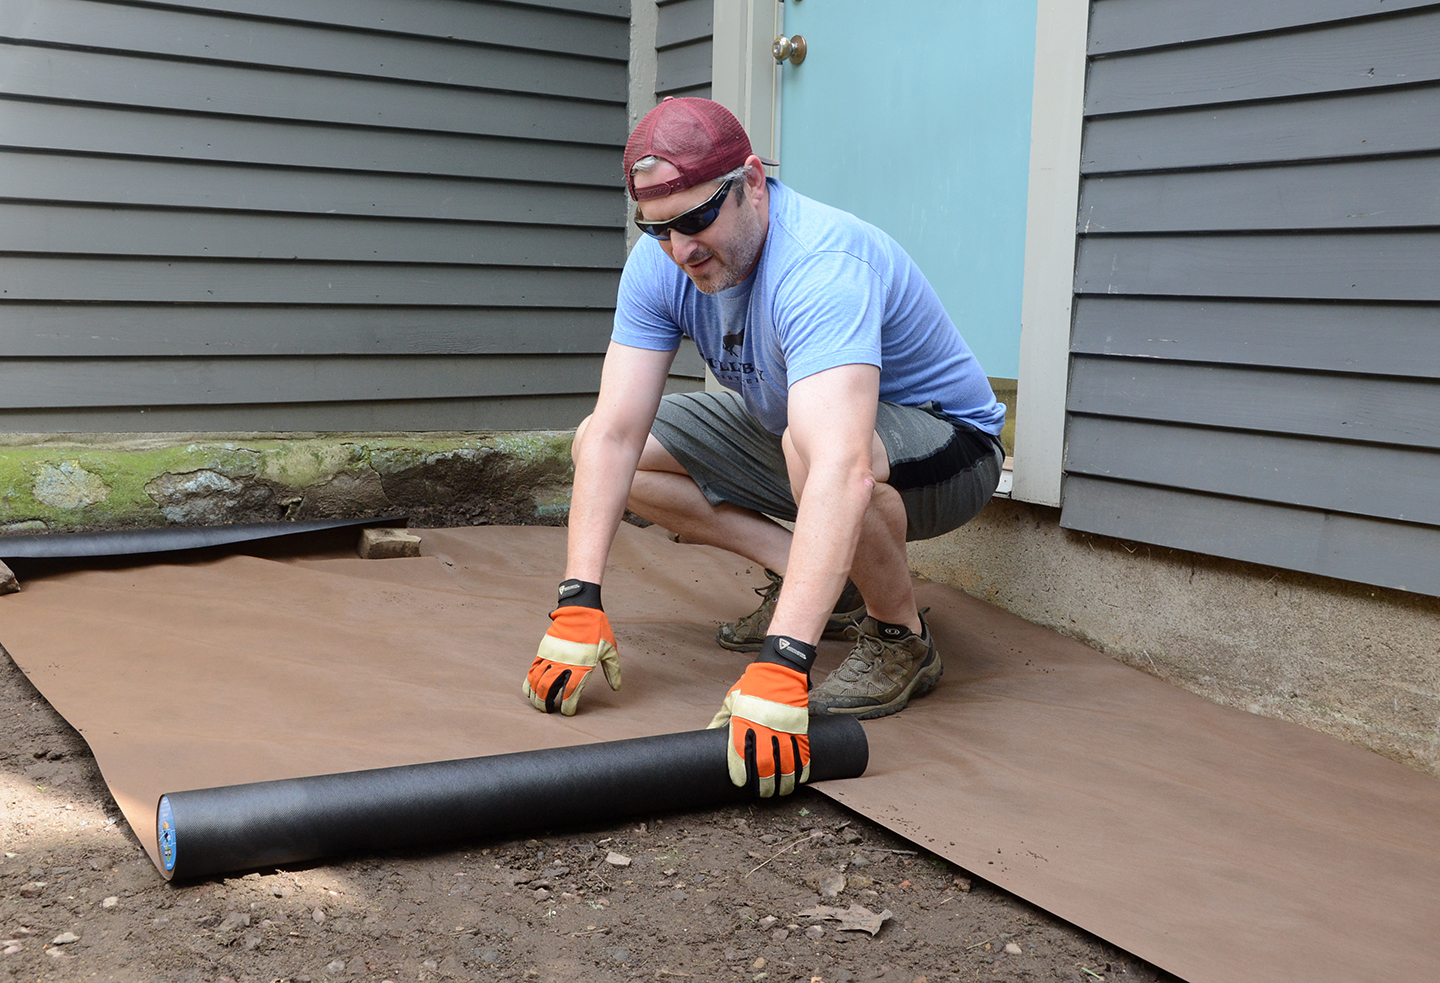
2. Lay out the landscaping fabric.
Next, add a layer of landscaping fabric on top of the dirt. This is important for two reasons: it will give your gravel a good solid base to sit on, and it will also prevent weeds from growing up into your patio. Roll it out and overlap each piece by a couple of inches.
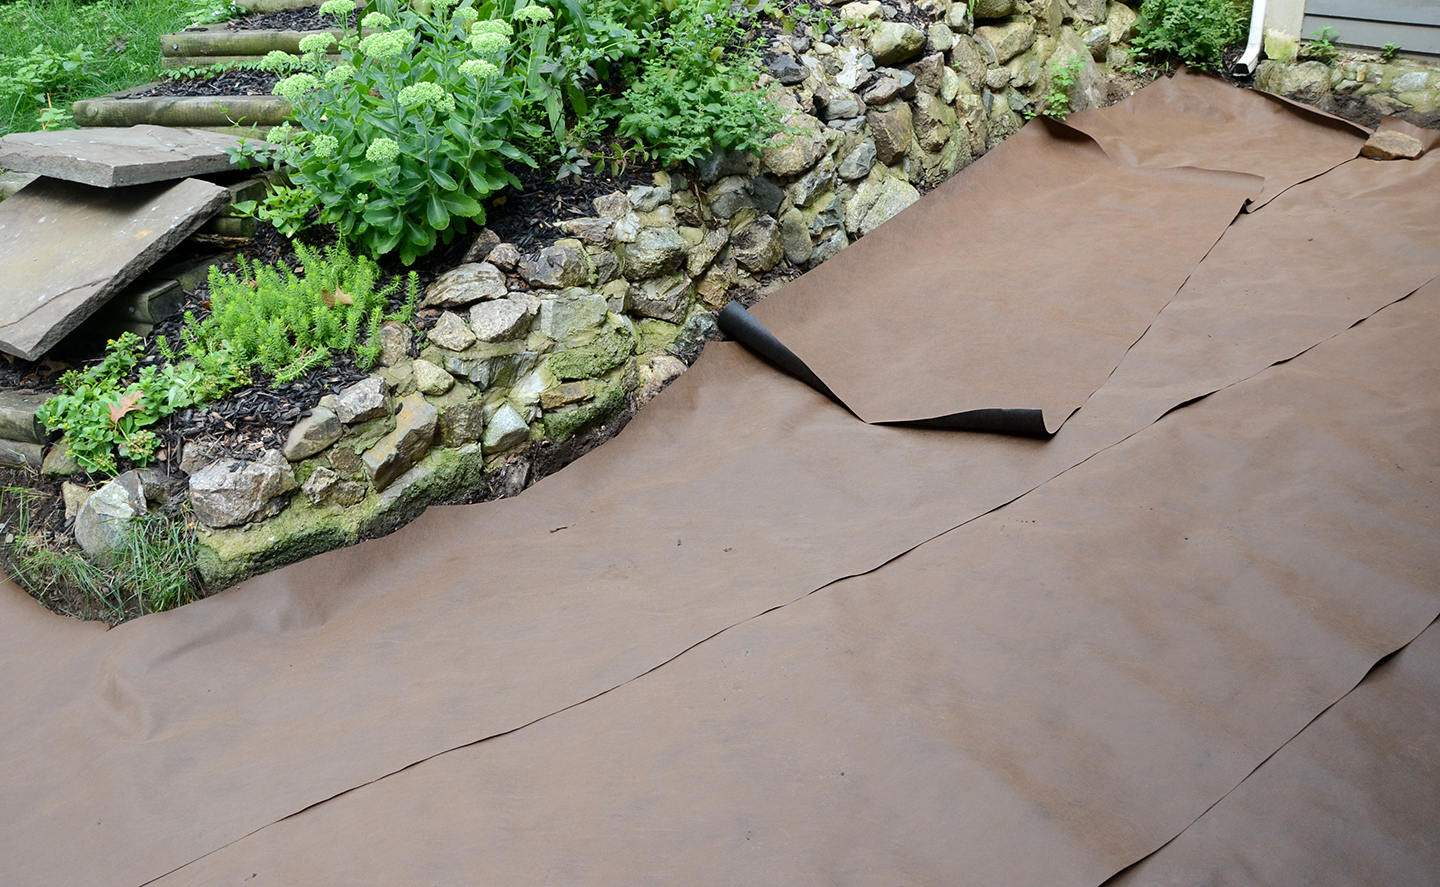
3. Trim the edges of the landscaping fabric.
Use a utility knife to trim the edges to the correct shape. Weigh it down with rocks or….

… your dog! Enlist the troops to help weigh down the landscape fabric while you’re trimming it to size. Charlie was very excited to help with the process – you might have noticed that he made many appearances in the time-lapse video 🙂
4. Lay the gravel.
Begin dumping gravel on top of the landscape fabric. If you have a large area, you may want to have a truckload of gravel delivered. Make sure they dump it out right next to your patio, because that stuff is heavy! Continue adding gravel until you’ve reached your 4 inch depth. Smooth it out with a rake.

5. Level the gravel.
Check to see if the gravel is level by laying your level and PVC pipe across it in multiple directions. Shift it around with the rake if necessary. Tamp it down again.
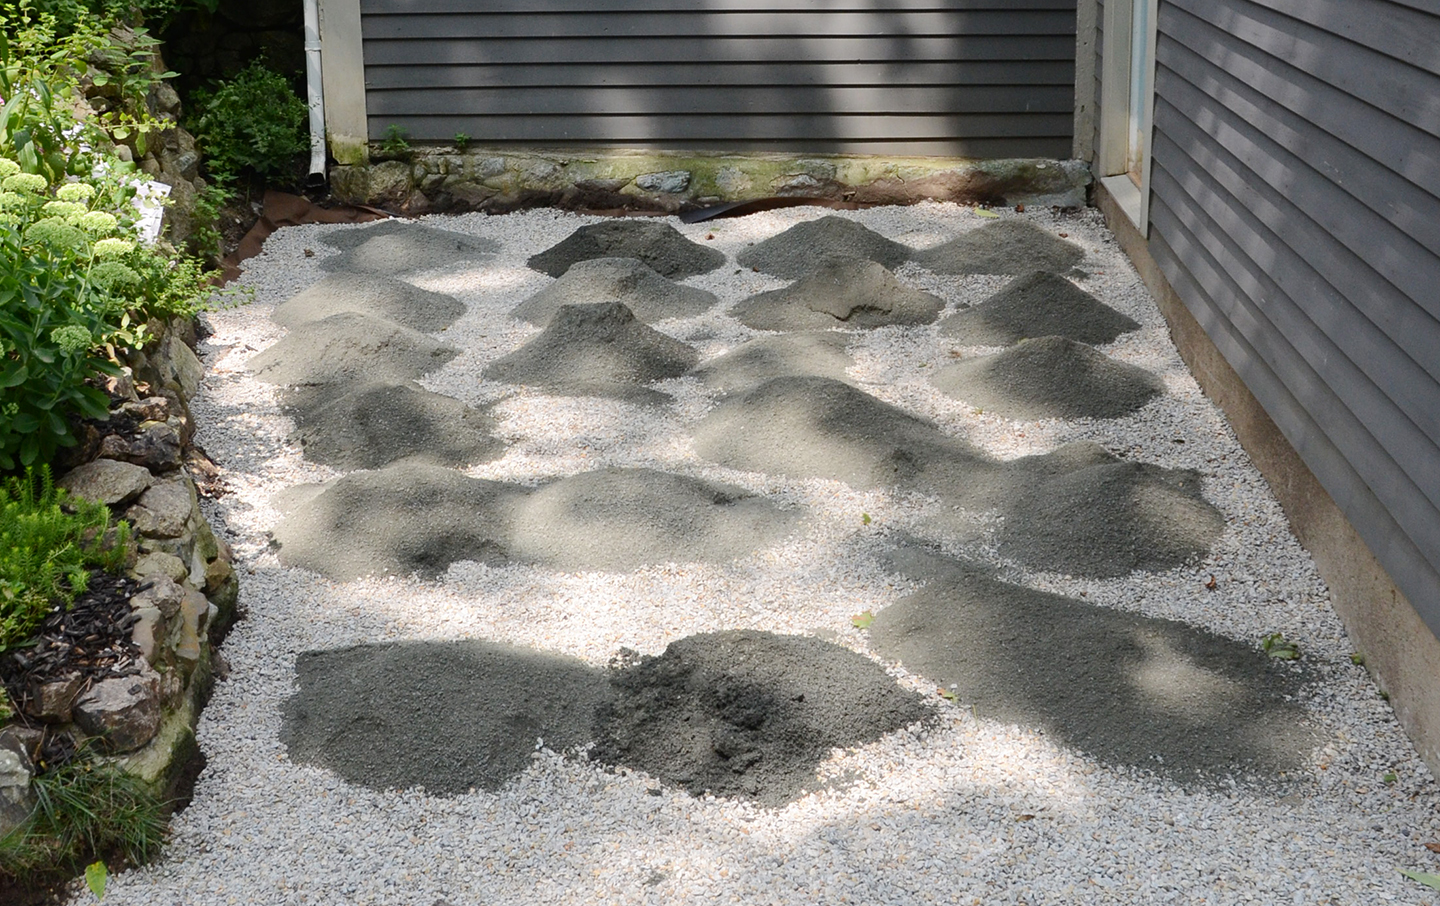
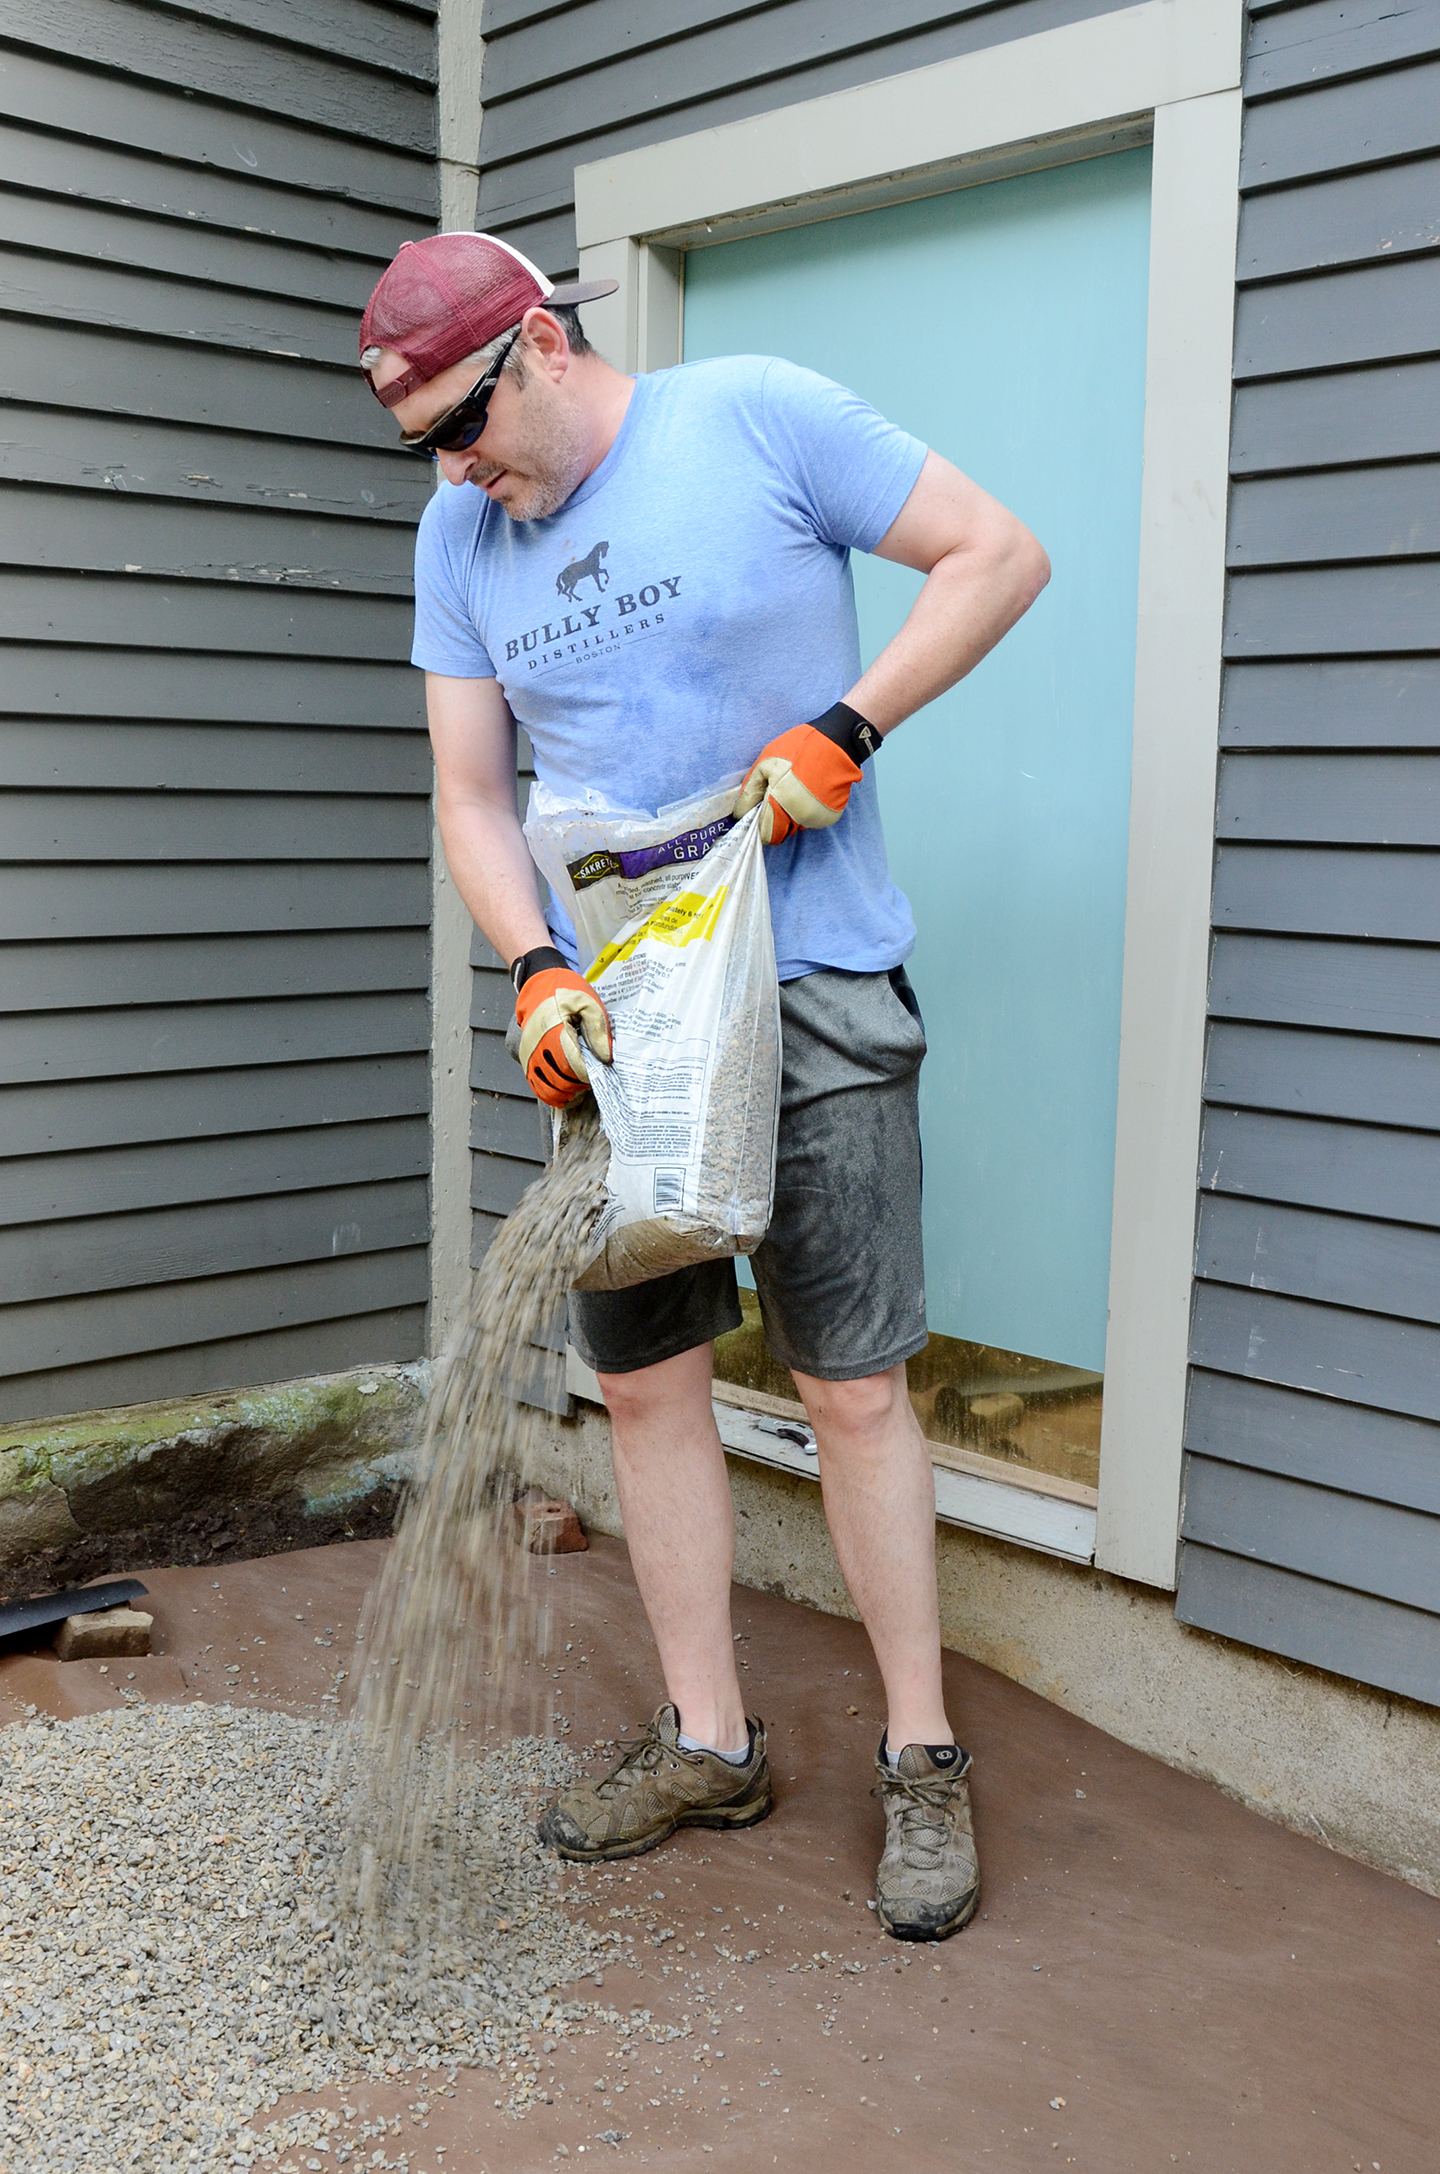
6. Lay the sand.
Next, add a one inch layer of sand. Be sure to use sand that is specifically for stone paver patios. Use the shovel and rake to spread it evenly over the gravel.
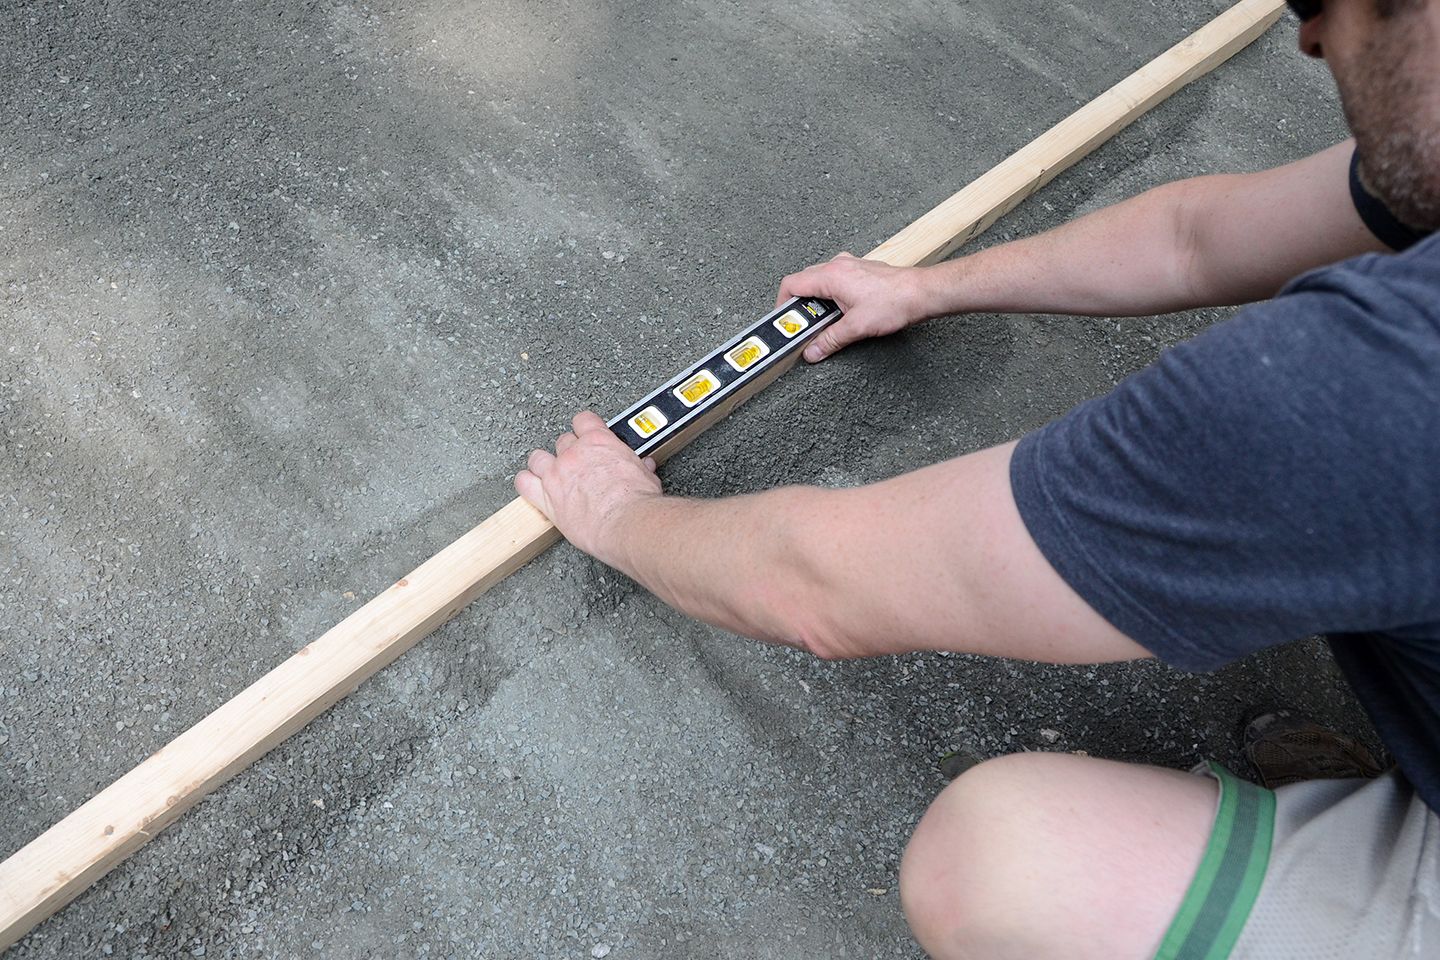
7. Level the sand.
Smooth out the sand using a long 2×4 on its side. Check to see if it’s level.
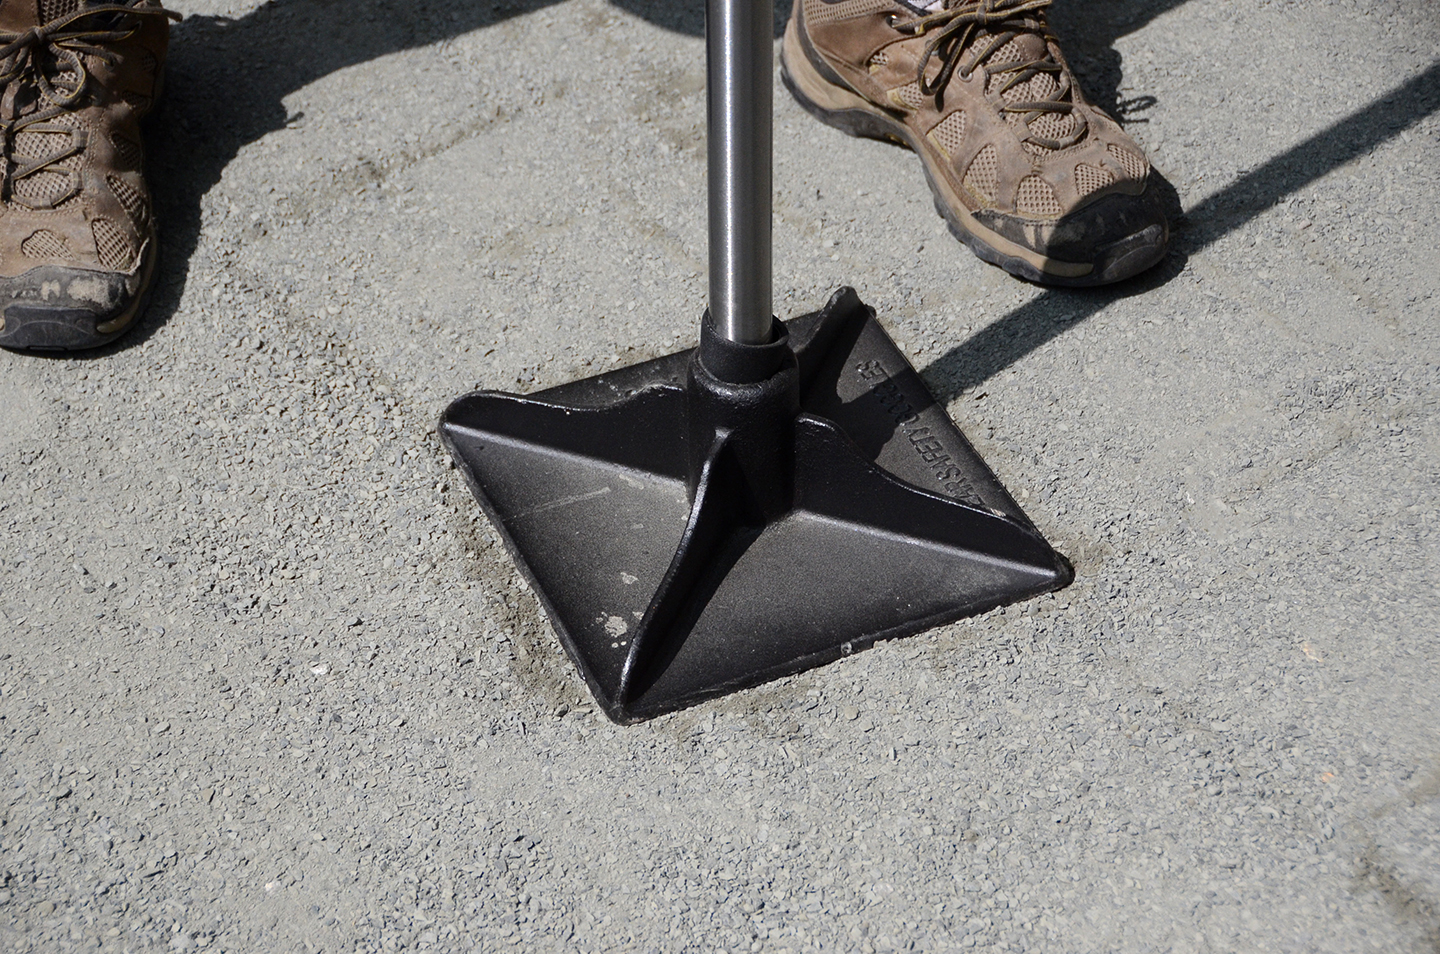
8. Tamp it down.
Compress the sand using your tamper.
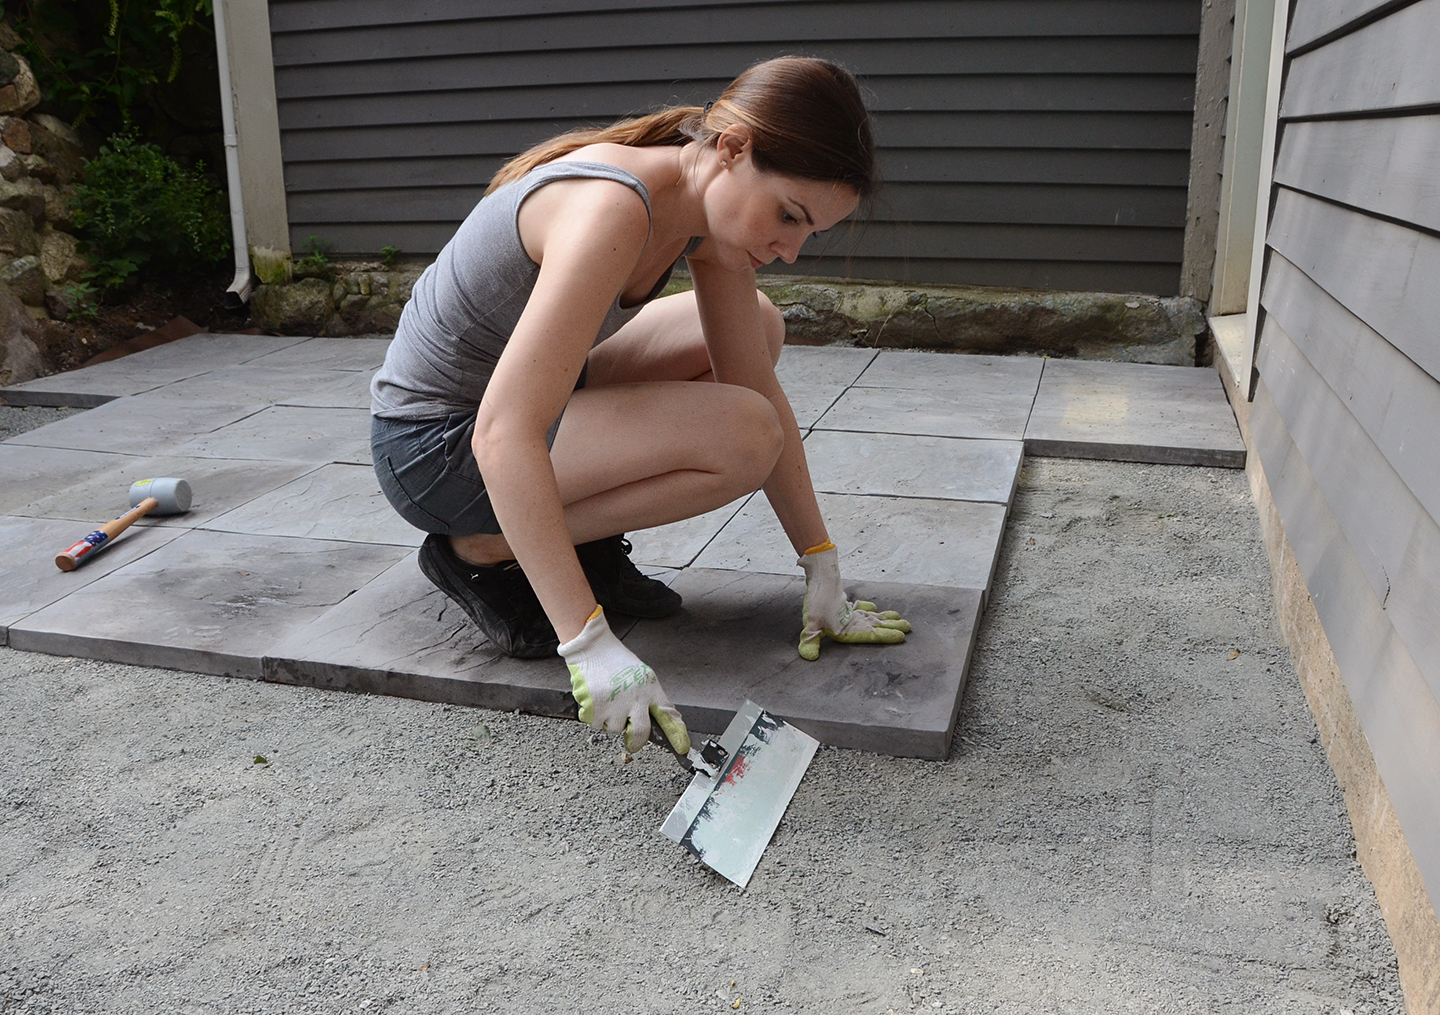
9. Begin laying the pavers.
Now it’s finally time to lay the pavers in your stone paver patio! I found that smoothing out the area before you put the paver down is the key to getting it level the first time. A wide taping knife worked best for me.
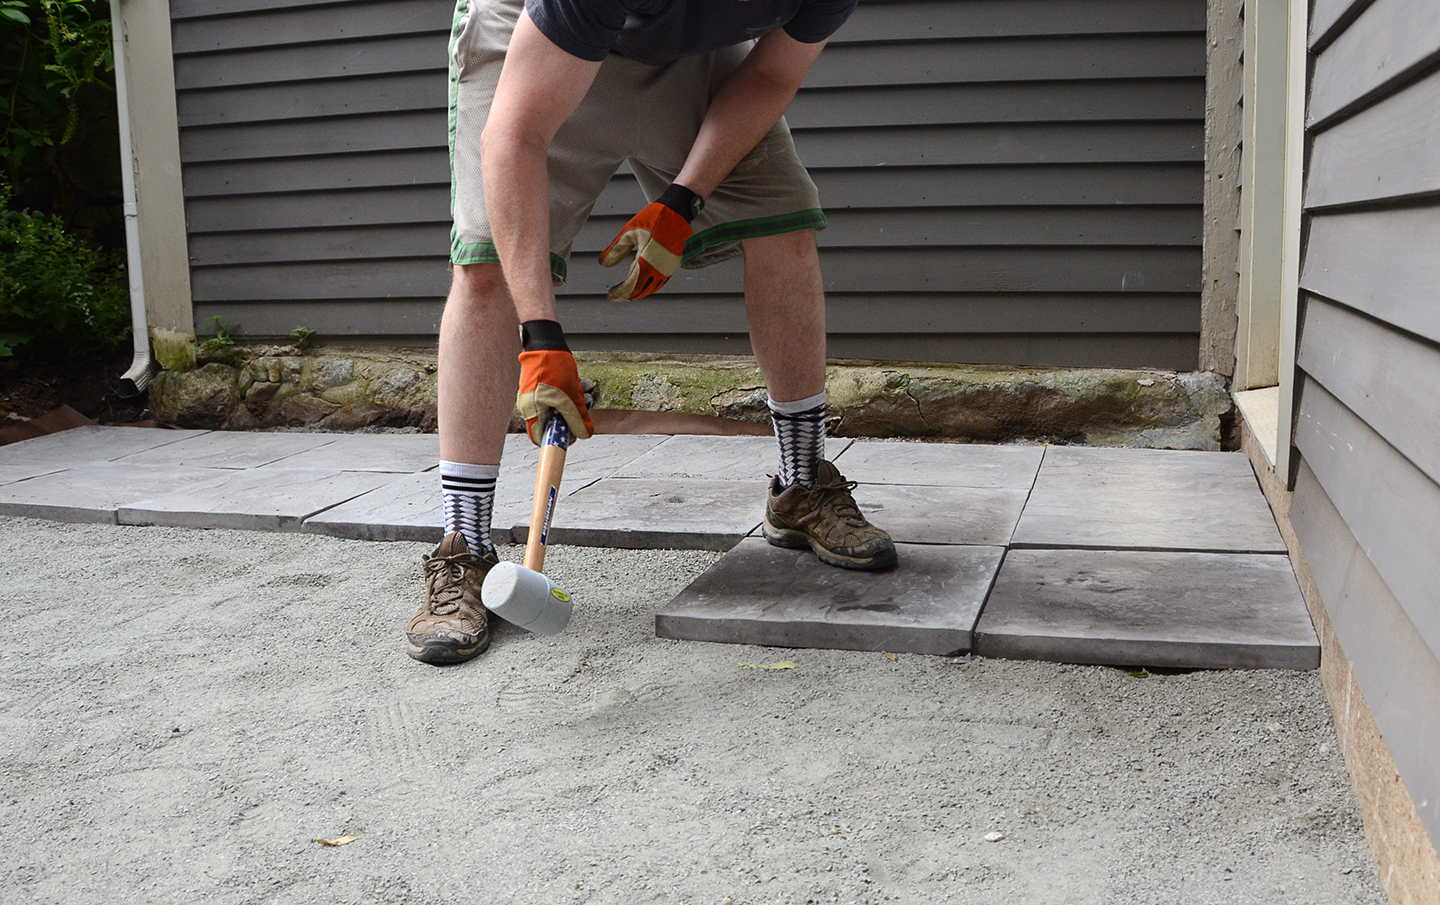
10. Adjust the pavers.
Use a rubber mallet to make sure the paver fits snugly against its neighbors.
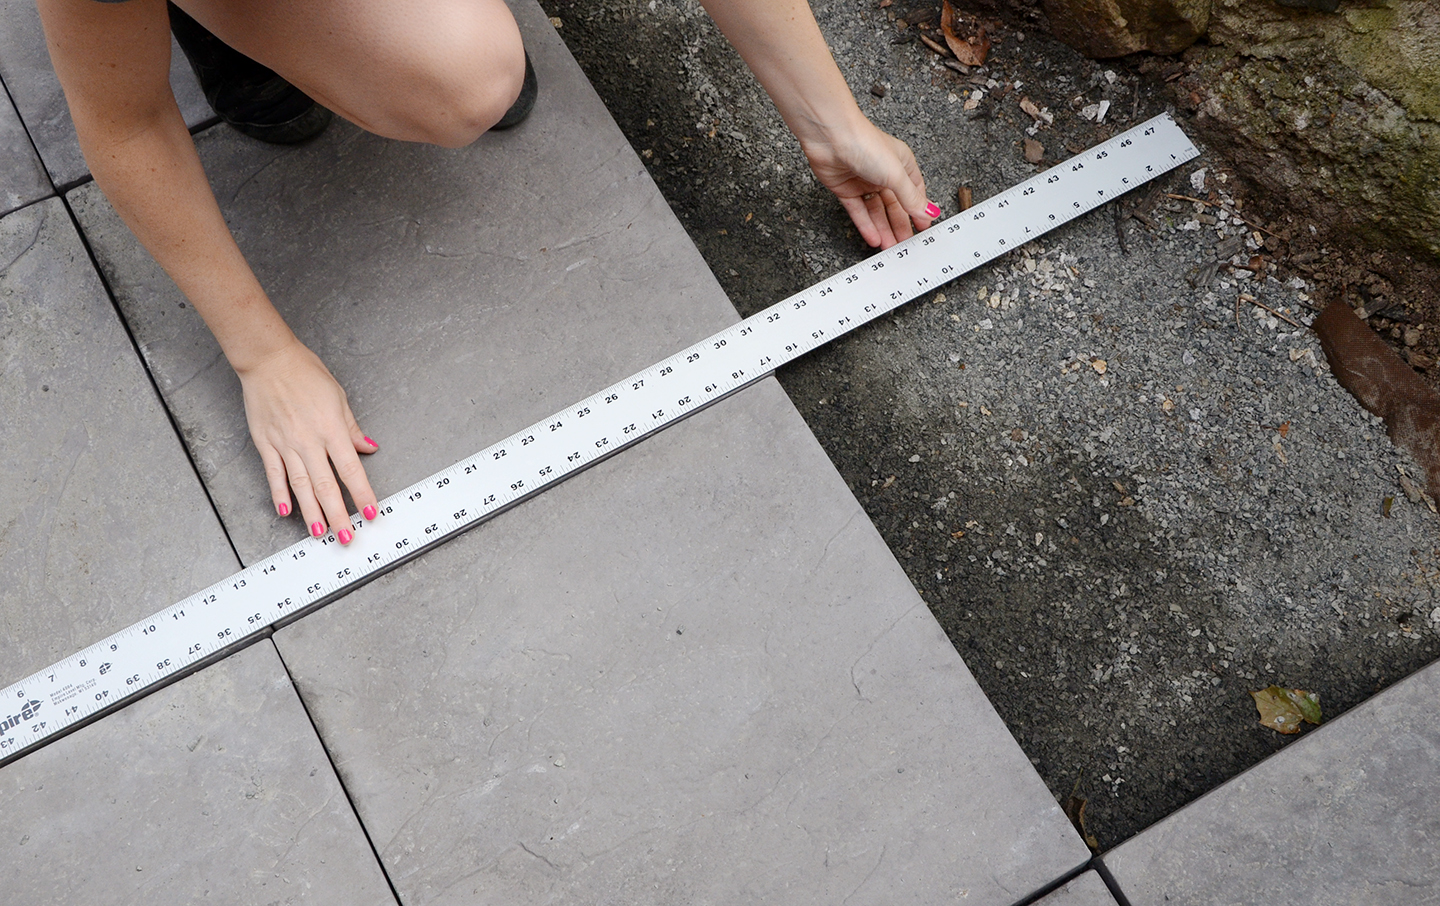
11. Measure the edges.
Once you’ve laid out all of the pavers in the middle of the patio, it’s time to cut the pavers for the edges. Measure the distance from the top of one paver to the edge of the patio and the distance from the bottom of that same paver to the edge of the patio and write down those measurements.
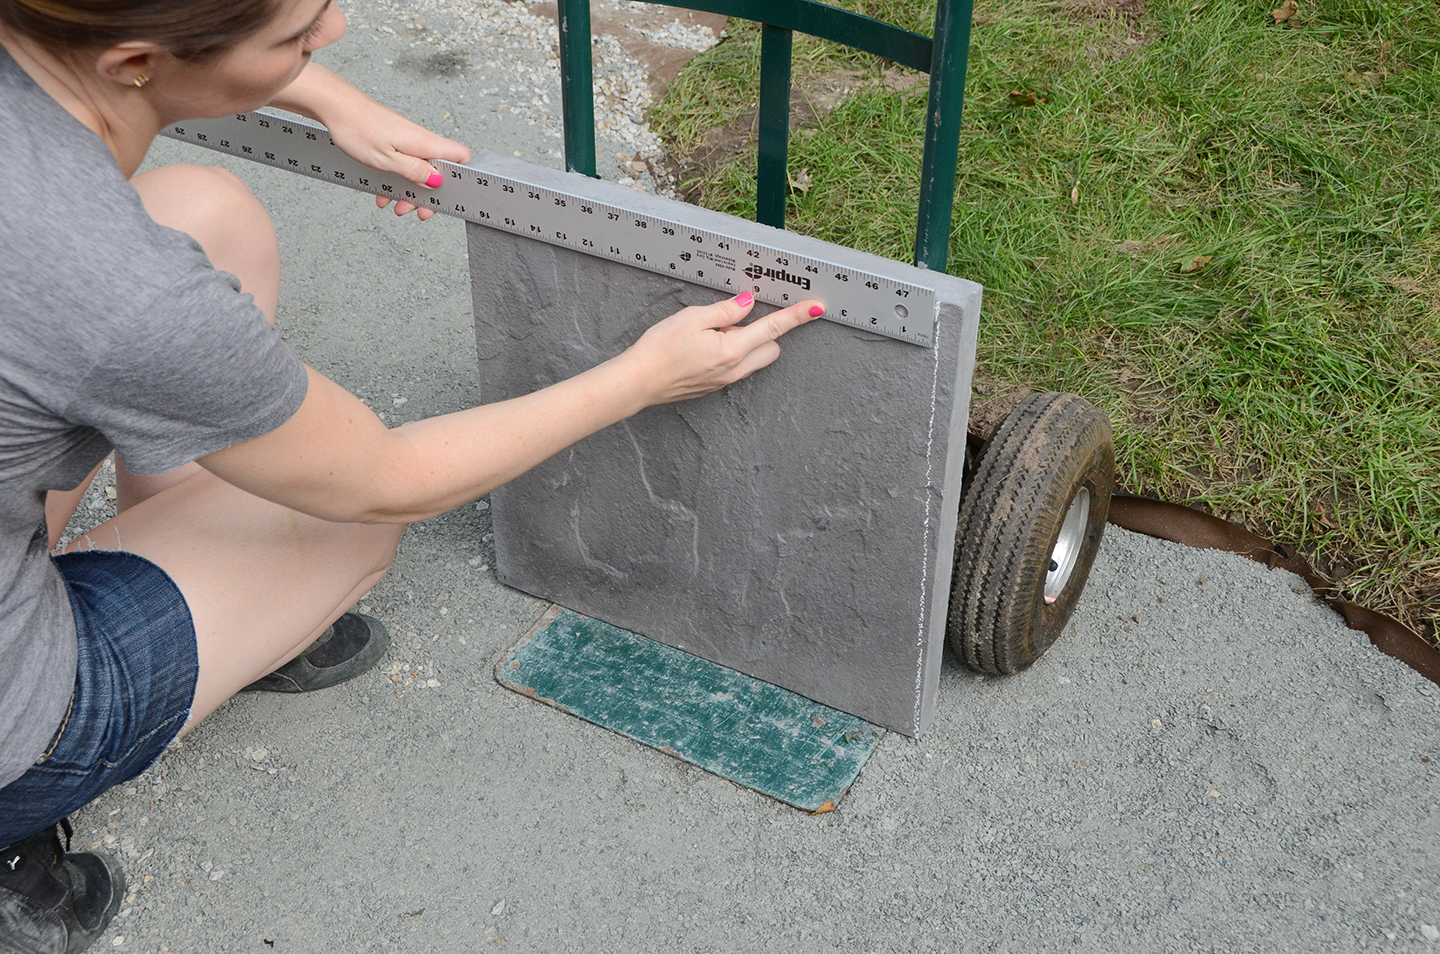
Then use those measurements to mark your paver using a piece of chalk.
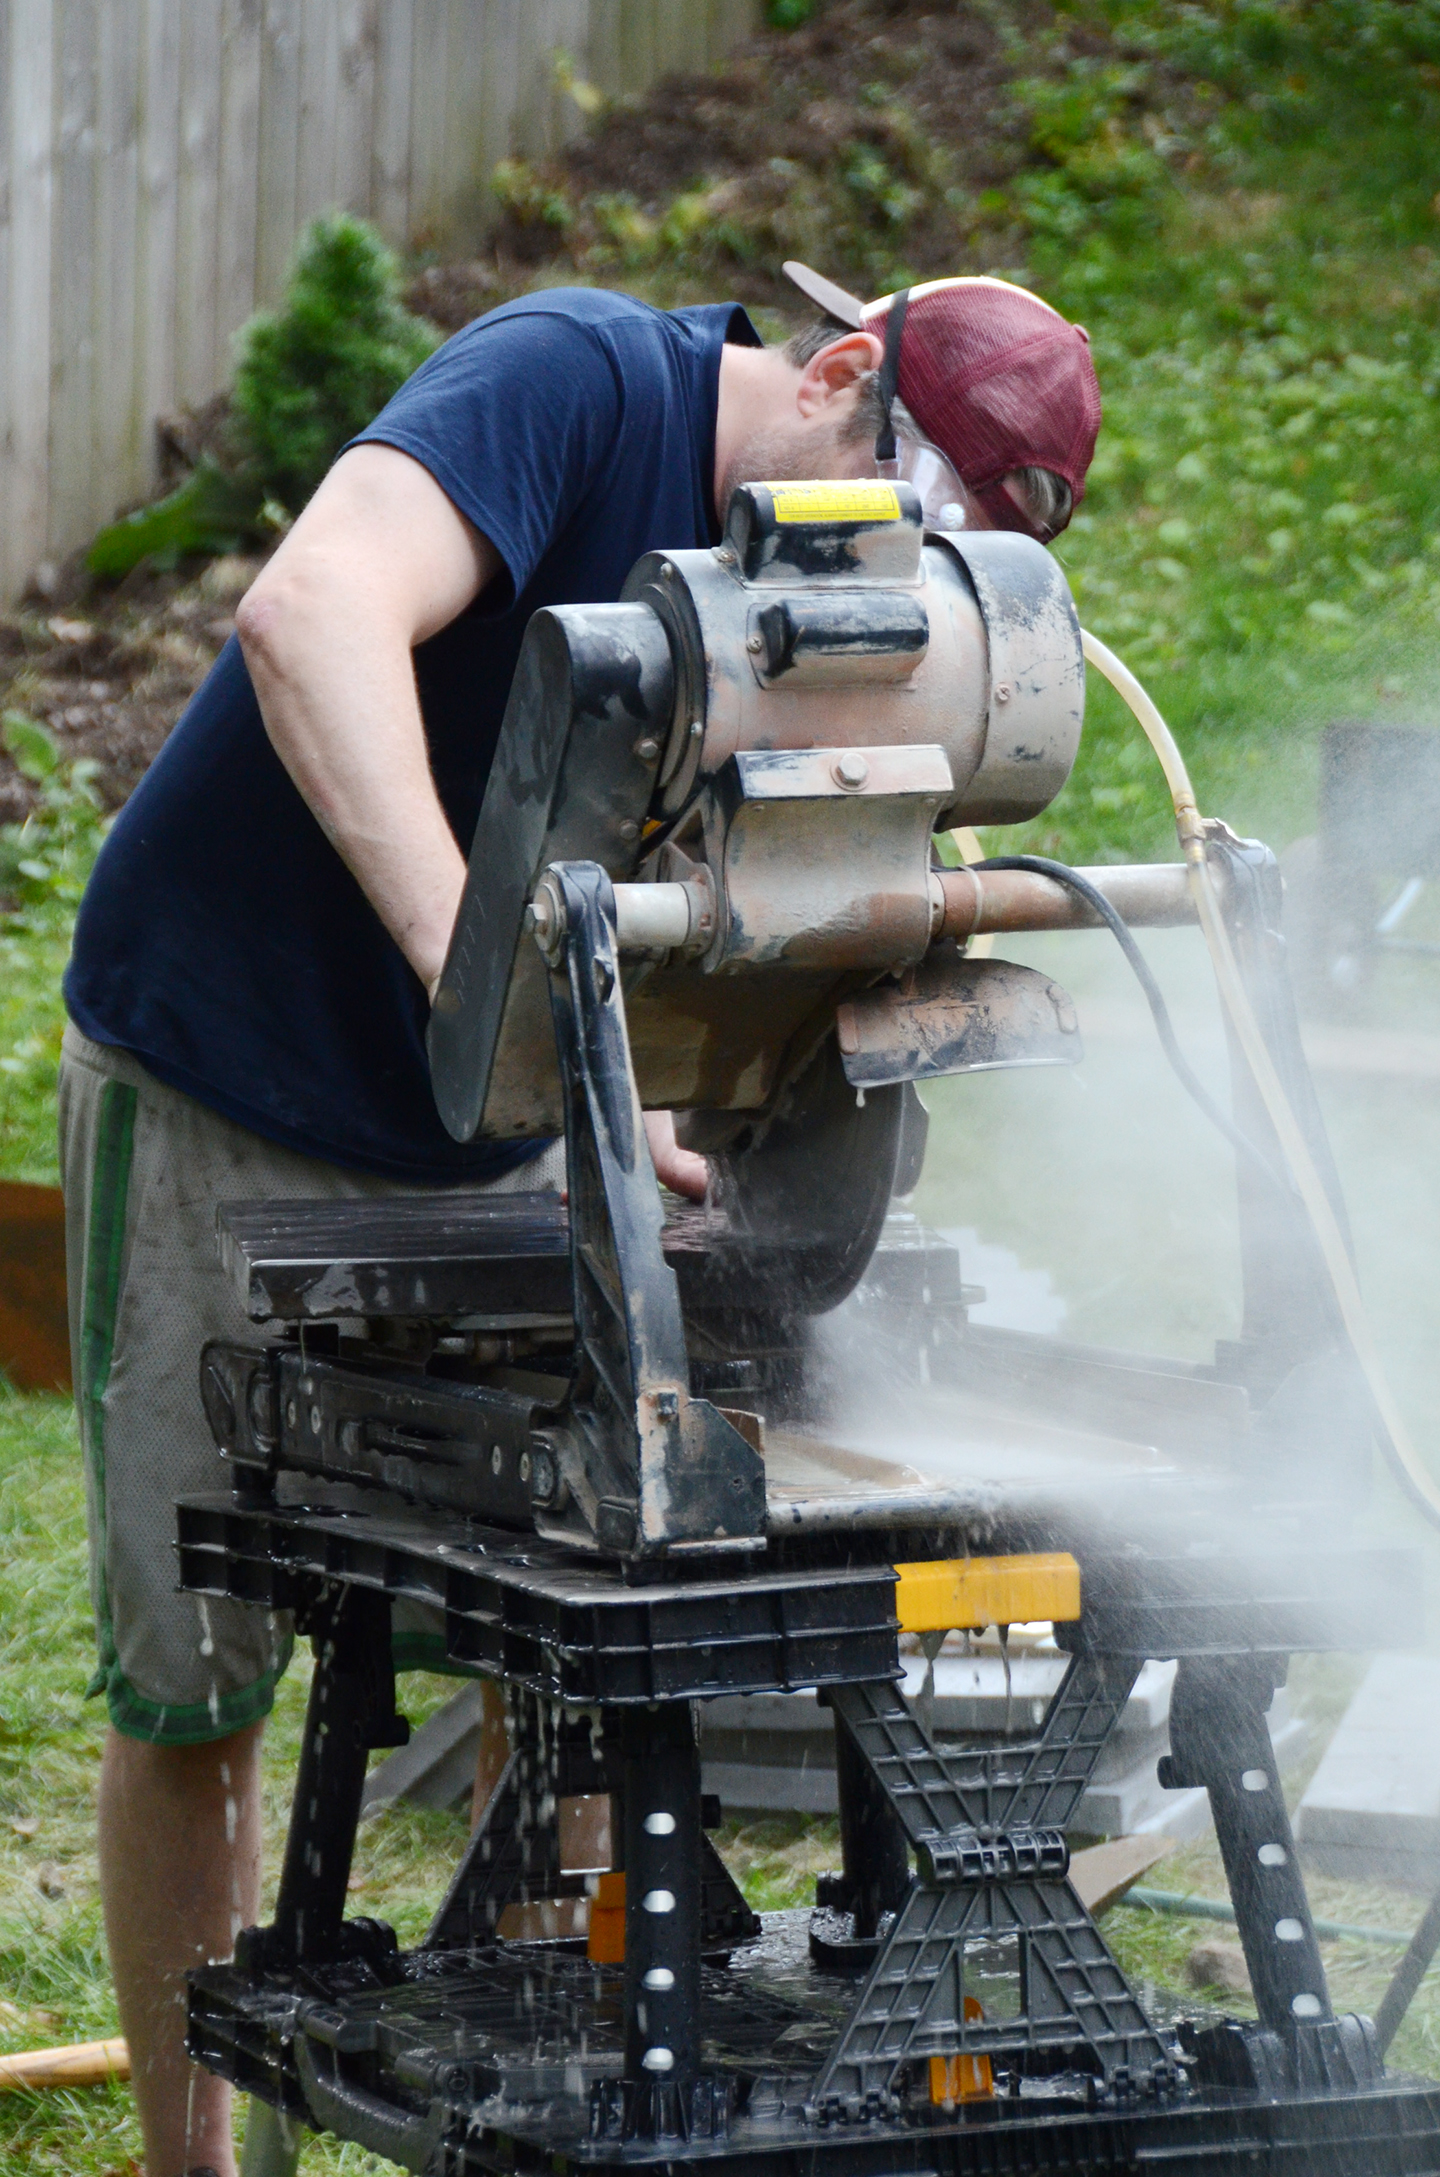
12. Cut the pavers.
We borrowed a large wet saw from a friend. Make sure the one you use is made especially for stone or thick tile. Cut along that chalk line that you marked before and then put your paver in place. Repeat this process for the rest of the outside pavers.
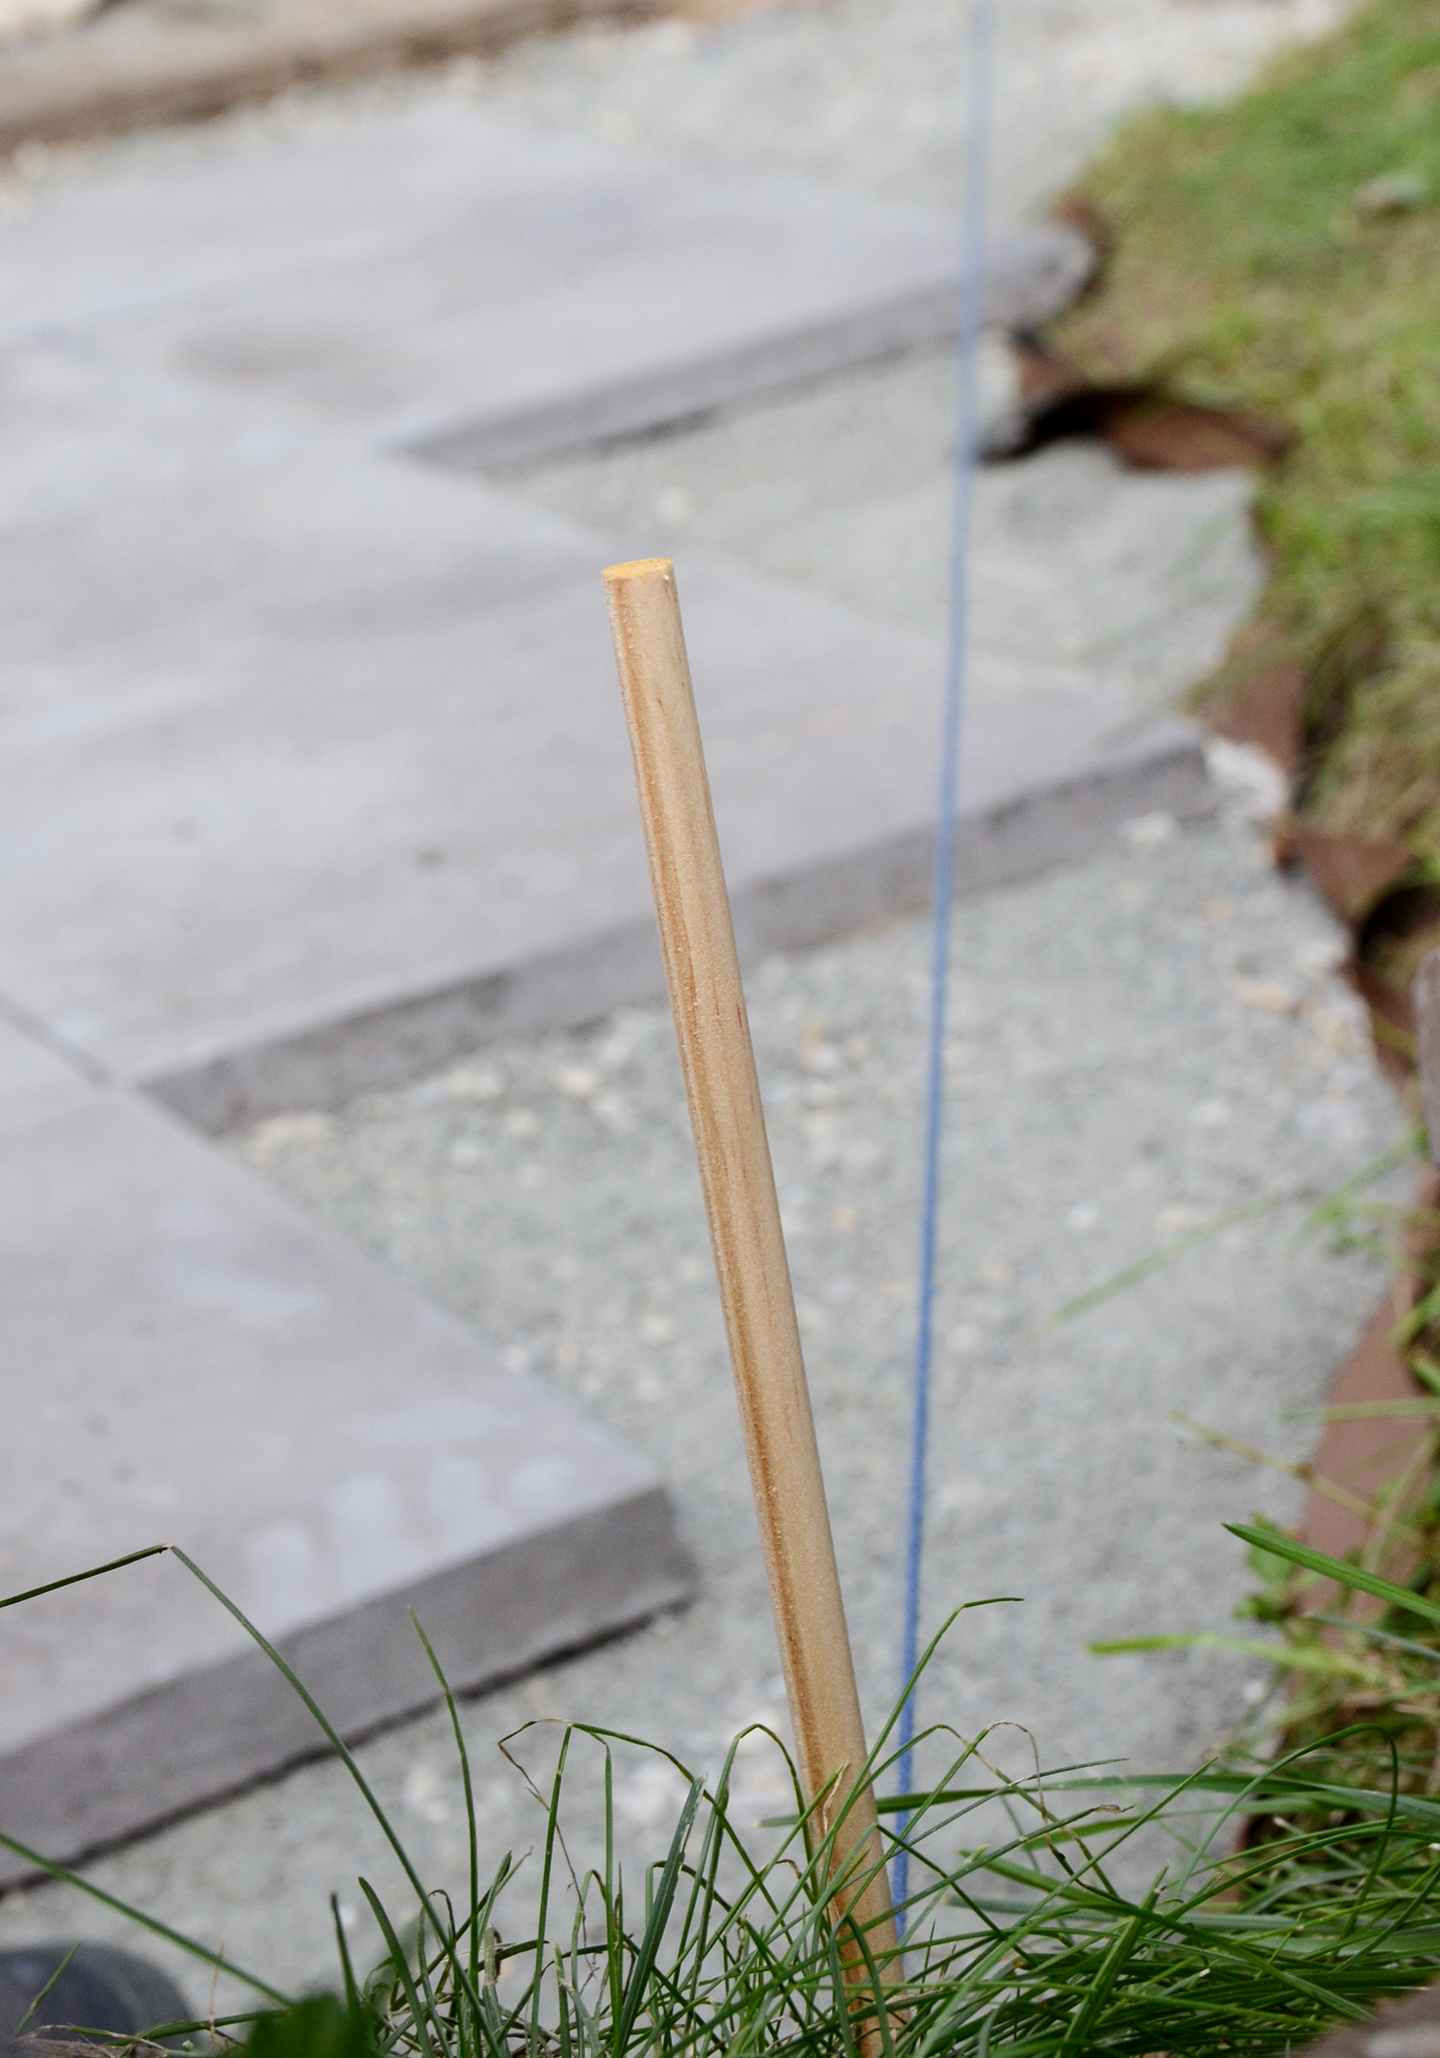
13. Mark the edge with a piece of string.
We wanted the edge of our patio to be a diagonal line, so we marked it by tying a string from one dowel rod to another and then took measurements to that point.

14. Add landscape edging.
You’ll want to add landscape edging anywhere that the pavers butt up against grass. Some people turn the edging around the other way so that the scalloped edges sit underneath the grass, not the stone… but we decided to do it this way because it felt more stable with the stone weighing it down. Use a rubber mallet to hammer the pegs into the ground.
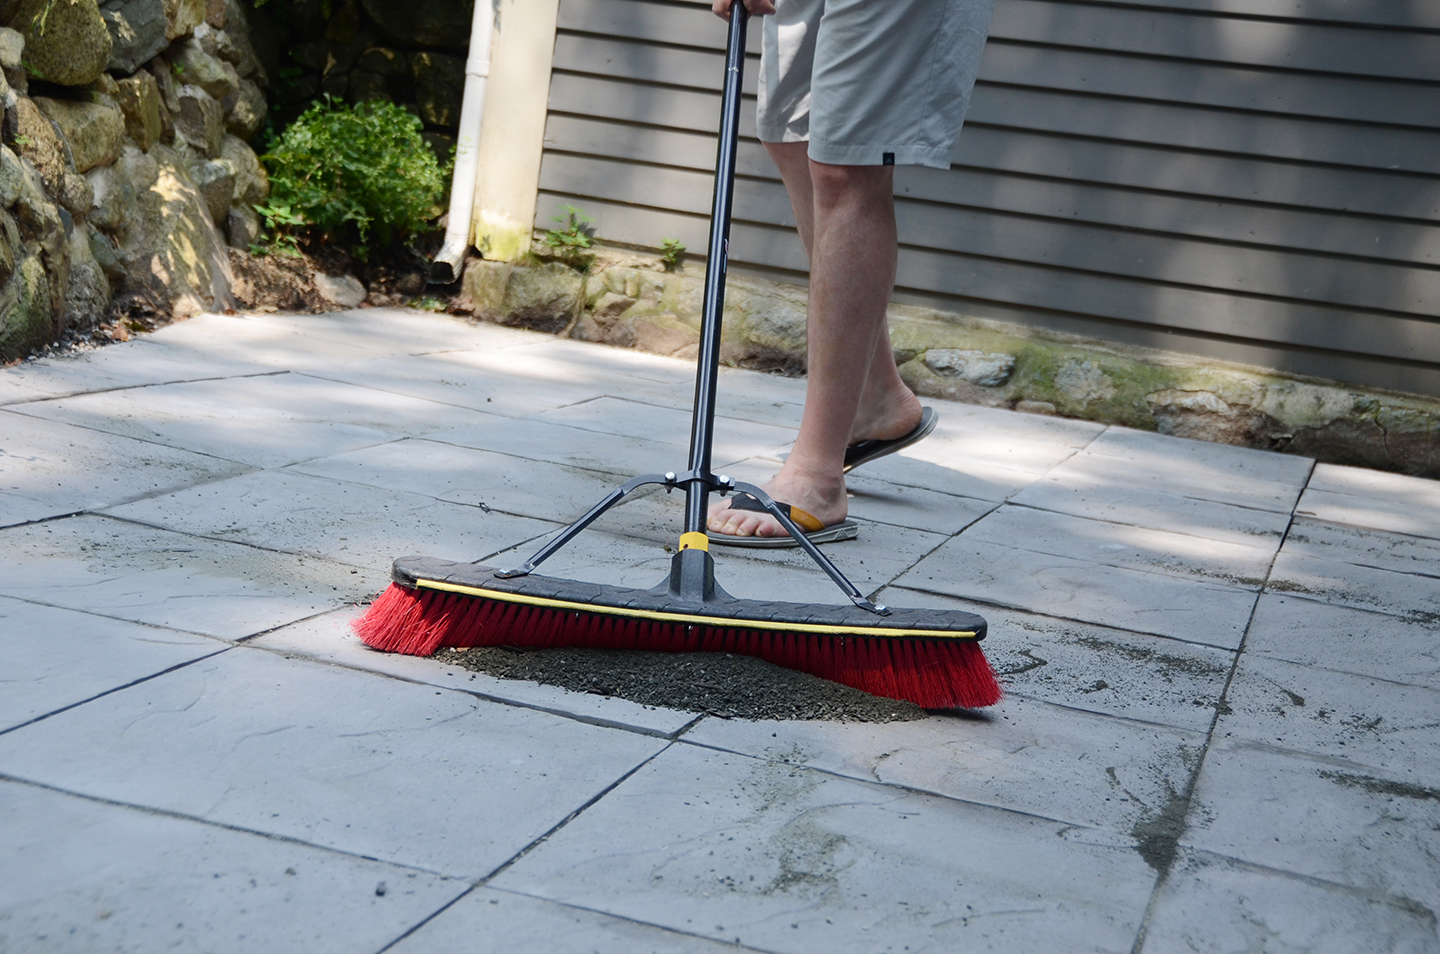
15. Fill in the cracks with sand.
Last, fill the cracks between the pavers with sand. Pour a thin layer of it on the pavers and then use a push broom to sweep it around, allowing it to fall between the cracks of the pavers. And your patio is finished!

Here’s our stone paver patio all dolled up with comfy furniture and colorful accessories… click on the tags in the photo for shopping links to the decor items, and then head over to this post to see the rest of the shopping links as well as some crazy before and after shots! The process definitely involved a lot of manual labor, but it was totally worth it in the end. We use our new patio all the time and we can’t wait to have a little soirée so our friends can enjoy it too.
Stay tuned for some tips on how to add a cozy feel to your patio as we transition into fall… because whether you like it or not, chillier weather is coming!
This post was created in partnership with Lowe’s.
Thanks for supporting the brands that keep Design Fixation online!