
This post may contain affiliate links. This means that if you buy the cool stuff I recommend, I earn a small commission (but you still pay the same price). Thanks for helping me make a living doing my dream job!
If I were to give you a glimpse into my craft closet, you’d see (well, a mess… but aside from that) quite a few rubber stamps and a lot of clay too. So I started thinking that maybe I could use these two materials together – and so my DIY rubber stamped clay planter was born! Read on to check out the instructions.
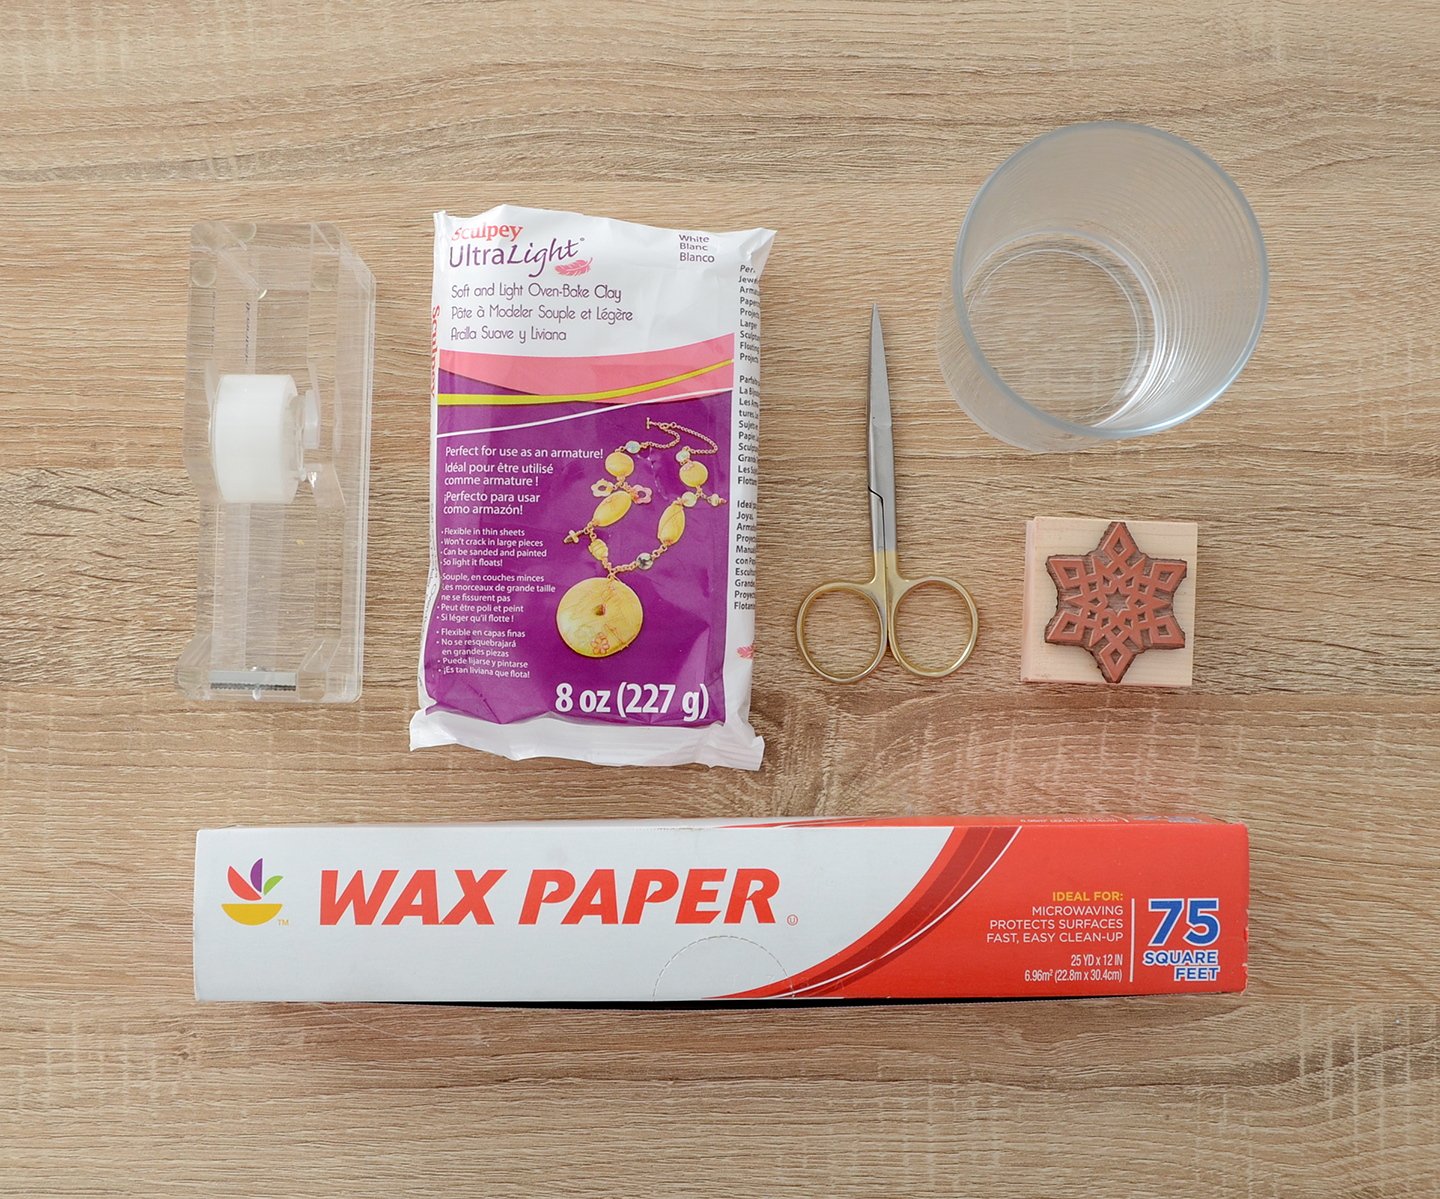
Materials
- Snowflake rubber stamp
- Sculpey UltraLight clay
- Scotch tape
- Scissors
- Drinking glass (to use as the form)
- Wax paper
- Gold spray paint (not pictured)
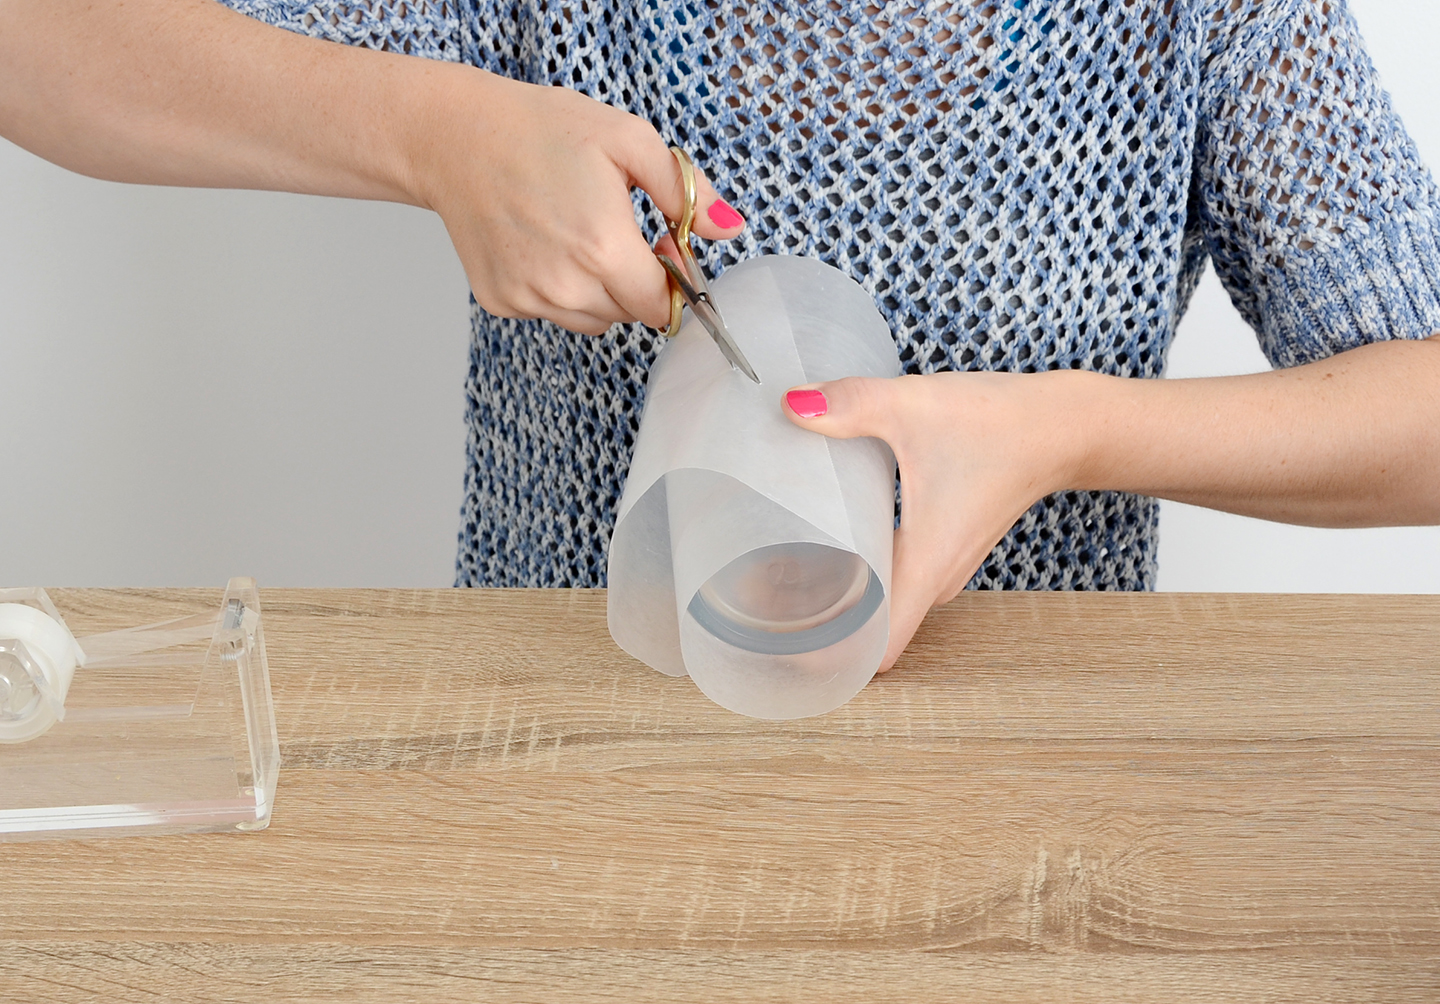
Begin by cutting a piece of wax paper that will fit around your drinking glass. Trim it to size and tape the spot where the two pieces overlap.
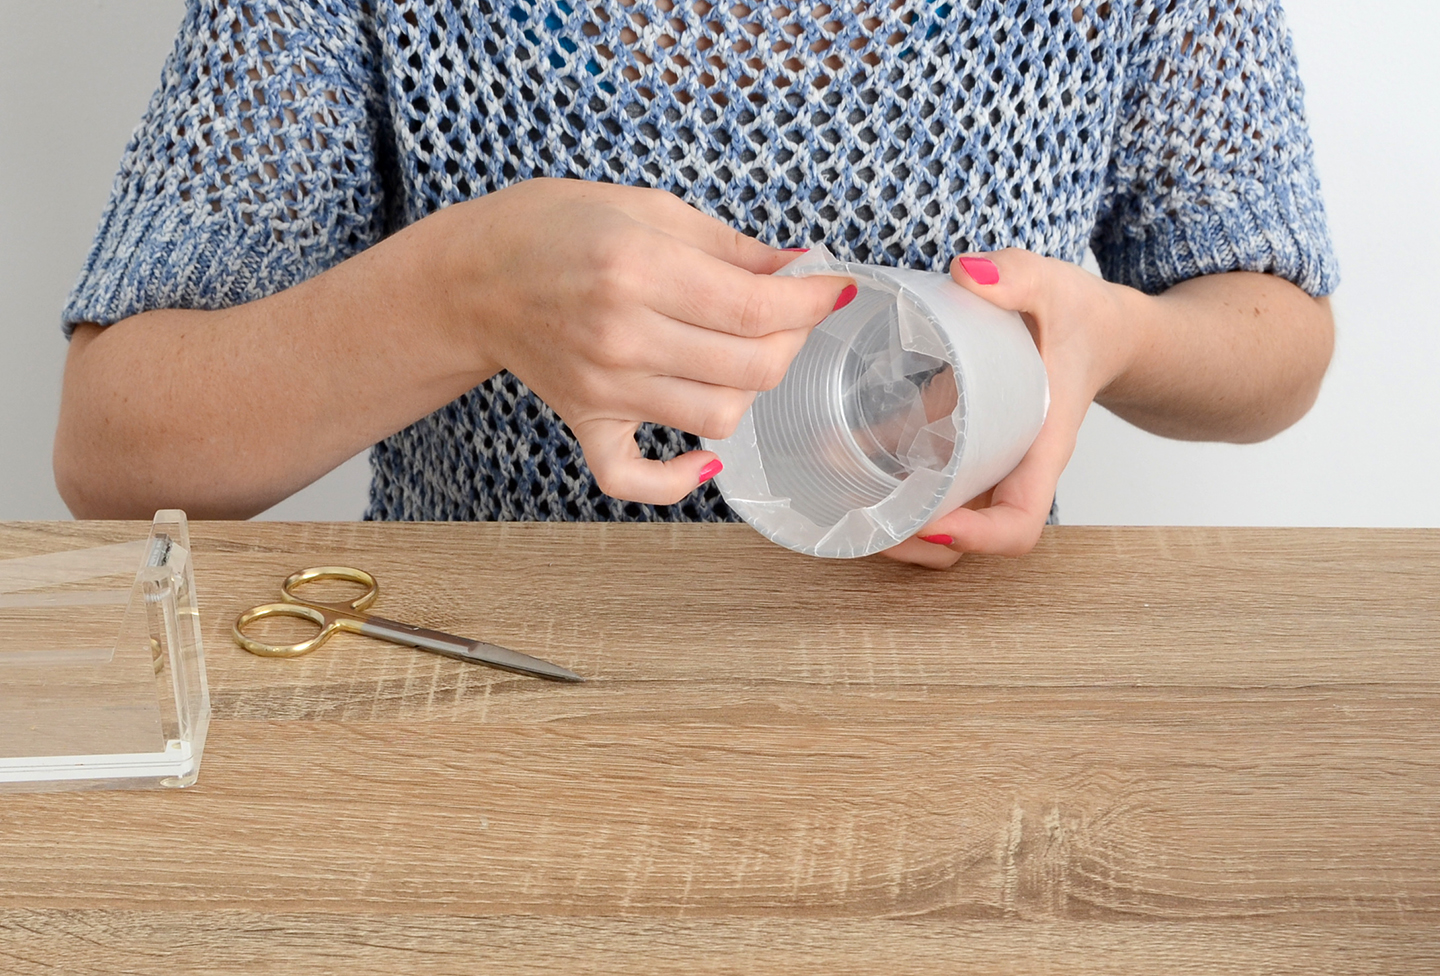
Tuck the excess on the top down into the glass. Flatten the excess on the bottom.
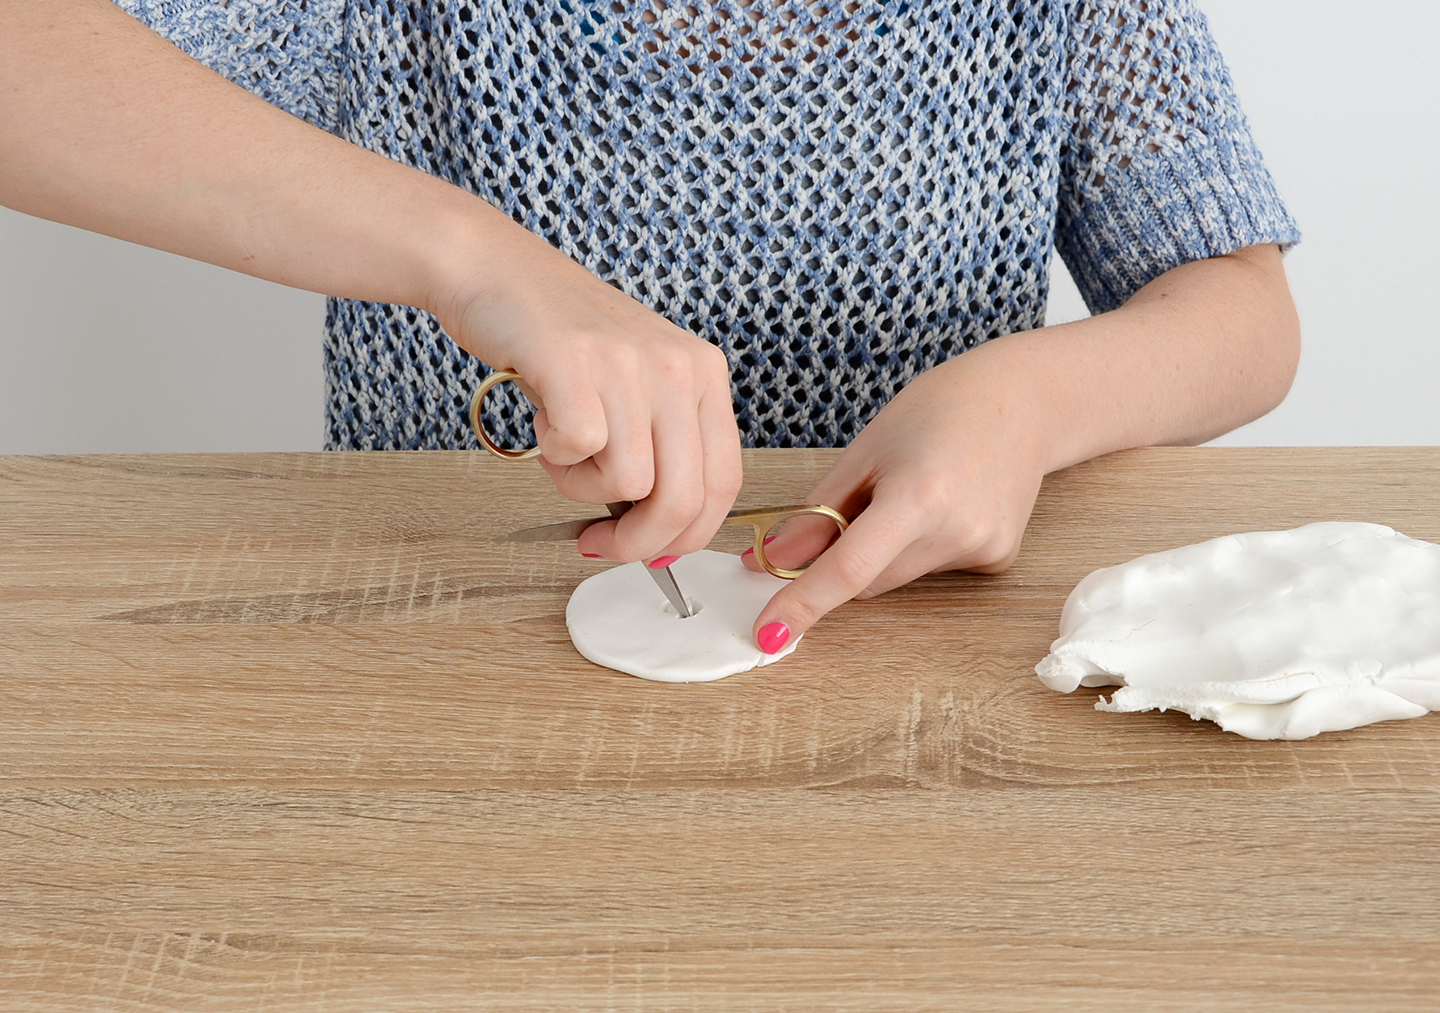
Next, shape a small piece of clay into a round disk that is the same size as the bottom of the glass. Use one blade of your scissors to cut a small hole in the middle for drainage.
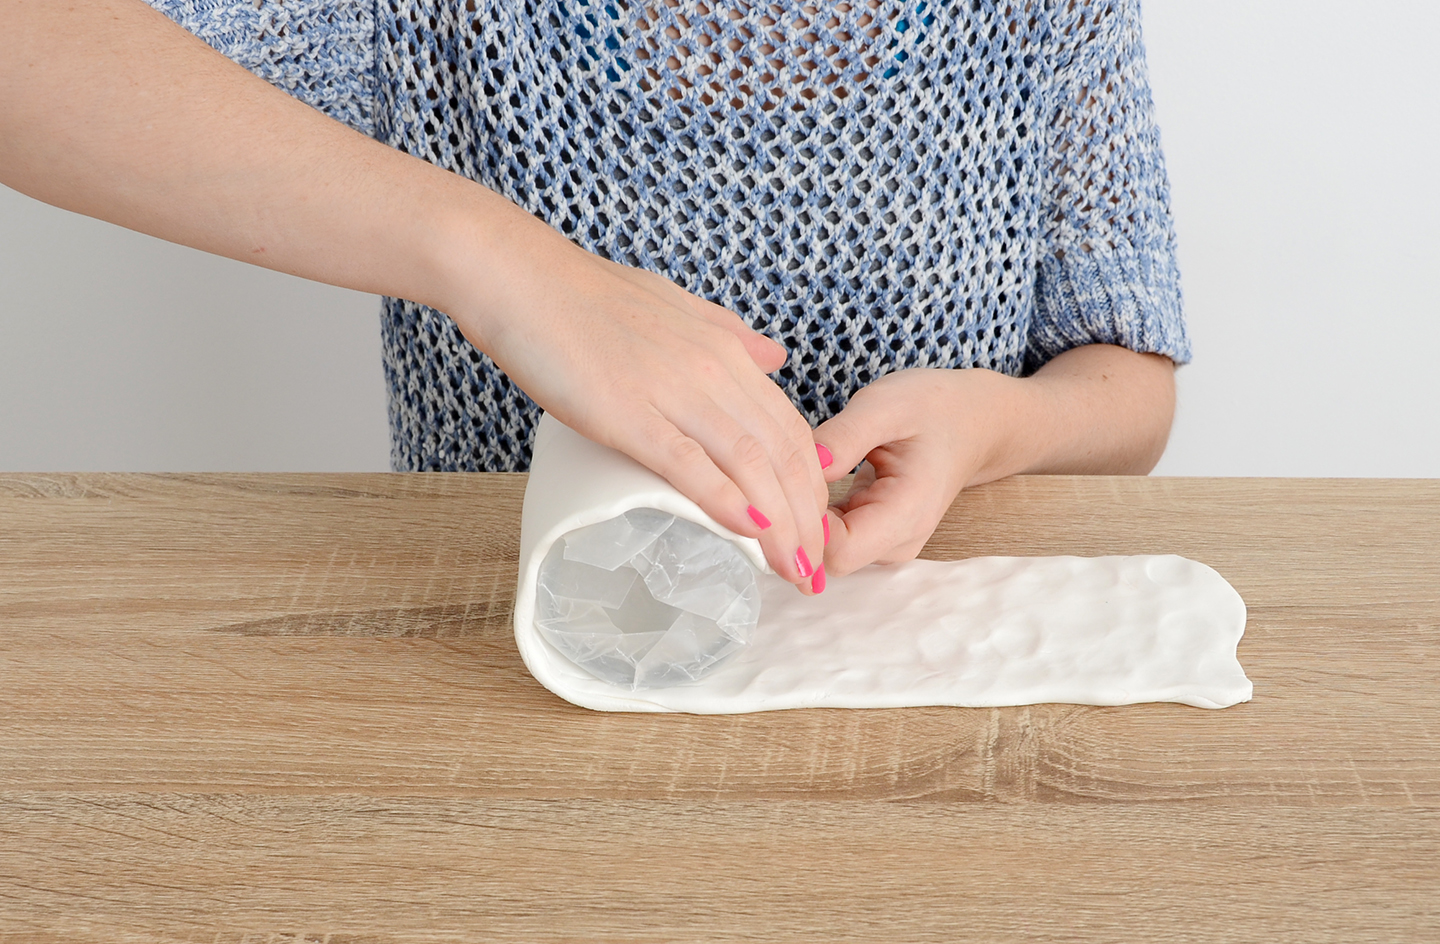
Flatten out a long rectangle of clay that’s about the same height as your glass and wrap it around, rolling as you go to flatten out any fingerprints.
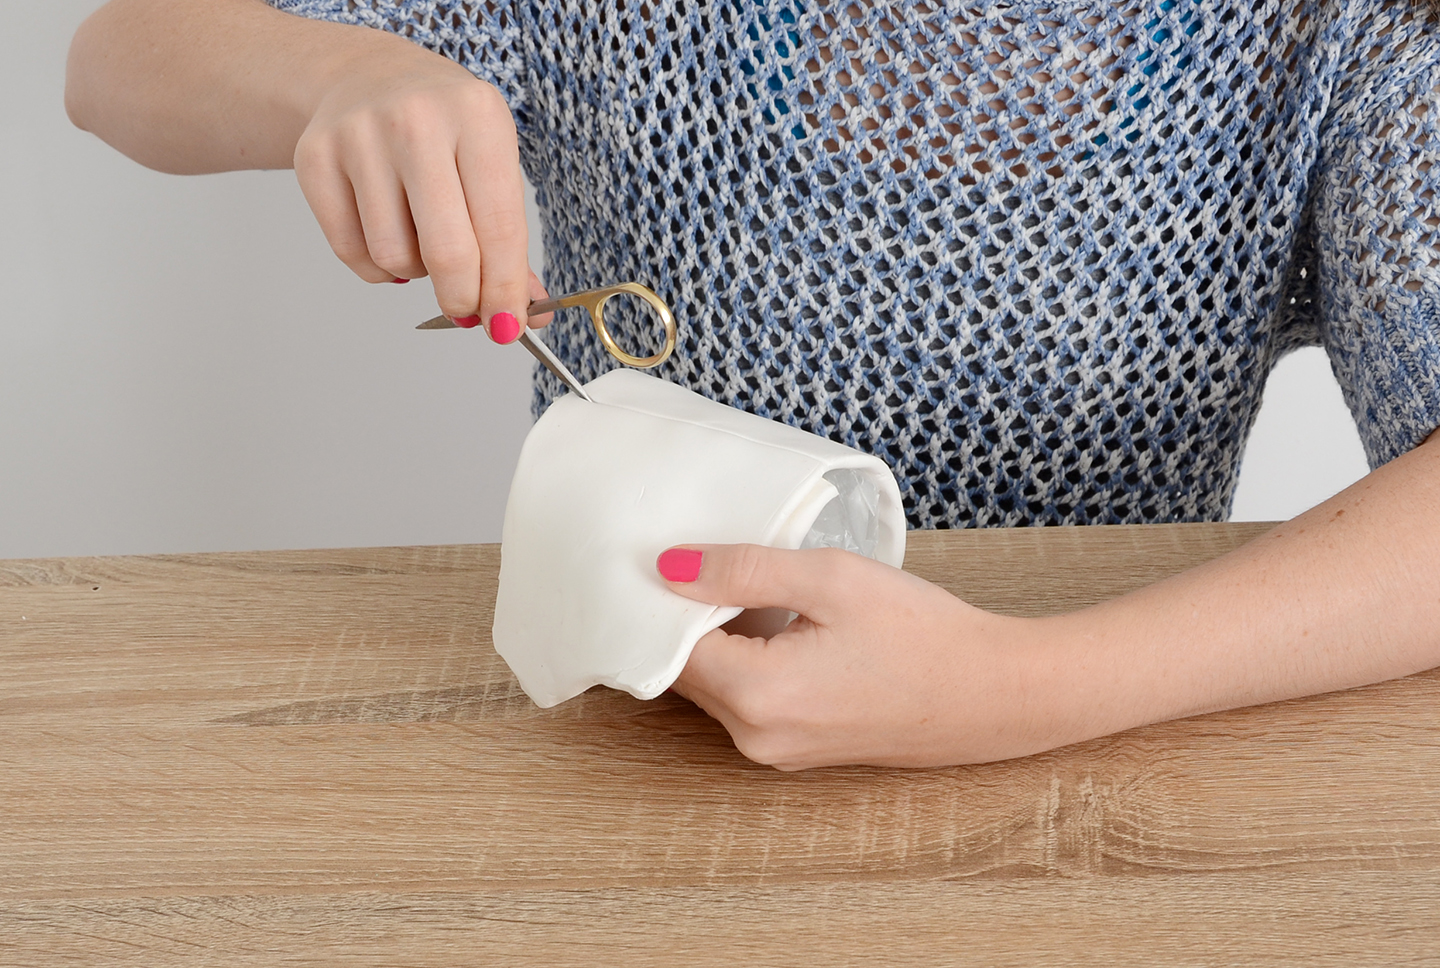
Trim the excess clay off and use your fingers to connect the two ends of the clay. The goal is to try to avoid any visible seam.
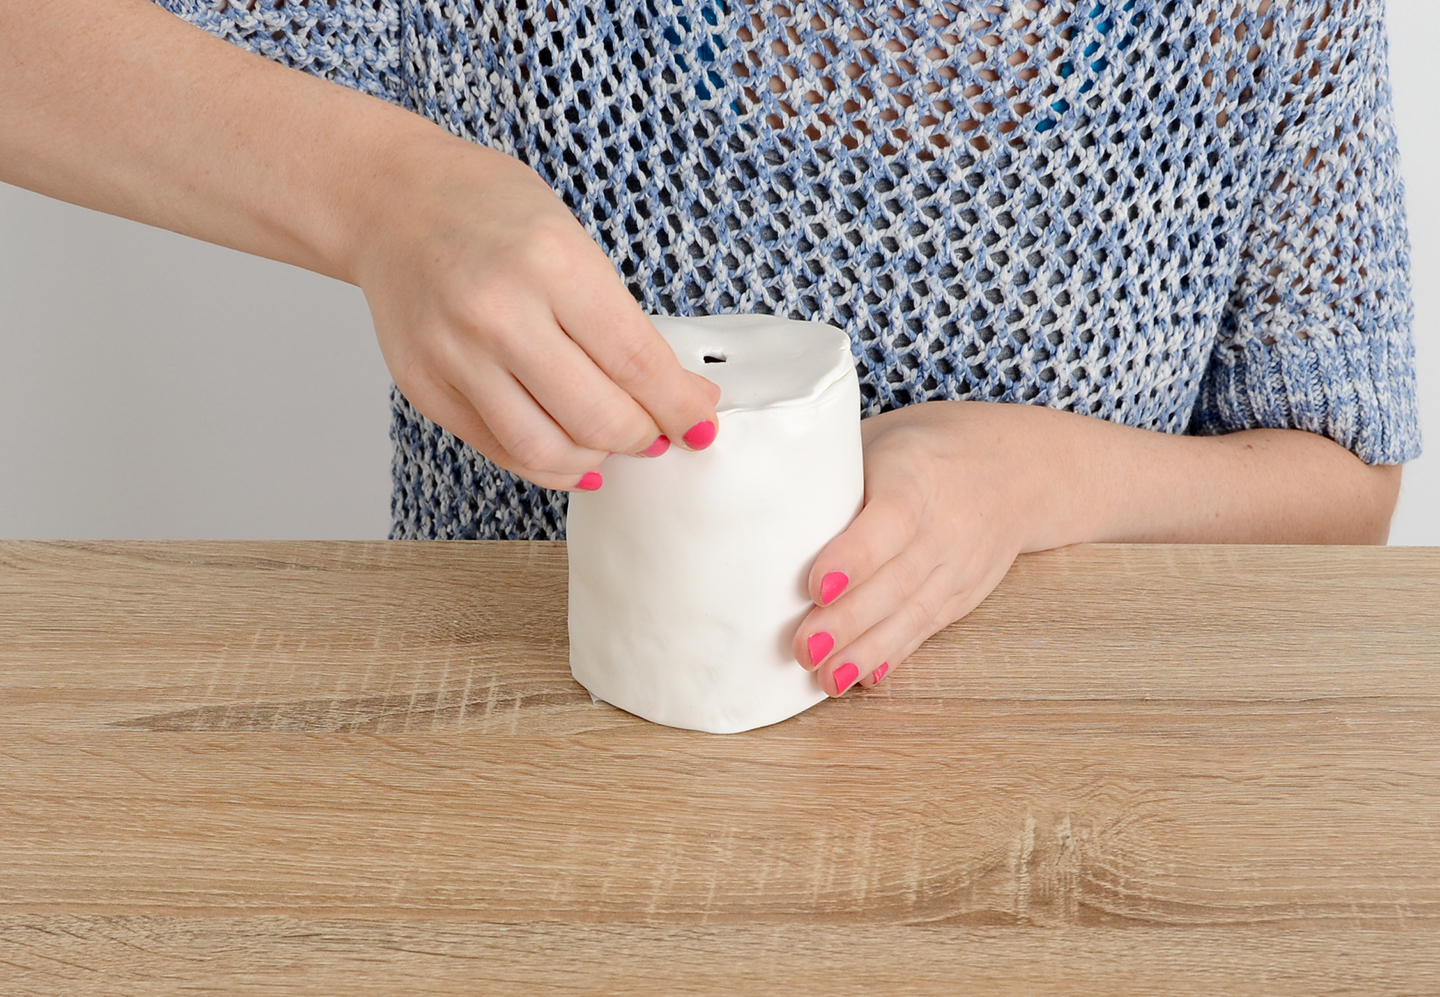
Flip it over at attach the bottom piece of clay to the clay that’s wrapped around the glass. Roll it one more time to remove any lingering bumps.
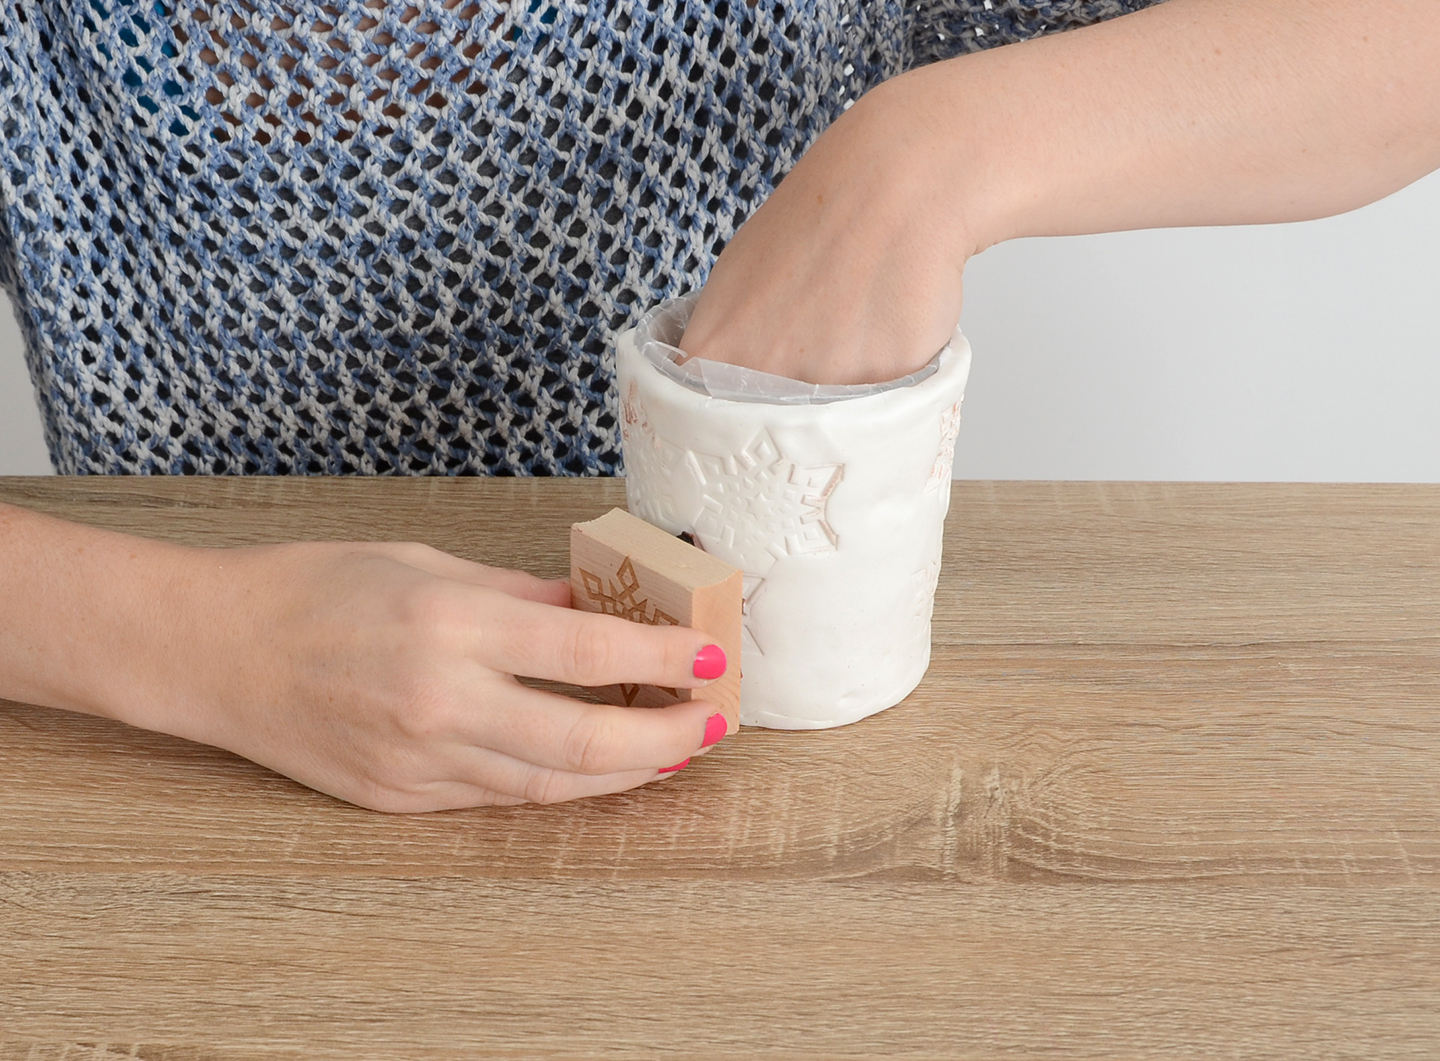
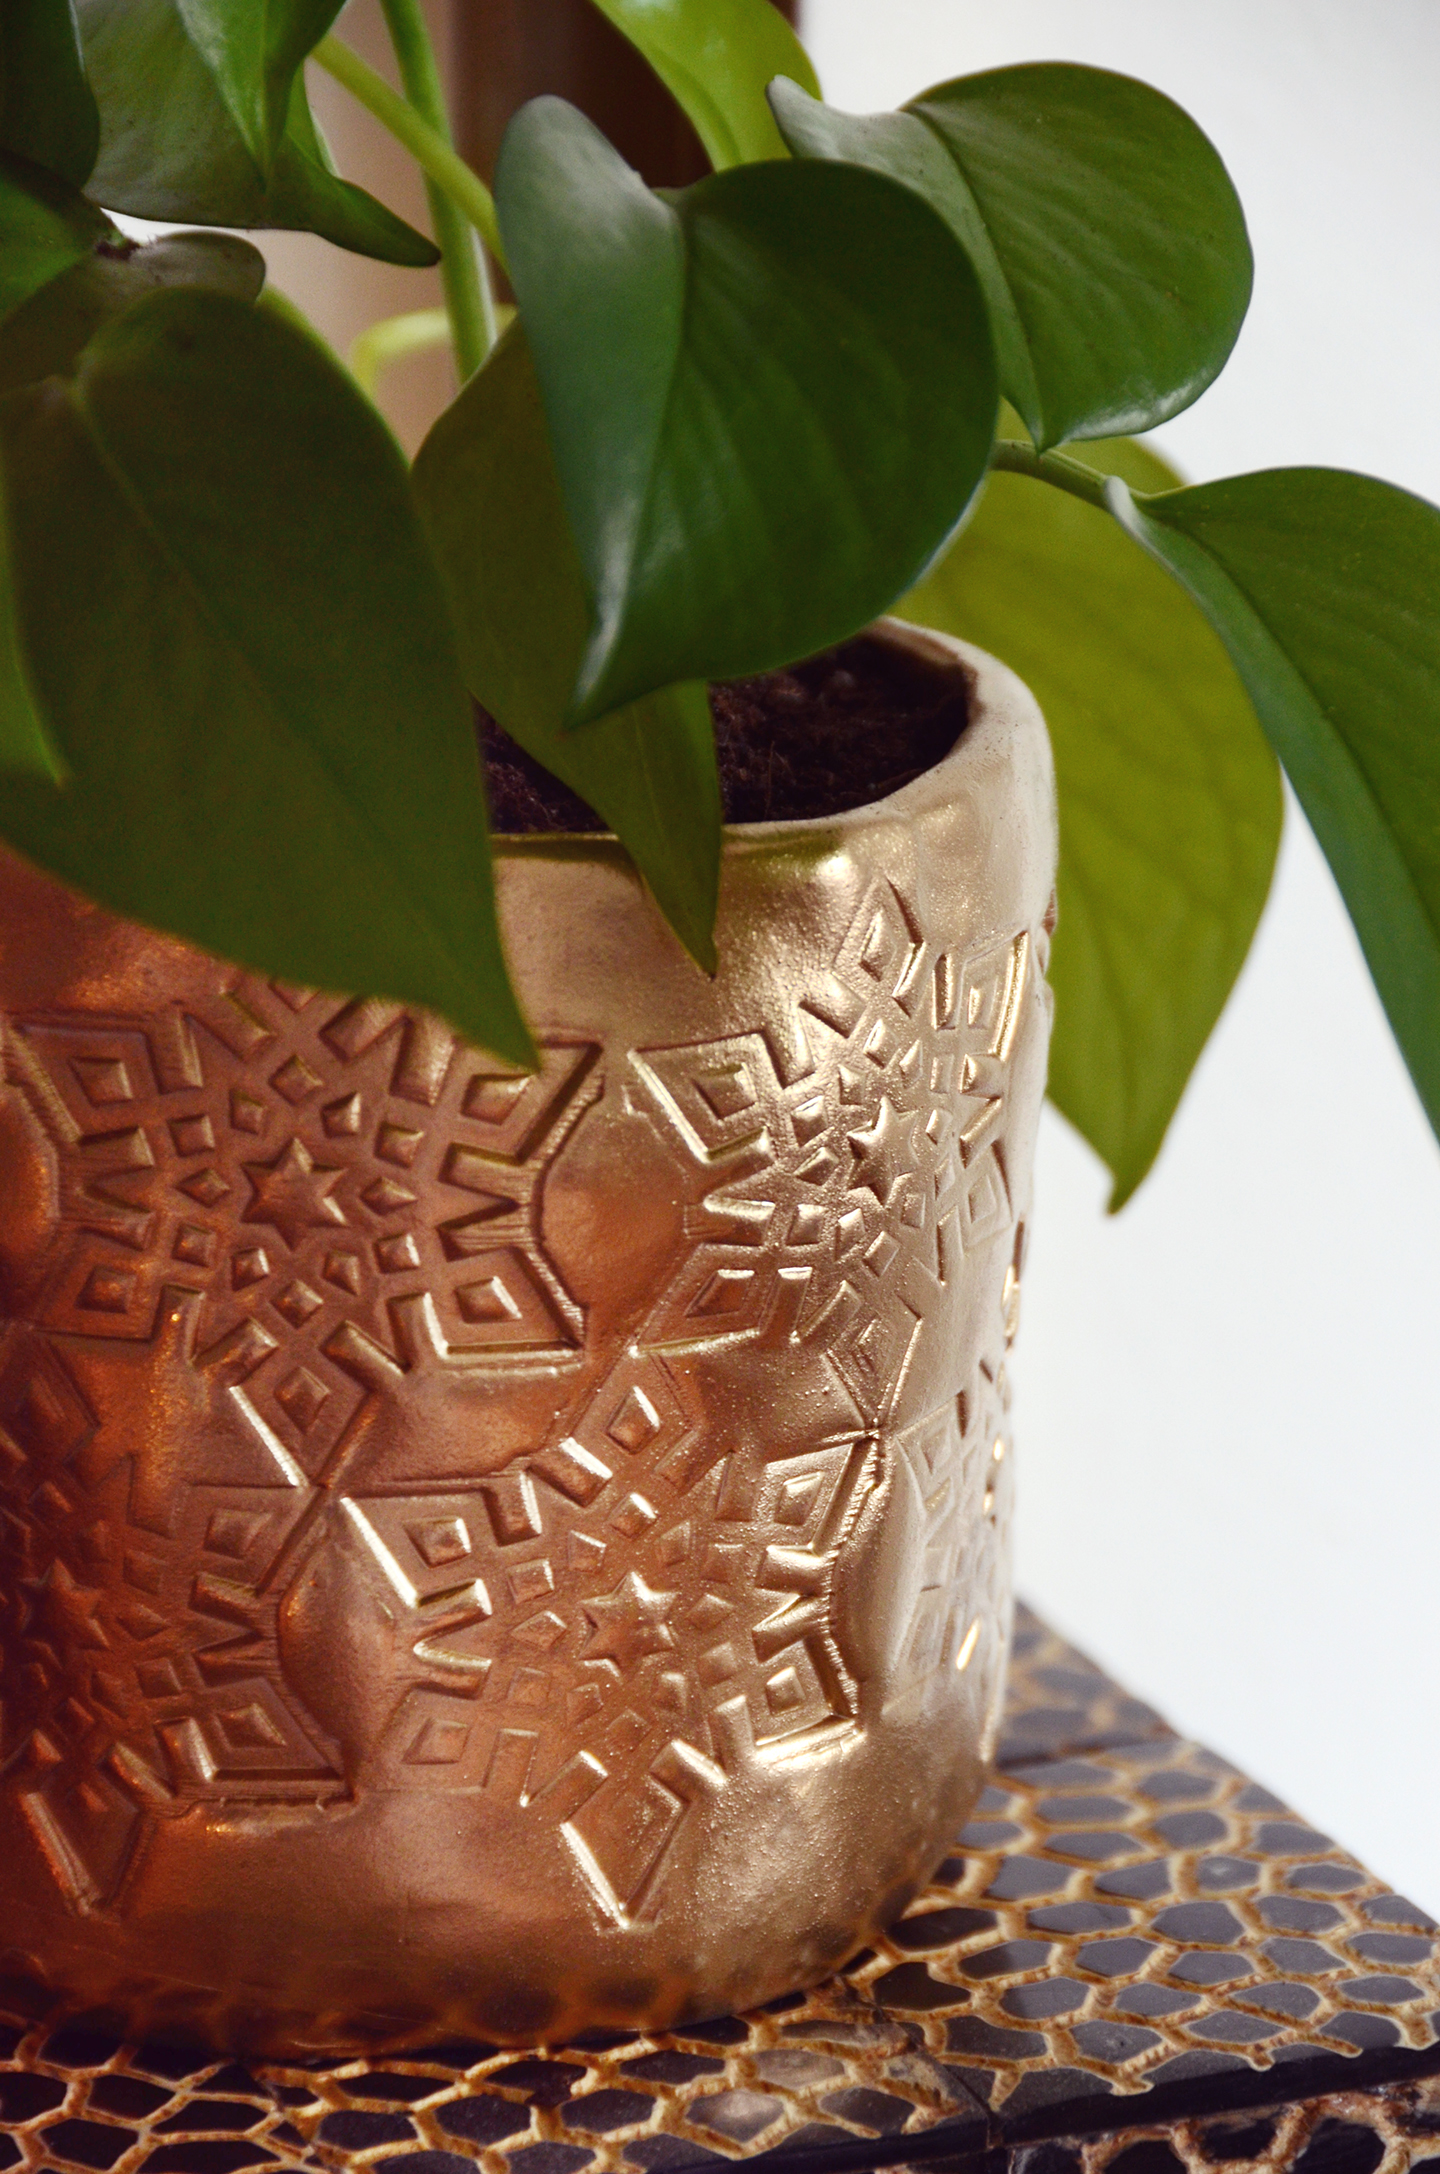
Now it’s time for the fun part! Stamp all the way around the top, and then do another row beneath. If you’re using a standard rocks glass and a 2-inch rubber stamp like I did, you should have space for two rows of snowflakes. Your first and last imprints on each row may overlap a bit, depending on the circumference of your glass… just position that side toward the back once you display it in your home 😉
There may be a bit of residue from the stamp left on the clay – that’s okay! It will be covered up by the spray paint.
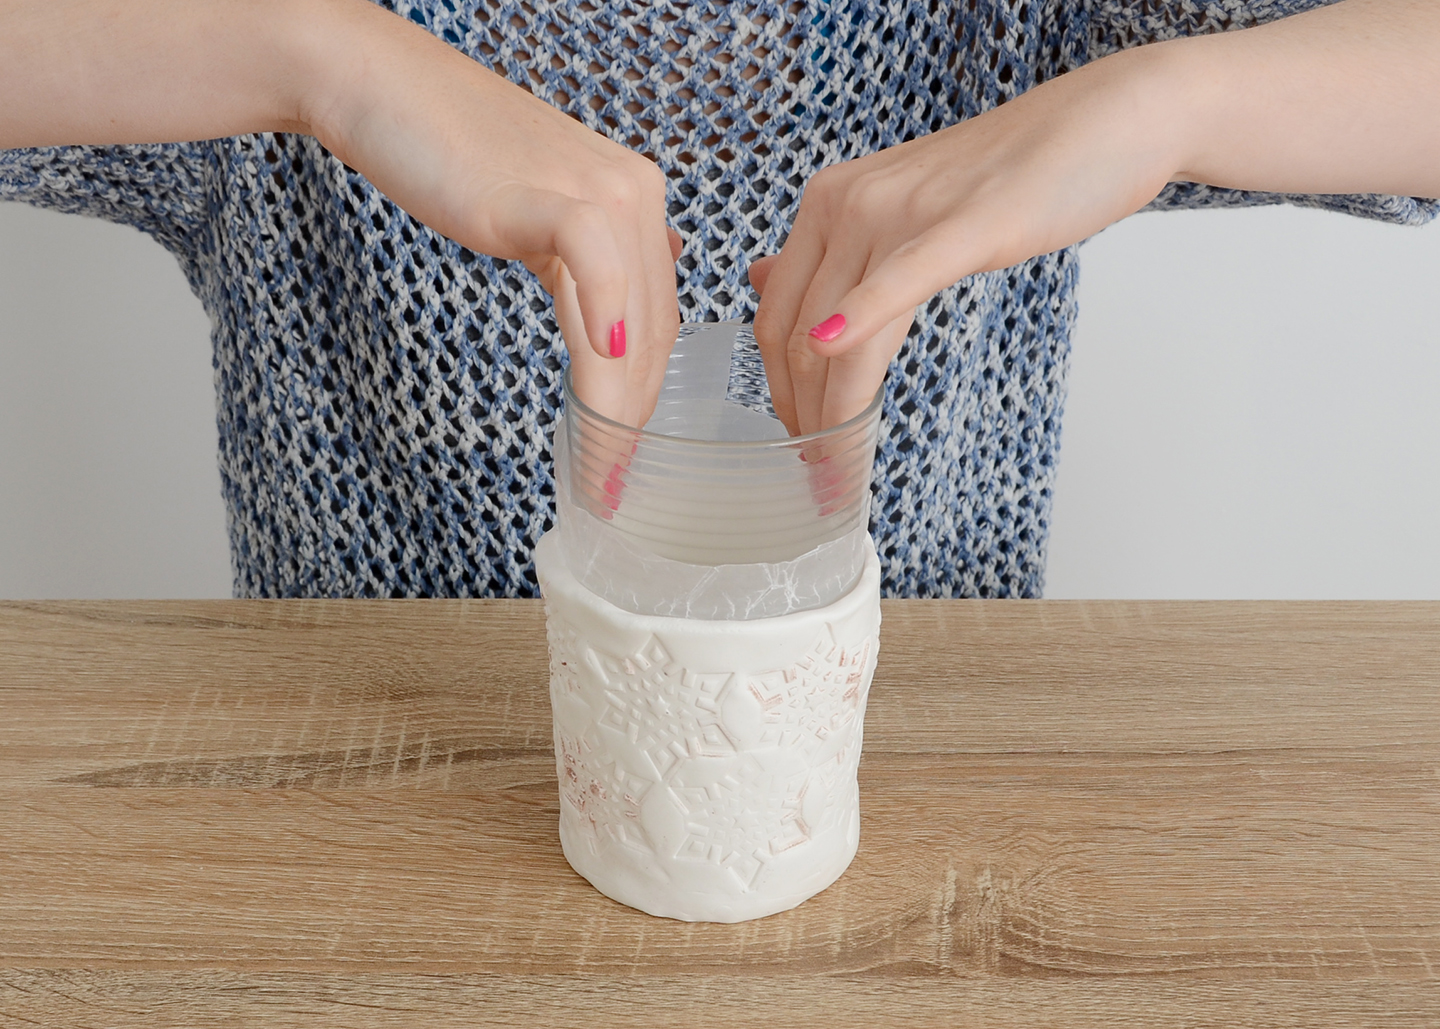
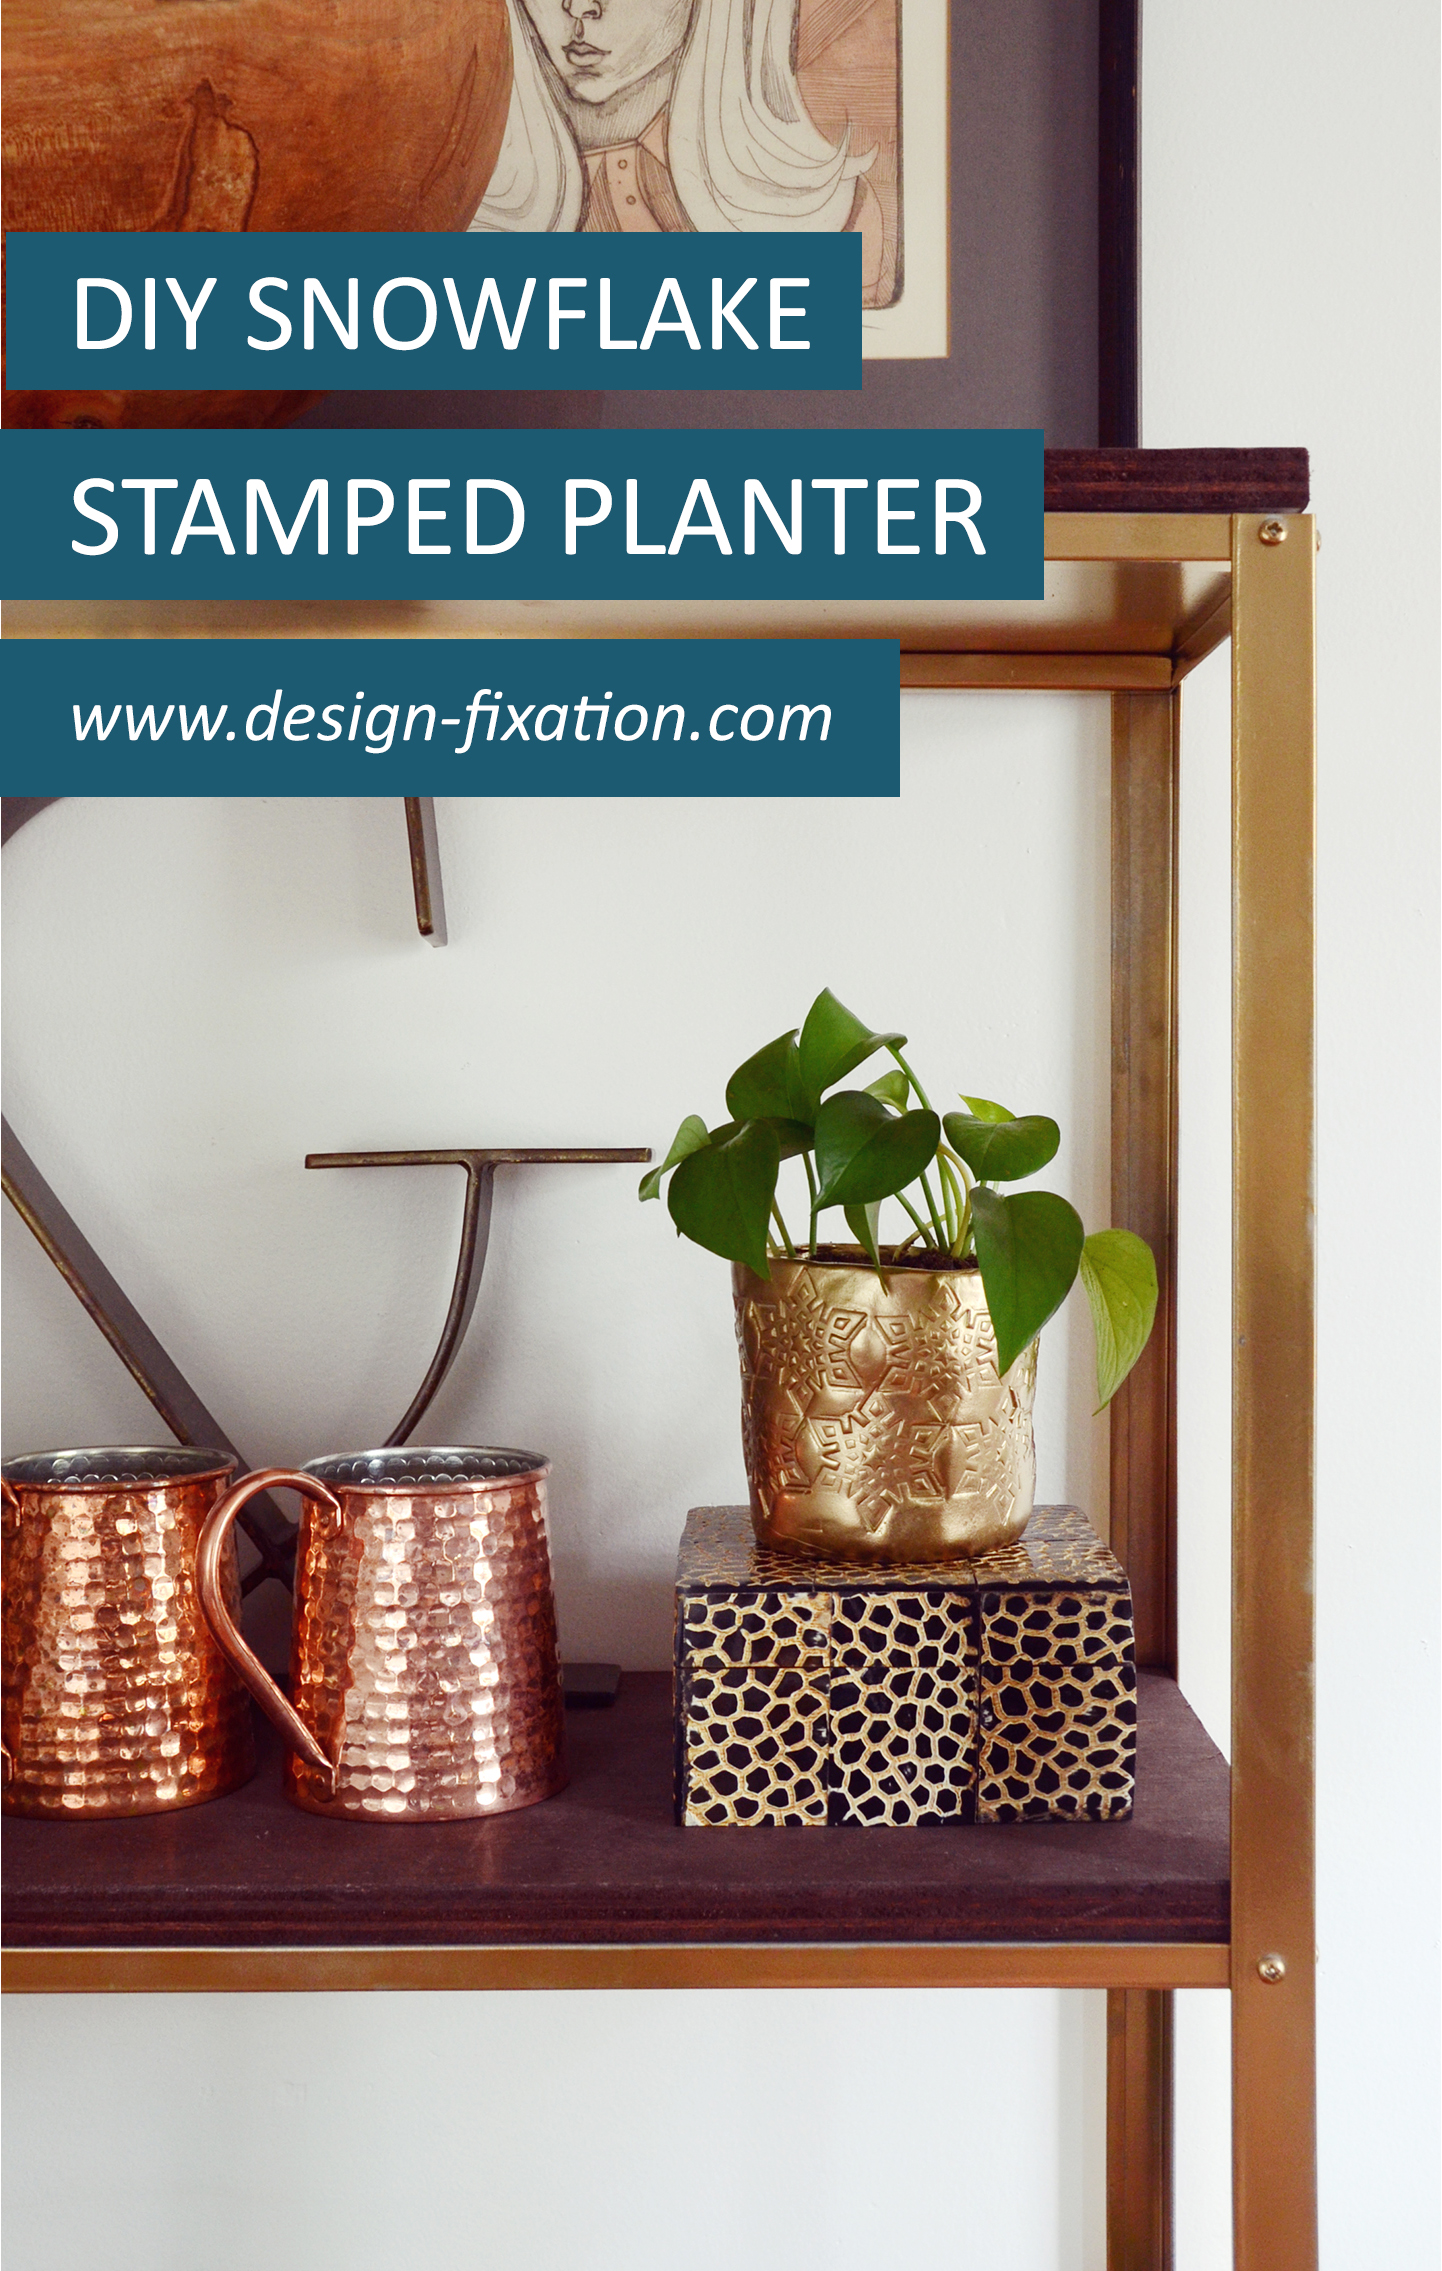
Slip the glass out, and then carefully remove the wax paper. Bake your clay according to the directions on the package. Let it cool completely and then spray paint it gold with two light coats of paint.
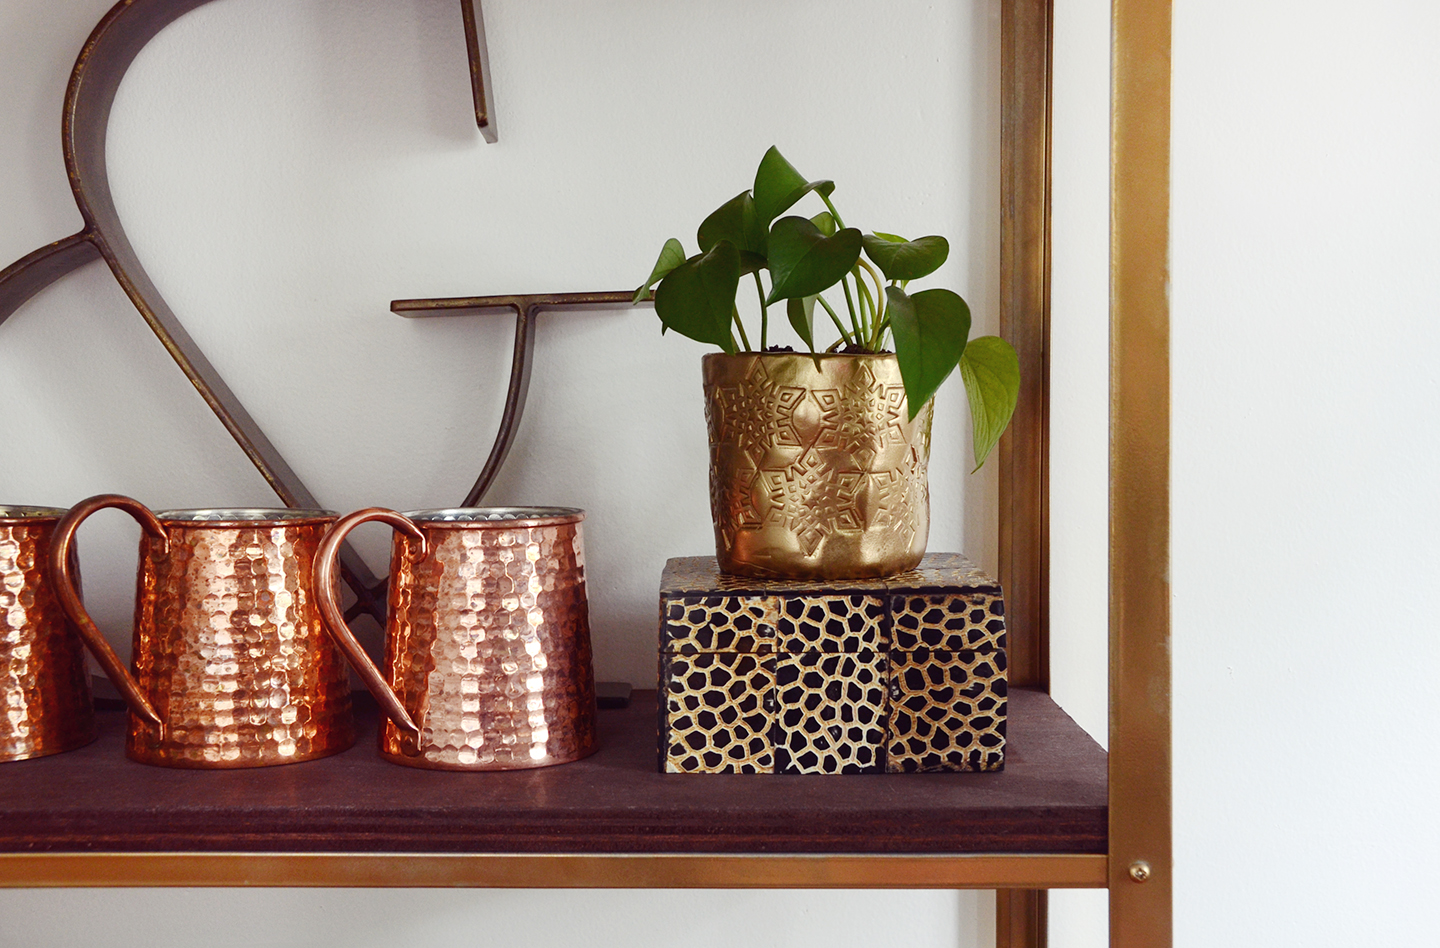
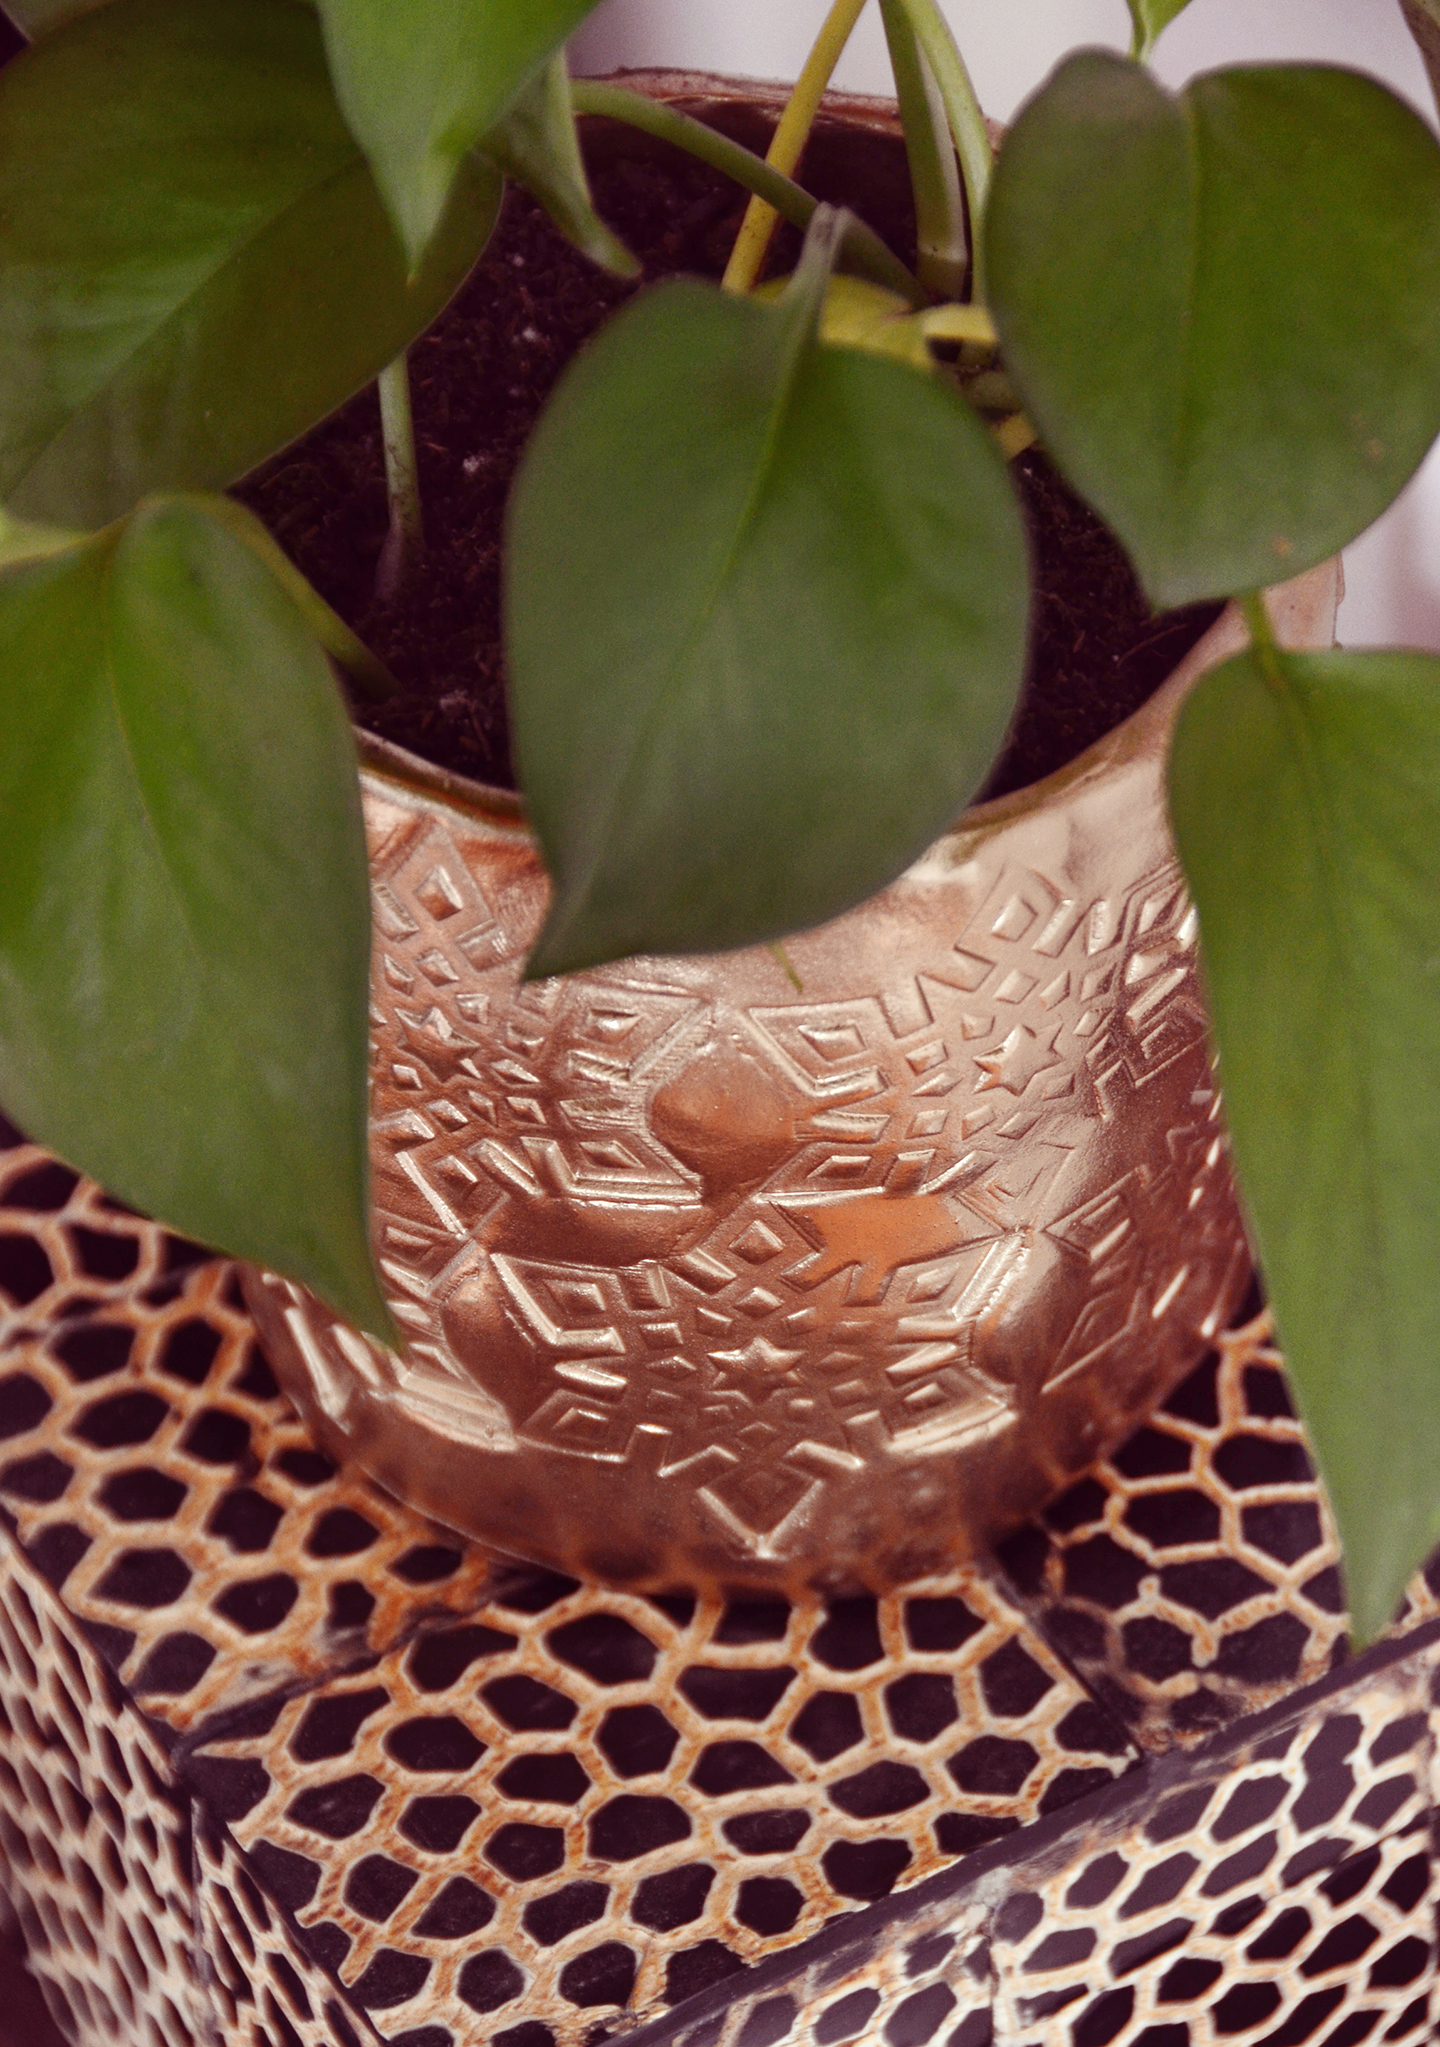
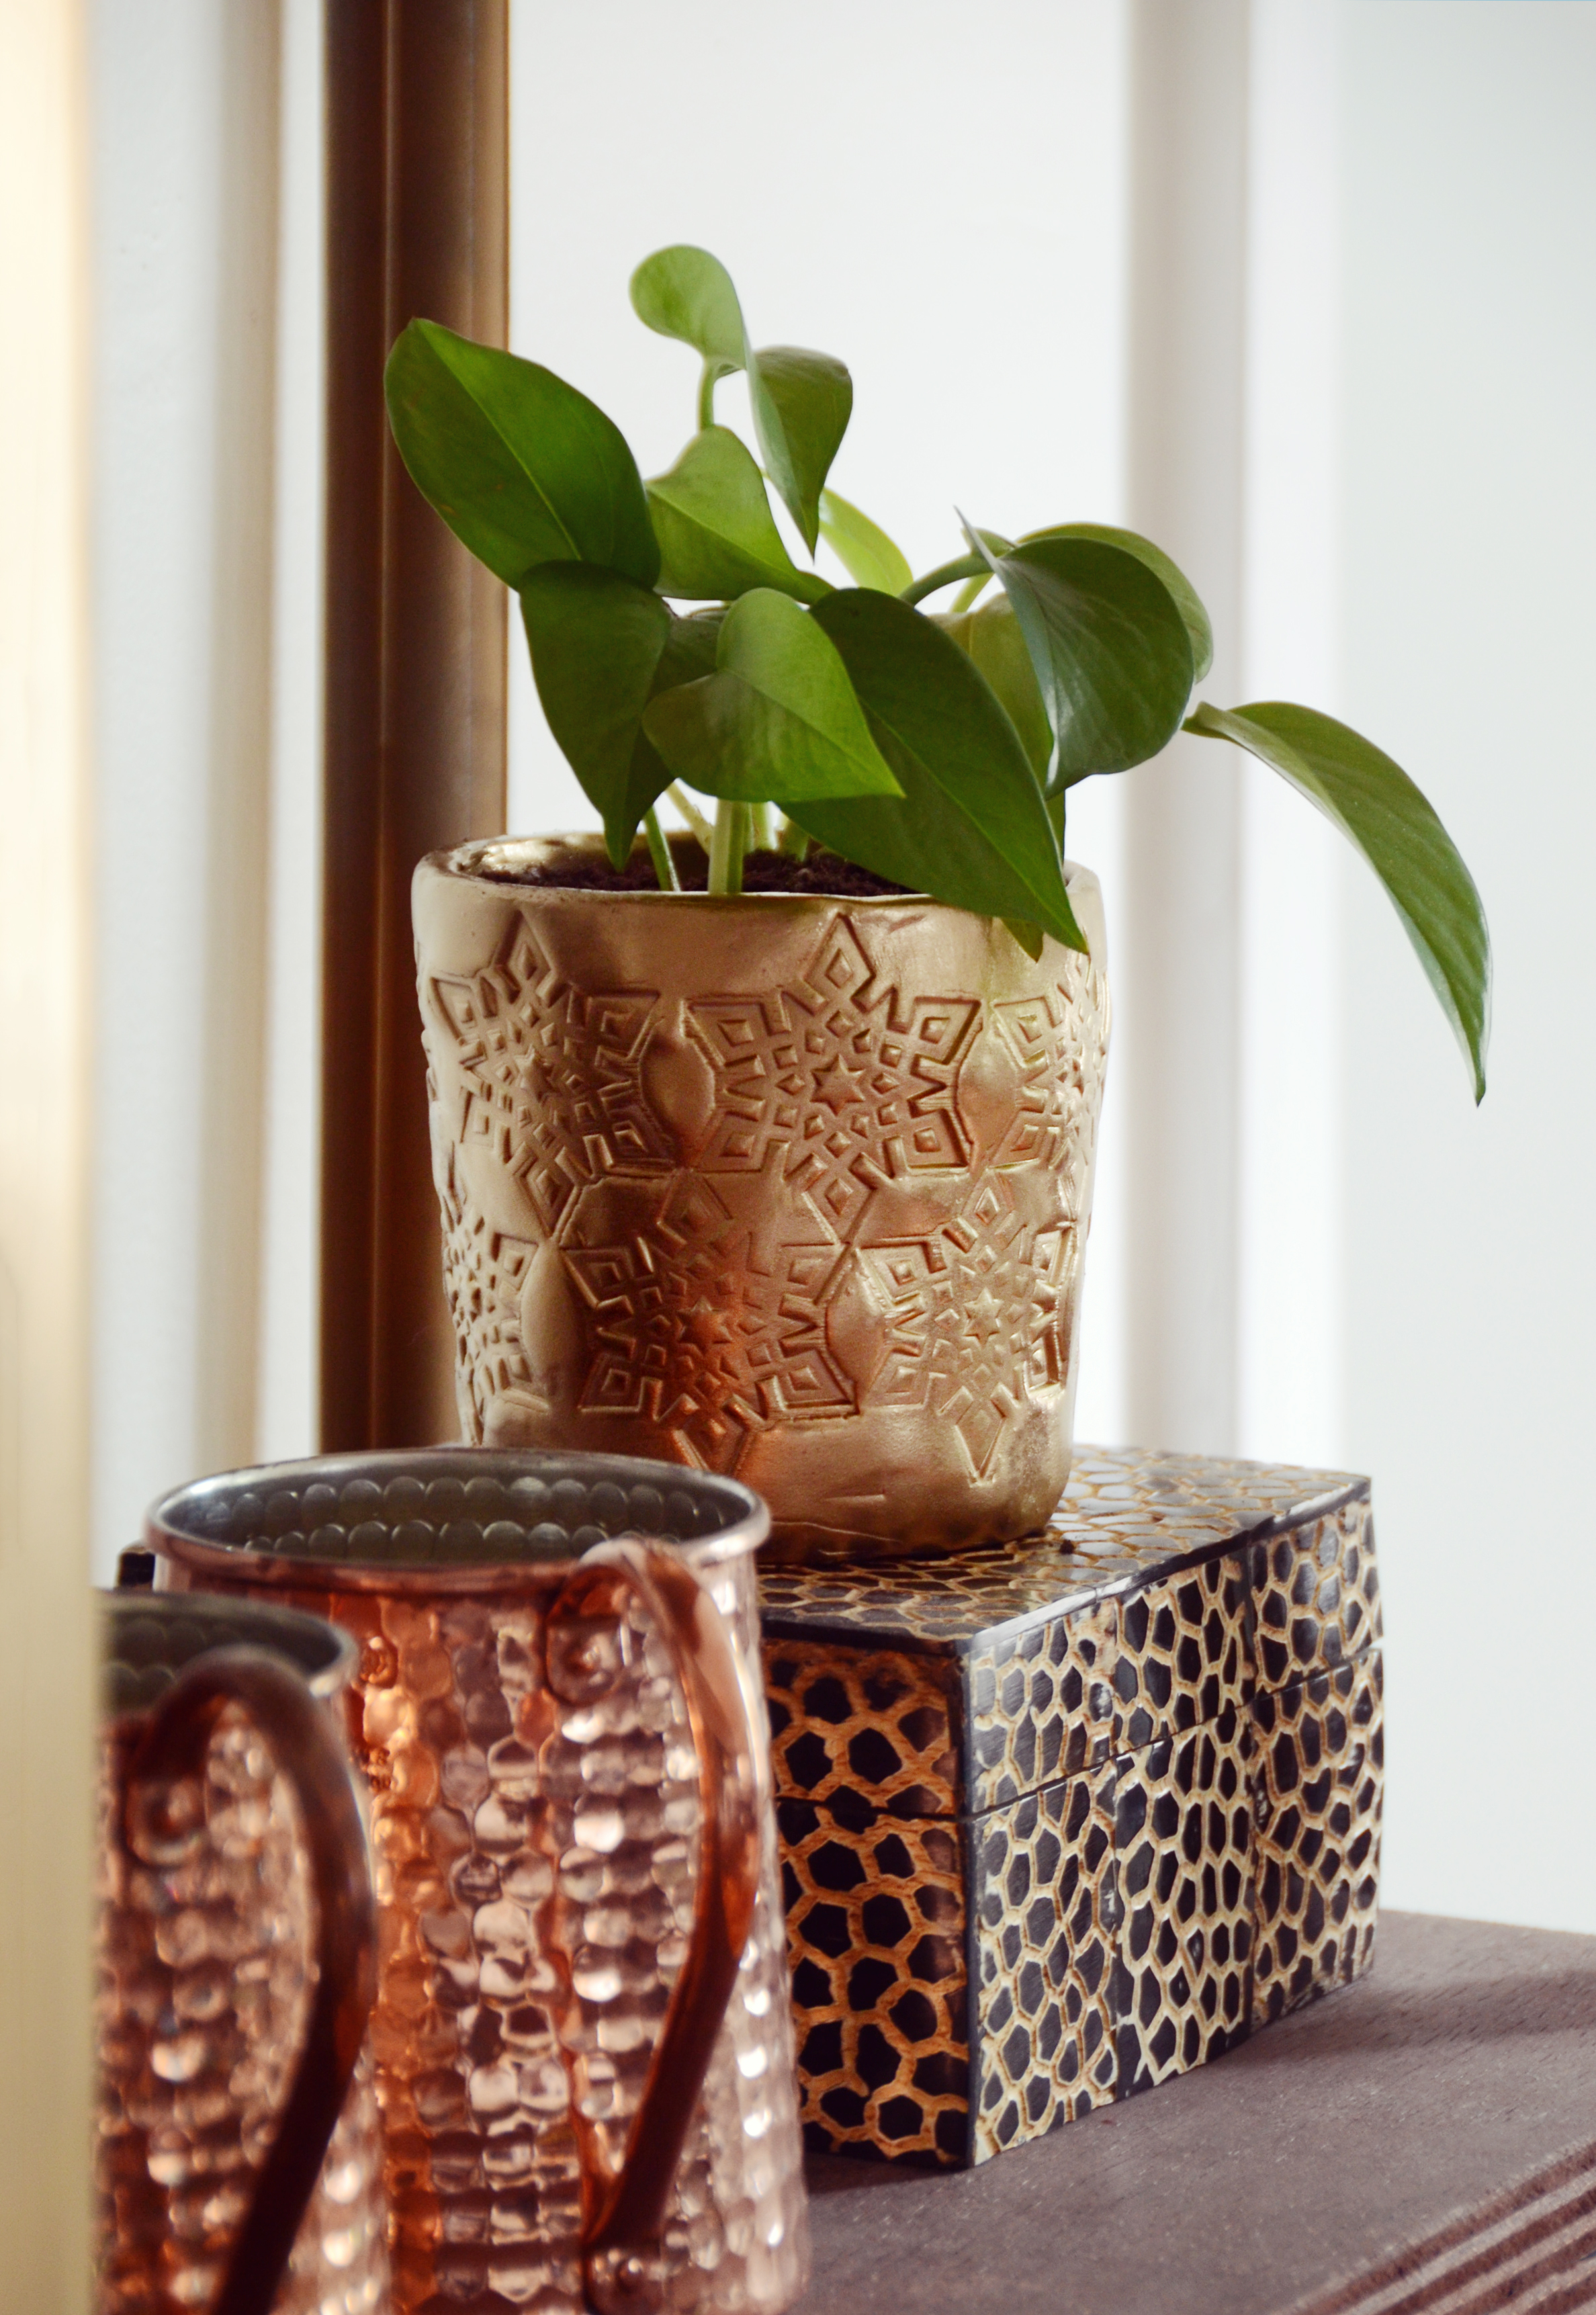
Ta da! Now you have a festive gold planter perfect for succulents or small plants (like my pothos cutting here). It’s super light weight too, thanks to that UltraLight clay… which is nice when it’s time to carry your plant to the sink for a good watering.
This is a surprisingly easy project that could be customized to your liking… try a different stamp design, a bright spray paint color or a different size. You might also consider making a whole set of miniature pots for air plants and put a letter on each one to spell out a word. There are so many fun options!
I’m planning to make another one using the hummingbird stamp that I got for this project. These planters would make great gifts too… and with the holidays coming up (scary I know), I can think of more than a few plant-loving friends that might enjoy these. Happy crafting everyone!
This DIY rubber stamped clay planter was created in partnership with Rubberstamps.com.
Thanks for supporting the brands that keep Design Fixation online!