This post may contain affiliate links. This means that if you buy the cool stuff I recommend, I earn a small commission (but you still pay the same price). Thanks for helping me make a living doing my dream job!
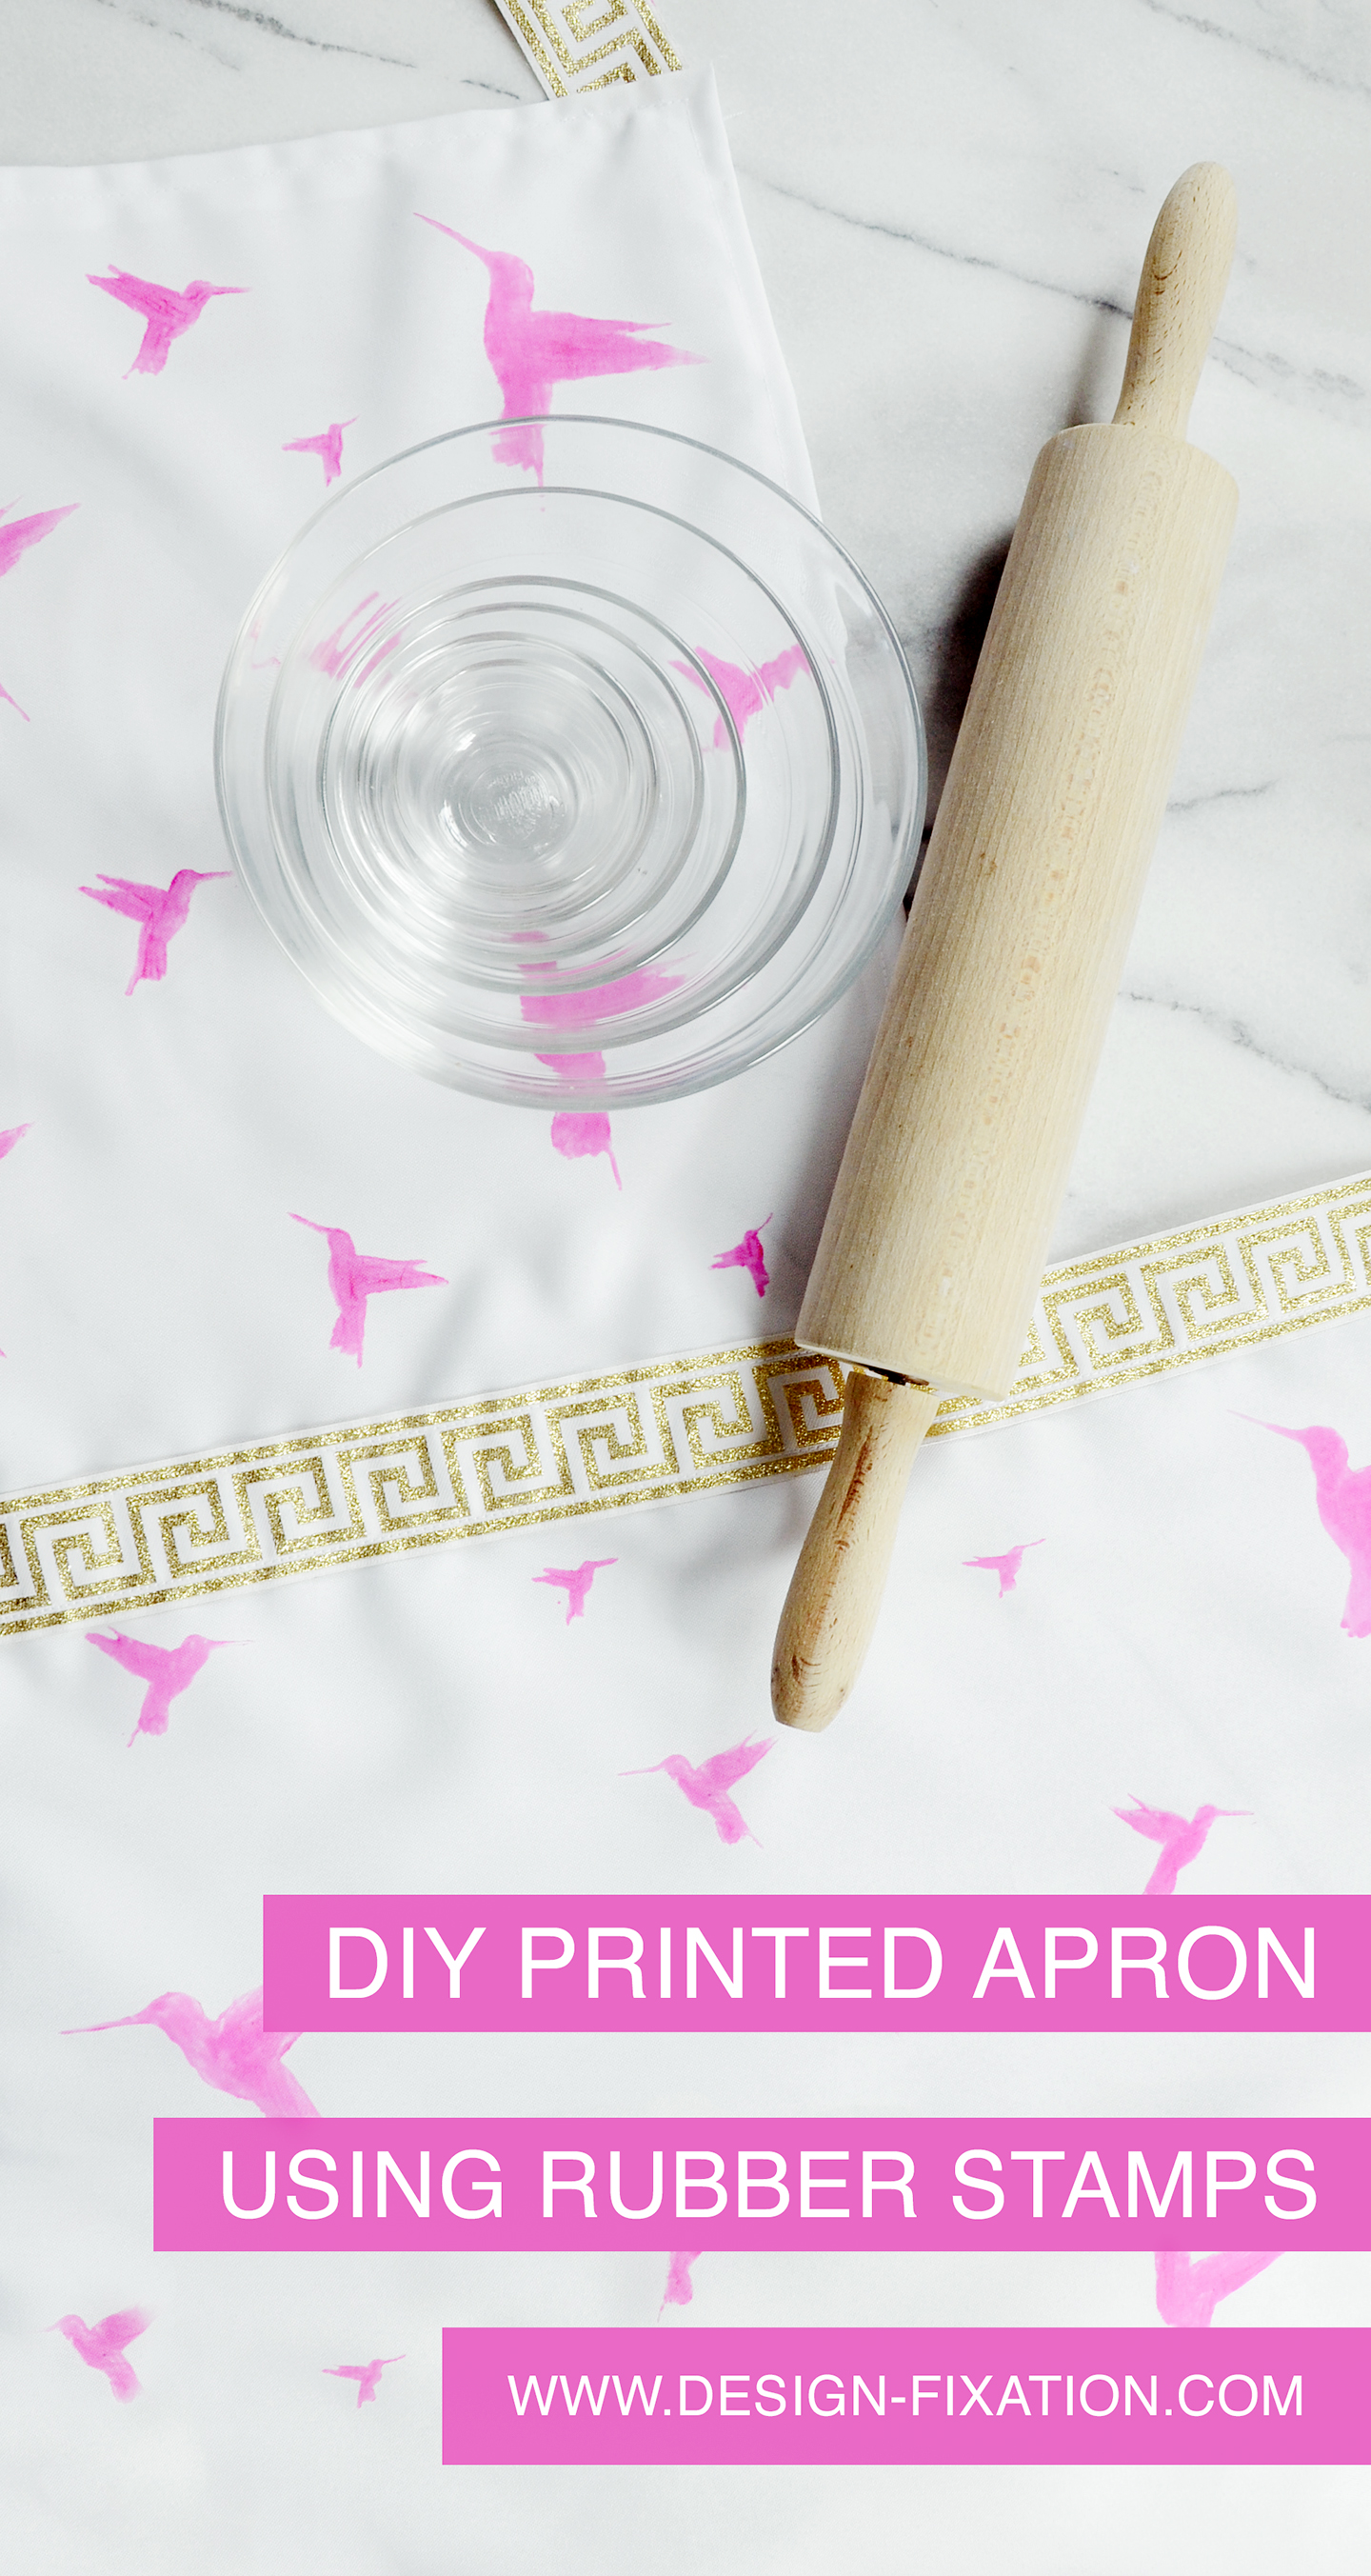
Are you on the hunt for the perfect gift for Mother’s Day? Or maybe you’re just looking to add some steez to your baking sessions? Well, I have just the thing. Today I’m sharing a fun DIY hummingbird printed apron using rubber stamps… because they aren’t just for paper crafts! This is an easy project that is both functional and completely charming. So let’s get started.
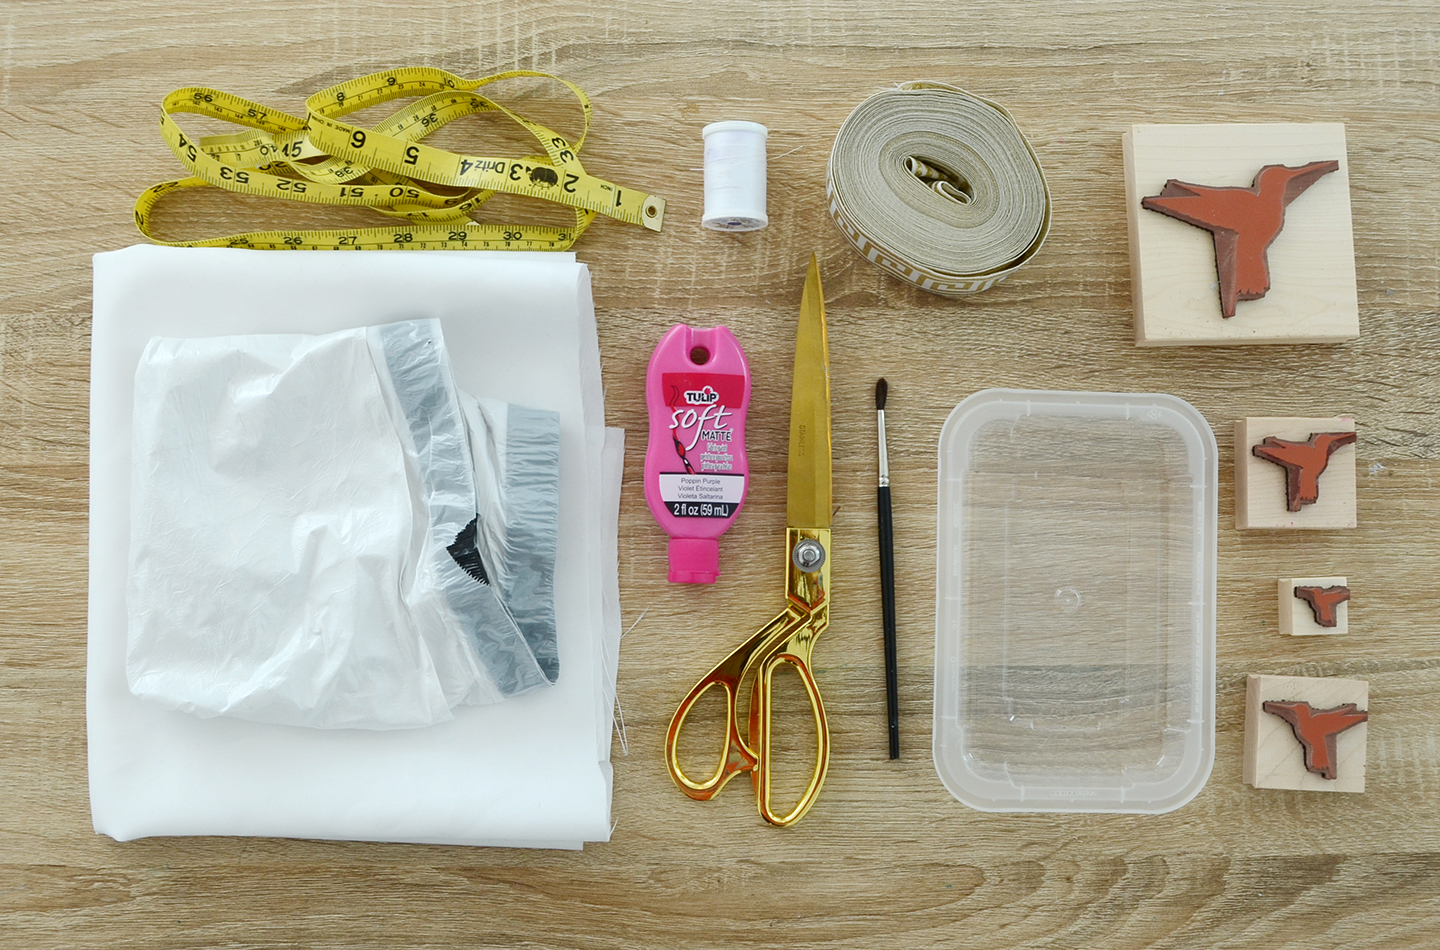
Here’s what you’ll need for your printed apron:
- 1/2 yard light colored non-stretch fabric
- Hummingbird rubber stamps in a variety of sizes
- Trash bag or scrap plastic
- Tulip Soft Fabric Paint
- Scissors
- Paintbrush
- 3 yards gold greek key ribbon, 1 to 1 1/2 inches wide
- Measuring tape
- White thread
- Plastic palette (or a takeout container top!)
- Sewing machine (not pictured)
Begin by cutting your fabric to size. The smaller top portion of the apron should be about 15 x 15 inches and the bottom portion should be about 18 x 28. Feel free to adjust these measurements a bit for a larger or smaller apron.
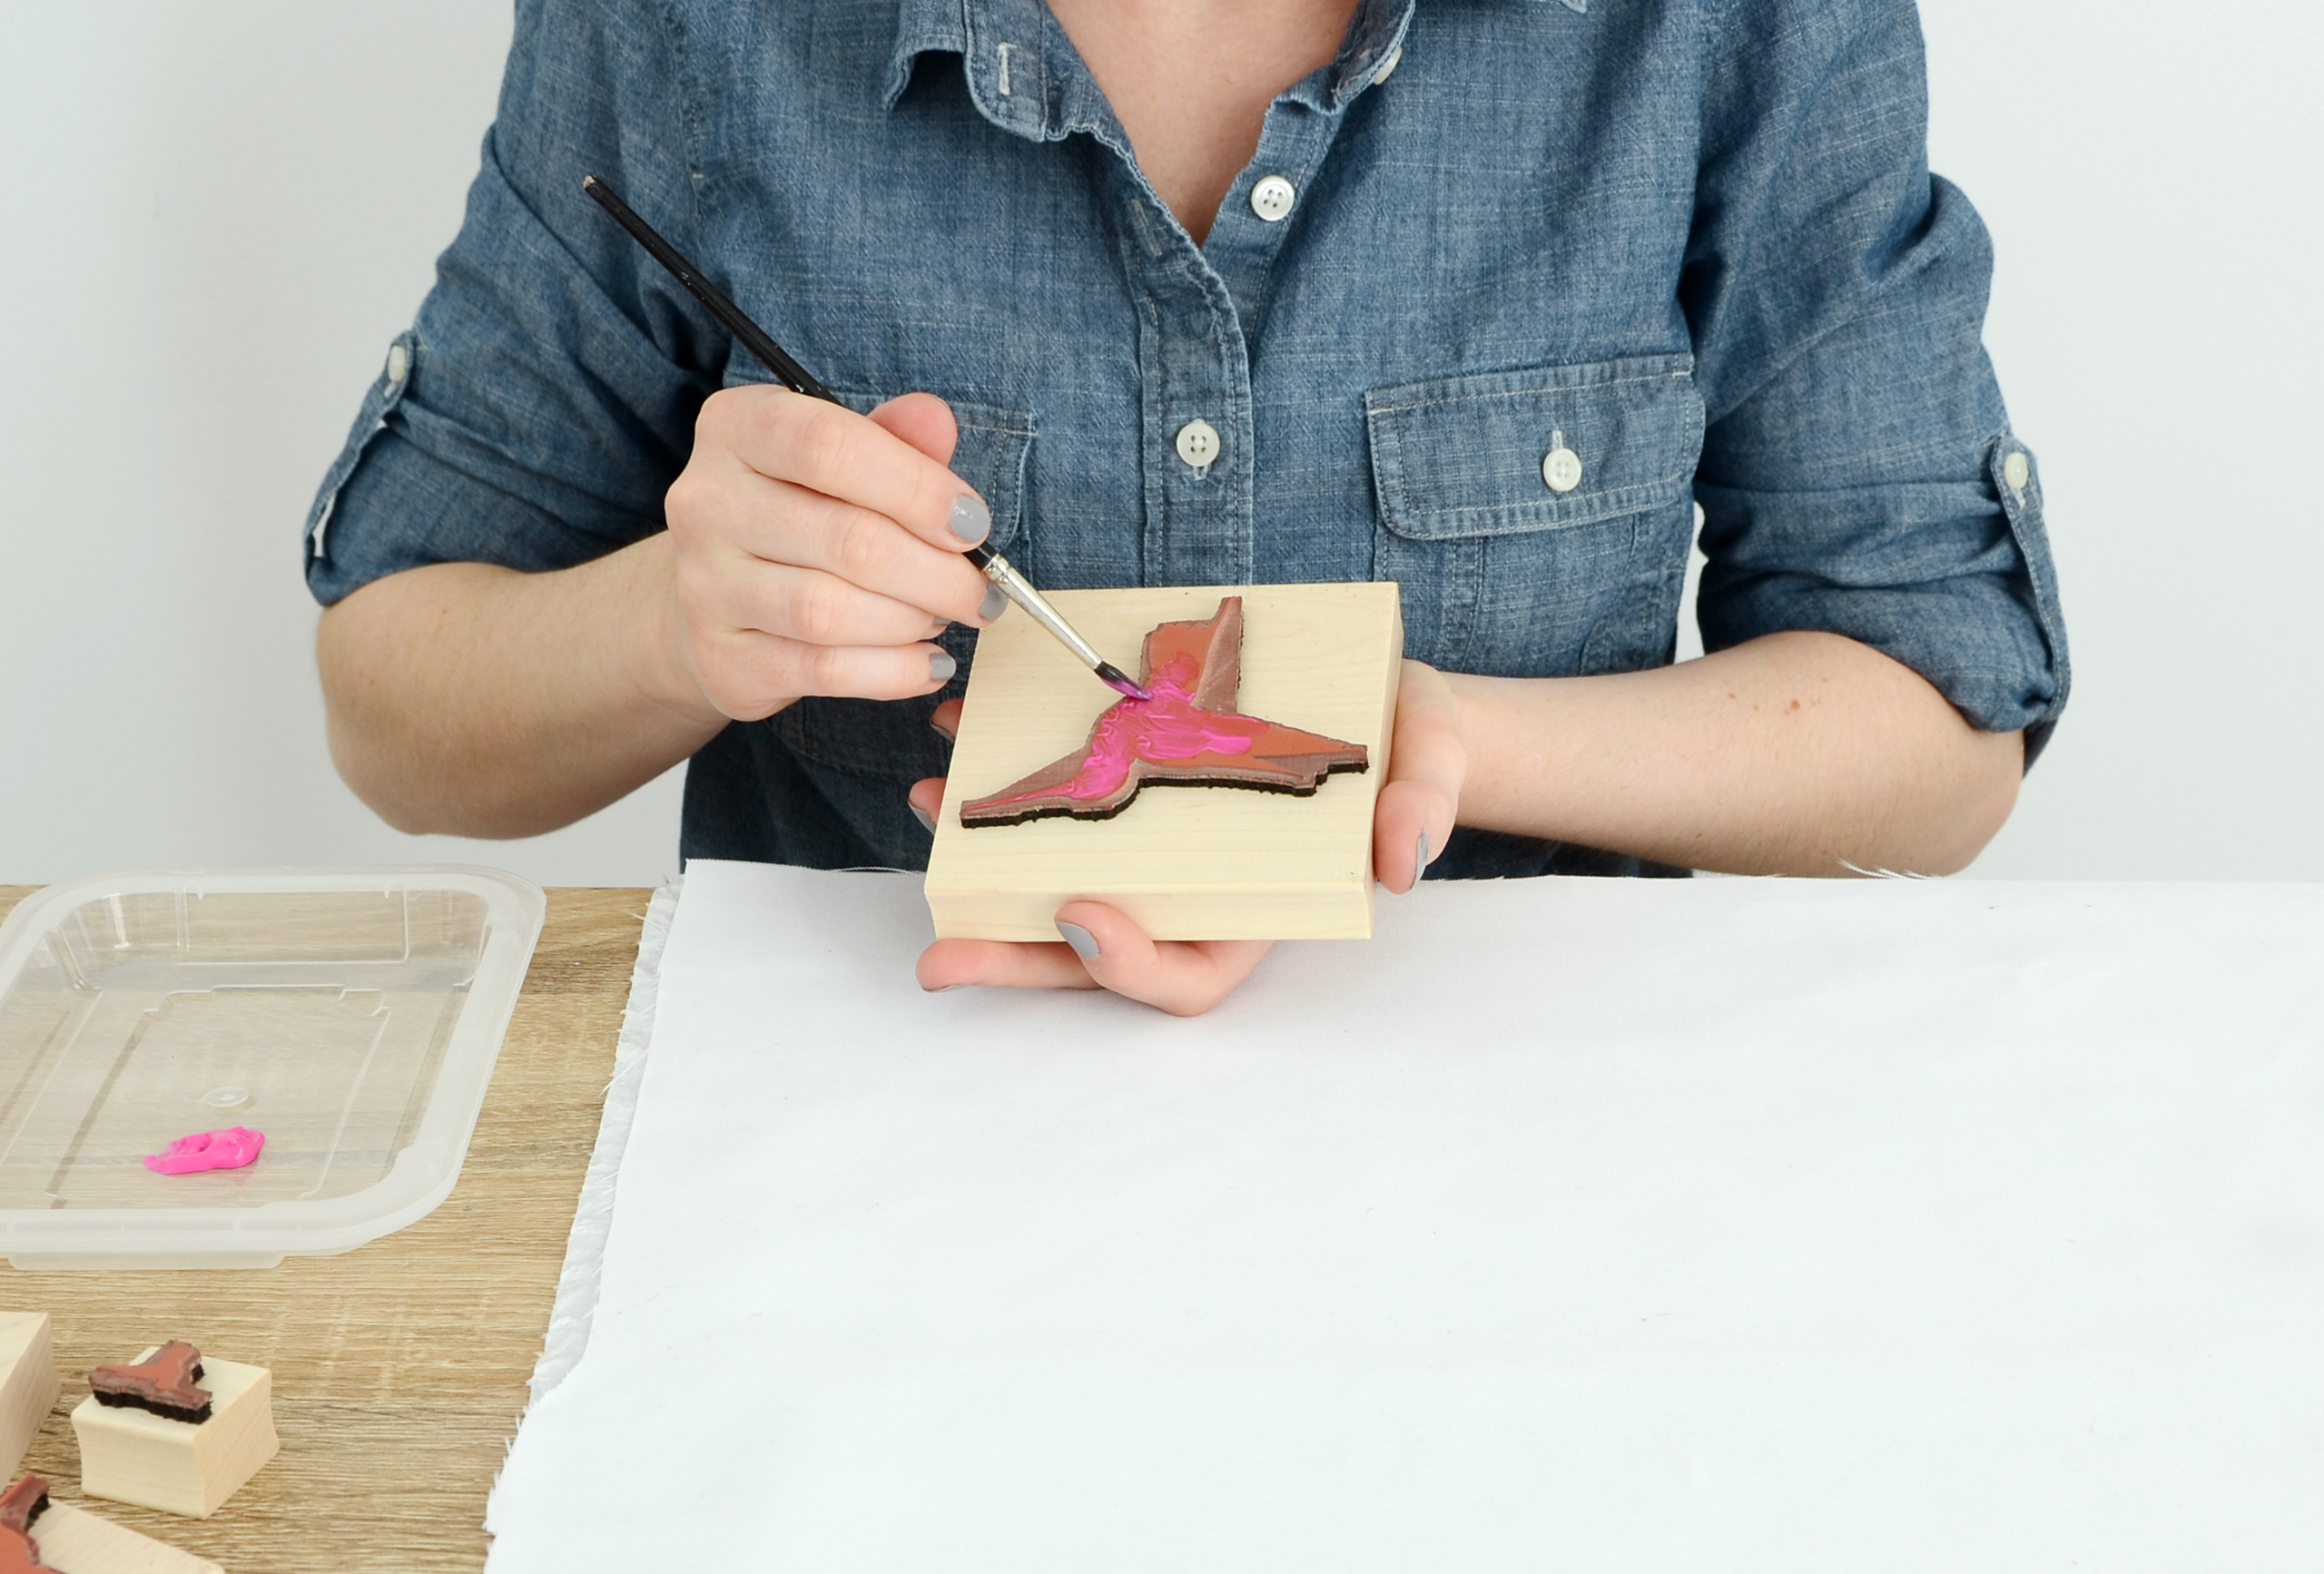
Lay one piece (right side up) on top of a trash bag or other piece of scrap plastic and begin applying the fabric paint to one of the stamps. I recommend starting with the largest stamp and working down. For the larger stamp, I used a paintbrush to apply a layer of paint to the rubber surface… but you could also dip it in a thin layer of paint on your plastic palette.
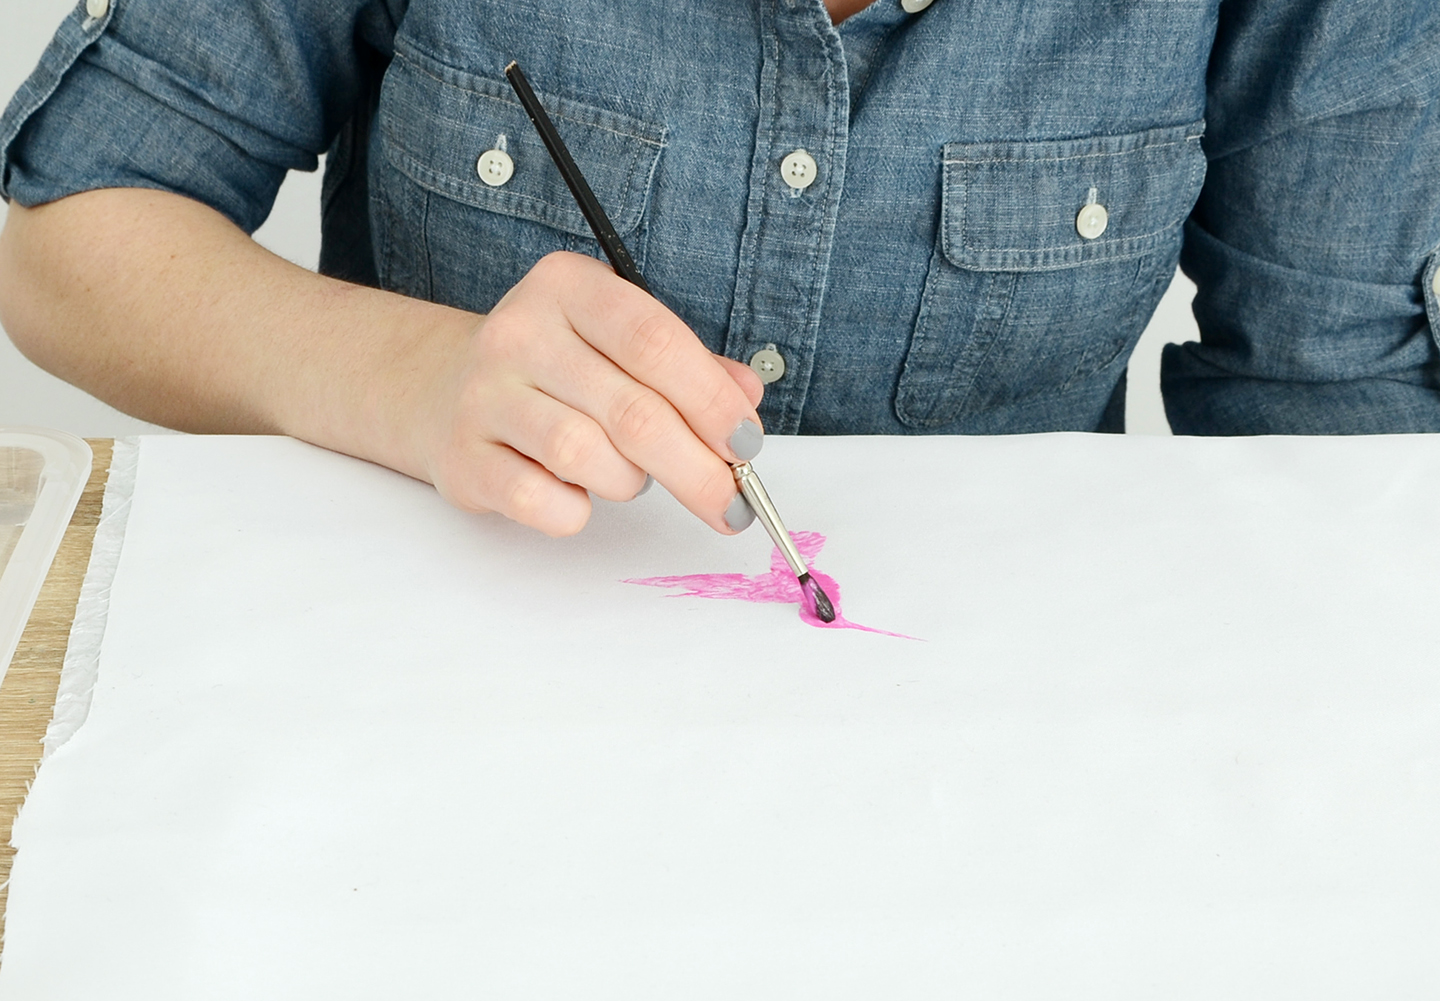
Press it firmly down on your fabric. Because of the texture of the fabric paint, it will probably have a slightly uneven texture… simply fill it in with a bit of extra paint using your brush. Print a few more large hummingbirds, and then fill in the spaces with smaller ones. Repeat the process on the other piece of fabric.
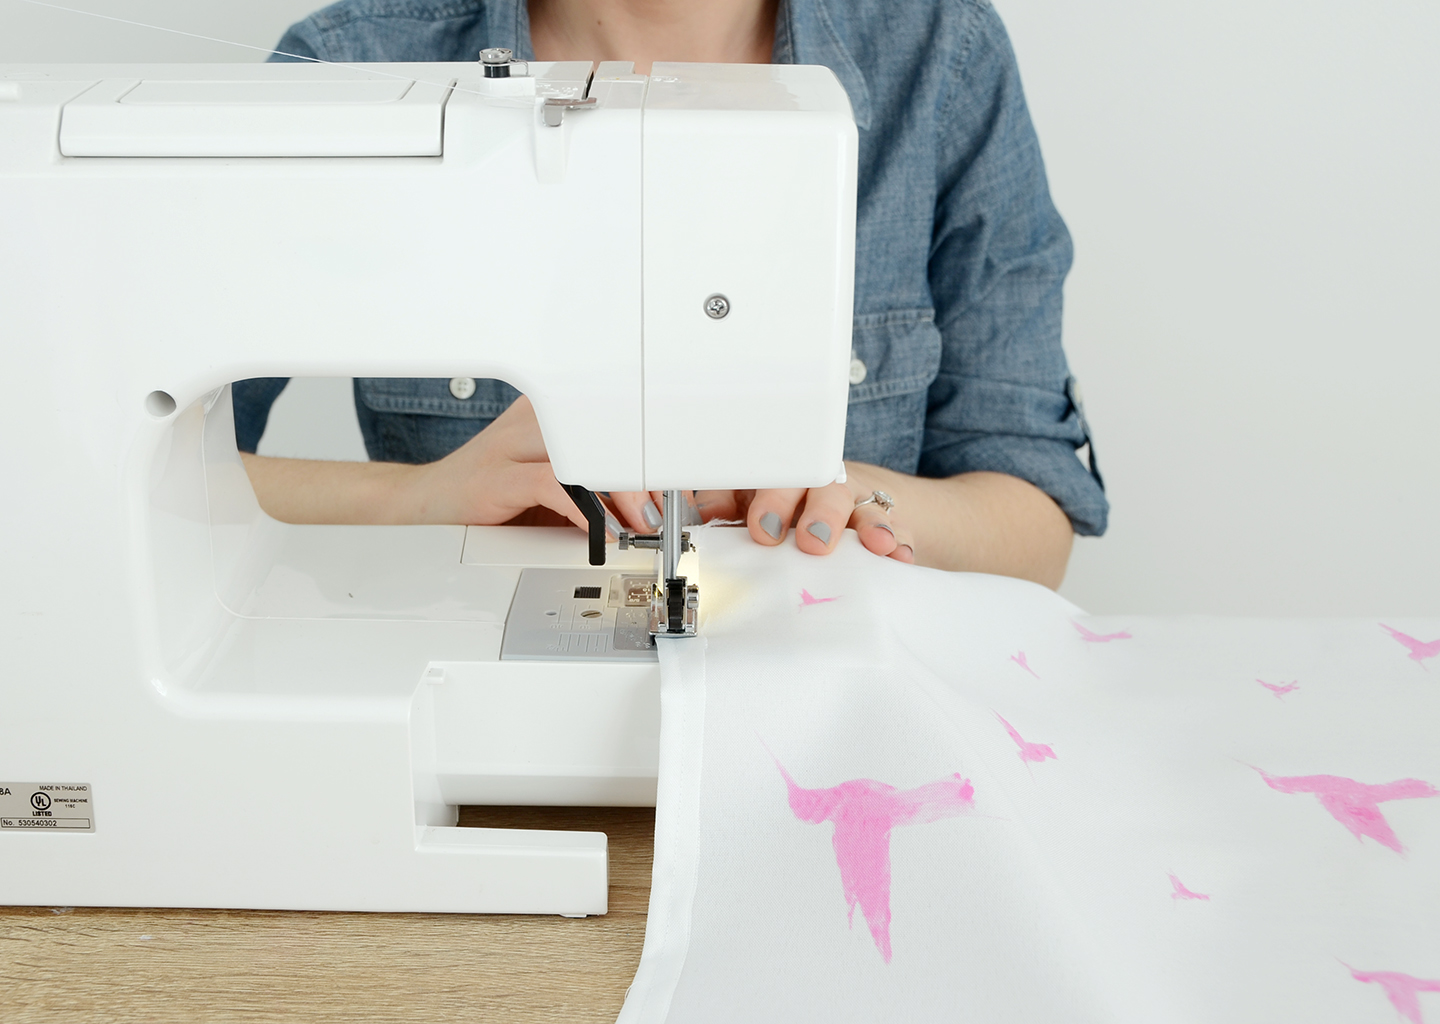
Let the paint dry thoroughly and then hem all four edges of both pieces of fabric. Fold each edge over by half an inch, and then sew with a quarter inch seam allowance.
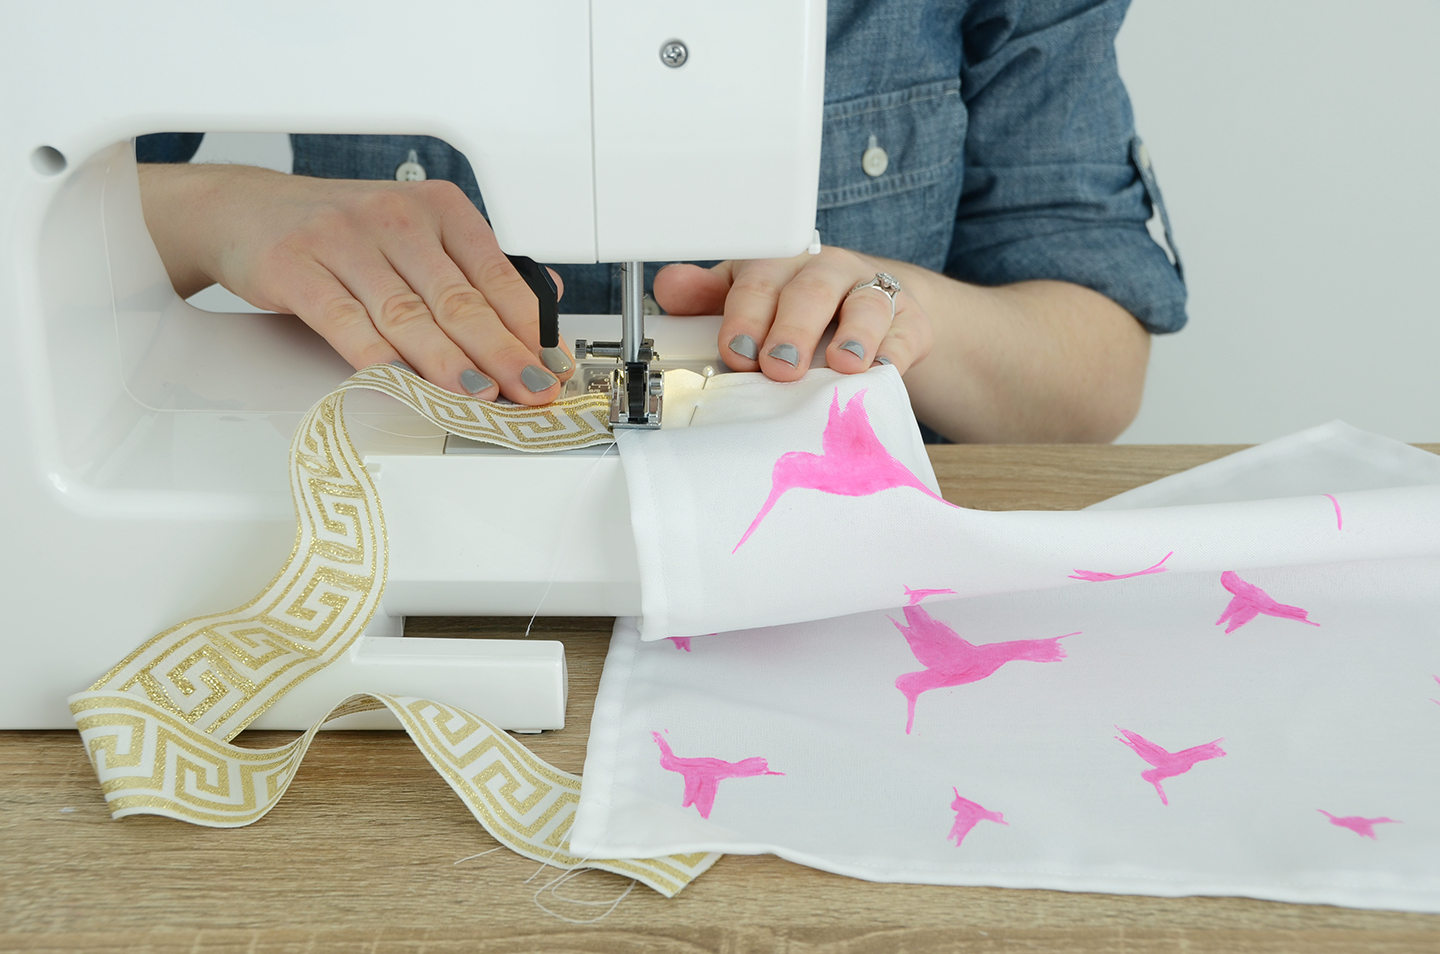
Next, cut a 22 inch piece of ribbon and pin it to the back of the top left corner of the top piece of fabric. Be sure to attach it at about a 45 degree angle, otherwise the top of the fabric will bow outward. Sew along the existing hem to attach the pieces to each other, and trim the excess ribbon so it’s not visible from the front. Hang it around your neck to make sure it fits well, and pin and sew the other corner in the same manner.
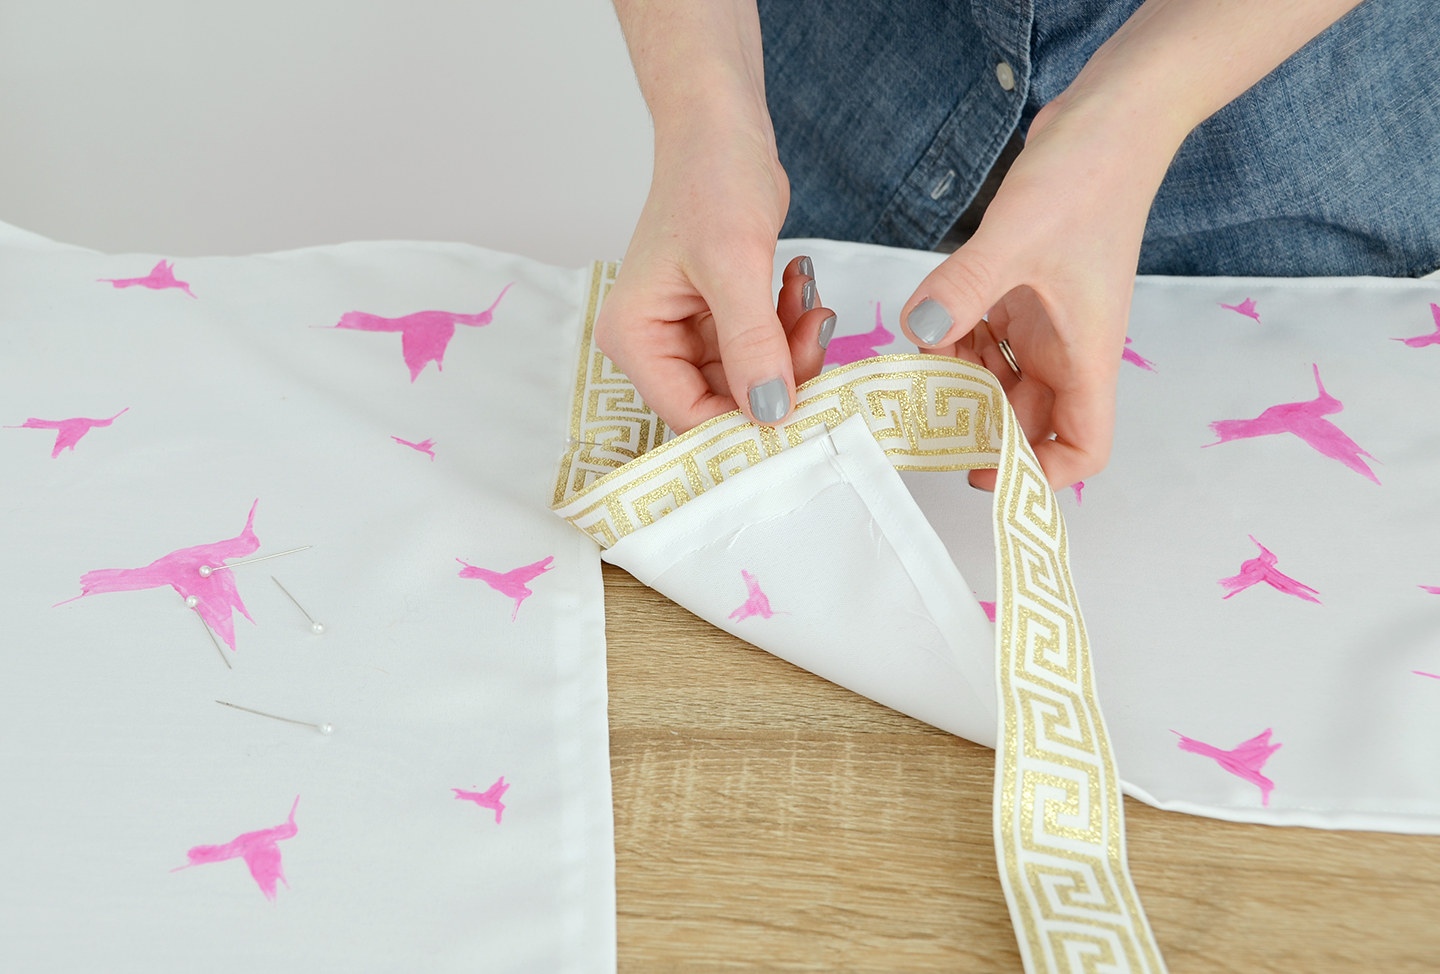
Next, cut a 72 inch long piece of the ribbon and fold it in half to find the center point. Pin that to the middle of the bottom edge of the smaller piece of fabric. Make sure the ribbon overlaps the fabric by about a half an inch, as shown above.
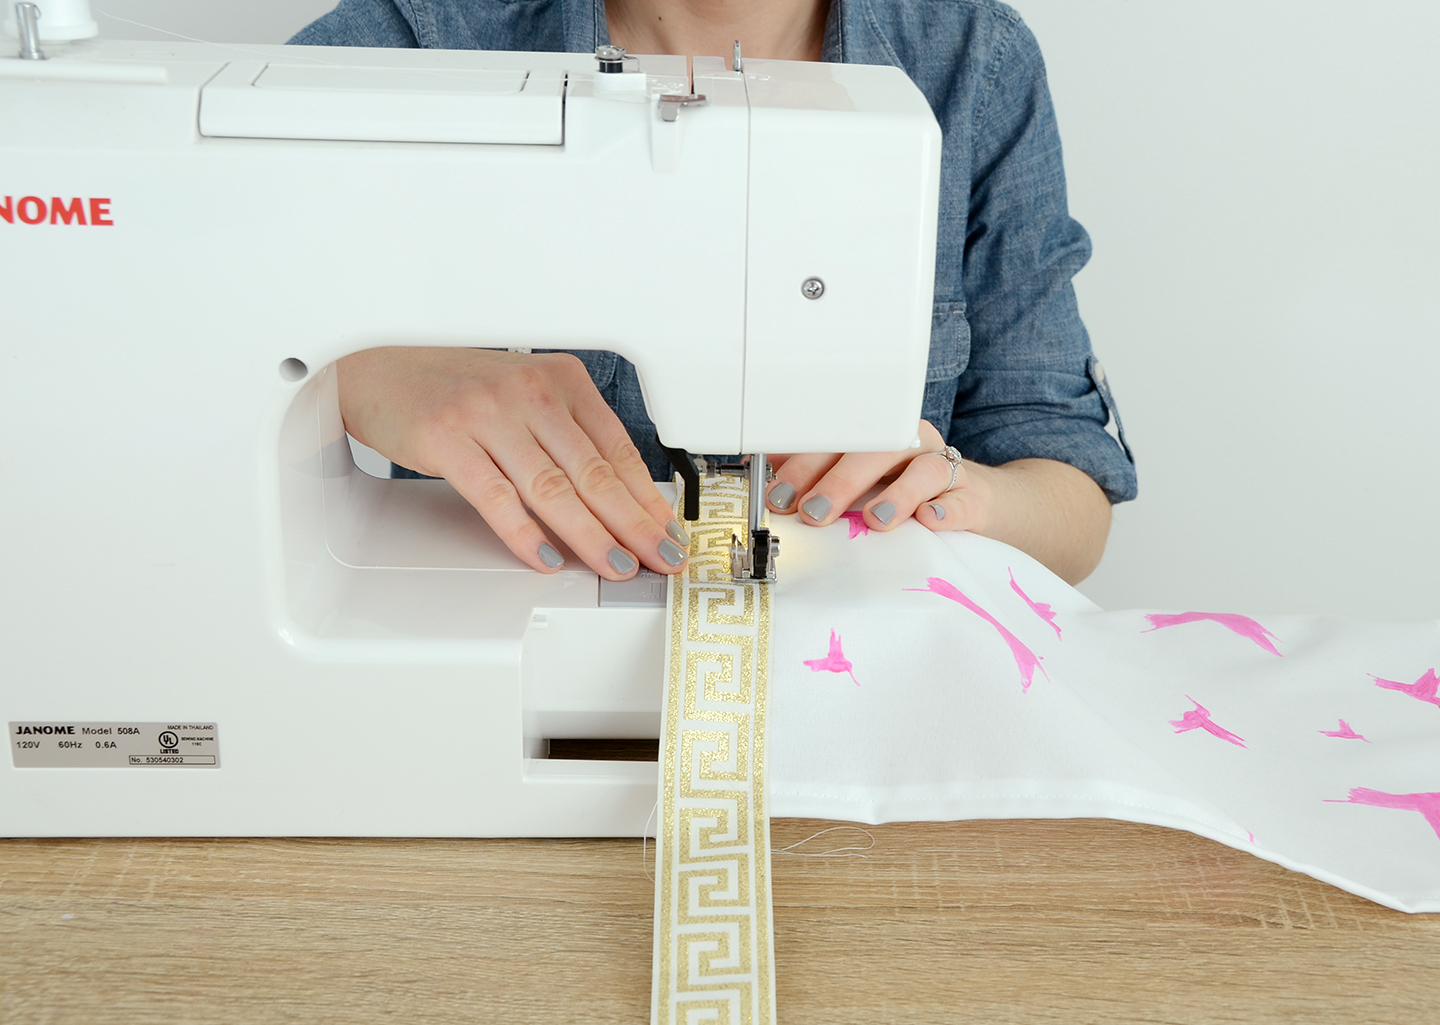
Sew along the ribbon to attach it to the smaller piece of fabric. Be sure to sew with the right side up so you can sew along the white part of the ribbon (in between the gold lines) to make the seam less visible.
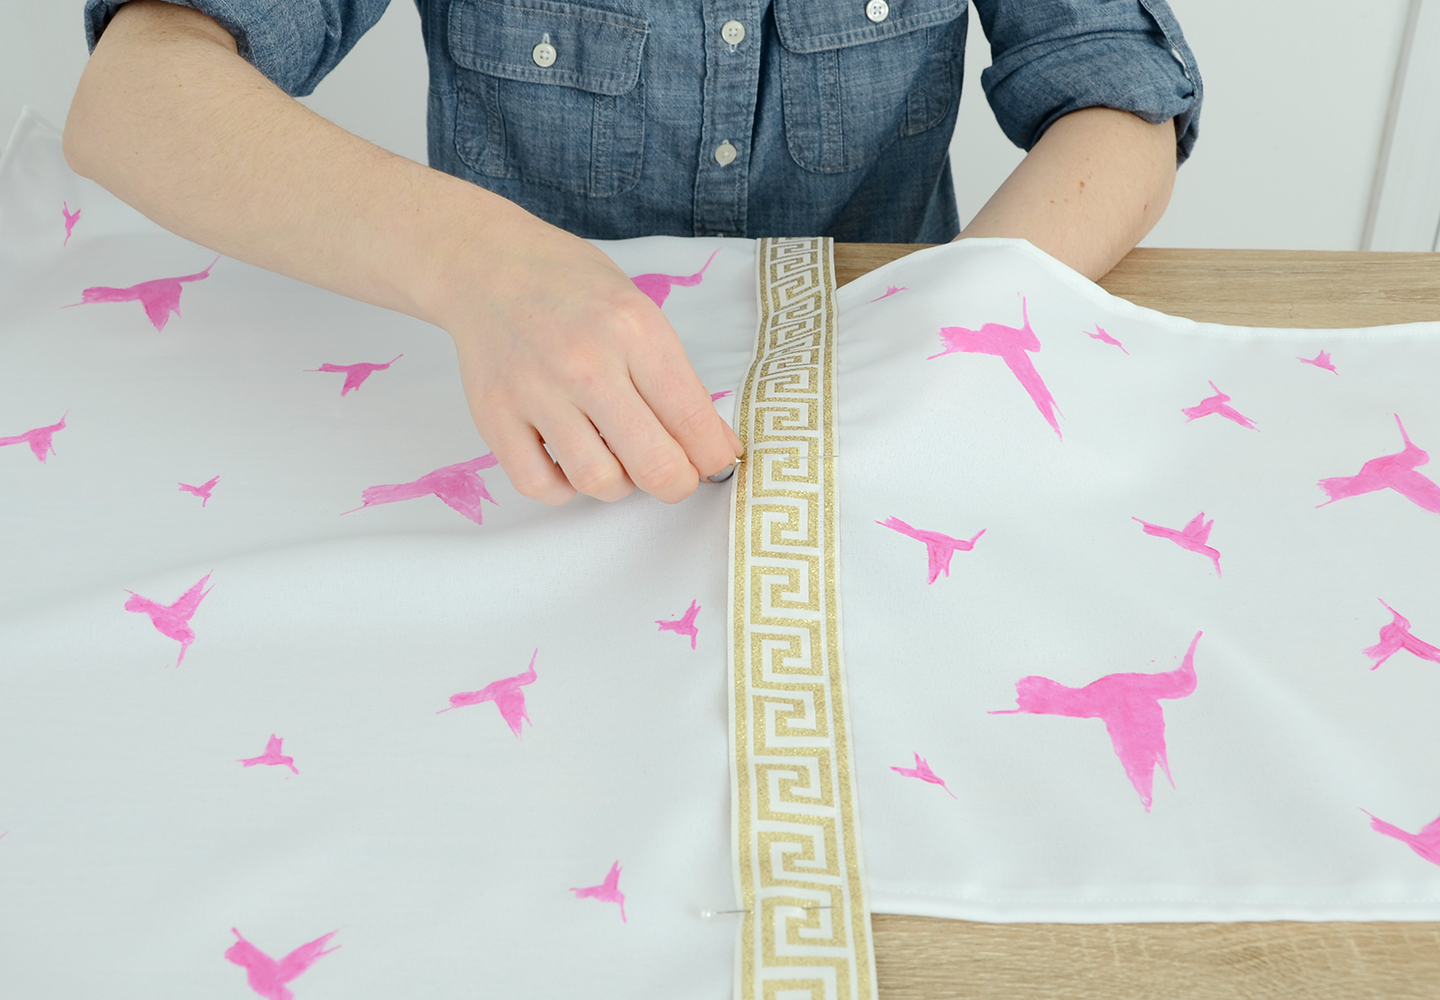
Pin the larger piece of fabric to the bottom of the ribbon, overlapping by a half an inch and sewing as you did before. Trim any loose threads, and you’re finished!
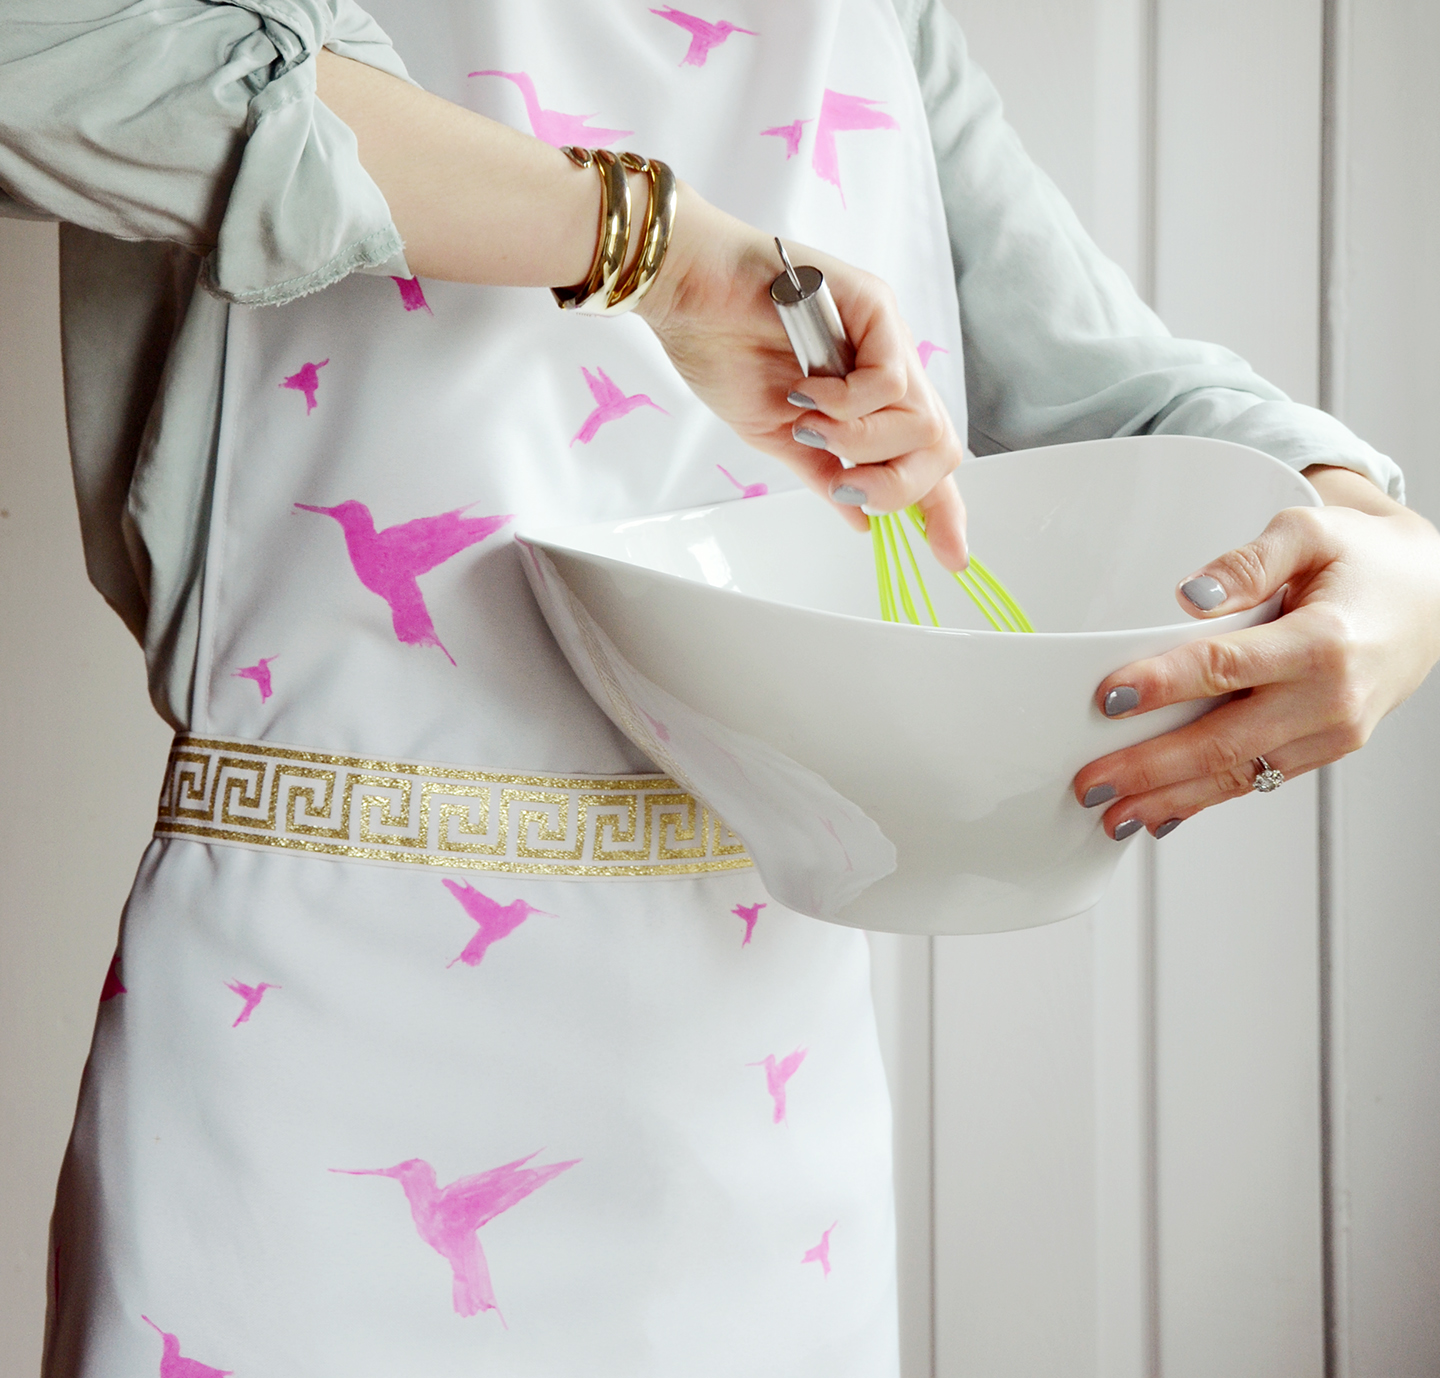
The finished product is so unique, with its energetic little hummingbirds and glam gold ties. Mom will be sure to love it if you give it to her on Mother’s Day (or keep it for yourself… I won’t tell!). And there are so many other ways to customize your printed apron using rubber stamps… think different shapes, colors and layouts. The possibilities are limitless 🙂
Looking for other creative ways to use rubber stamps? Check out this fun coloring page idea.

Comments are closed.