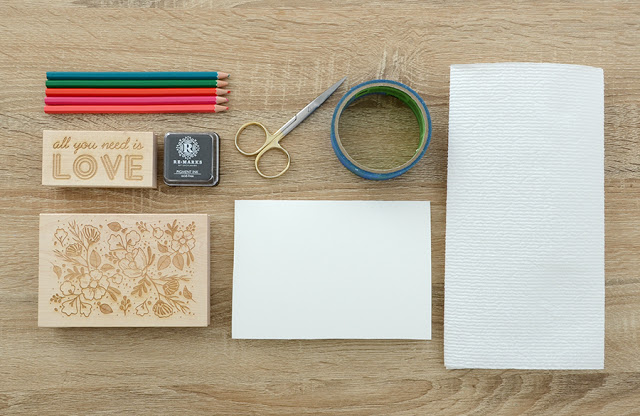
Here’s what you’ll need for your color-in Valentine’s Day cards:
- Floral Pattern Stamp
- Valentine Love Stamp
- Black Pigment Ink
- Colored Pencils
- Scissors
- 5×7 Folded Card Stock
- Blue Painter’s Tape
- Paper Towels
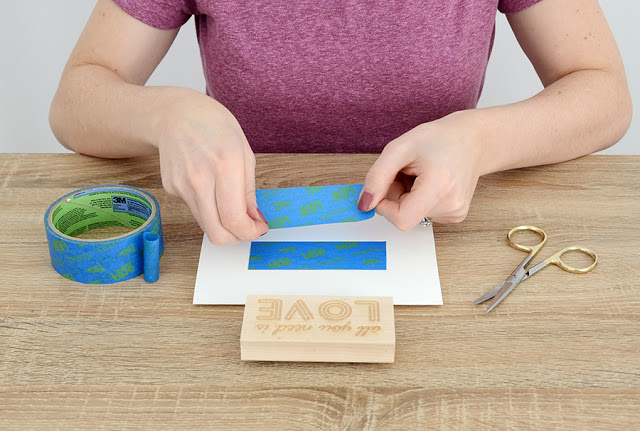
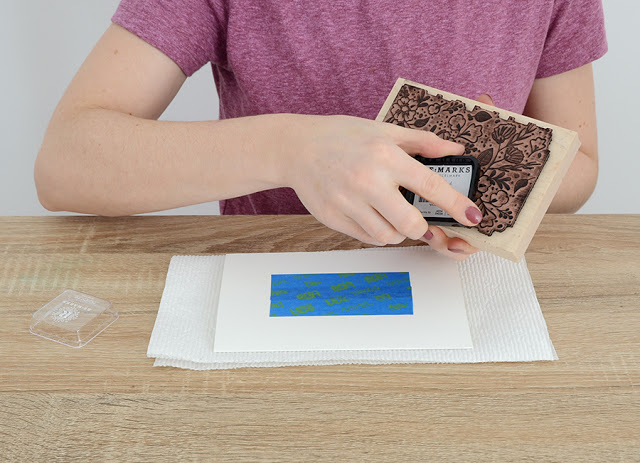
Place your card stock on your work surface with the folded side on the top. Begin by masking off an area which is roughly 2.25 x 4 inches using painter’s tape. Place it in the middle of the card stock. You’ll probably need two pieces of tape.
Next, place three layers of paper towels between your card and your work surface. I find that this provides a bit of padding so that you get an even print with your stamp. Apply the pigment ink to the bottom of the stamp, moving it around the surface repeatedly so you have a thick layer of ink.
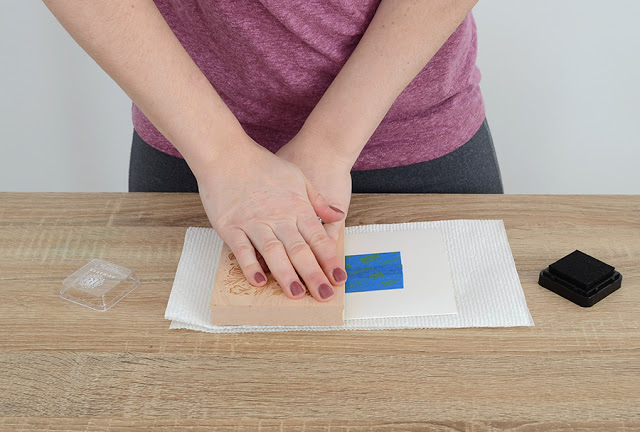
Place the stamp down on one half of the card and press hard, making sure not to move the stamp at all. Press down firmly in multiple areas. Gently pick it up and repeat the process on the other side.
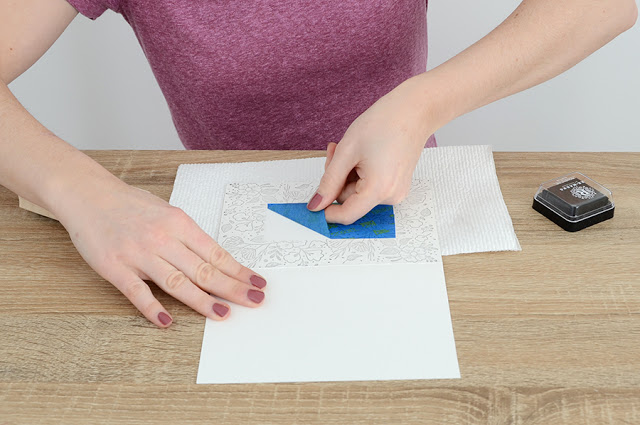
Pigment ink takes longer to dry than some other inks, so let your card dry until nothing transfers to your finger when you touch it. At that point, slowly peel the painter’s tape up from the card stock. Slowly is the key word here people. Otherwise you’ll tear the paper. The ink does not dry on the surface of the tape either, so you’ll want to wash your hands at this point so you don’t transfer any rogue ink back onto your card.
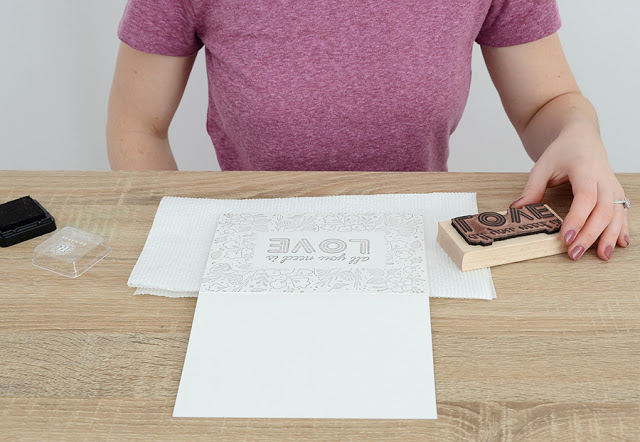
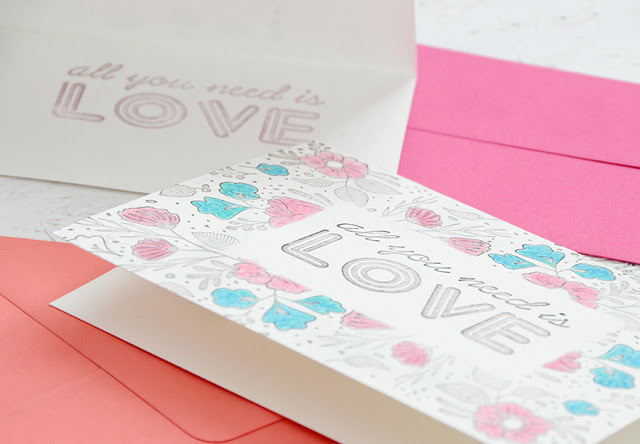
Next, ink your Valentine Love Stamp and press it into the center of the card. Let it dry thoroughly.
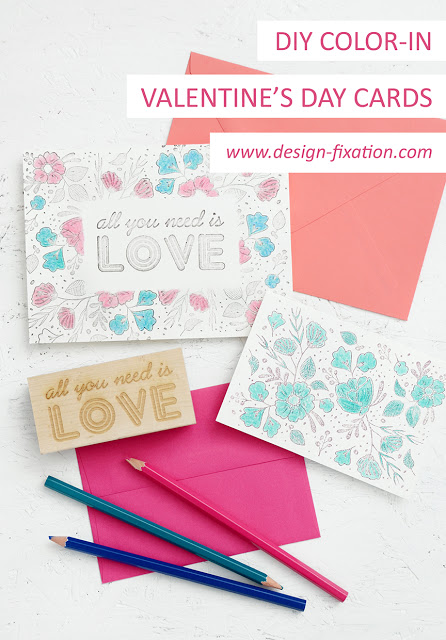
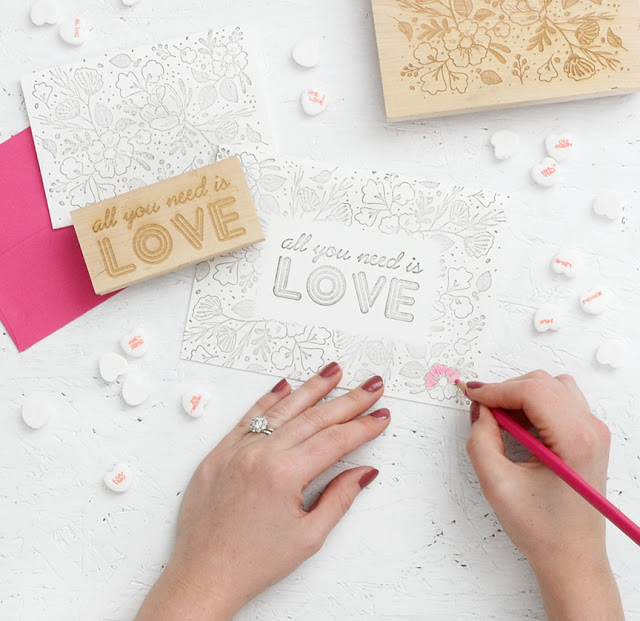
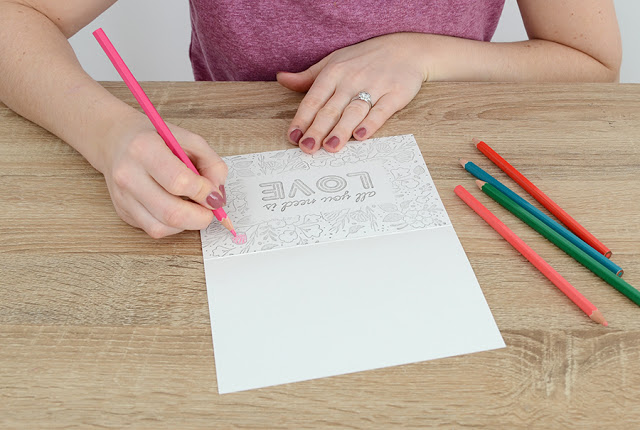
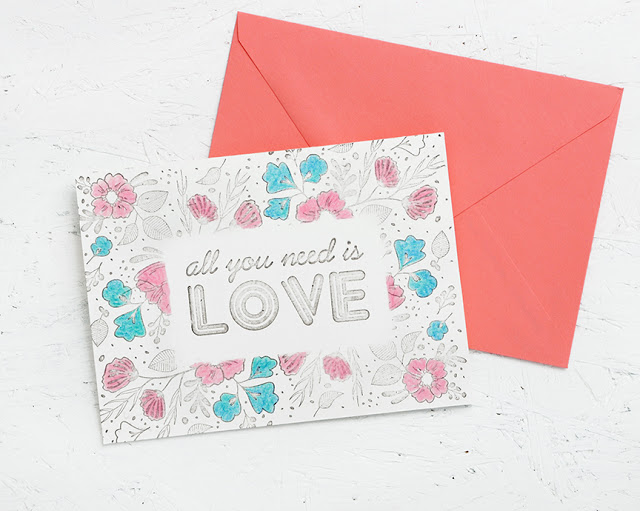
The last step is to color it in! Use sharp colored pencils to add some bright pops of color to your card.
Pop it in an A7 envelope, and you’re ready to celebrate Valentine’s Day with your main squeeze!
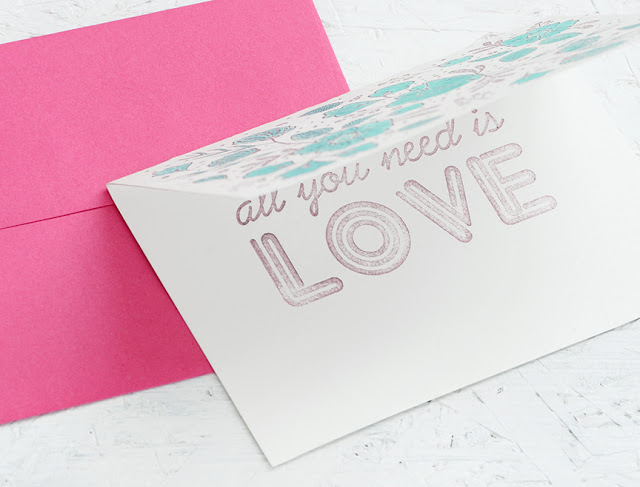
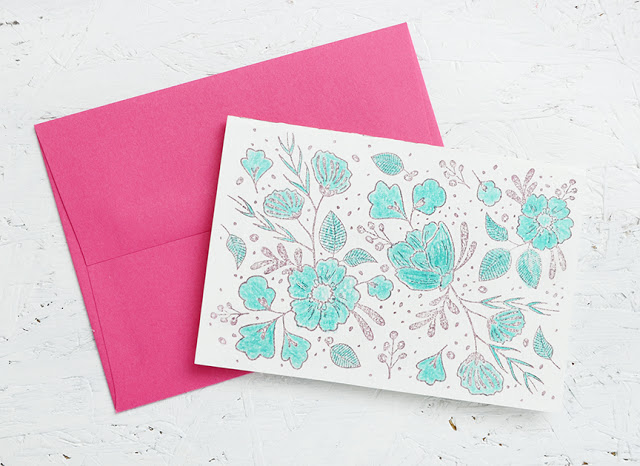
I did another variation on a smaller card using the floral stamp on the front and the love stamp on the inside.
Then I colored it in with only green to give it a different look. There are so many ways you can customize your card! Have fun crafting, and be sure to check out all of RubberStamps.com’s other stamps here.
Looking for more DIY Valentine’s Day ideas? Check out my roundup of free printable cards, bags, art and more.


Comments are closed.