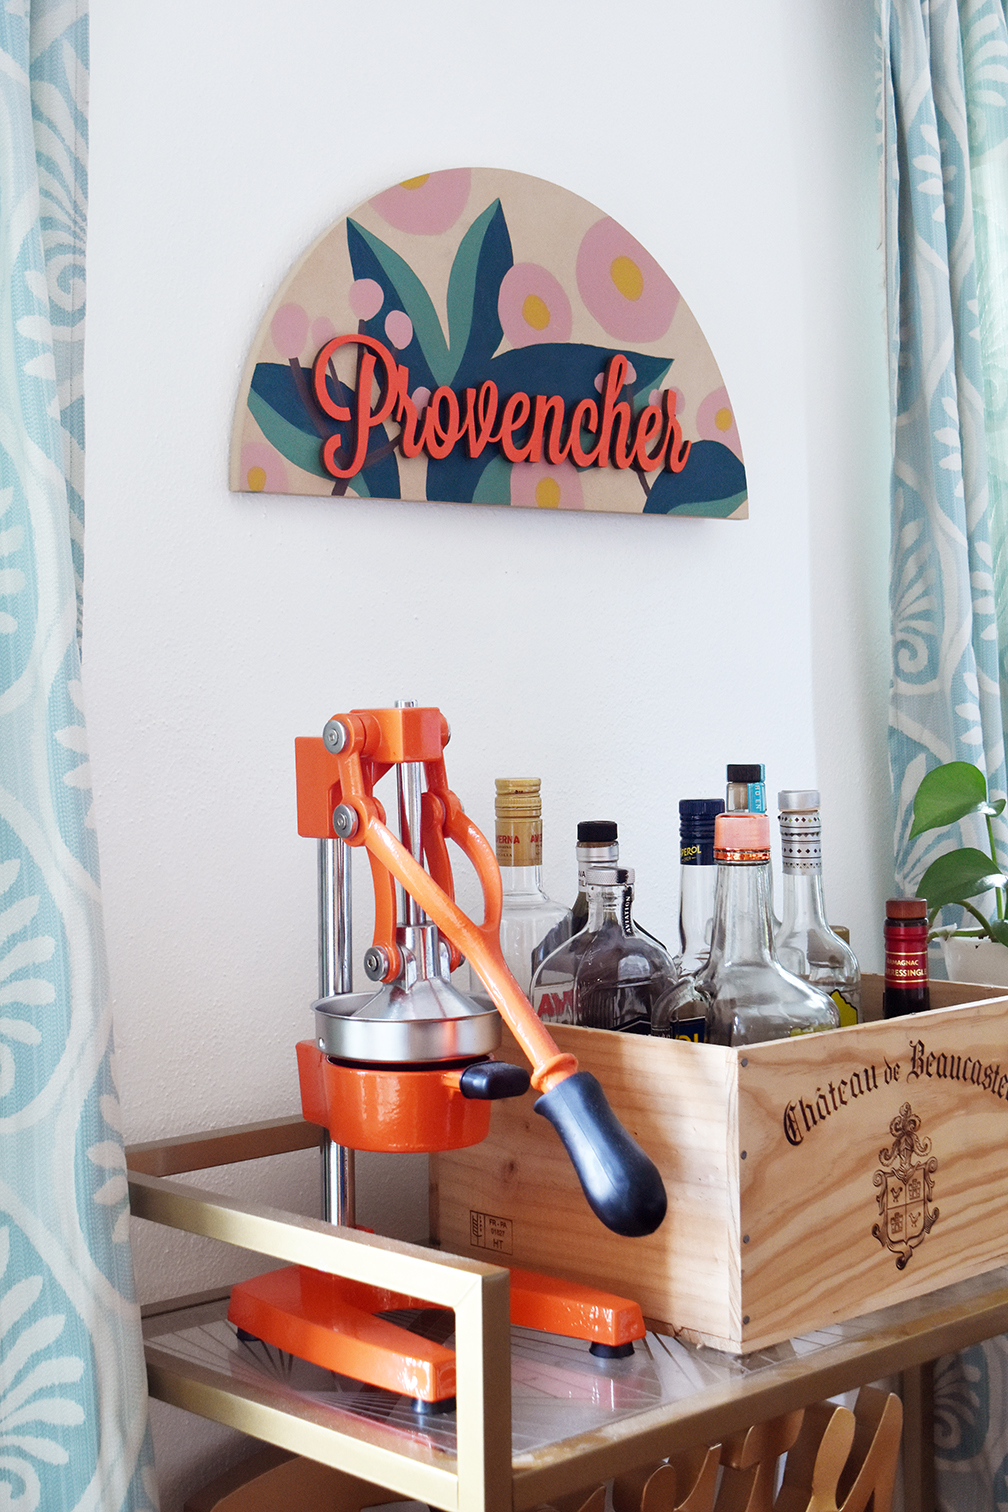
Painting a design can be intimidating, especially if you don’t normally do a lot of painting. But using a paint by number system can be a great way to make it more accessible… so today I’m sharing a fun project which helps you to make your own version using a free printable template and a pencil transfer technique. So let’s get started!
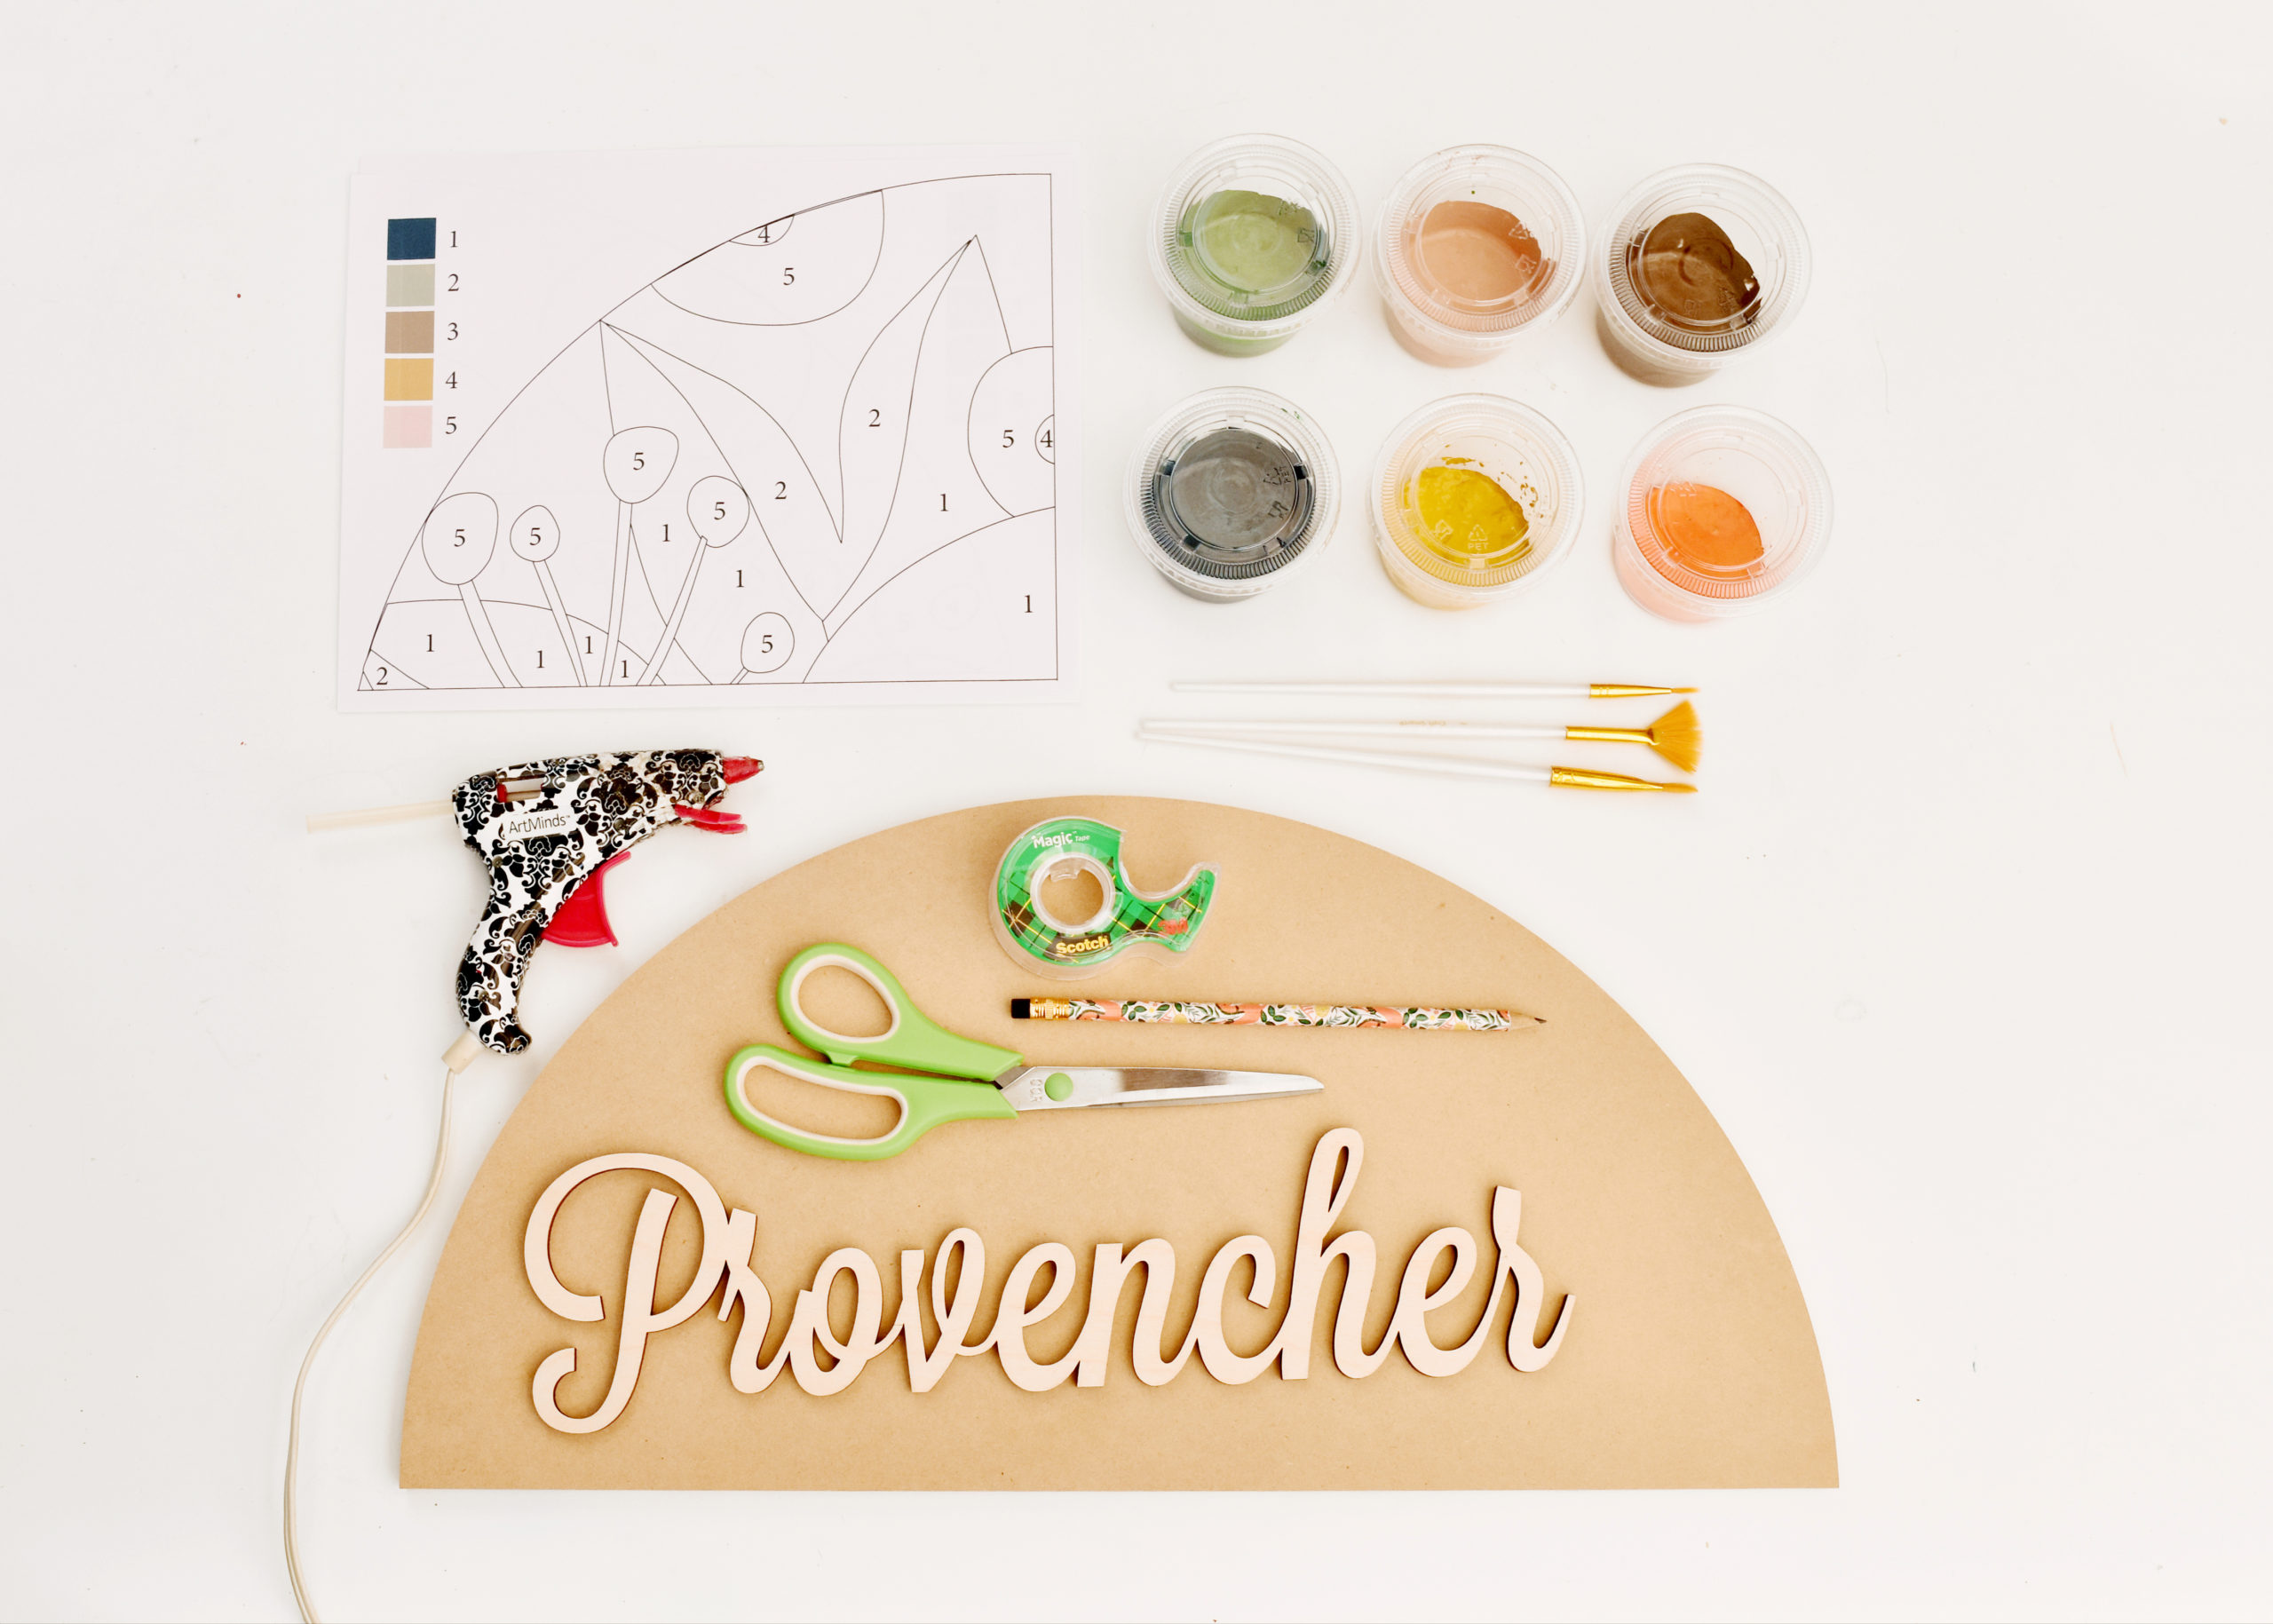
Here’s what you’ll need for your DIY paint by number sign:
4 Inch Tall Script Wood Letters (I used the Lavanderia font)
10×20 Inch Half Circle Craft Shape
Acrylic Craft Paint In 6 Colors (See below for details)
Paintbrushes
Hot Glue Gun
Scissors
Pencil
Scotch Tape
Plain Letter Size Printer Paper
Be sure to enter DESIGN10 at checkout to get 10% off when you buy the wood letters and half circle shape at CraftCuts.com (now through September 30, 2022). For my paint colors, I chose a dark blue green color, a sage green, a light brown, an orange-yellow and a pale dusty rose for the floral design. And I picked a bright orange for the name.
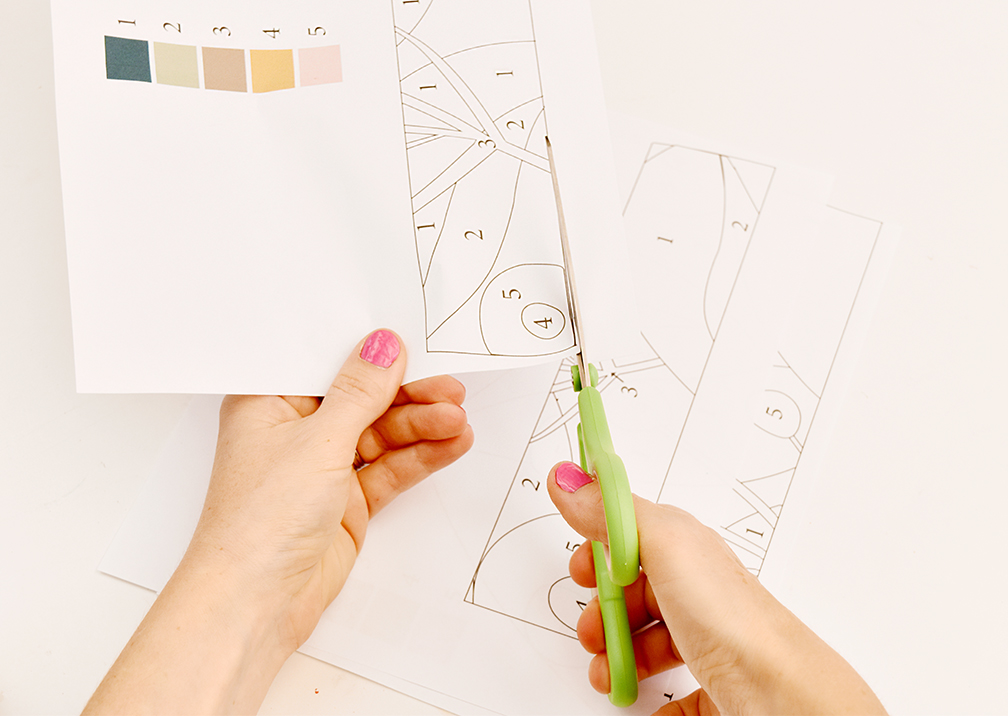
Begin by downloading and printing out the template. Cut out the four pieces of the template, saving one of the color keys so that you can tell which number corresponds to which color.
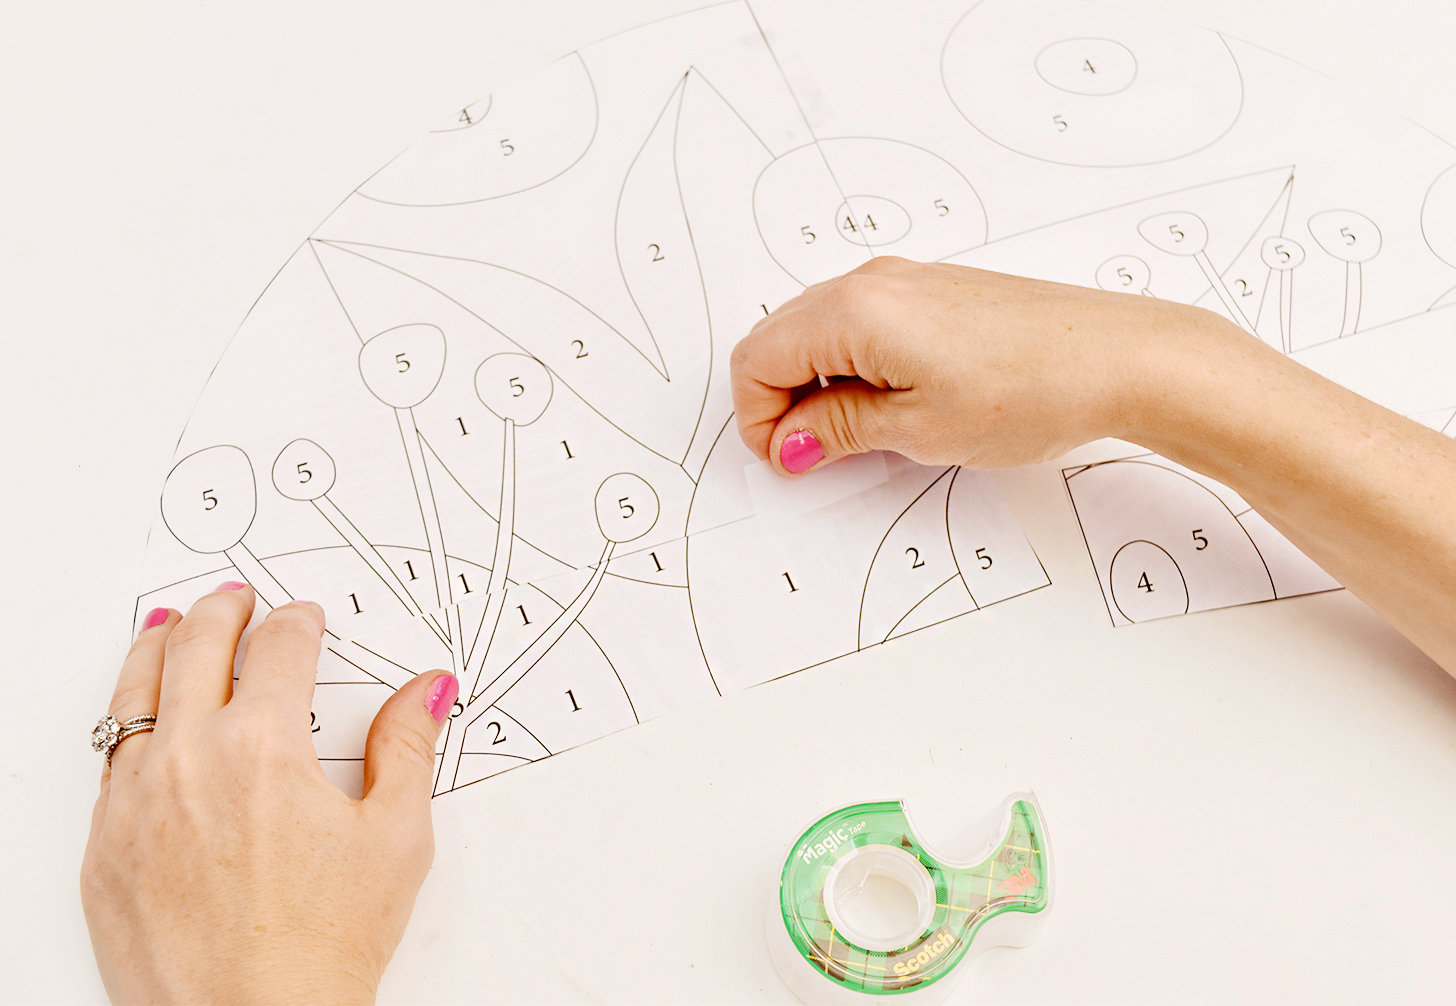
Next, tape the four pieces together on the front to form the half circle shape.
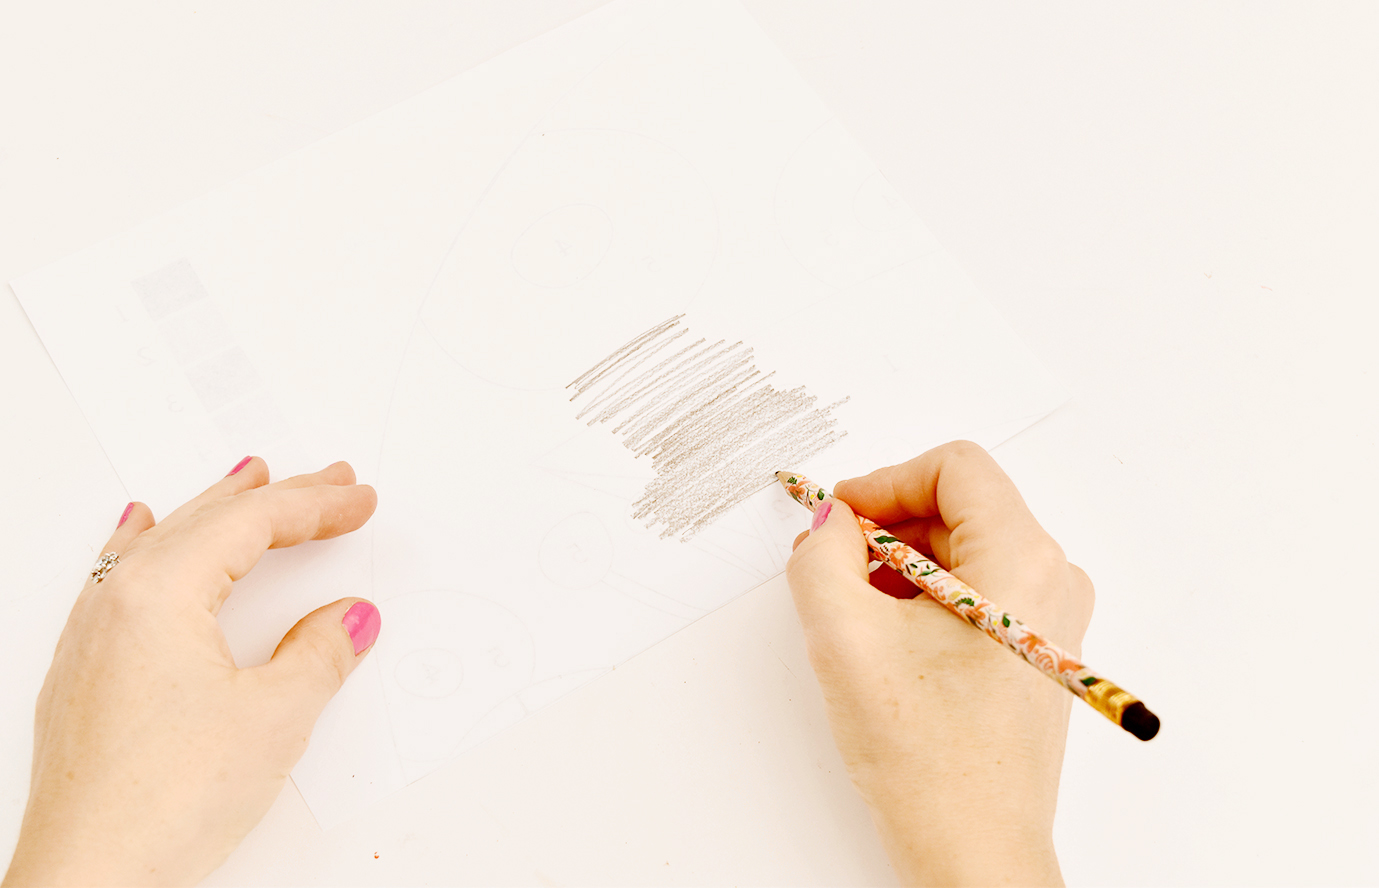
Flip it over and use a pencil to color over where the lines are on the backside (you should be able to see the lines faintly through the back).
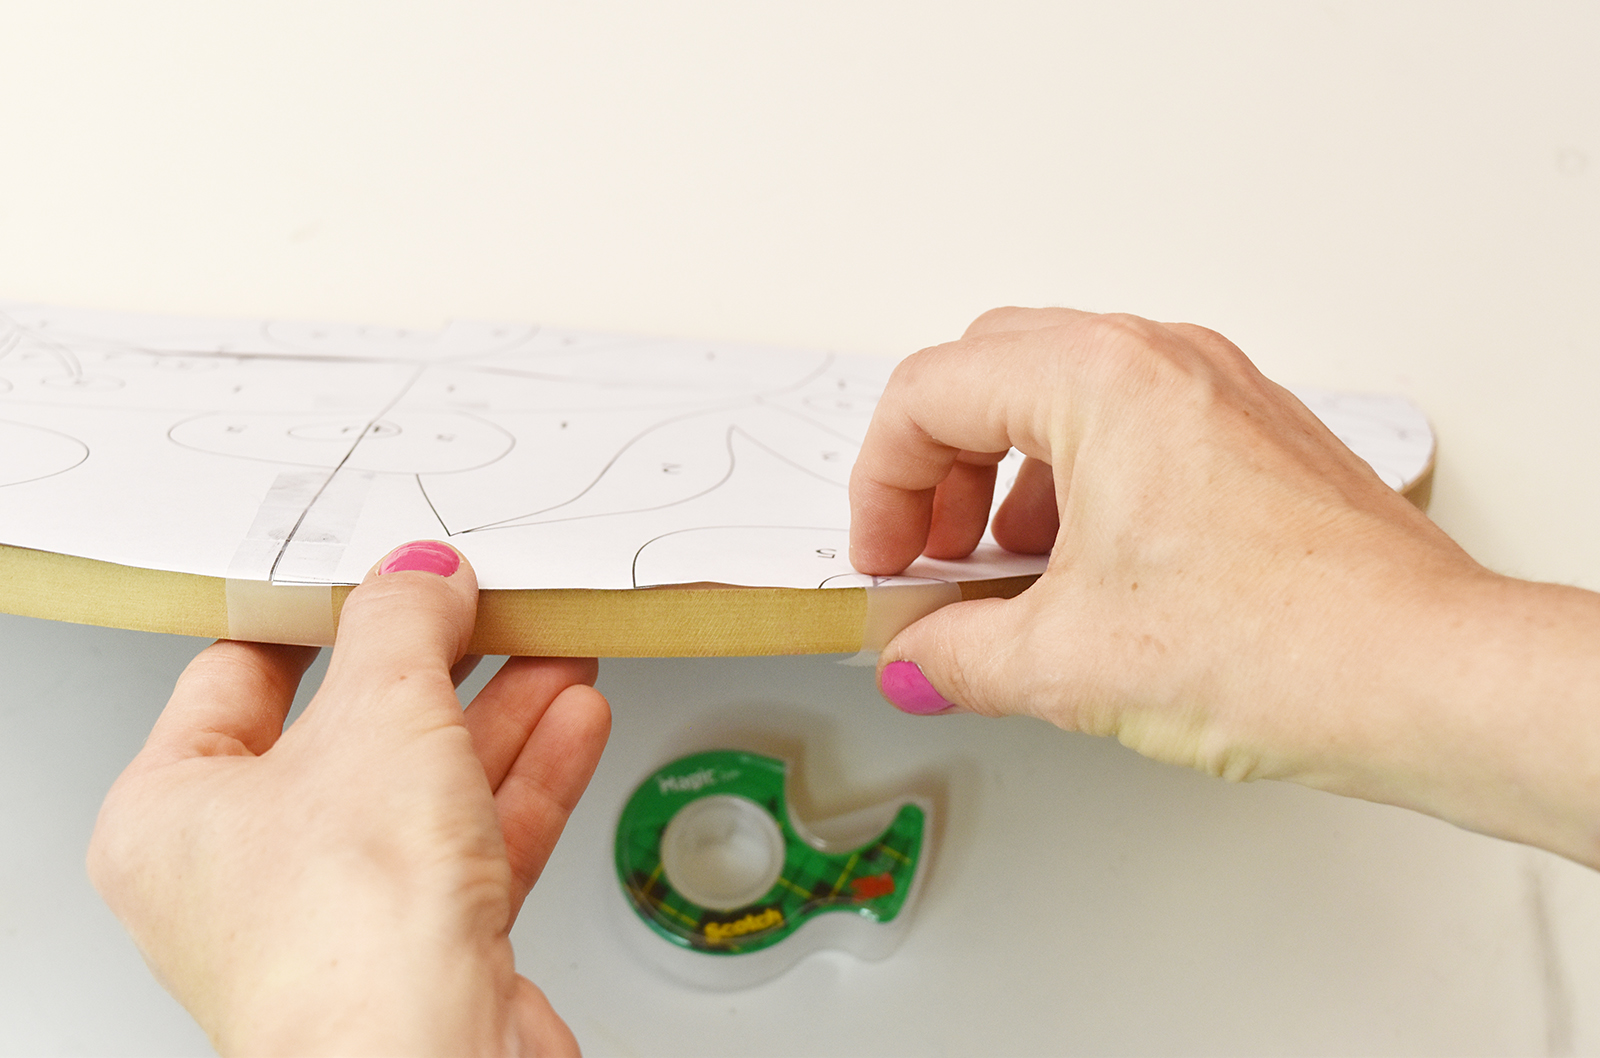
Tape the template onto the half circle craft shape in several places so it is securely attached.
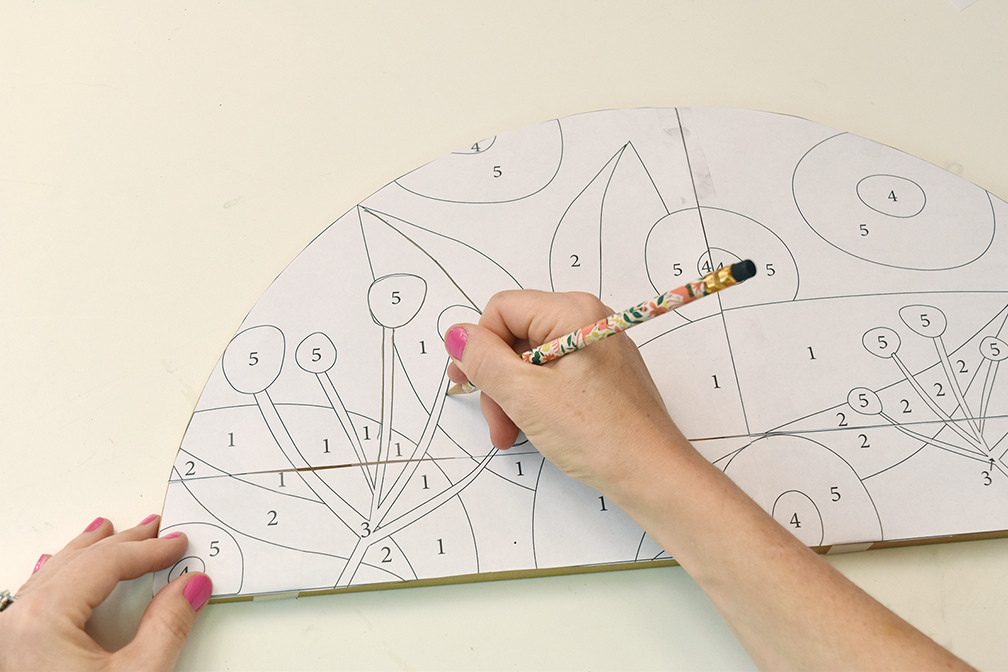
Use the pencil to draw over the lines on the template. Since you have put pencil on the back side of the paper, this will transfer your design onto the craft shape. Push down fairly hard to ensure that it transfers well. Remove the template but keep it next to you so you can refer to the numbers.
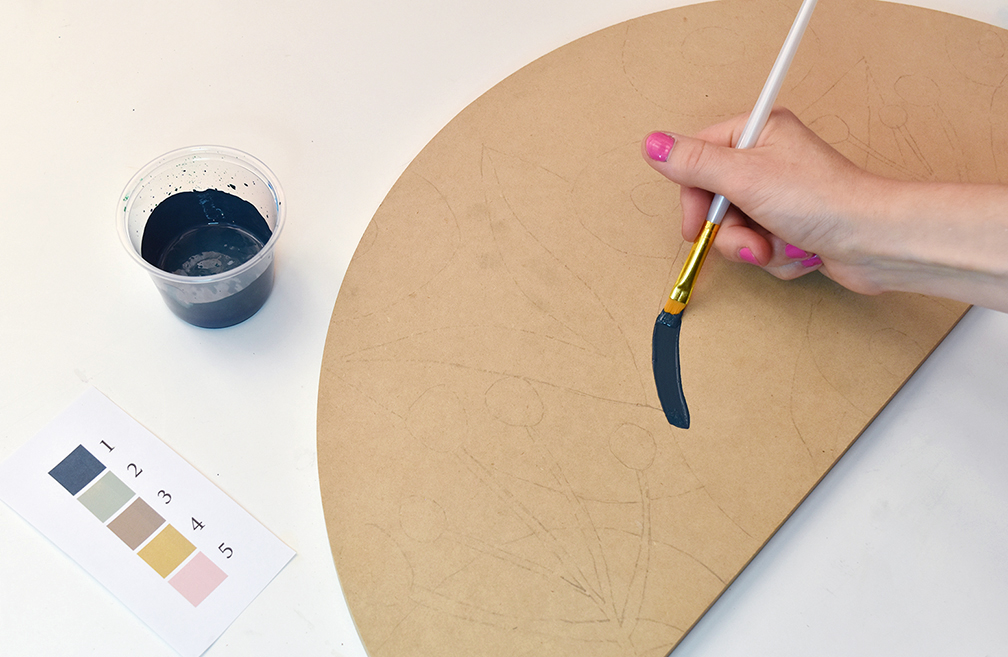
Now it’s time to begin painting! Use the color key and the numbers on the template to begin filling in each area with the correct color. You may need two coats of paint depending on the thickness and quality of the paint that you choose. Set it aside to dry.
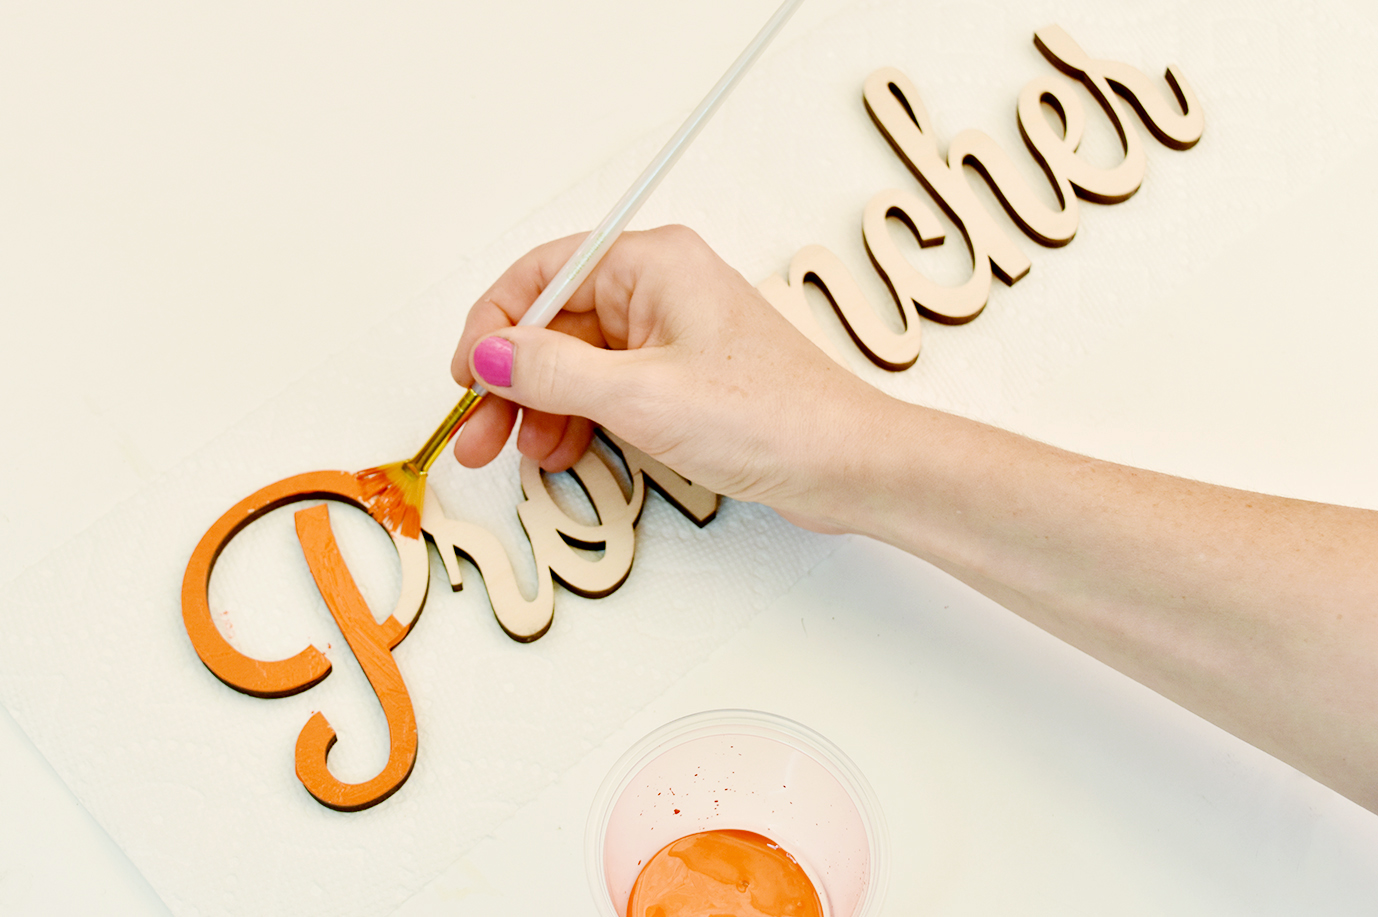
Next, paint your name orange. I used Lavanderia Script, but CraftCuts offers lots of different font options.
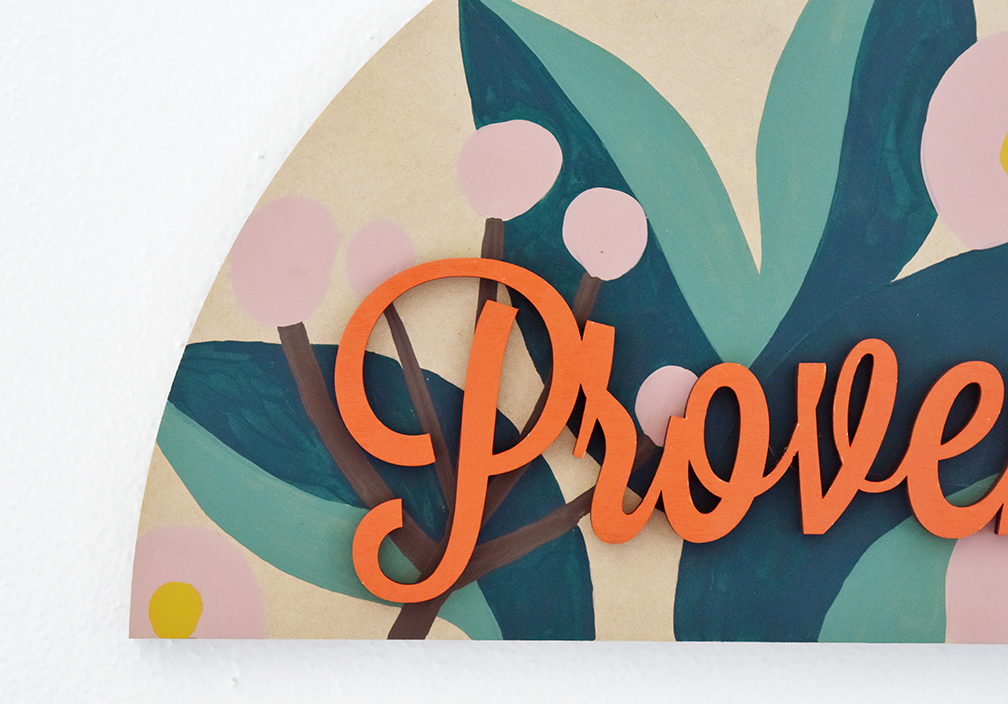
Once everything is dry, simply glue the name to the half circle and you’re finished!
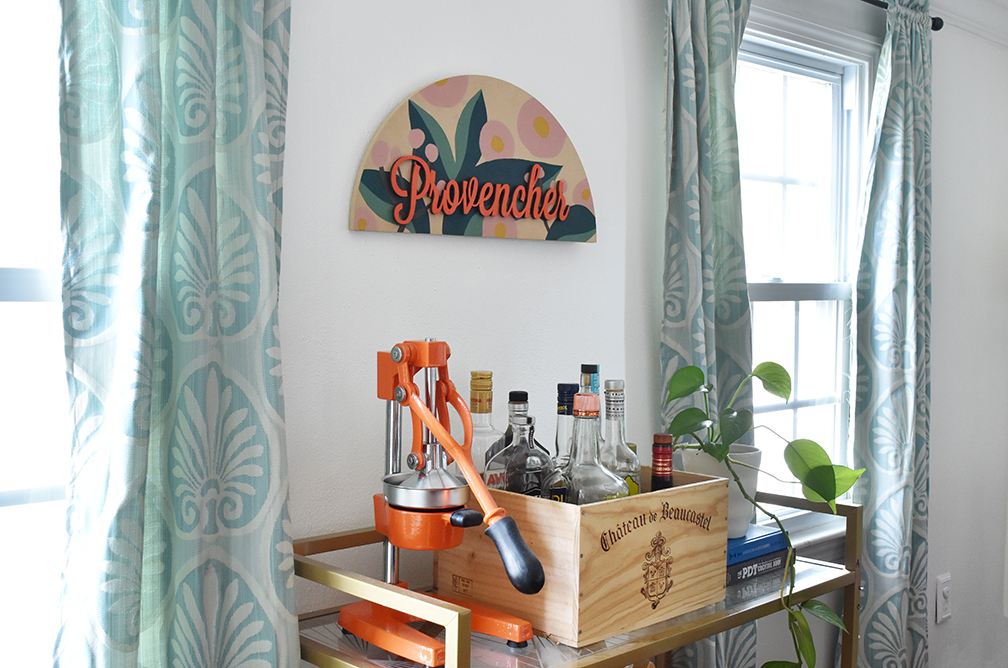
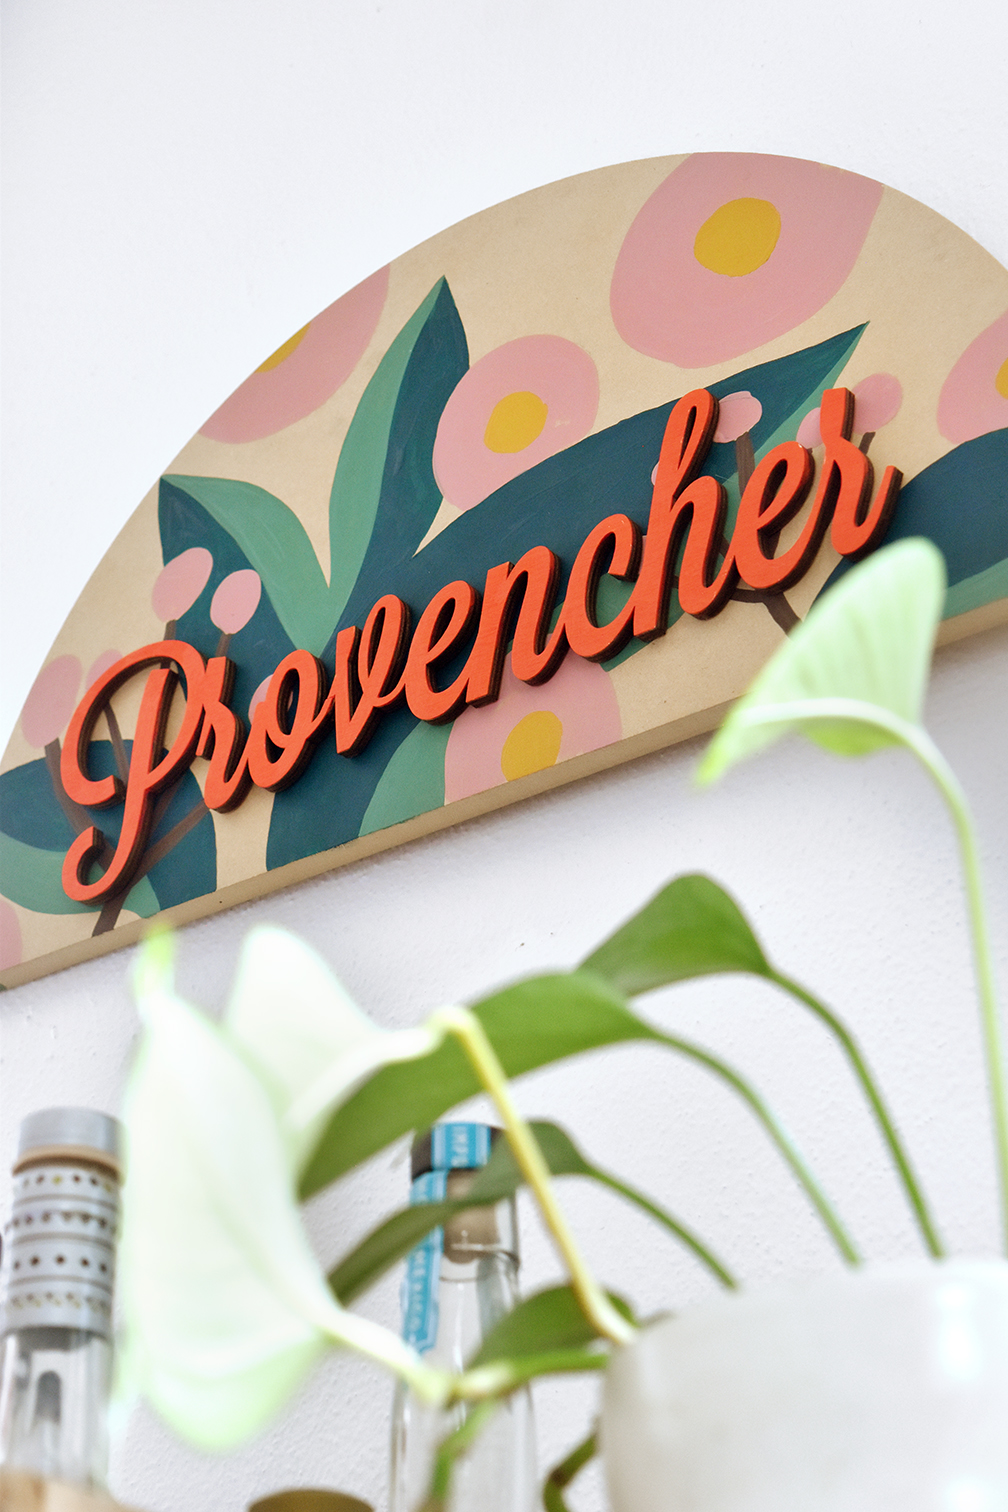
We hung ours over our bar cart, but it would look lovely in an entryway or above a mantel too. And the nice thing about this project is that you can customize the text too… while I chose to do my last name, you could do a first name or a word as well.
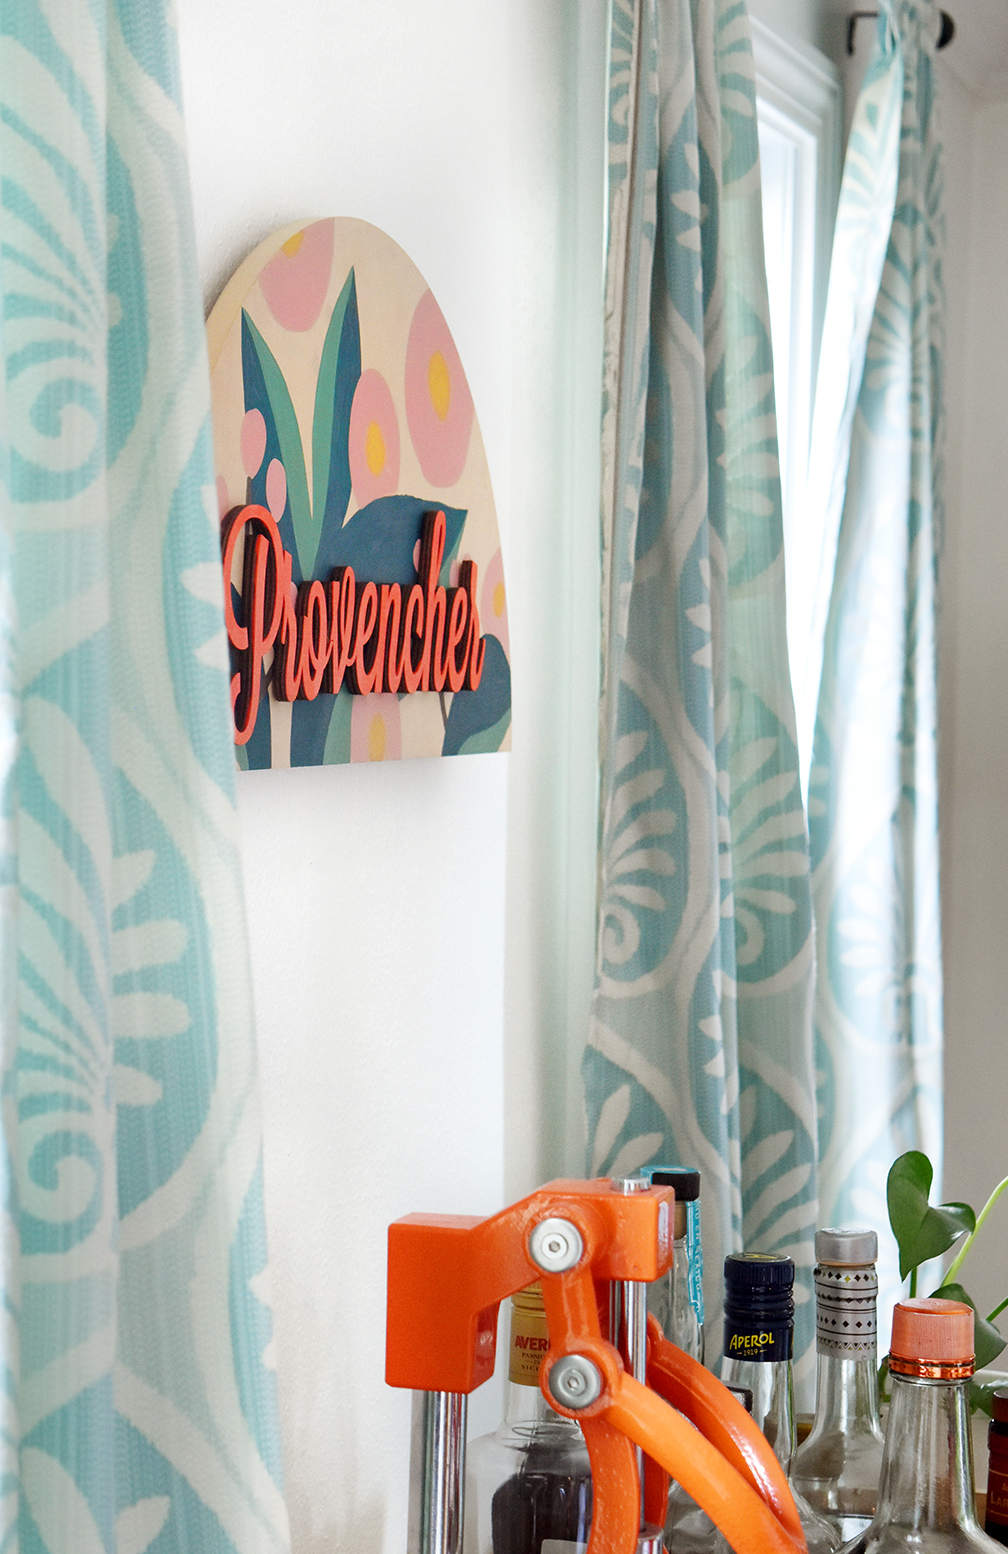
The thickness of the name sign gives it a beautiful three dimensional quality that really makes it pop. And I love the way the rounded letterforms complement the half circle shape.
I’m a longtime fan of CraftCuts and we’ve partnered on many projects throughout the years… if you’d like to check out more wood letter DIYs, head over here.
This post was created in partnership with CraftCuts.
Thanks for supporting the brands that keep Design Fixation online!
