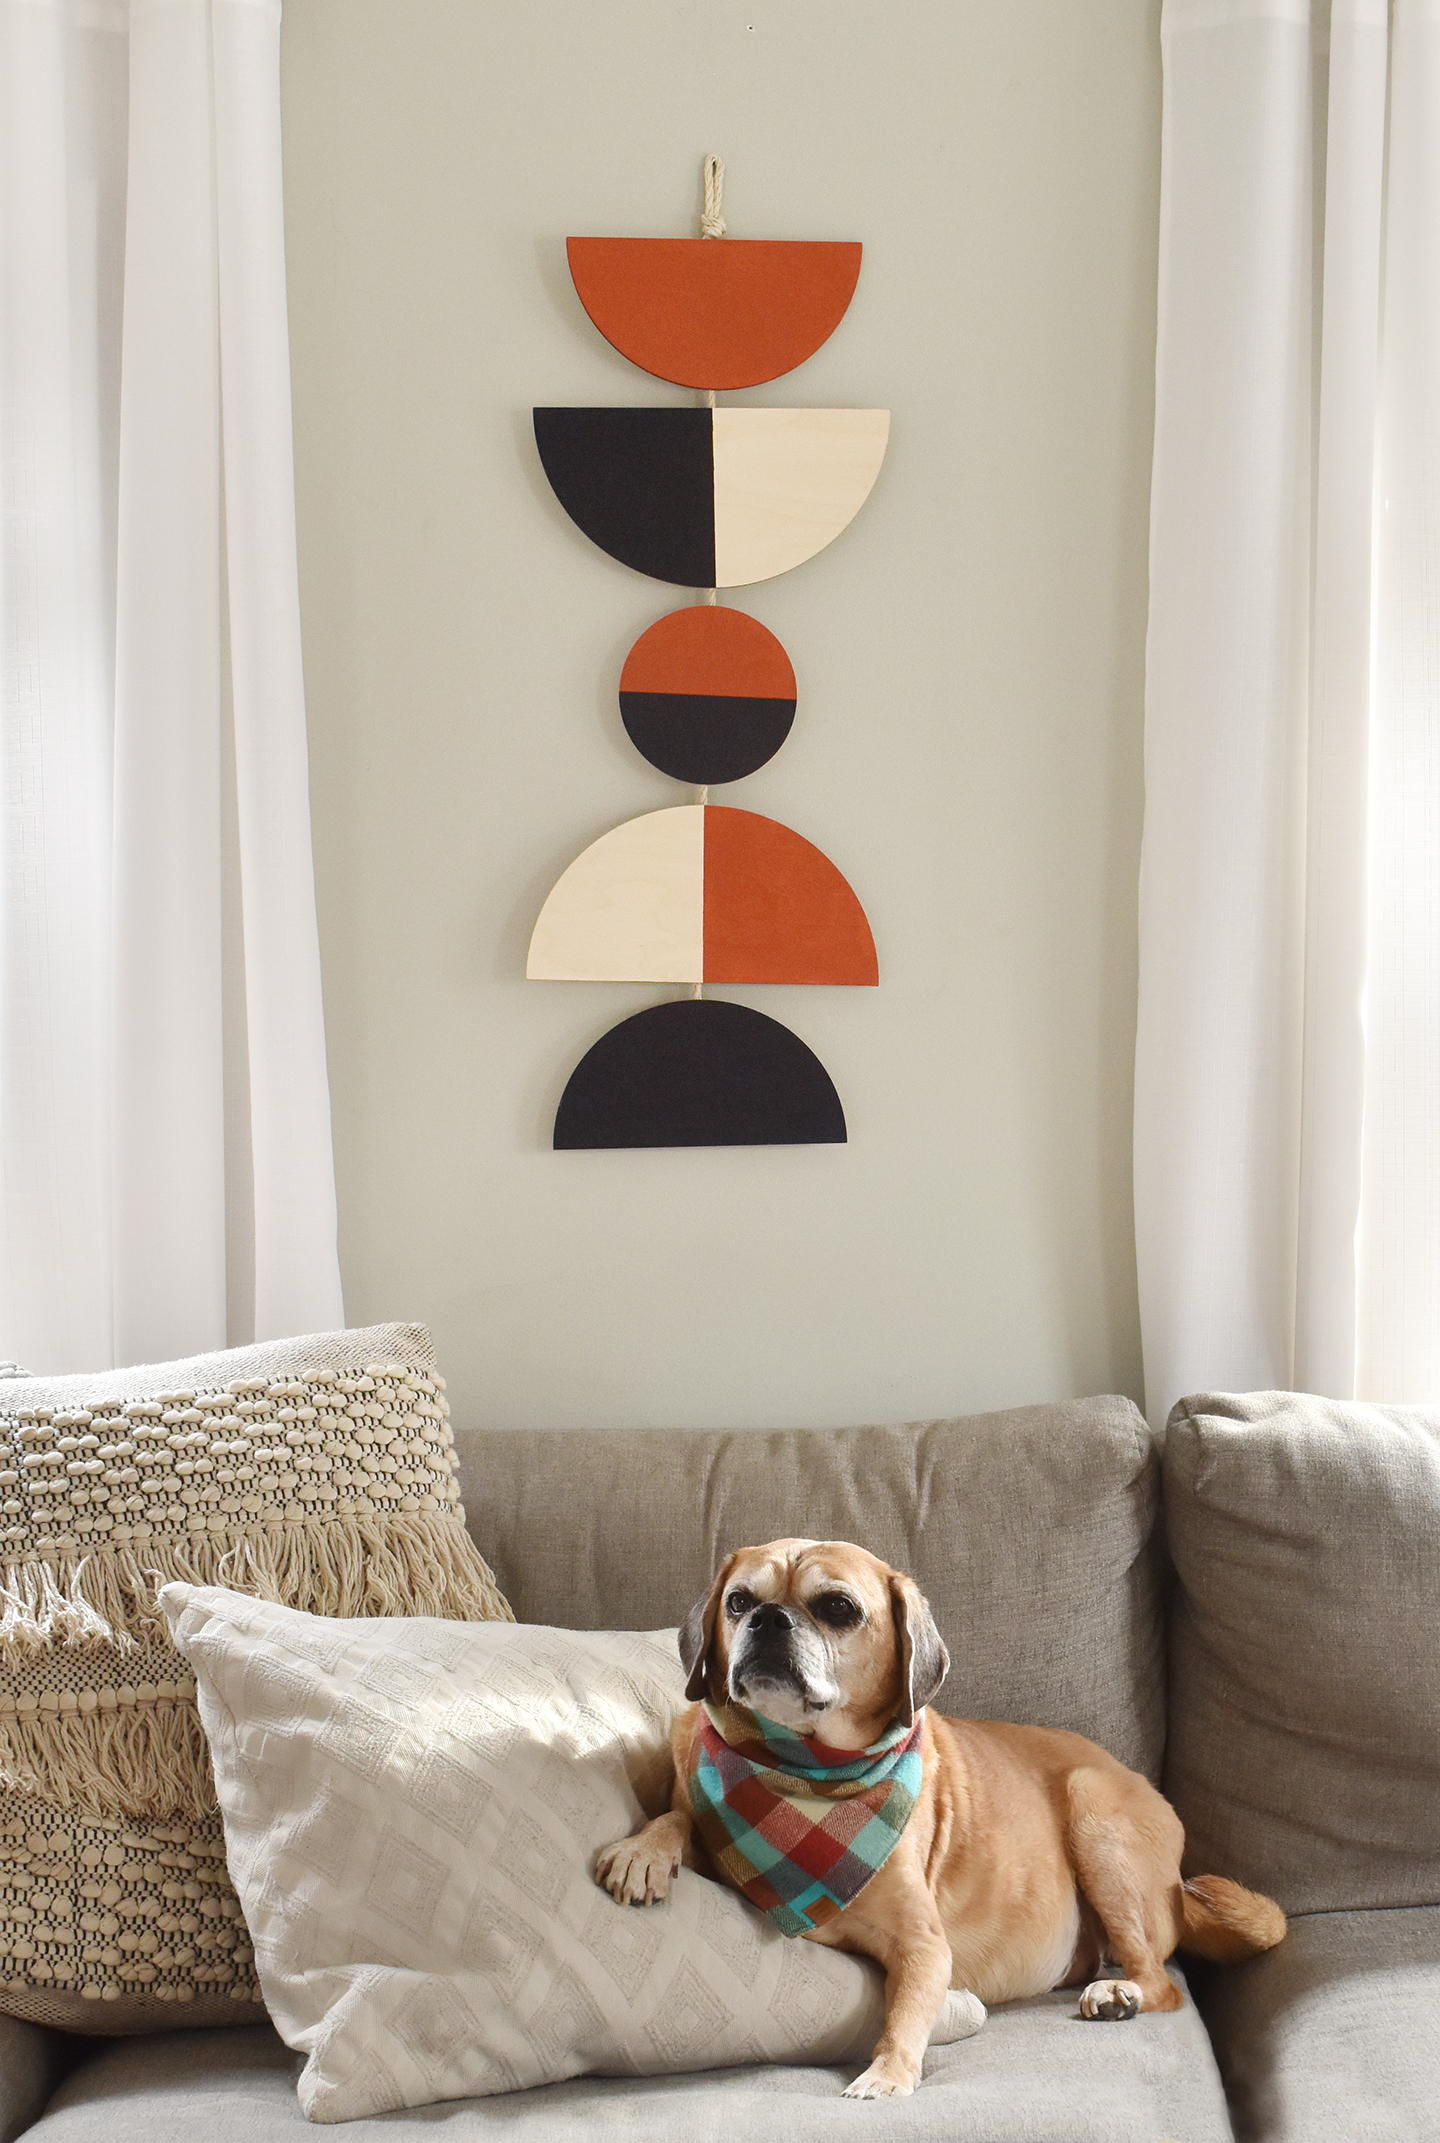
I’m loving the half circle trend that’s happening right now… it has a bohemian feel without being too eclectic. And it can be translated to lots of different types of projects – but I think that it really lends itself to wall art. So my latest project is a DIY boho wall hanging using wooden shapes and acrylic paint. Keep reading to check out my full tutorial!
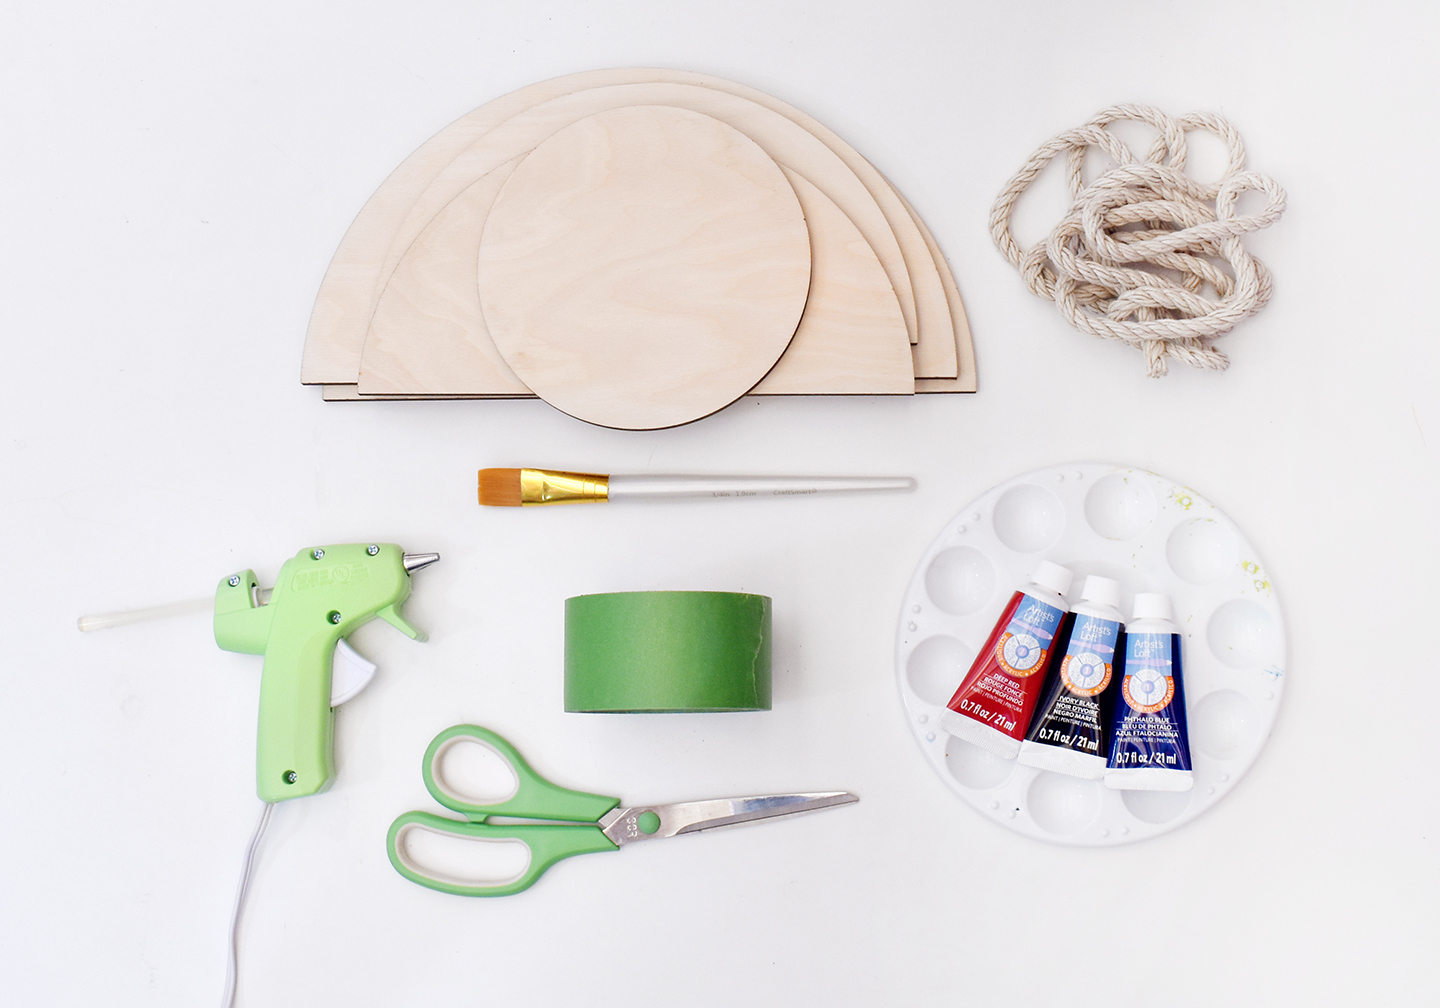
Here’s what you’ll need:
- Two 12-inch wide baltic birch plywood half circles from CraftCuts
- Two 10-inch wide baltic birch plywood half circles
- One 6-inch diameter baltic birch plywood full circle (all wood should be 1/4 inch thick)
Get 10% off the wood shapes now through 1/15/22 using code DESIGN10 - 1/2 inch thick rope
- Acrylic paint in at least two colors
- Paintbrush
- Painter’s tape
- Scissors
- Hot glue gun with extra glue
- Ruler (not pictured)
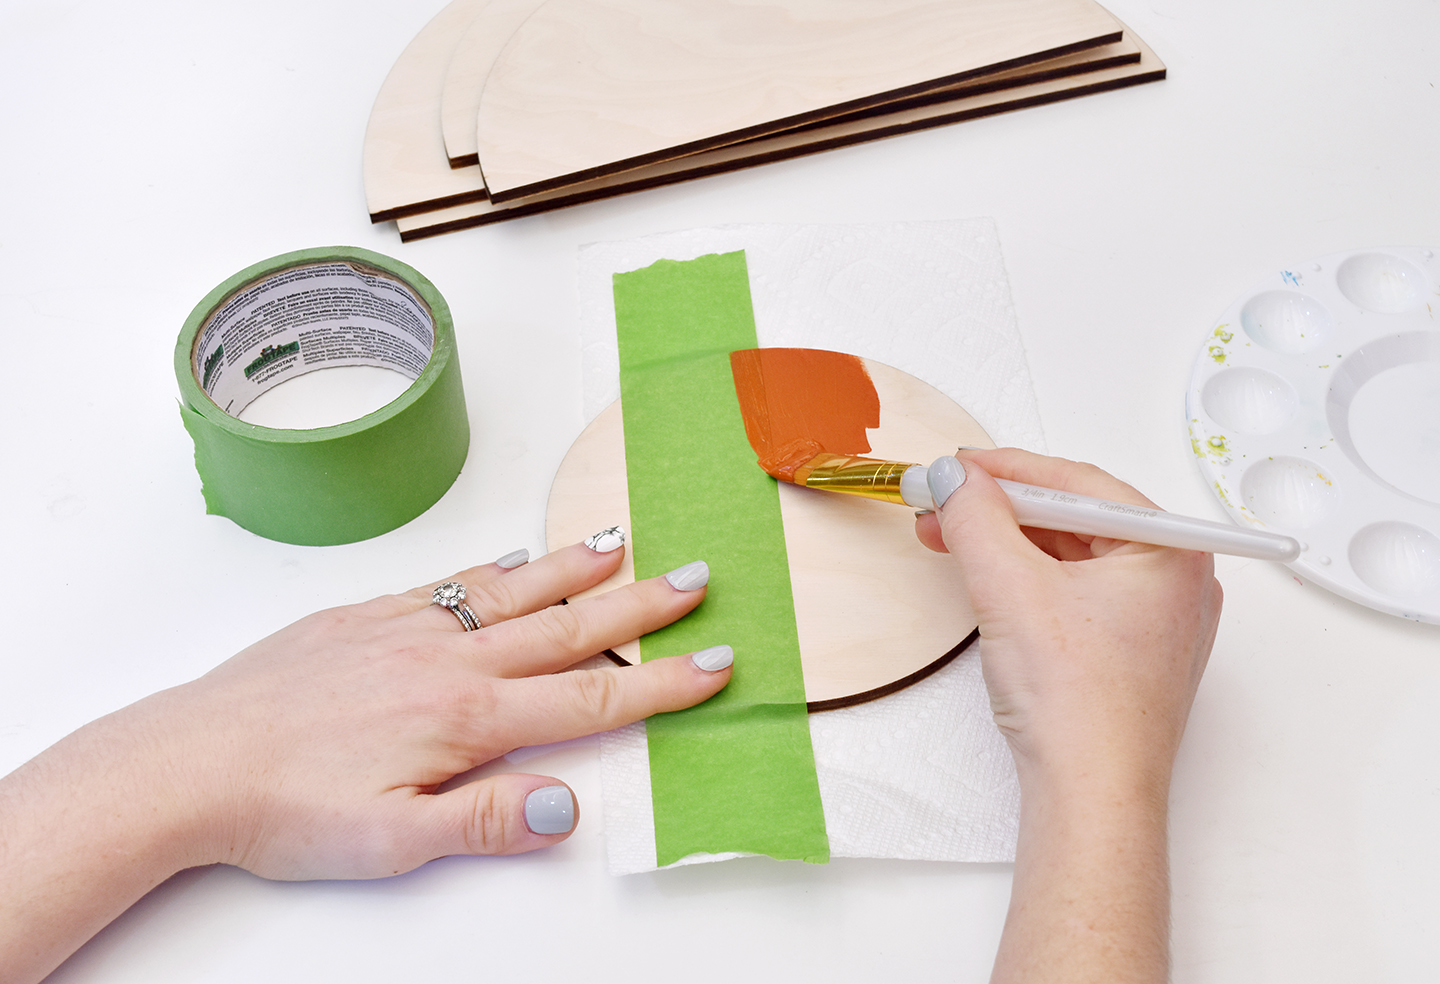
Begin by putting a piece of painter’s tape on the full circle, measuring it and splitting it into two equal halves. Paint one half with your first paint color. Remove the tape right away, before the paint dries; this will prevent any possible paint peeling. Set it aside to dry.
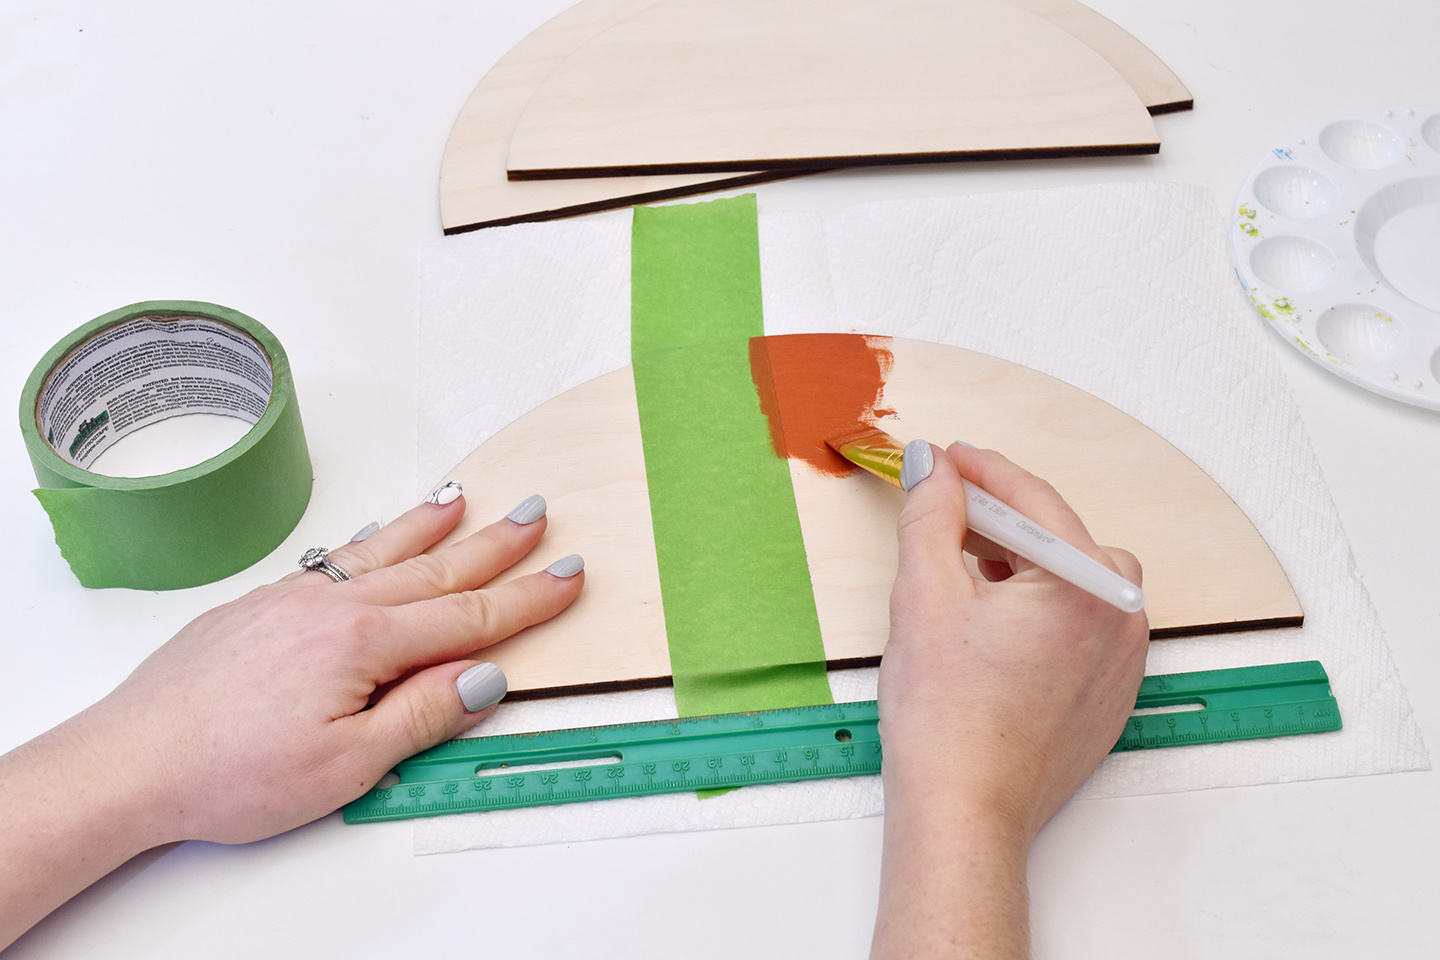
Next, find the center of one of the larger half circles and tape it off. Paint the right side with the first paint color. Repeat the process with the other large half circle, painting the left half the second paint color.
Paint one of the smaller half circles fully with the first color and the other one the second color. Last, paint the other half of the full circle the second color.
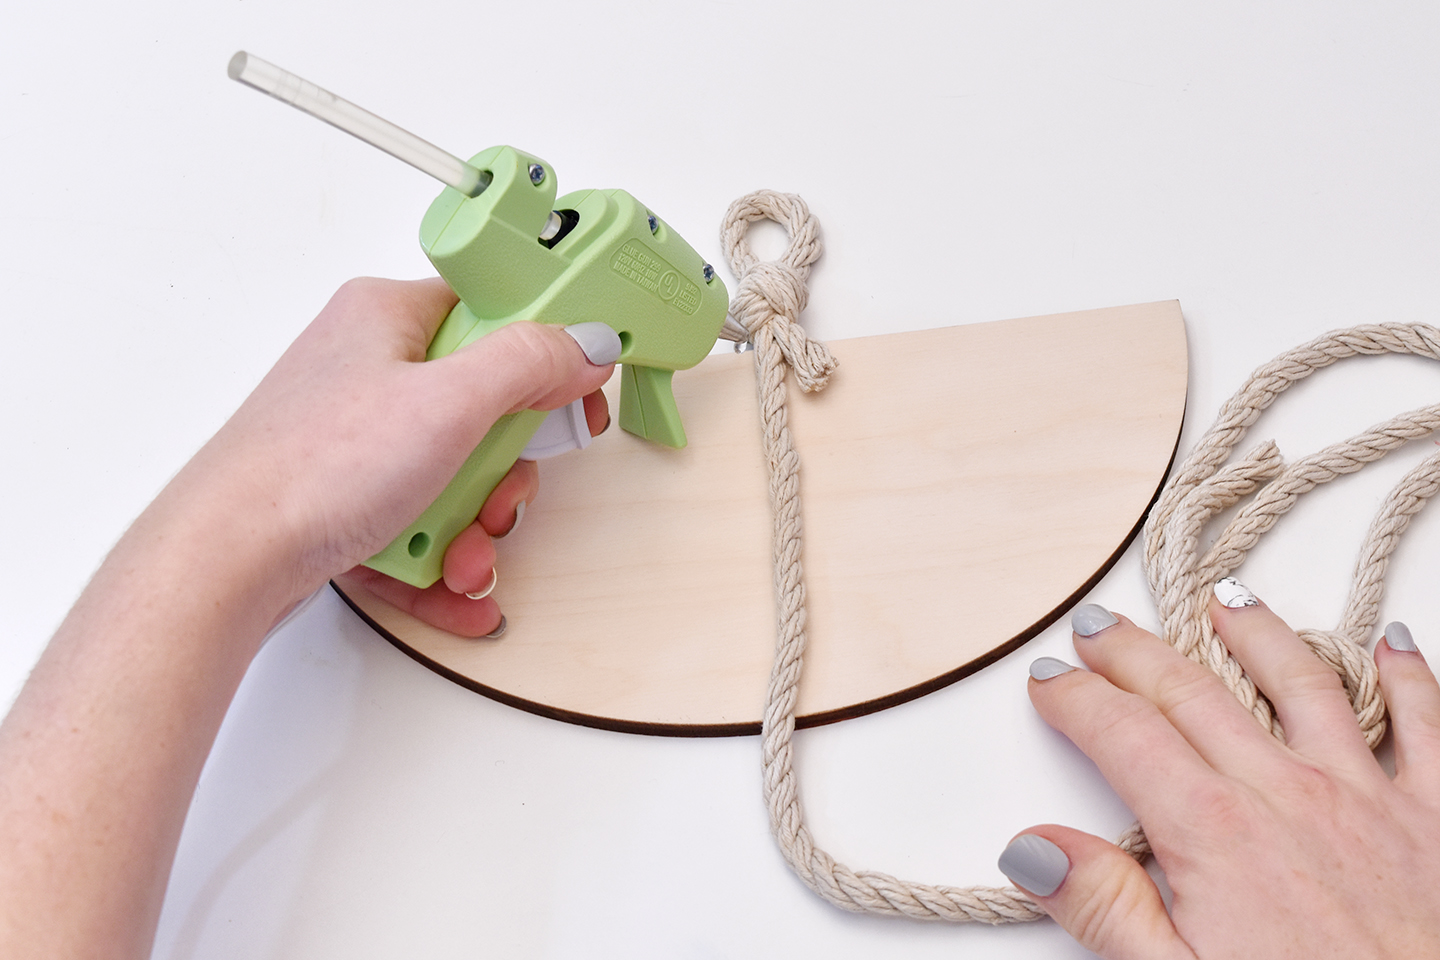
Once everything is dry, flip the shapes over and mark where the paint lines are located on the back so you can be sure to attach the rope right down the center of each shape. Lay them out in the order you’d like them to ultimately be in. Tie a loop in the top of the rope and begin gluing it down the center of each shape.
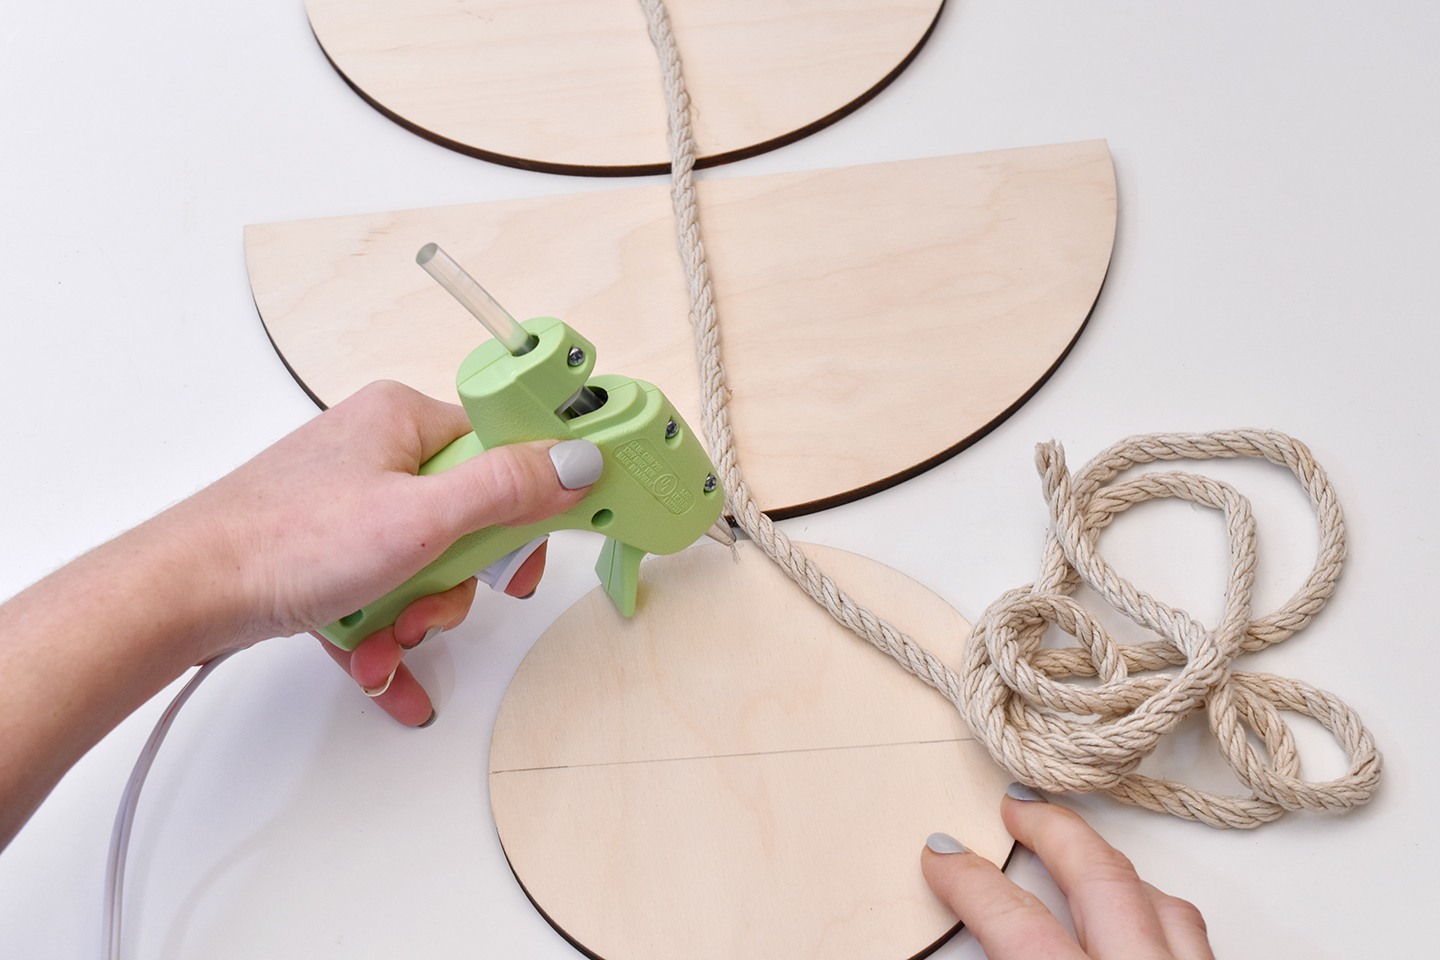
Leave a half an inch of space between each shape so a bit of the rope will be visible from the front. Keep gluing all the way to the bottom of the last shape and trim the rope off.
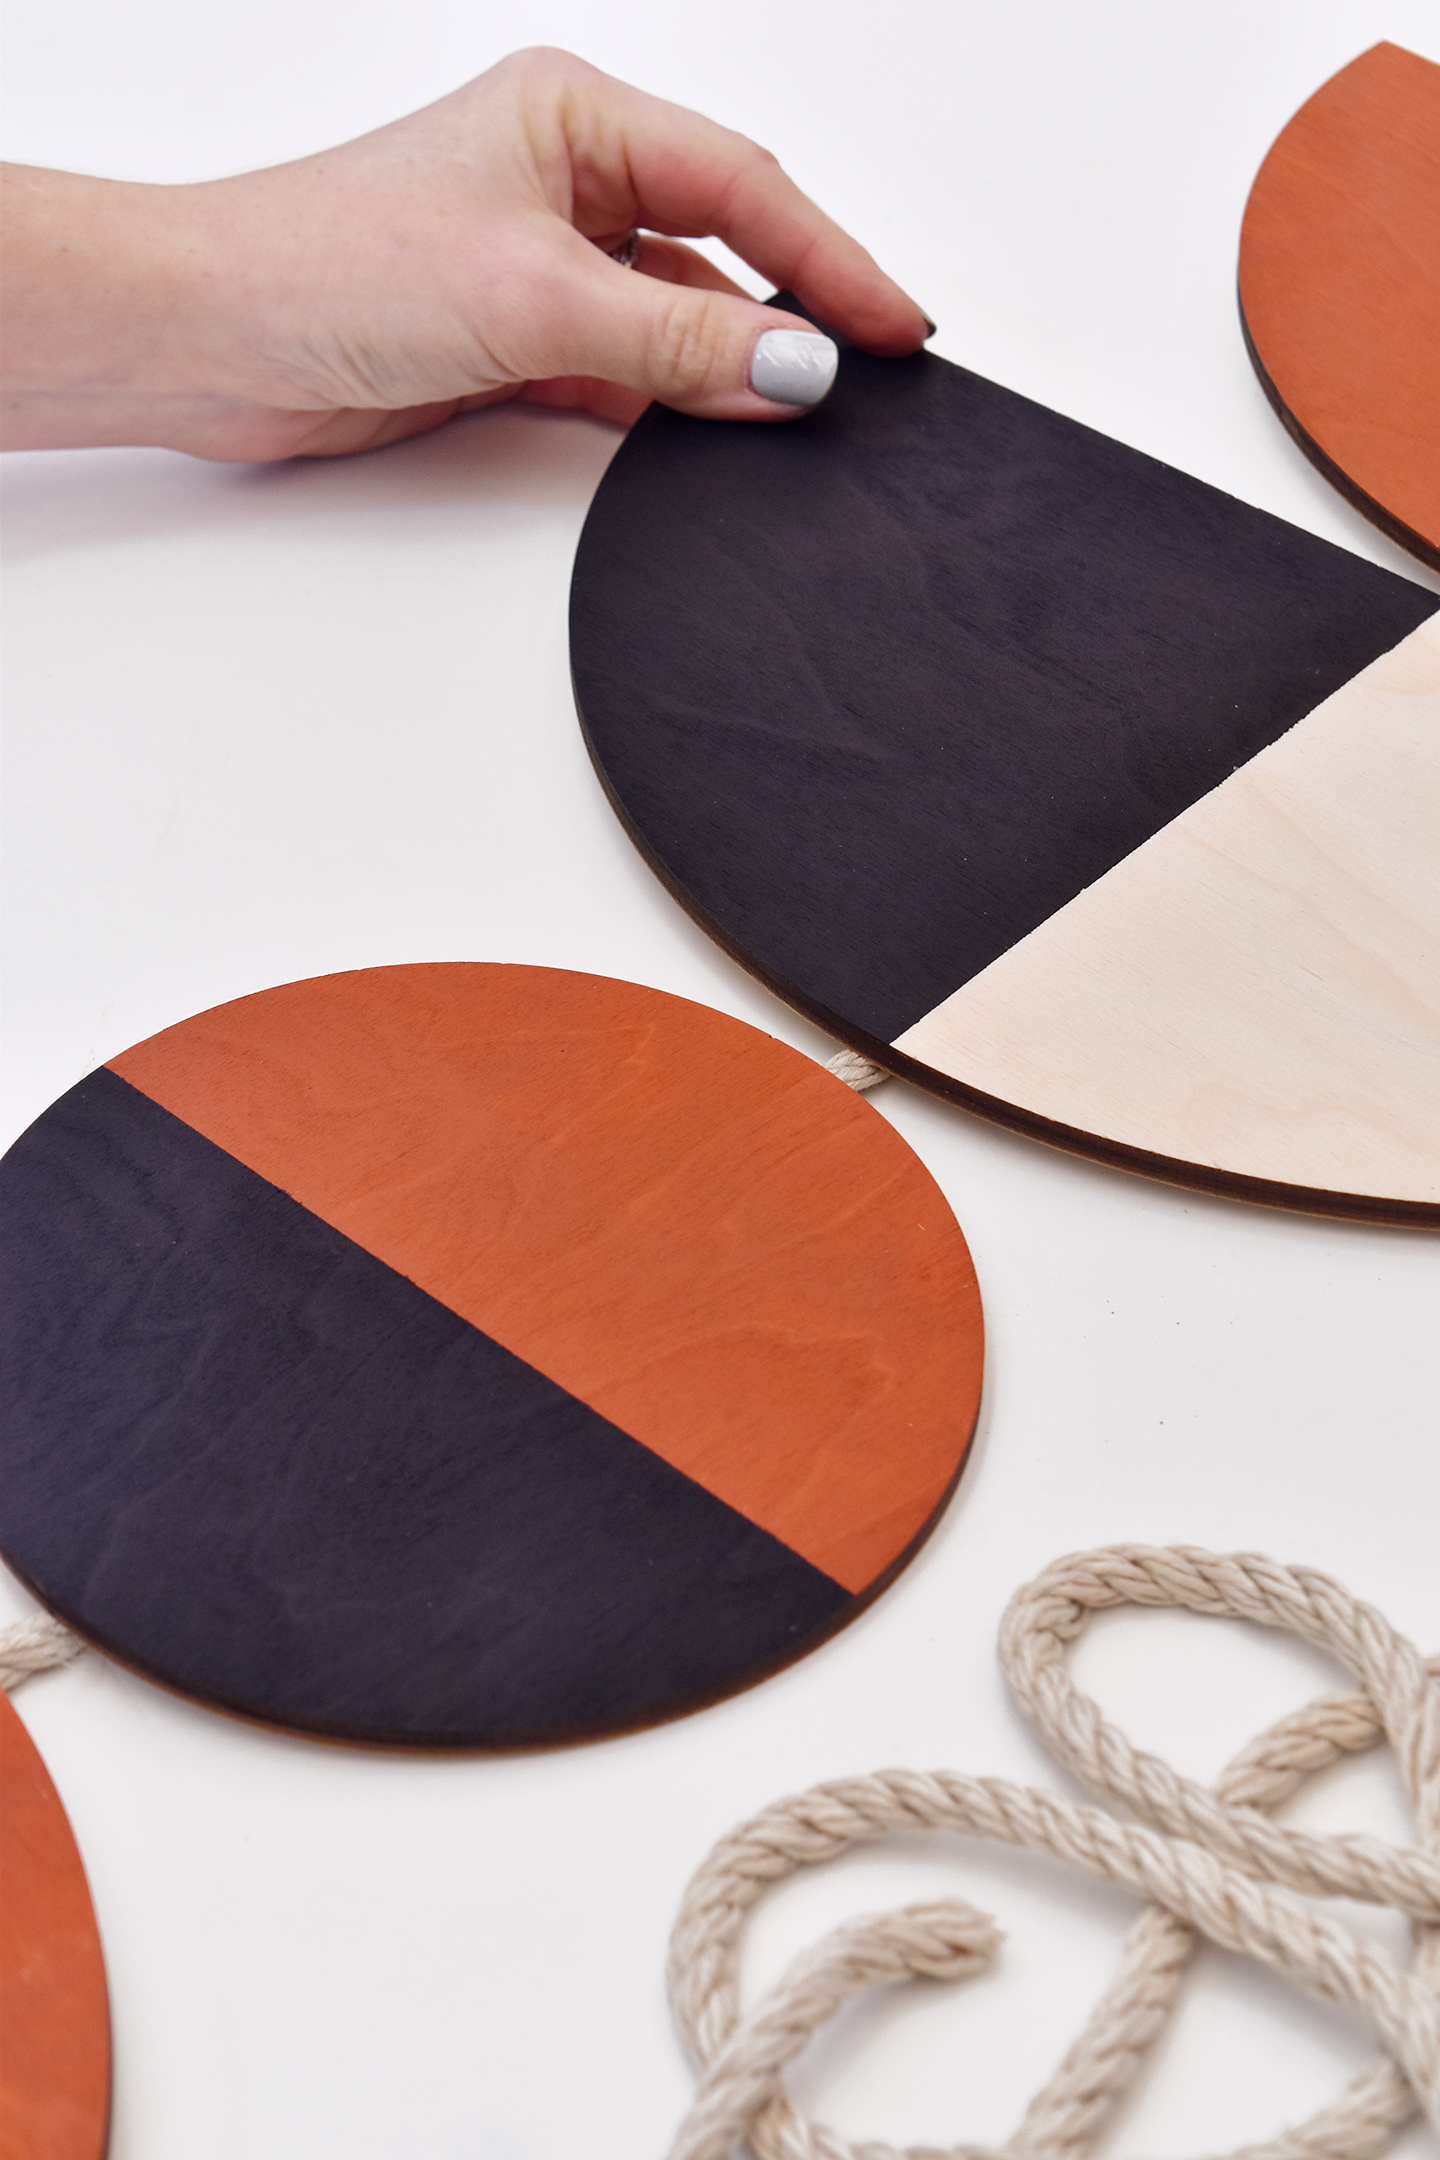
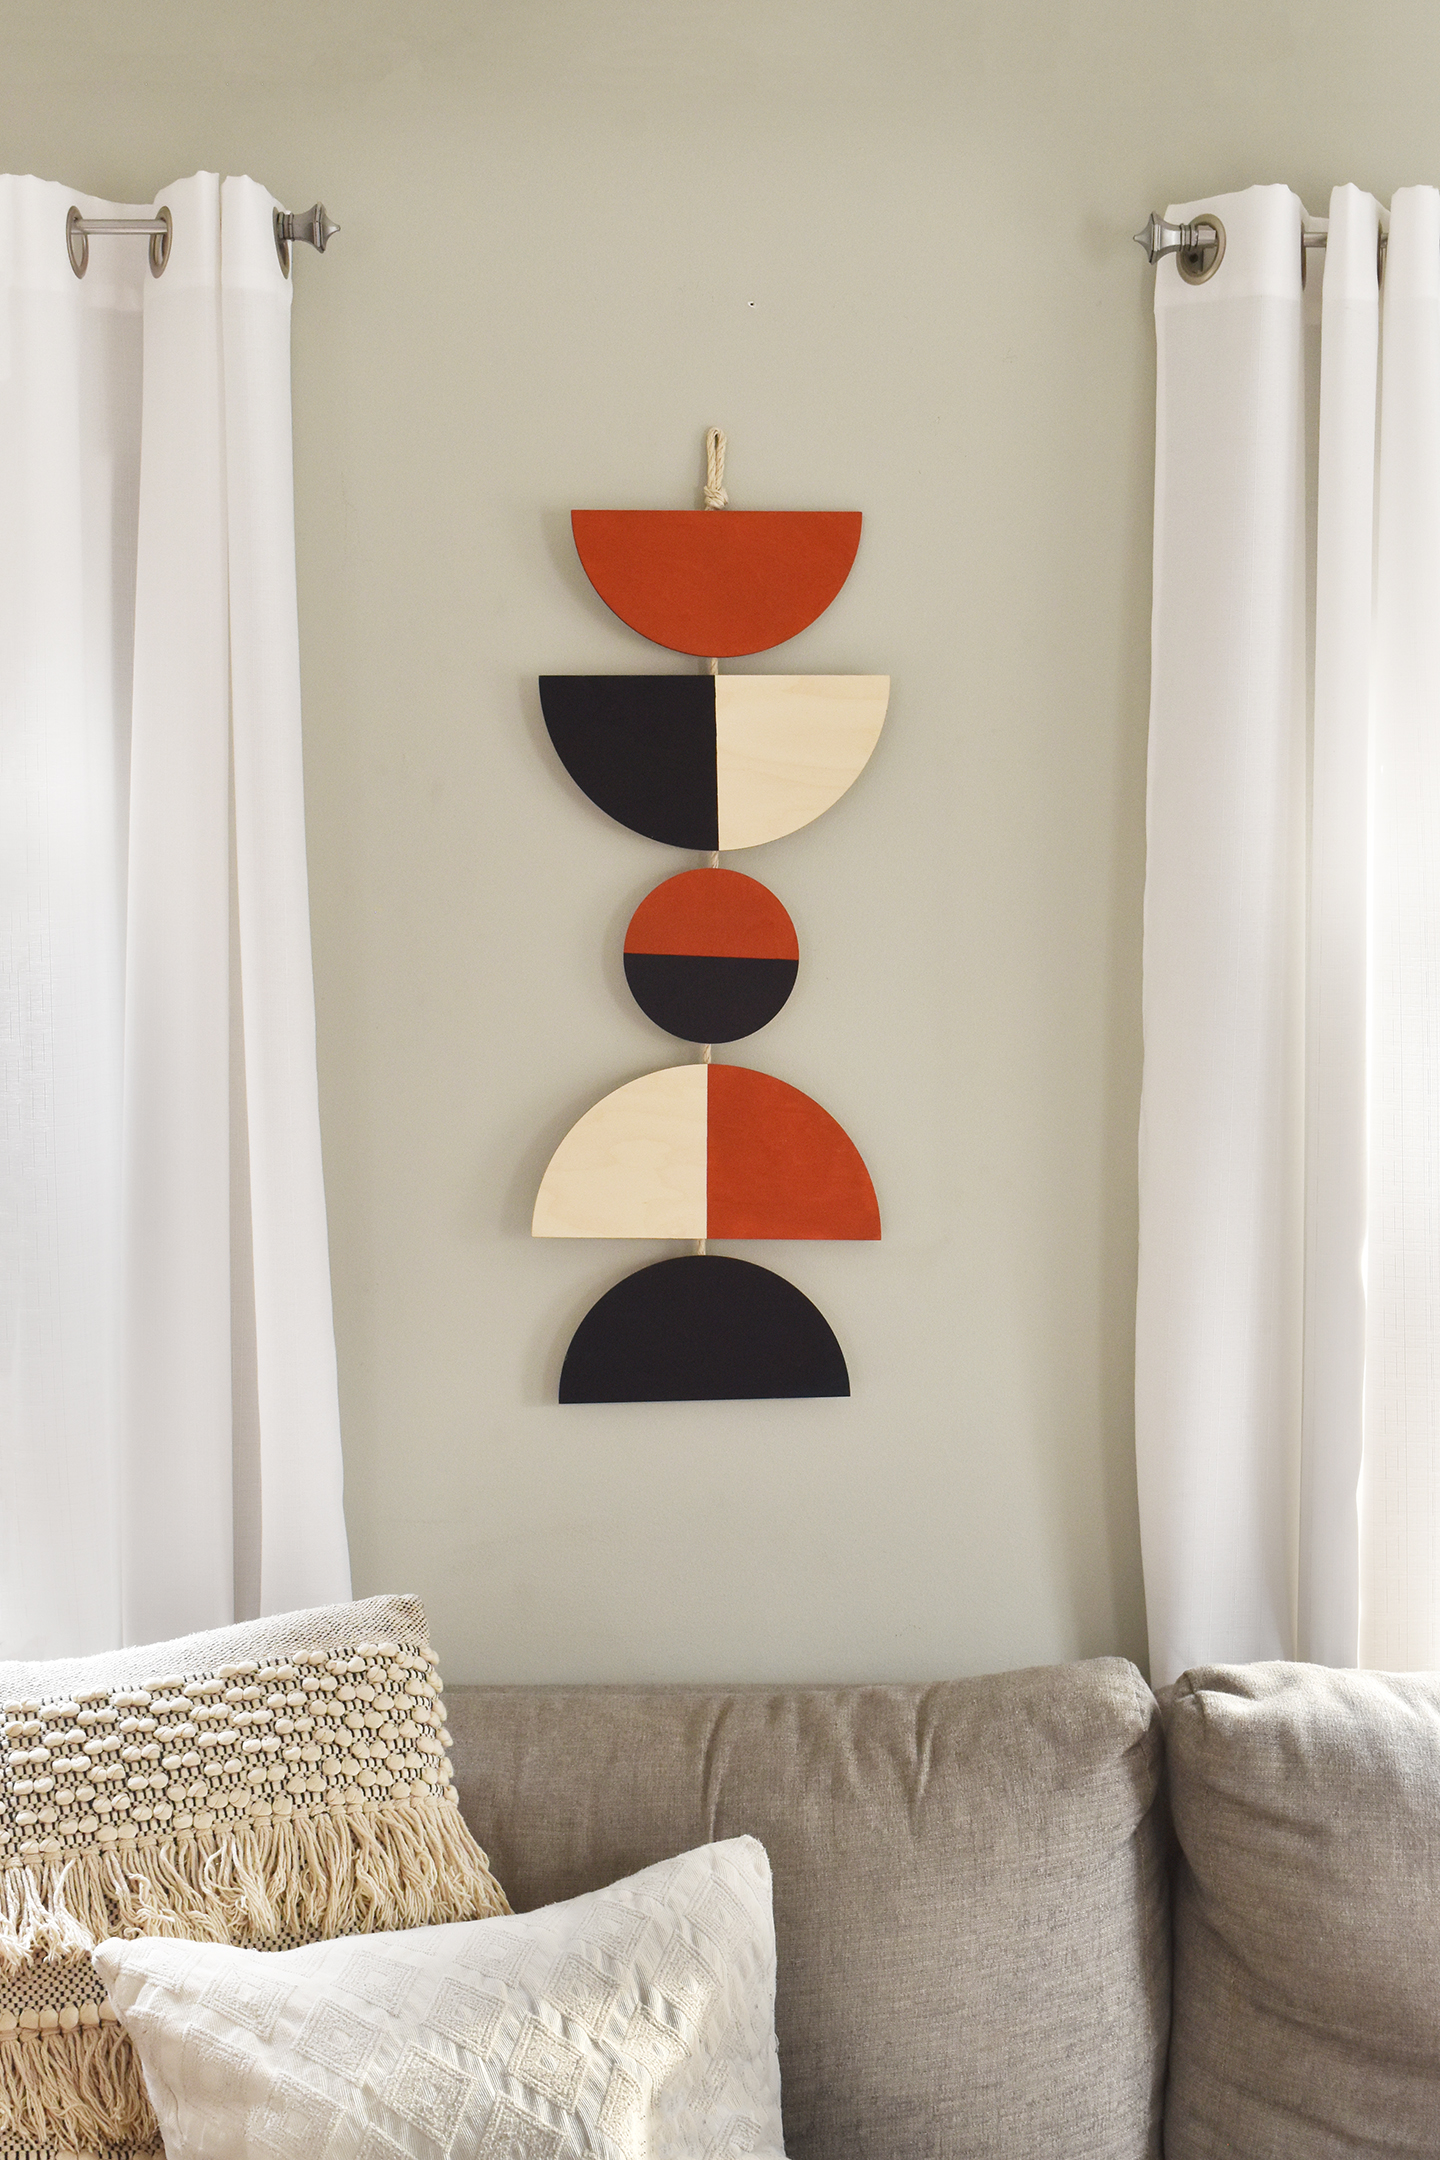
And there you have it… a beautiful DIY boho wall hanging that will spice up any room in your house!
I’m thinking of making a second one for baby boy’s nursery (which we are woefully behind on… I’m 32 weeks pregnant and haven’t even gotten any furniture in there yet. Yikes!).
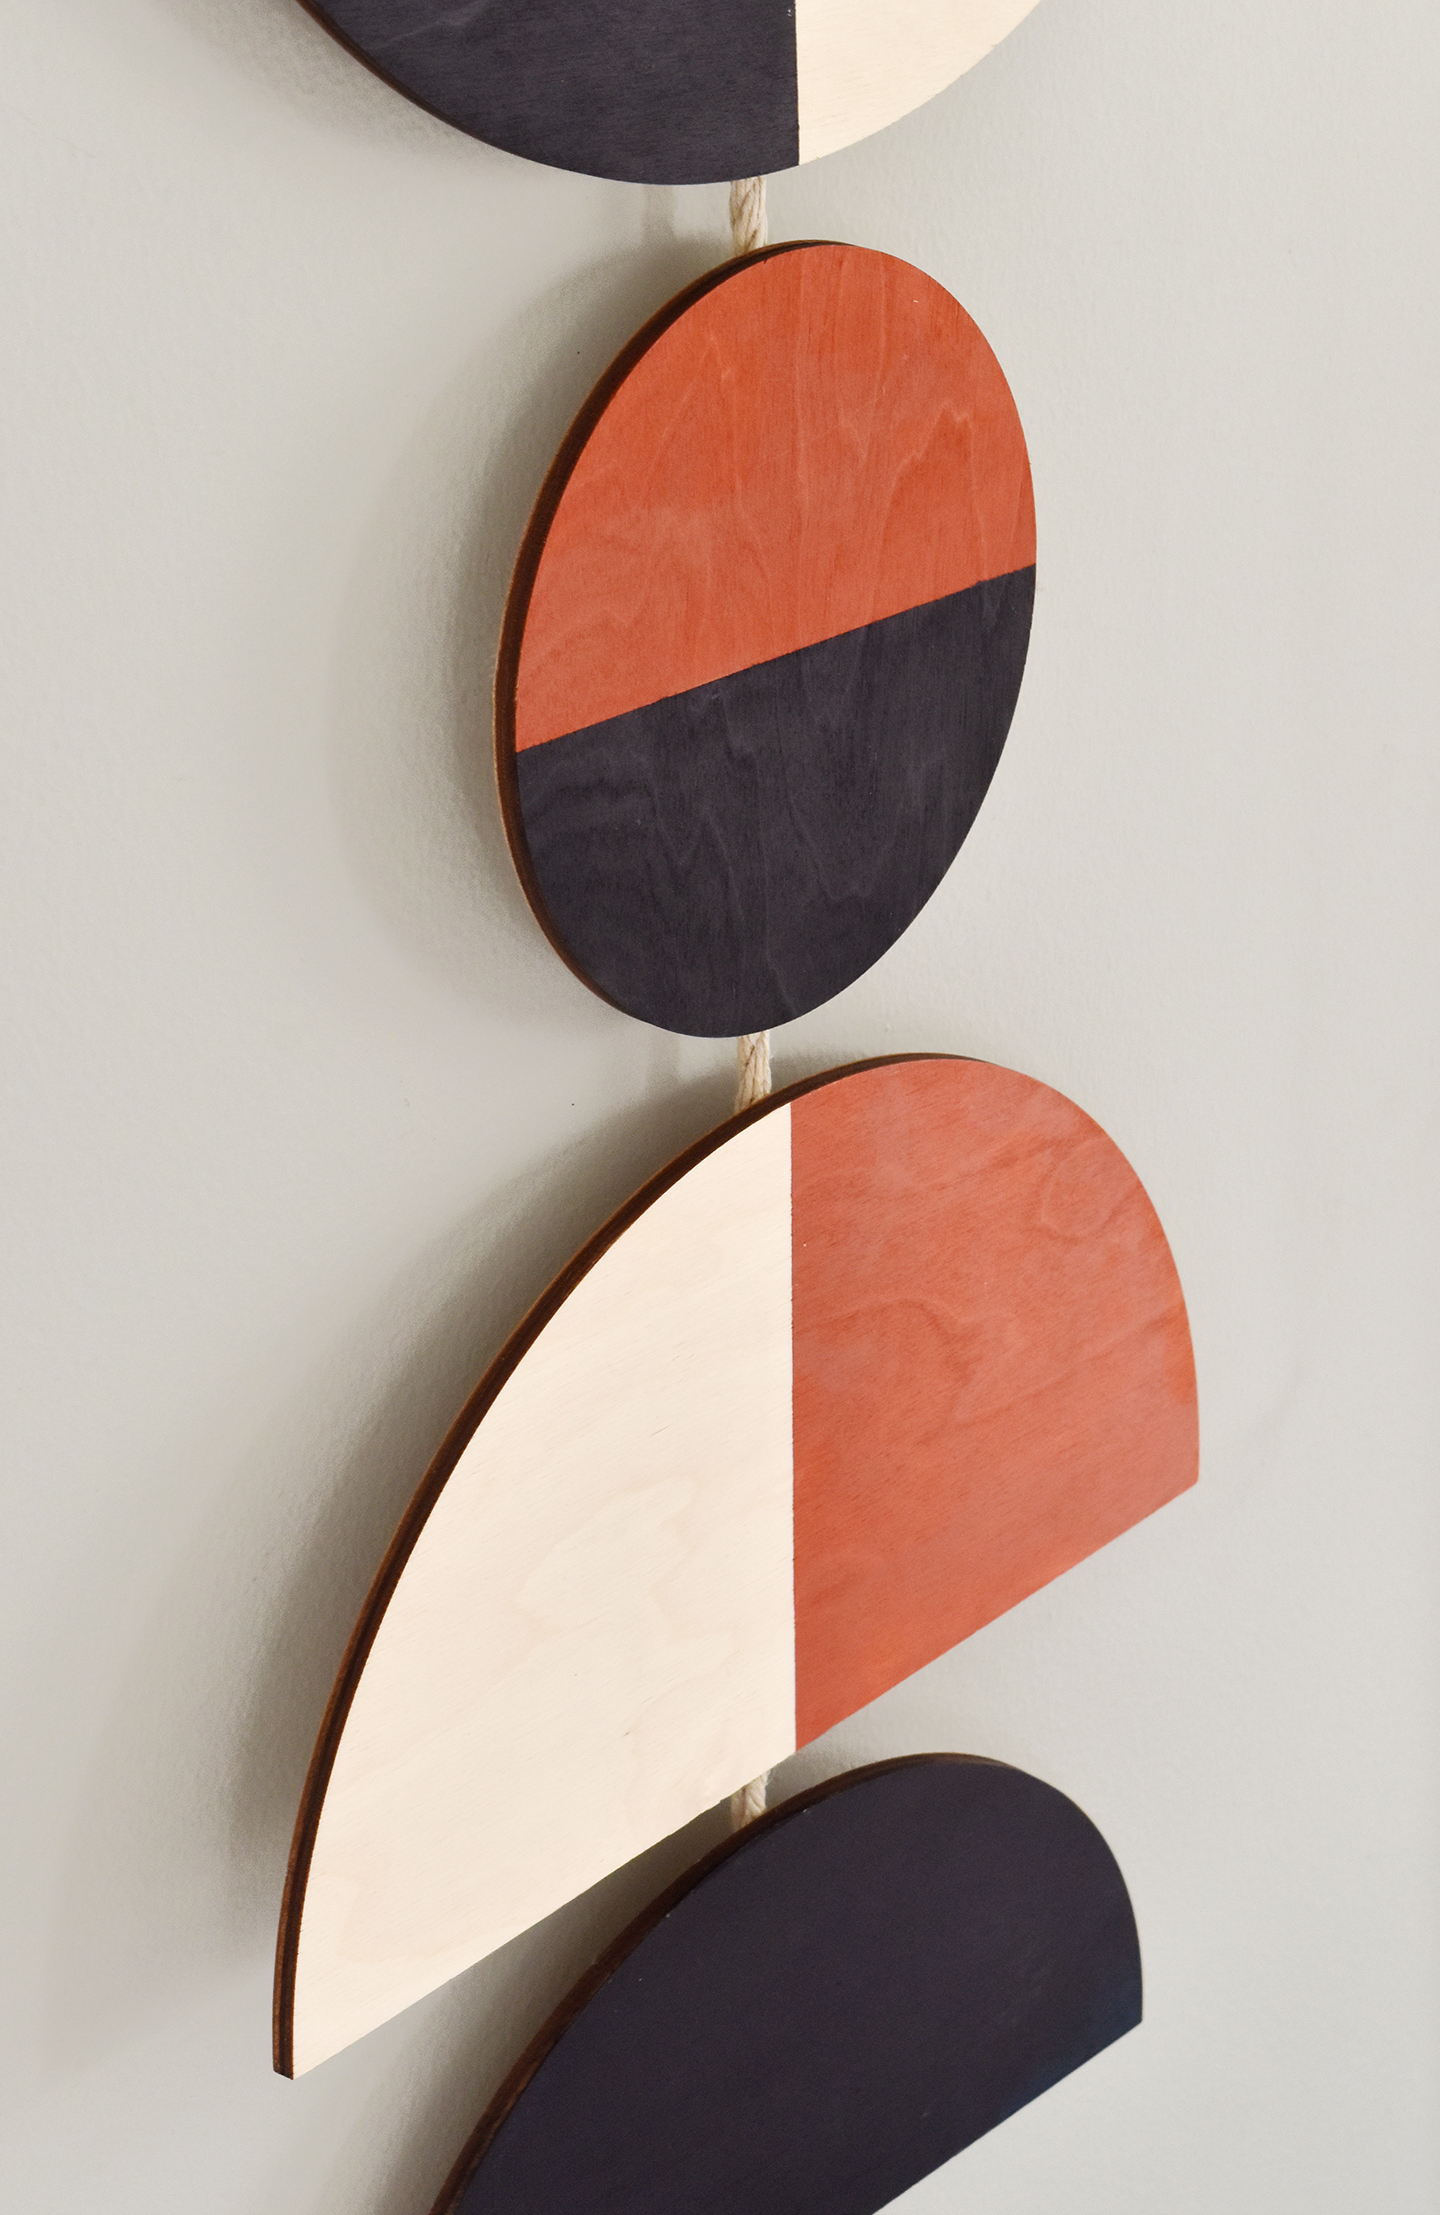
I love how the texture of the wood shows through the paint a bit, and the natural wood areas offset the more saturated colors.
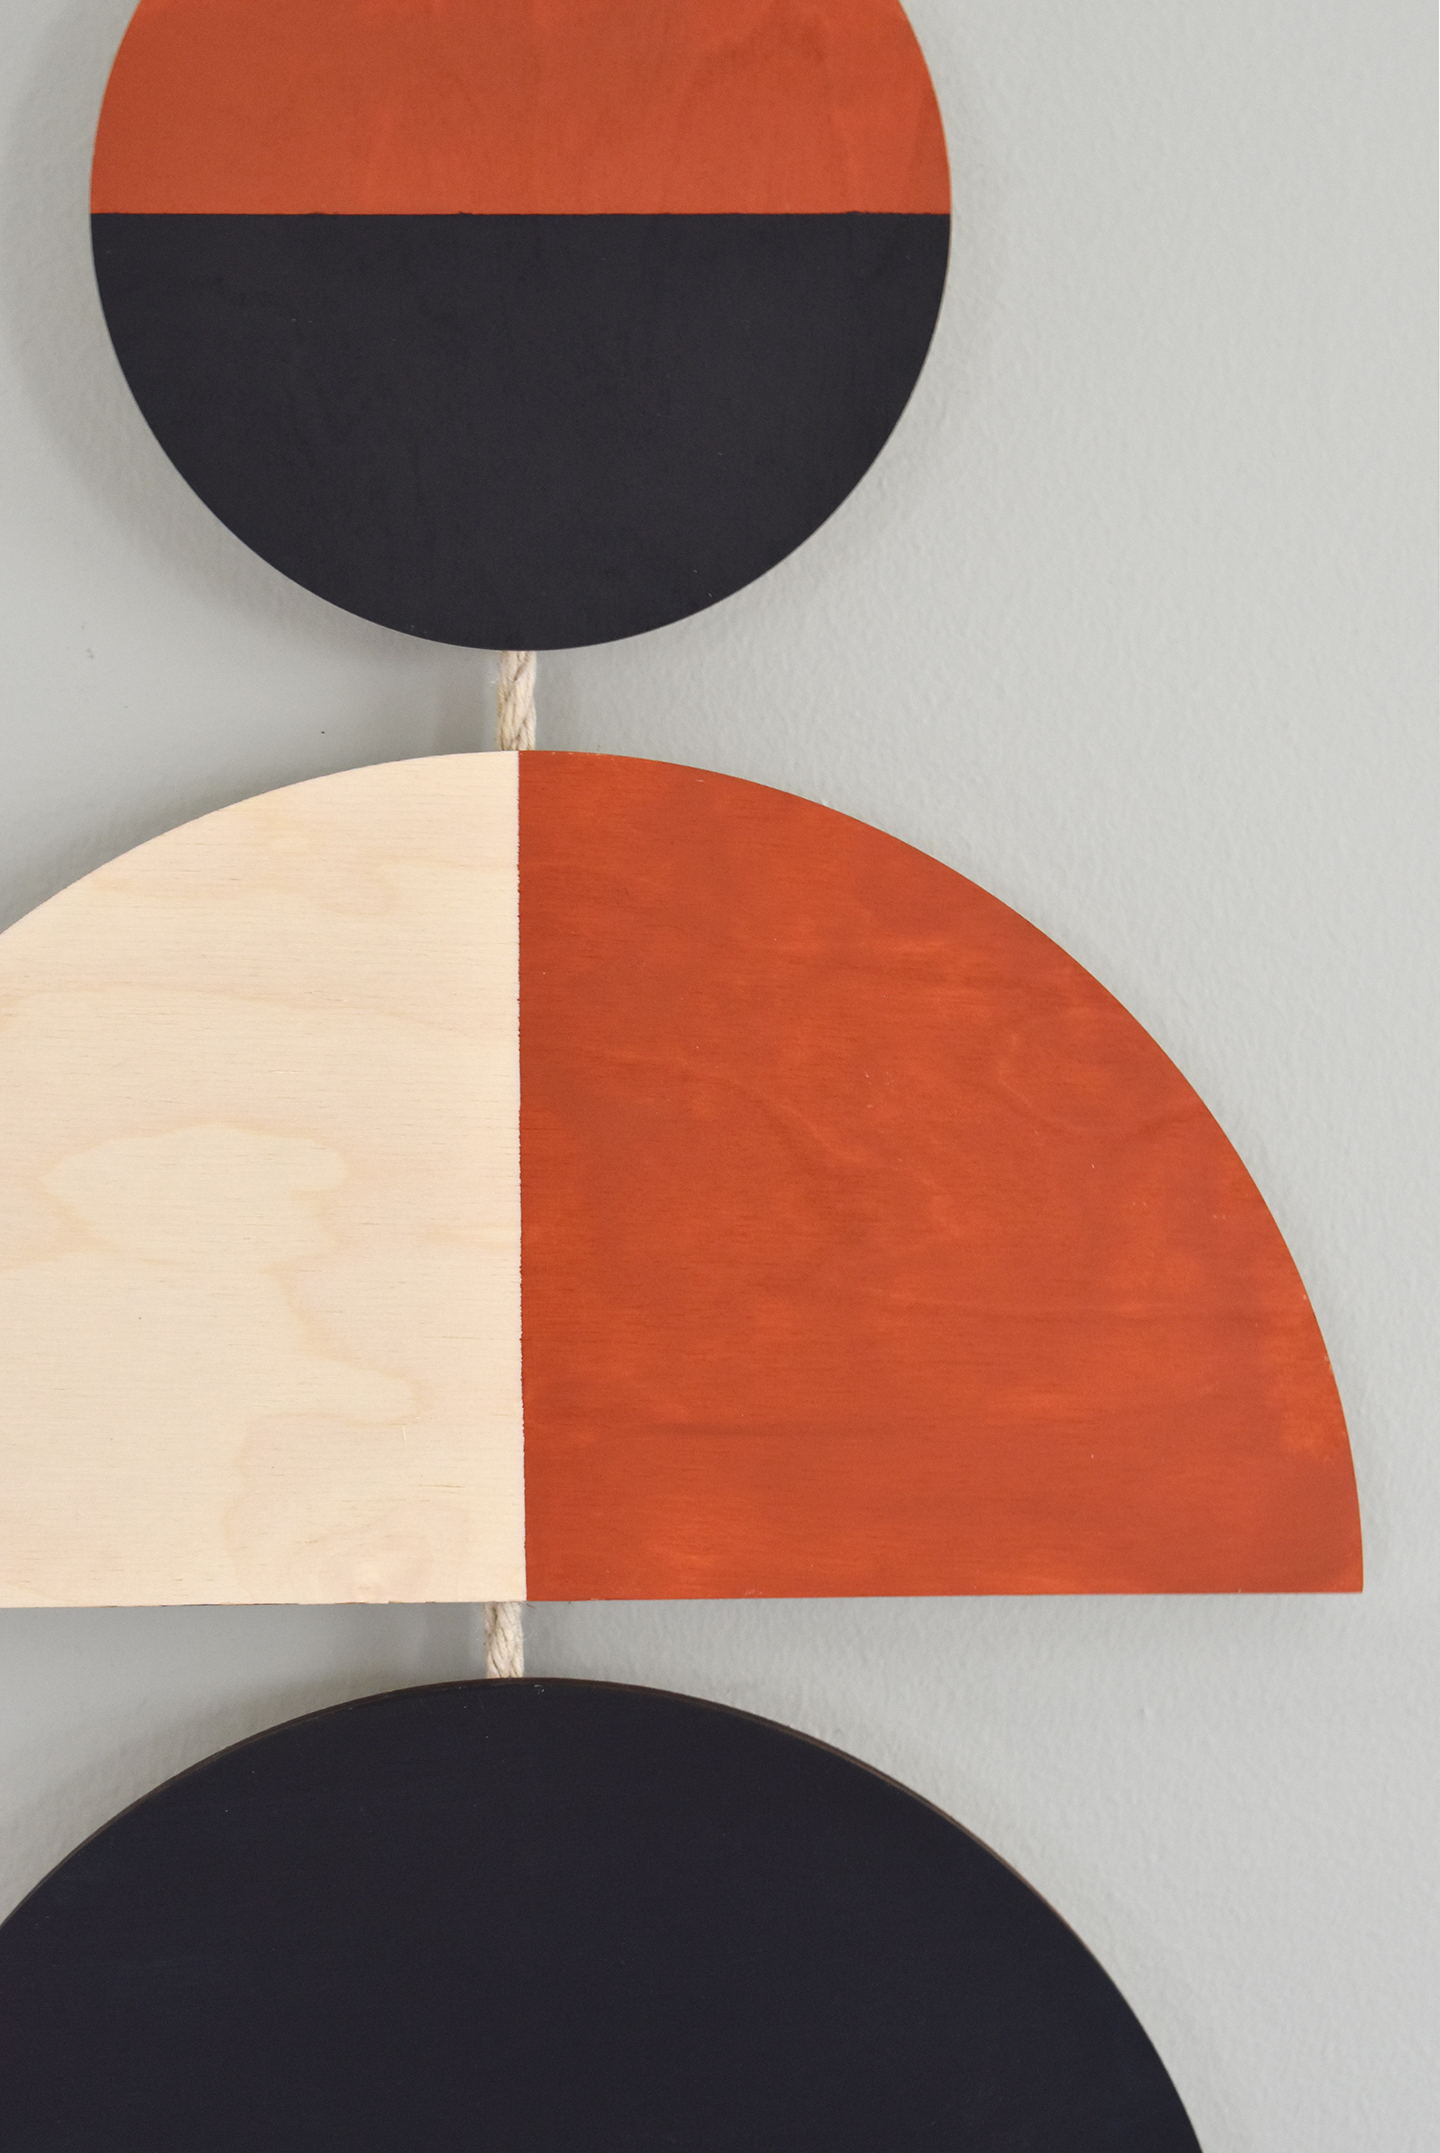
This is a very customizable project, too… mix up the shapes and sizes of the wood, and choose colors that coordinate with your space. CraftCuts has a ton of different options, from simple shapes to letters and numbers to custom special interest designs.
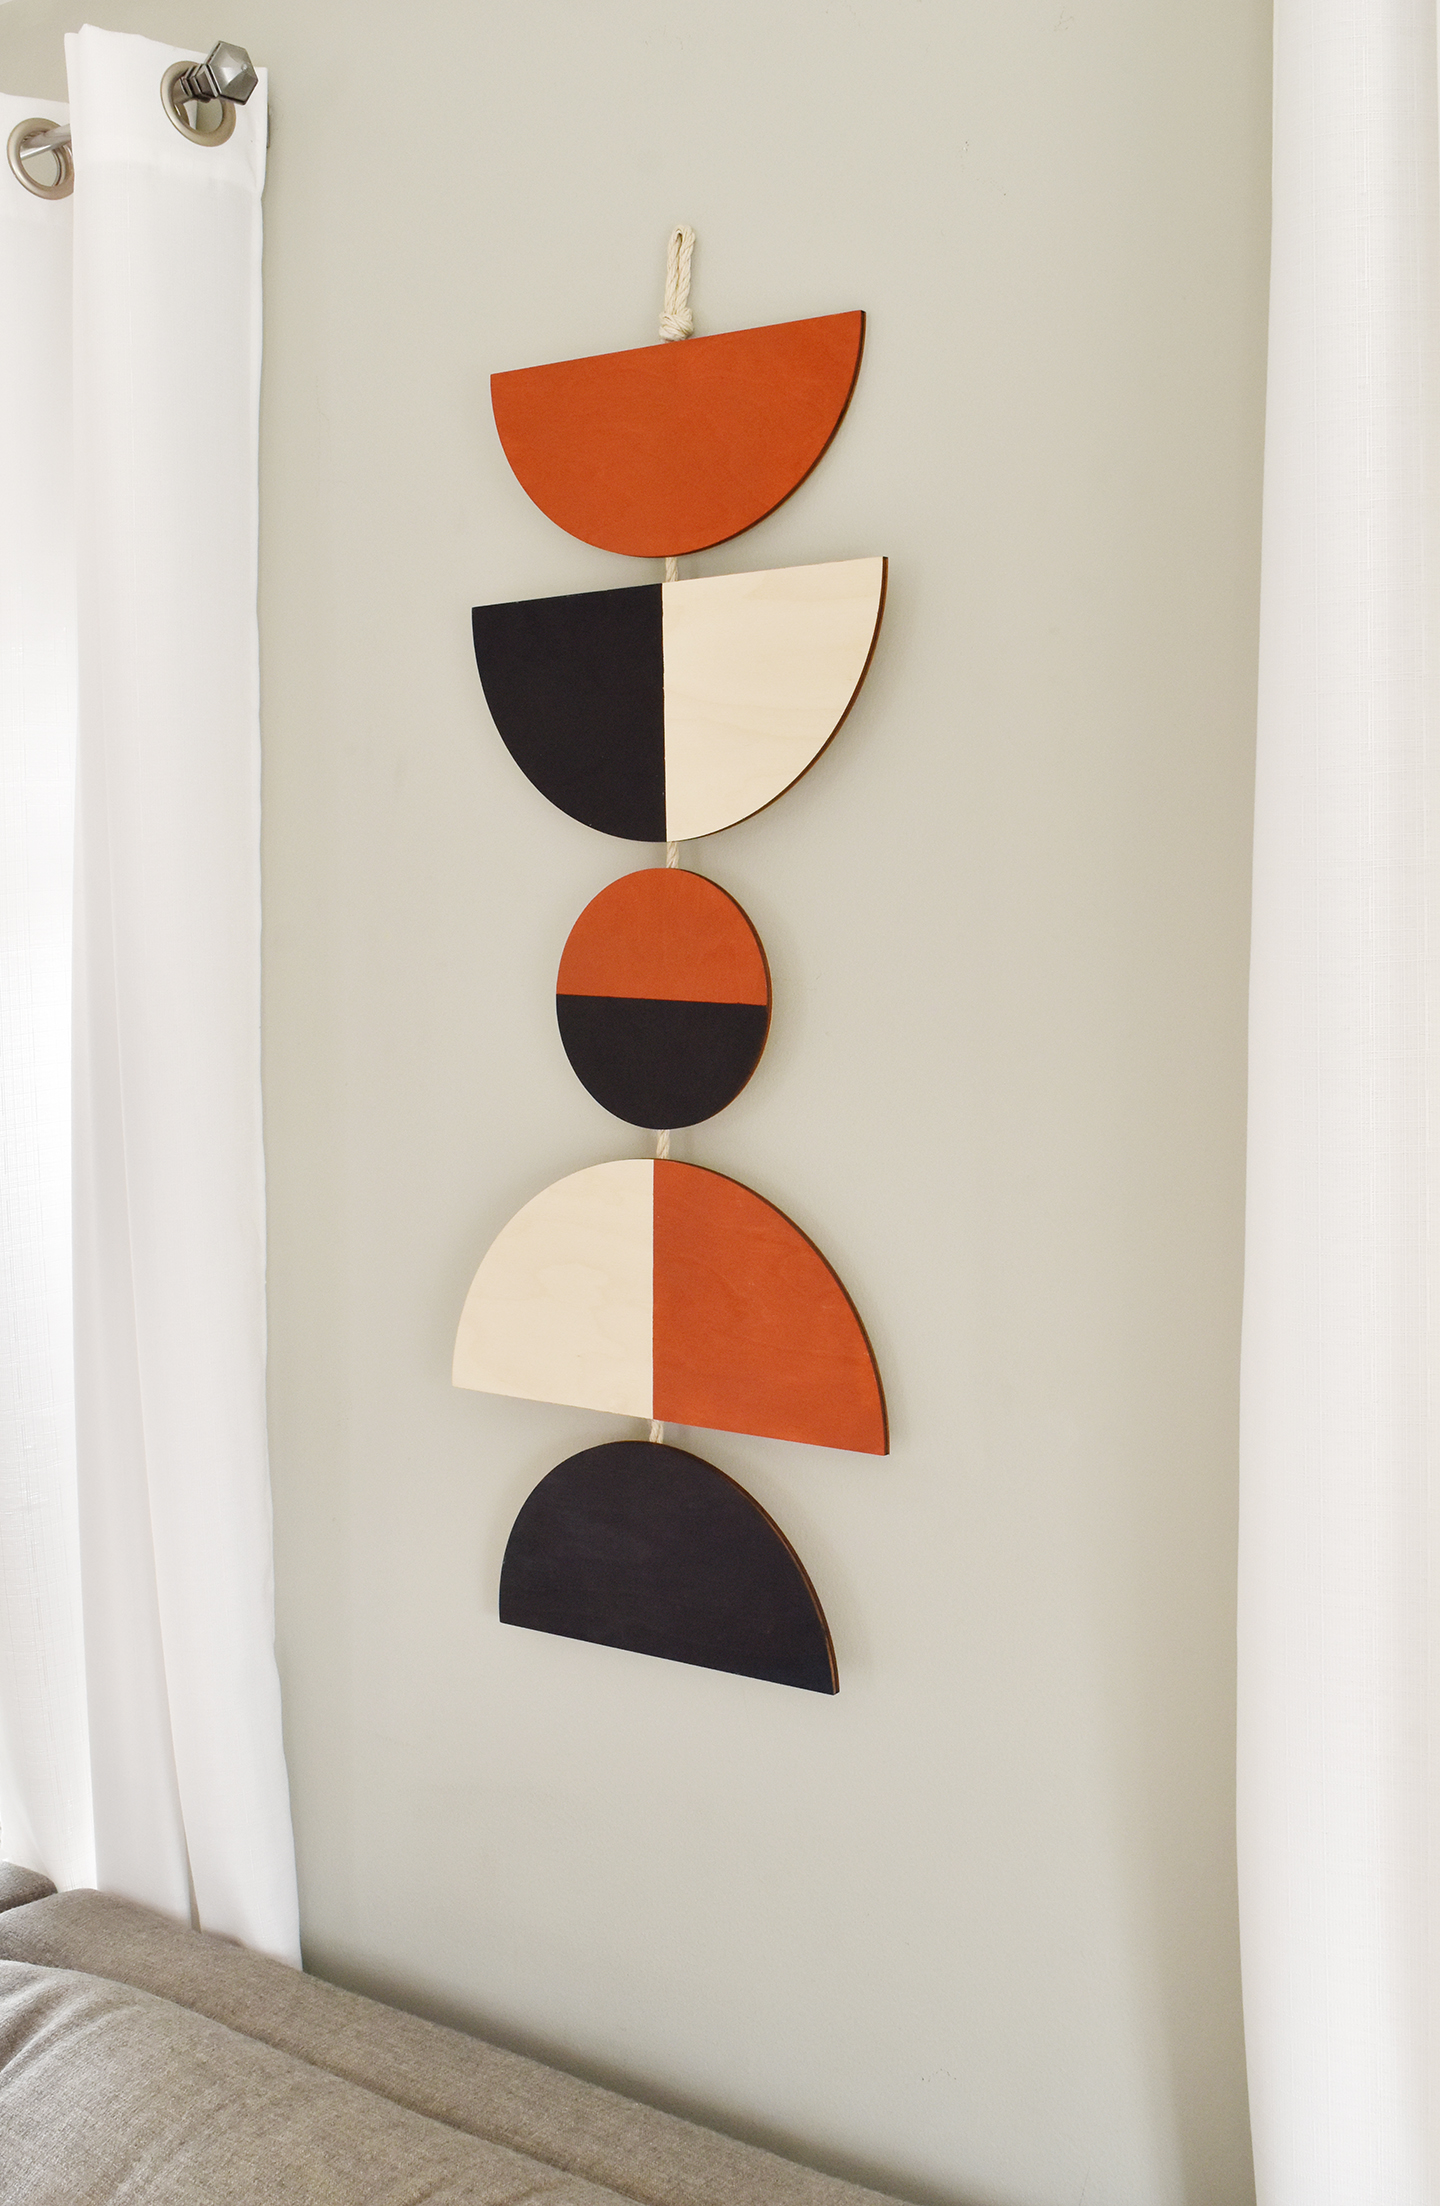
Interested in more wooden wall art ideas? Check out these fun DIY projects.
This post was created in partnership with CraftCuts.
Thanks for supporting the brands that keep Design Fixation online!
