
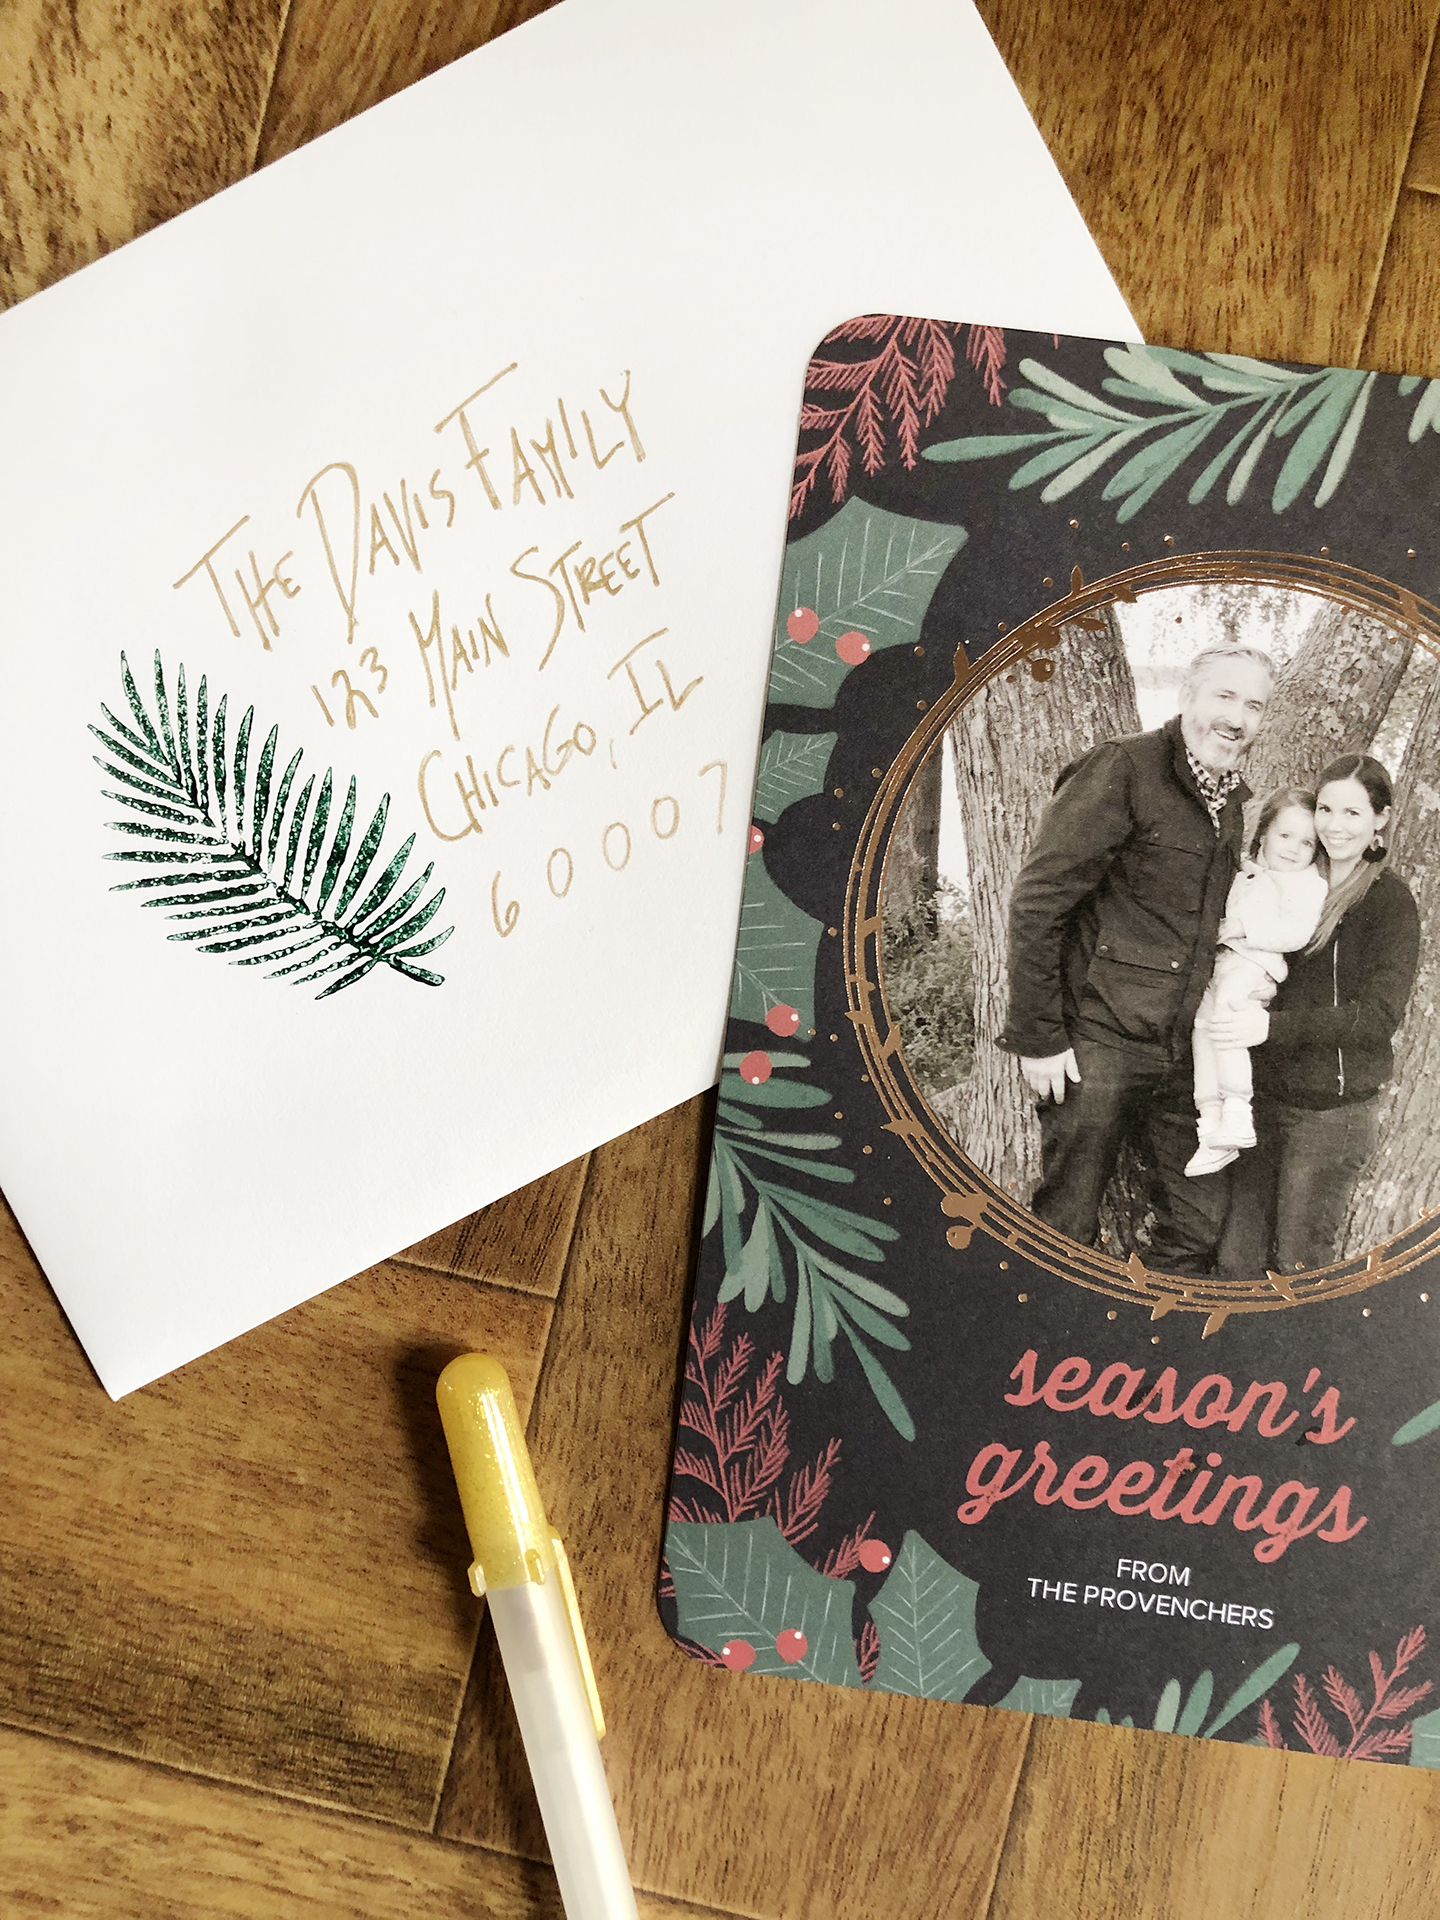
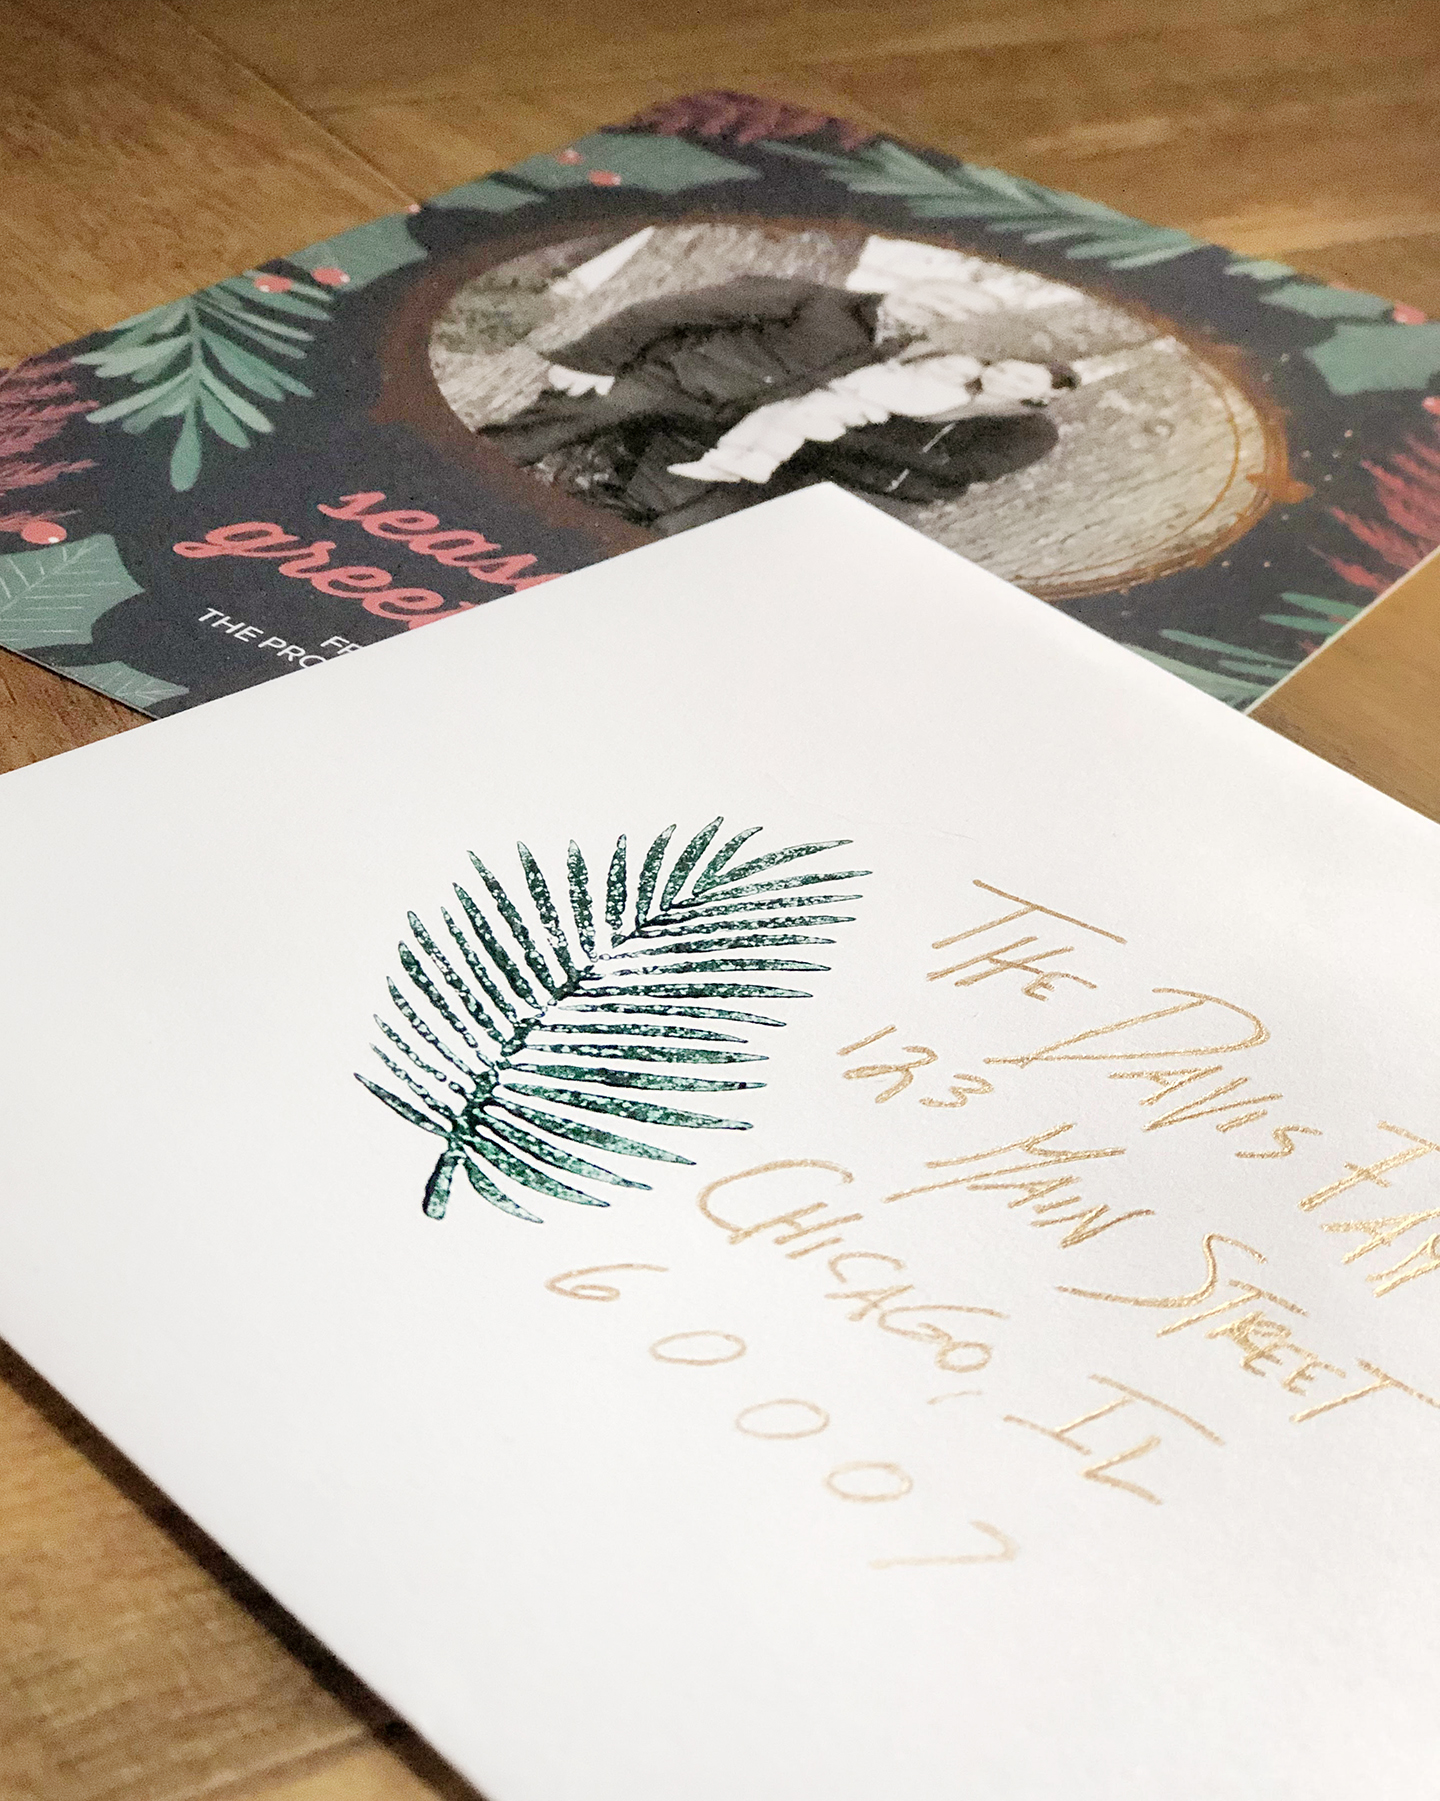
The holidays always sneak up on me… one minute we’re playing outside in the warm summer sun, and the next we’re planning for Thanksgiving dinner. And for me, that means that it’s time to do holiday cards too! This year I wanted to try something new with my envelopes – these stamped evergreen branches add that wow factor that will make your card stand out amongst people’s bills and junk mail! Keep reading to check out the simple tutorial.
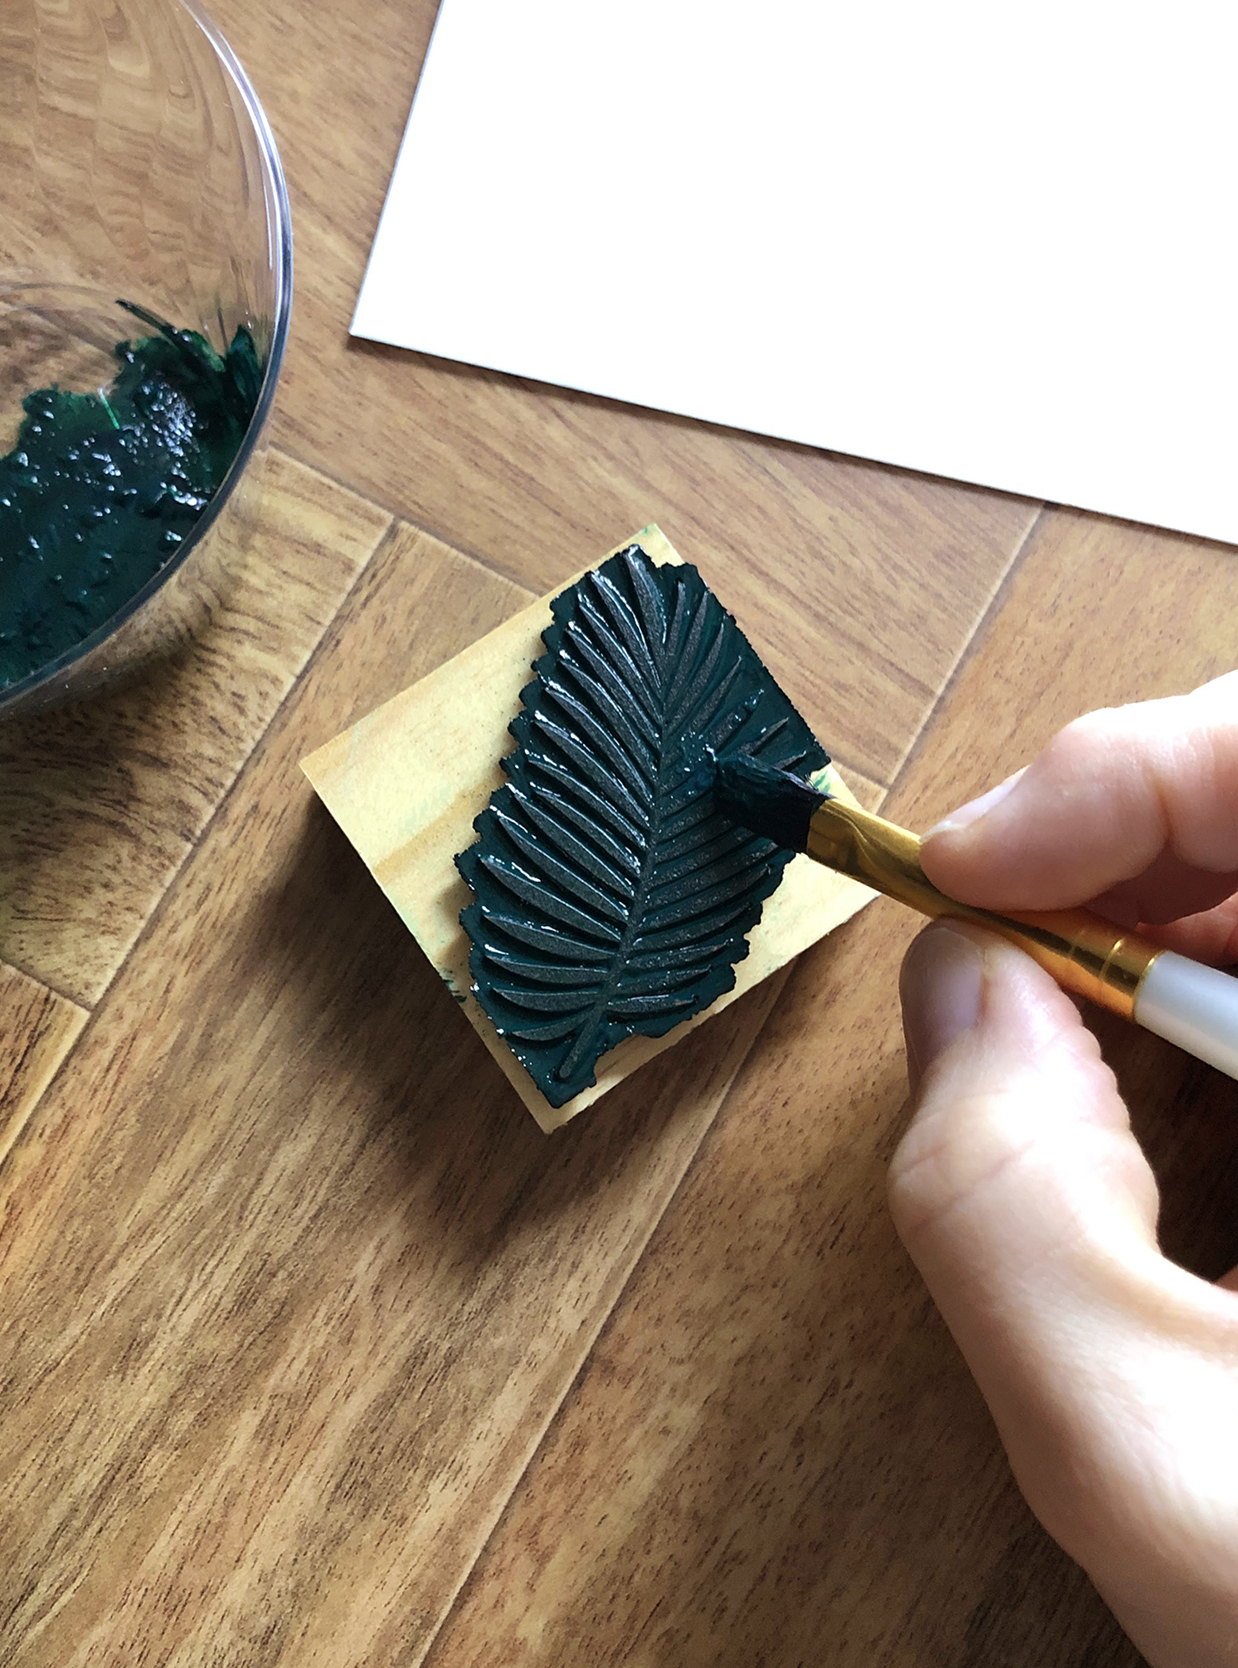
Begin by grabbing a 2 inch rubber stamp that coordinates with your card design. I chose this pretty evergreen branch stamp. Then use a paintbrush to cover your stamp with a layer of acrylic paint. I chose paint instead of a typical ink pad because I love the thick, saturated color.
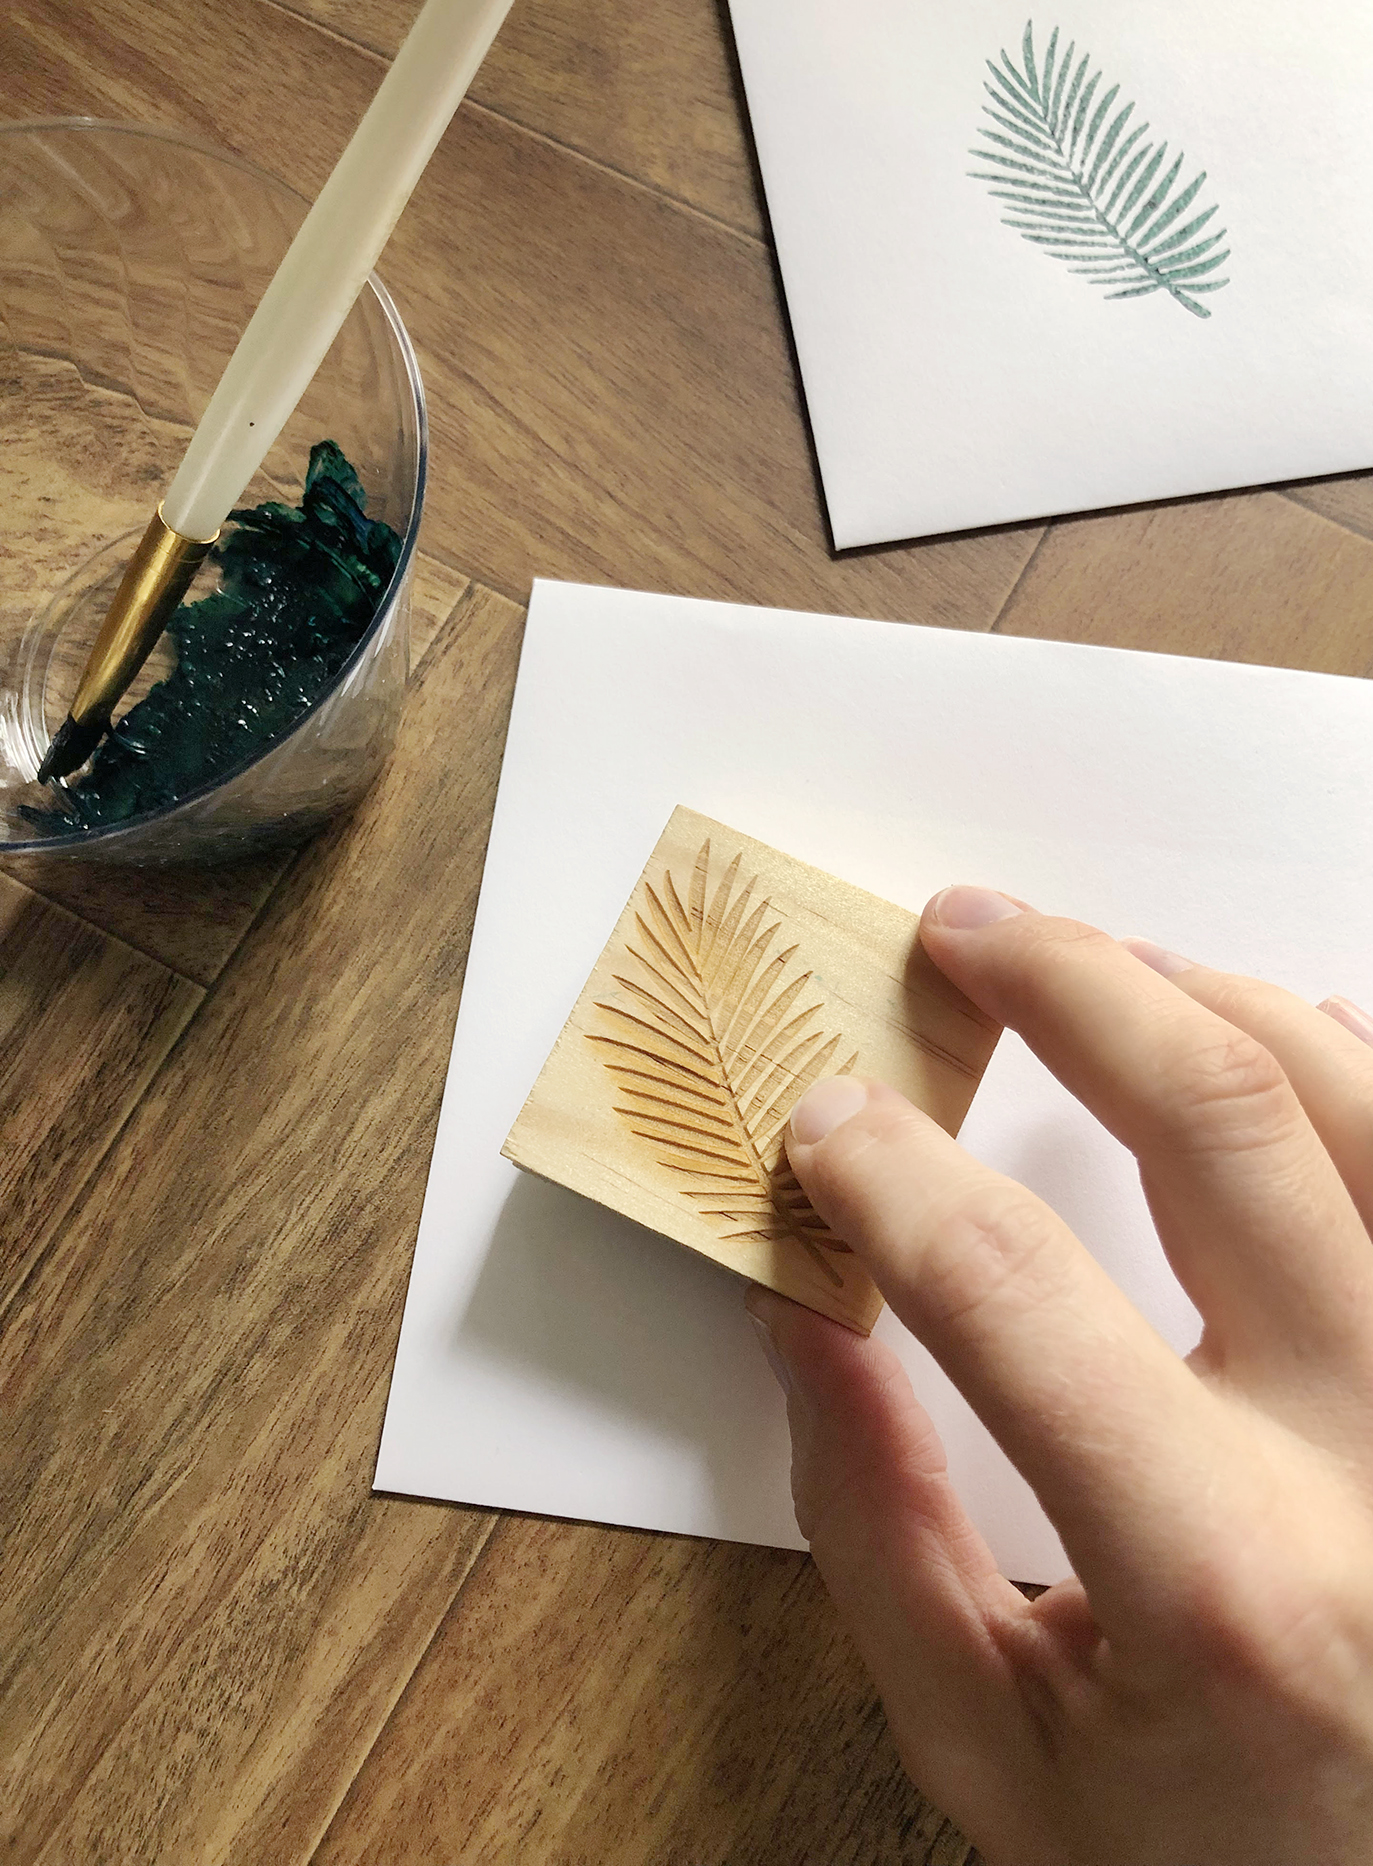
Then place the stamp to the left of where you plan to write the addresses. Press down firmly, but don’t rock the stamp back and forth. Set it aside to dry, and repeat the process for the rest of your envelopes.
This post was created in partnership with Mixbook.
Thanks for supporting the brands that help keep Design Fixation online!