
This post may contain affiliate links. This means that if you buy the cool stuff I recommend, I earn a small commission (but you still pay the same price). Thanks for helping me make a living doing my dream job!

As any parent knows, life changes a lot when you have a kid… and so does your house! Before our daughter was born, we never used our formal living room because we have a casual living room space in the back of the house with high ceilings and more windows. But as she started getting more mobile, we realized we needed a playroom. Why not do a complete 180 in the formal living room and turn it into a space for her to get creative and have fun? So that’s what we did. And of course it had to include some big, bold wooden letters from CraftCuts because we’re big fans of their products… we have them all over our house at this point!

And these aren’t just plain old wooden letters… I chose a beautiful serif font and I covered each letter with coordinating pieces of black and white fabric. It couldn’t be any easier to add the fabric to the letters, and today I’m going to show you how to do it. ALSO, be sure to take advantage of an exclusive coupon code that will give you 10% your entire order now through 6/30/21. Just enter DESIGN10 at checkout!
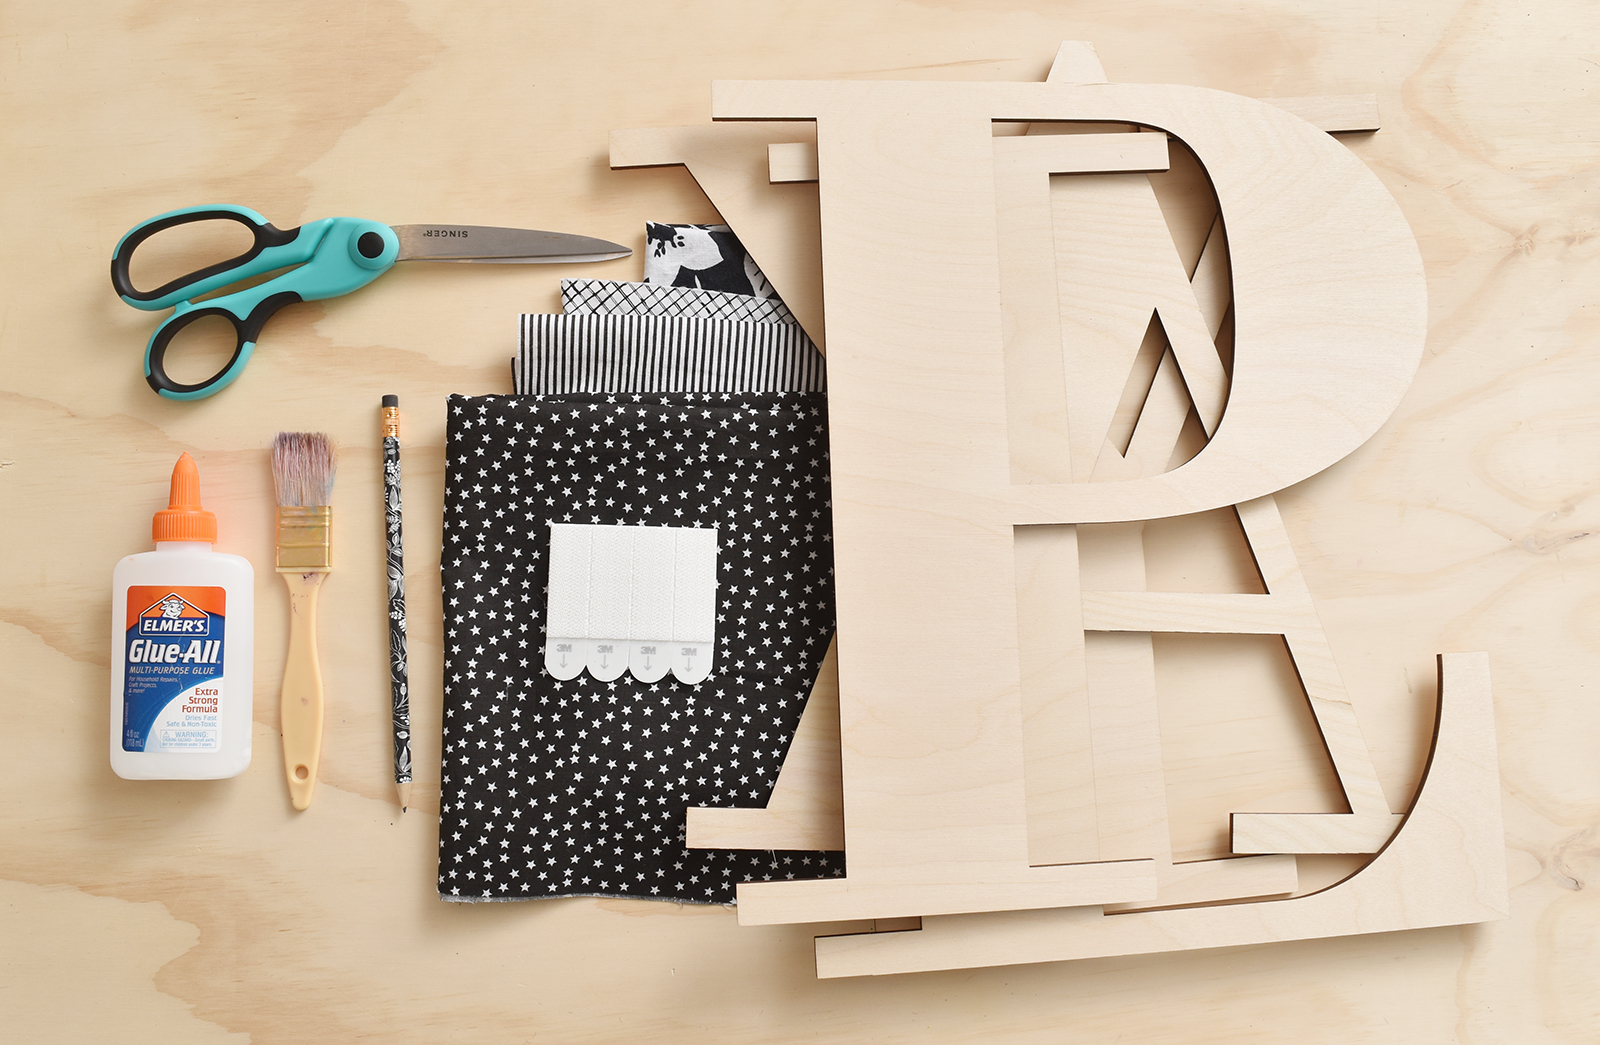
Here’s what you’ll need for your DIY fabric-covered wooden letters:
- CraftCuts wooden letters (I used the Bodoni Bold Libre font)
- Fabric scraps in coordinating colors (I used these)
- Elmer’s Glue-All
- Old paintbrush
- Fabric scissors
- Pencil
- 3M Mounting Strips
- Painter’s tape
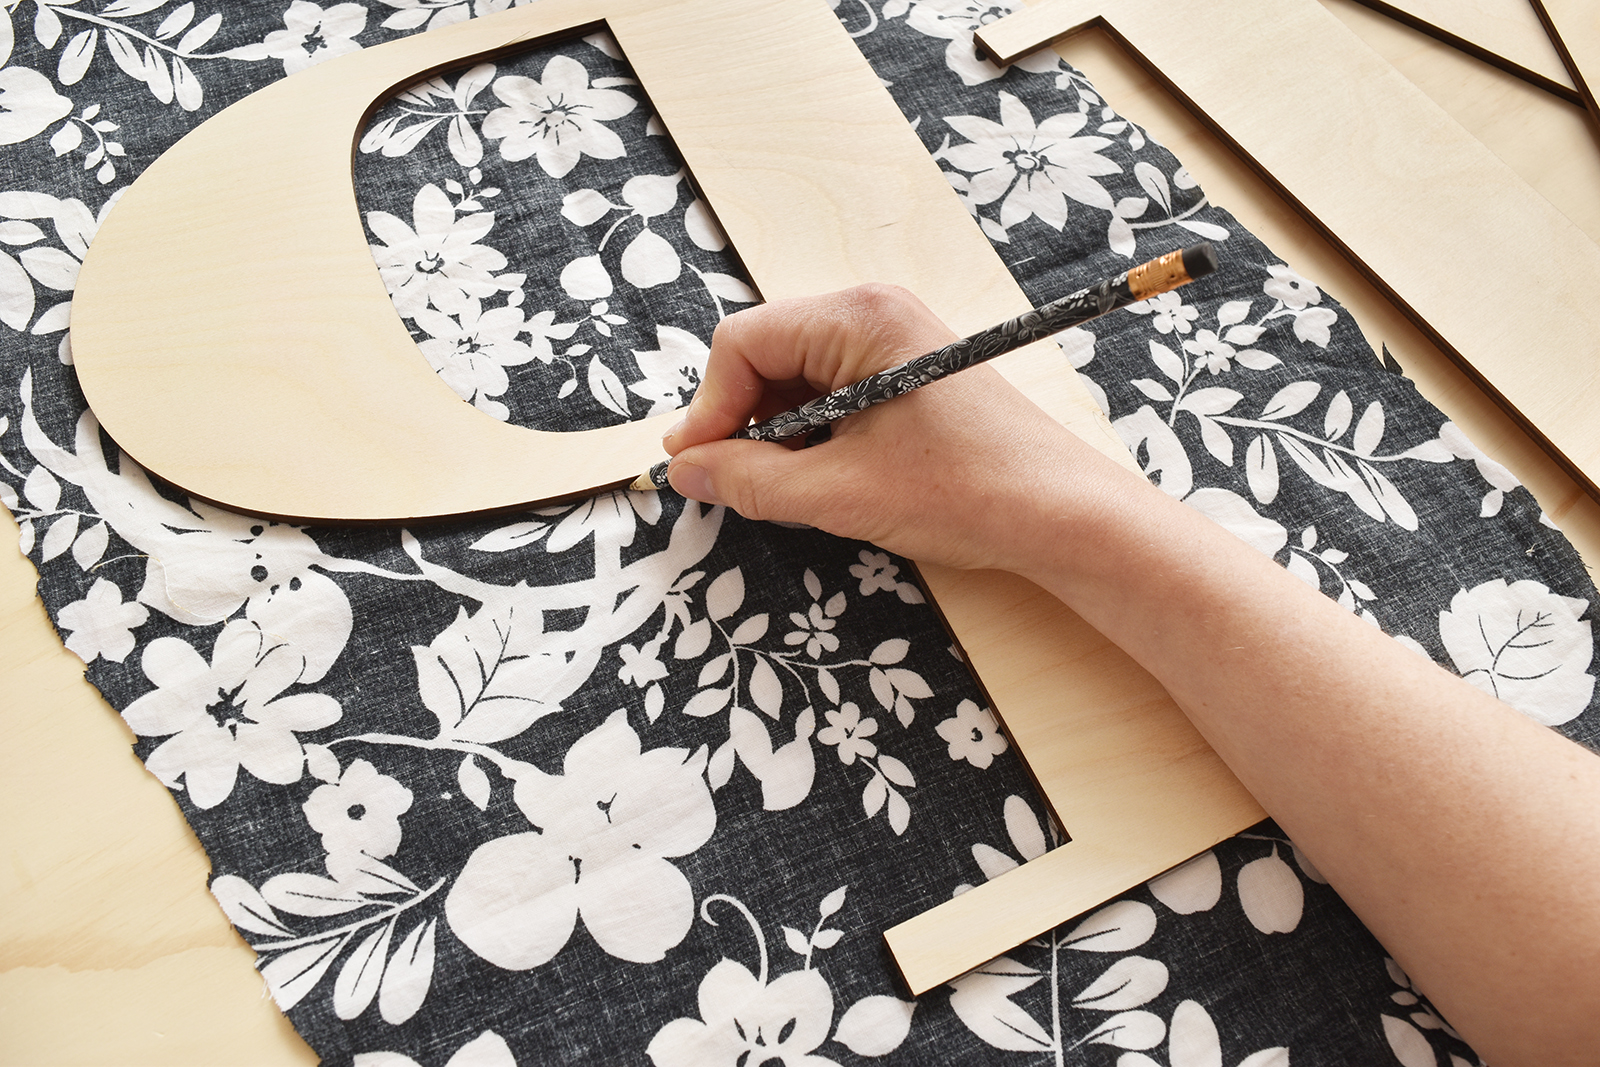
Begin by laying out your first piece of fabric face down and placing the first letter on top of it, with the front of the letter facing down. Trace around the perimeter of the letter with a pencil.
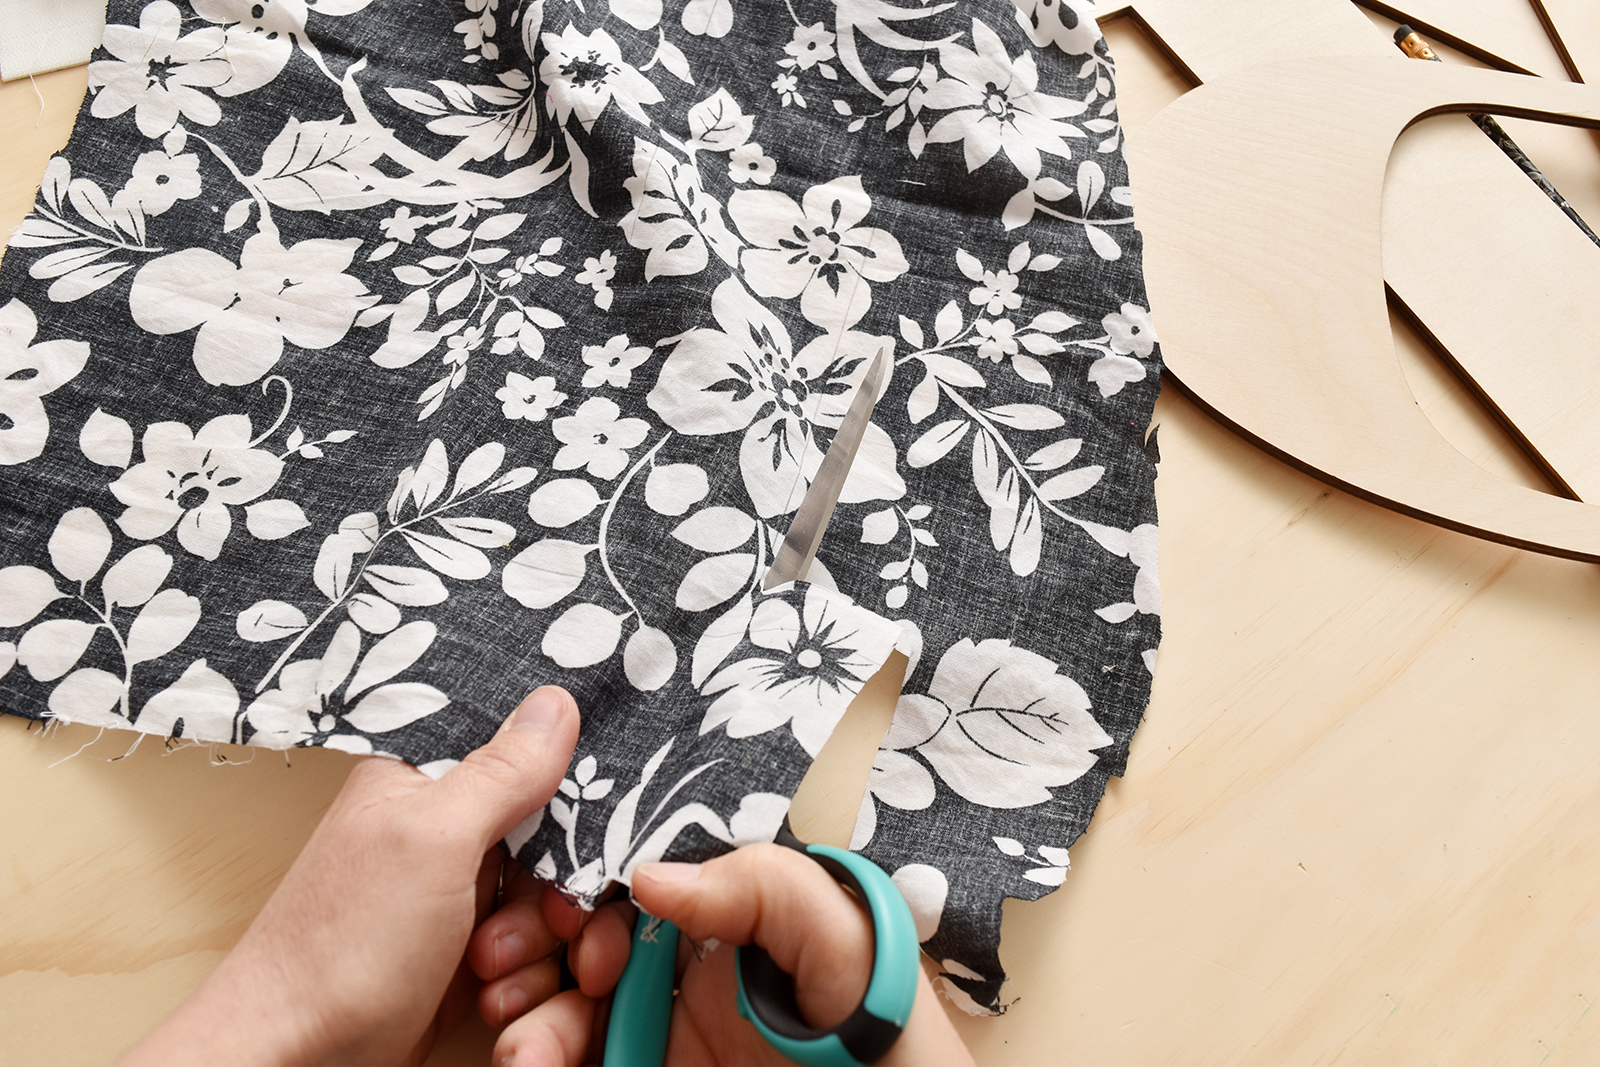
Cut out the letter with a sharp pair of scissors, staying just inside the pencil line.
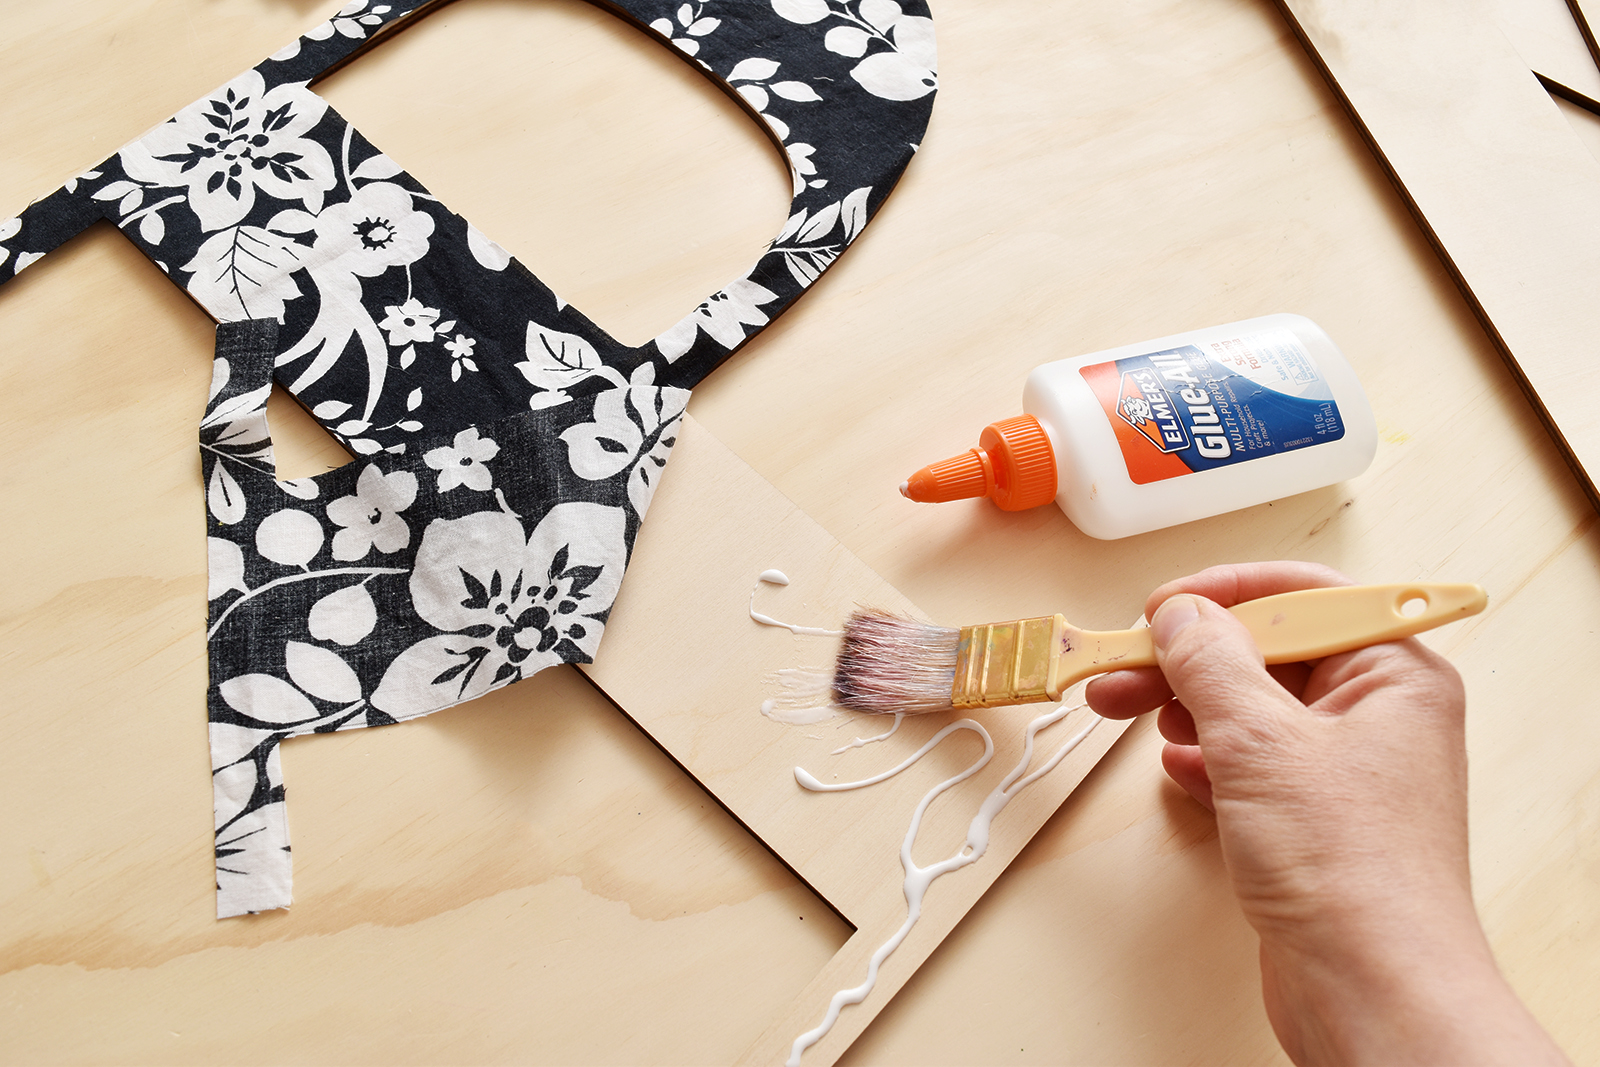
Flip the letter over so it’s right side up and squeeze glue onto the surface of the letter, starting at the top. Use an old paintbrush to spread the glue around, coving the whole area.
Place the fabric letter on top of the glued area, aligning the edge with the edge of the wood. Press down and smooth any bubbles. Continue gluing and applying the fabric until the whole letter is finished. The glue dries clear, so don’t worry if some of the glue seeps through the fabric.
Repeat the process for the rest of the letters.
The last step is to mount the letters on the wall. You can get mounting guides from CraftCuts, and this is also helpful so that you know which way the letter should be oriented (I may or may not have done the A upside down the first time. Oops.) I also found that using painter’s tape to attach them to the wall initially can help… this way you can adjust the spacing and make sure they’re level. Draw a tiny pencil mark at the corners of each letter and then simply attach 3M mounting strips to the backs place them on the wall.
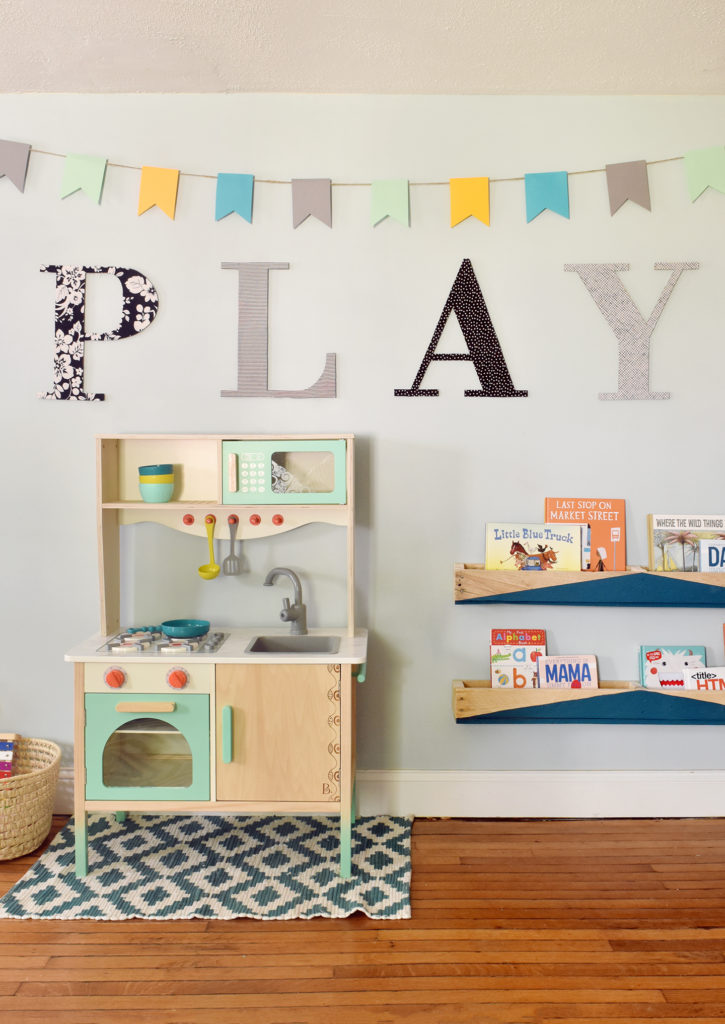
And that’s it! These fabric-covered wooden letters have a huge impact in the space, giving a really bold look to the wall. And because the room used to be a formal living room, the giant “play” sign helps to give it that whimsical feel of a, well, playroom!
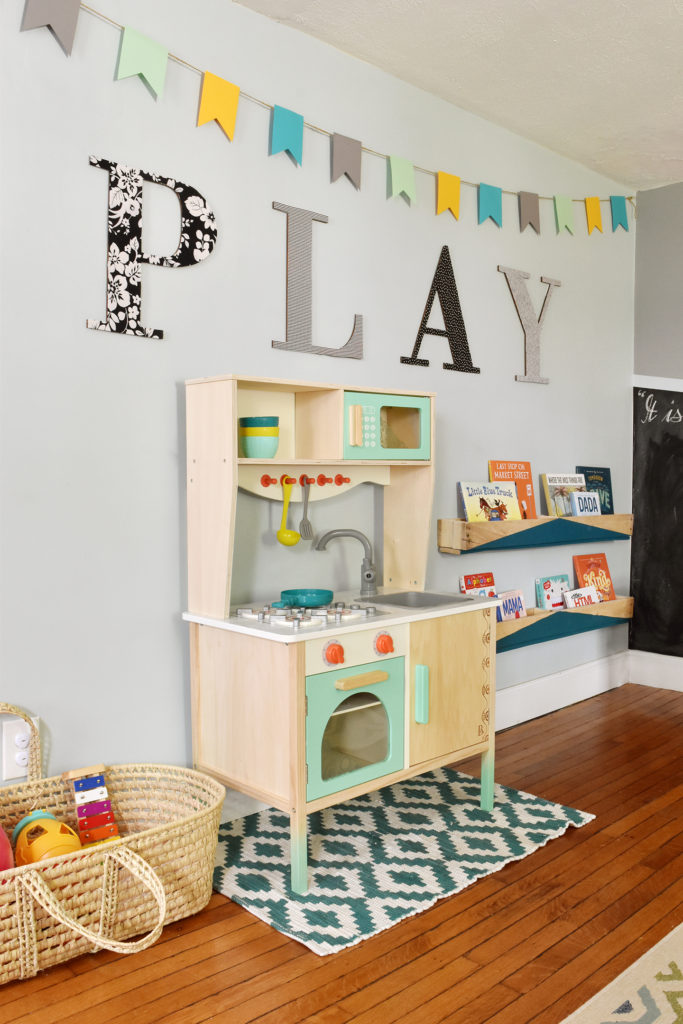
I made some bookshelves out of pallets and we bought a play kitchen at Target. And then I created a big chalkboard accent wall too. More on these details later.

Thanks for checking out my tutorial on fabric-covered wooden letters! If you’re a big fan of typography in home decor, be sure to check out my past projects with CraftCuts here.
This post was created in partnership with CraftCuts.
Thank you for supporting the brands that keep Design Fixation online!