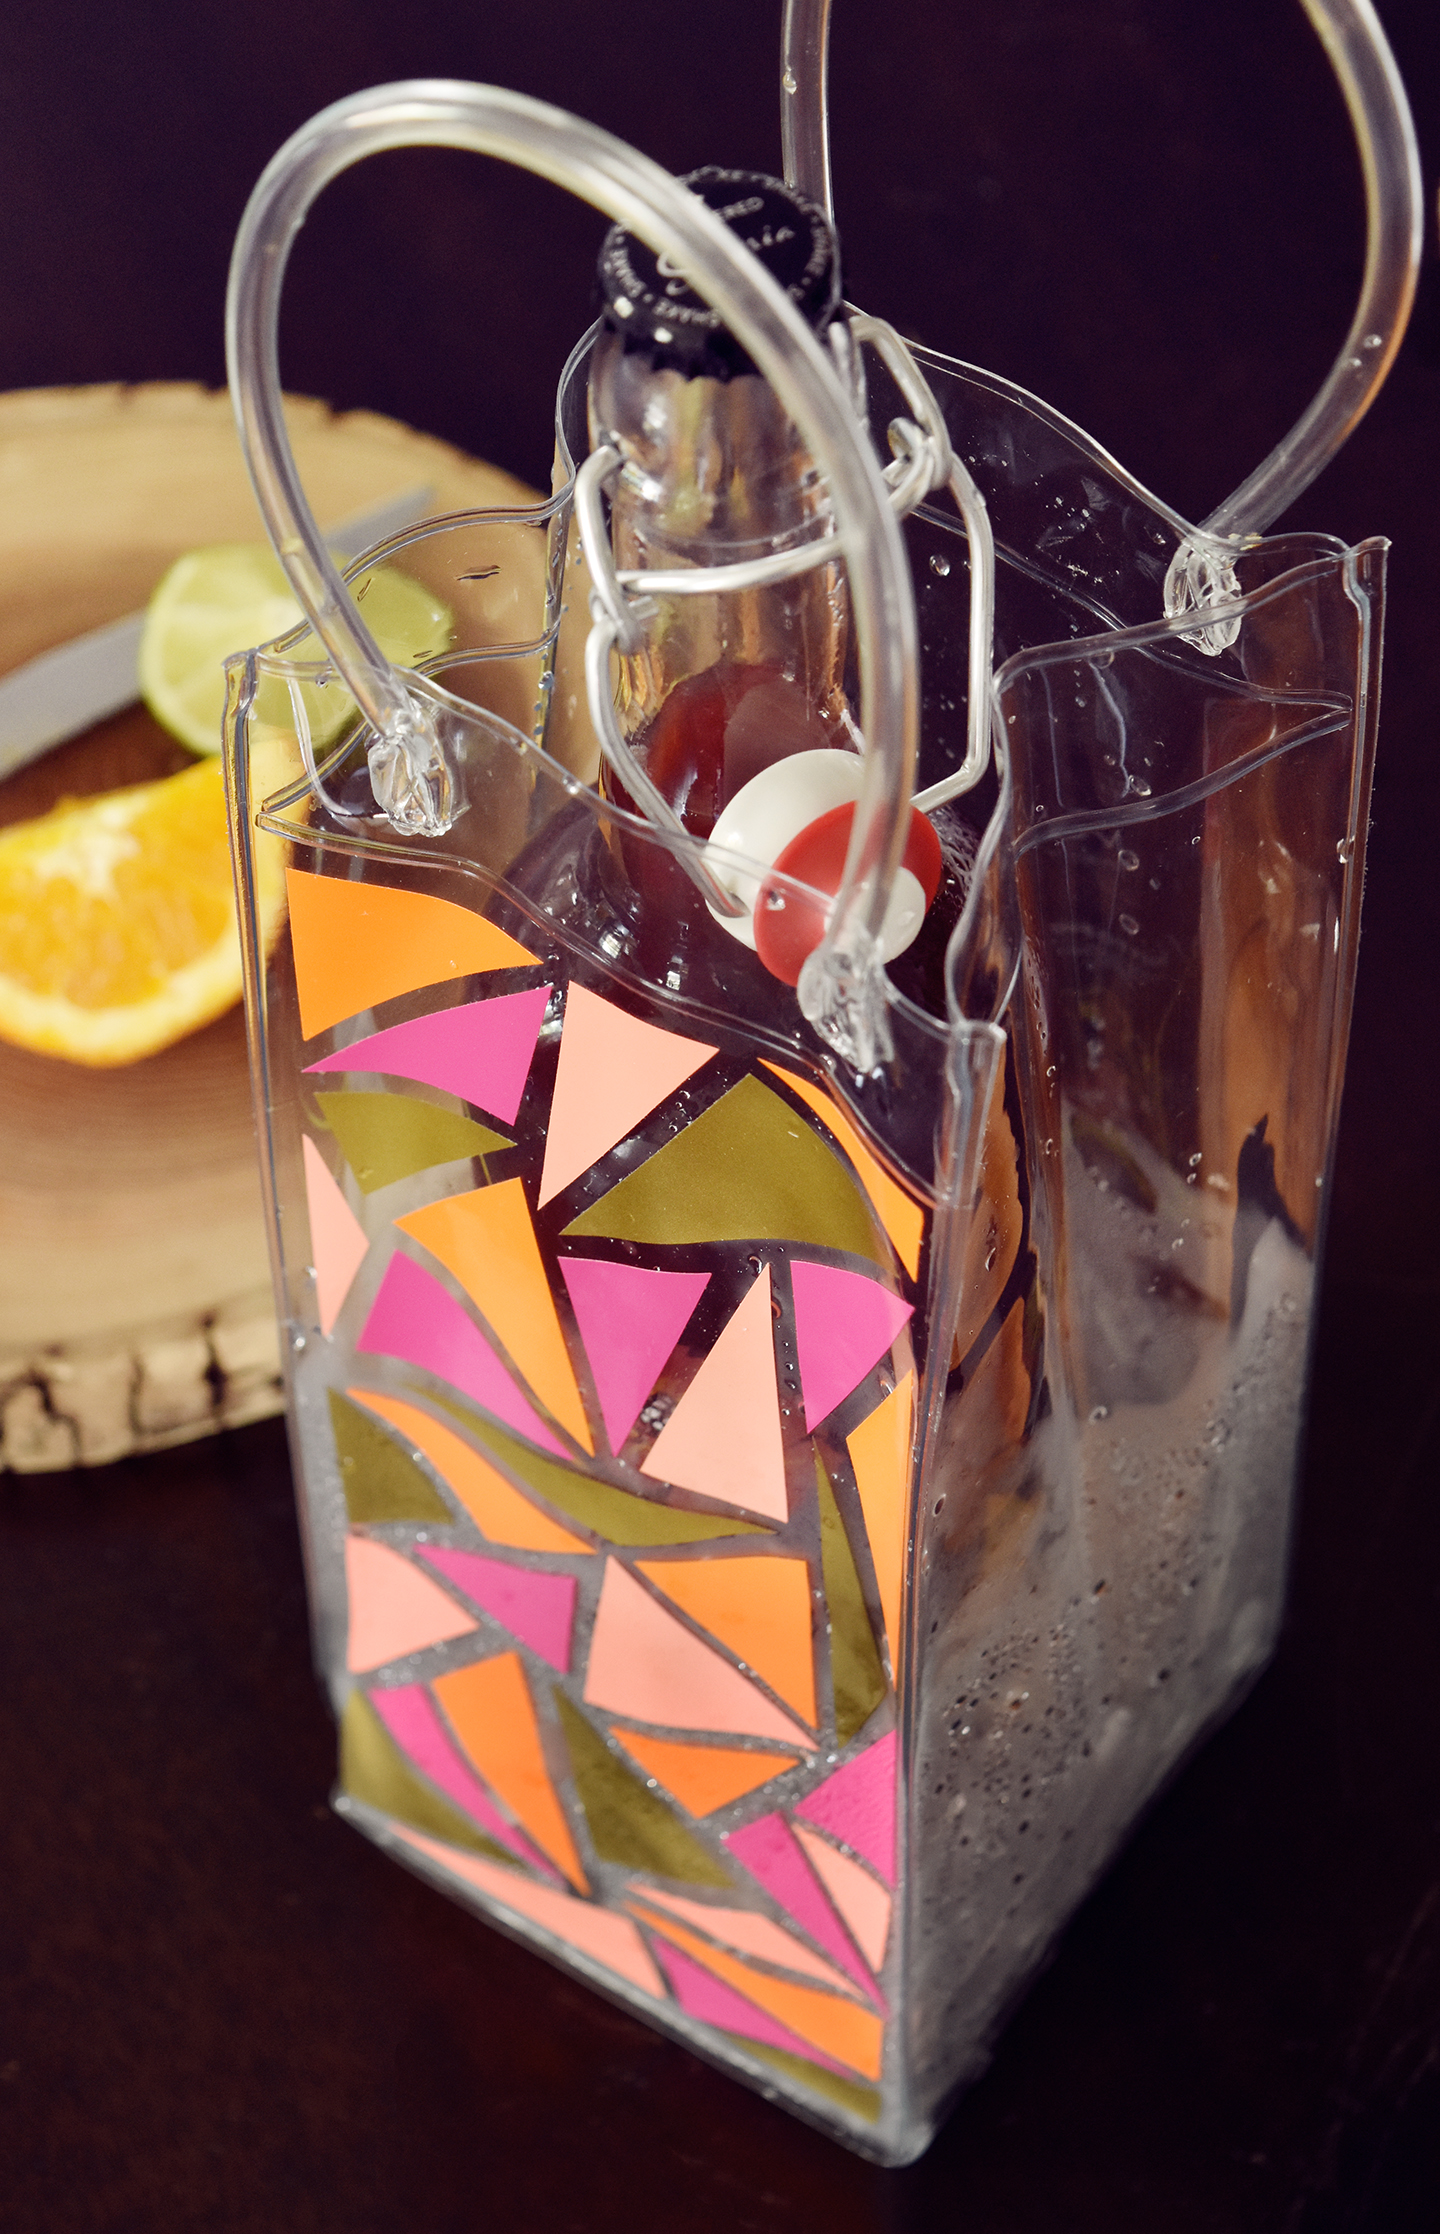
When I was in France with my husband on our honeymoon a couple of years ago, I started noticing that a lot of the restaurants brought chilled wines to the table in these vinyl ice bags and I knew I had to start using them back home. And of course I had to spice them up a little with a DIY touch. So I used colored vinyl to create this fun geometric pattern. This is so easy you guys… the real trick is just in getting the right materials. Keep reading to check out all my crafty little secrets 😉
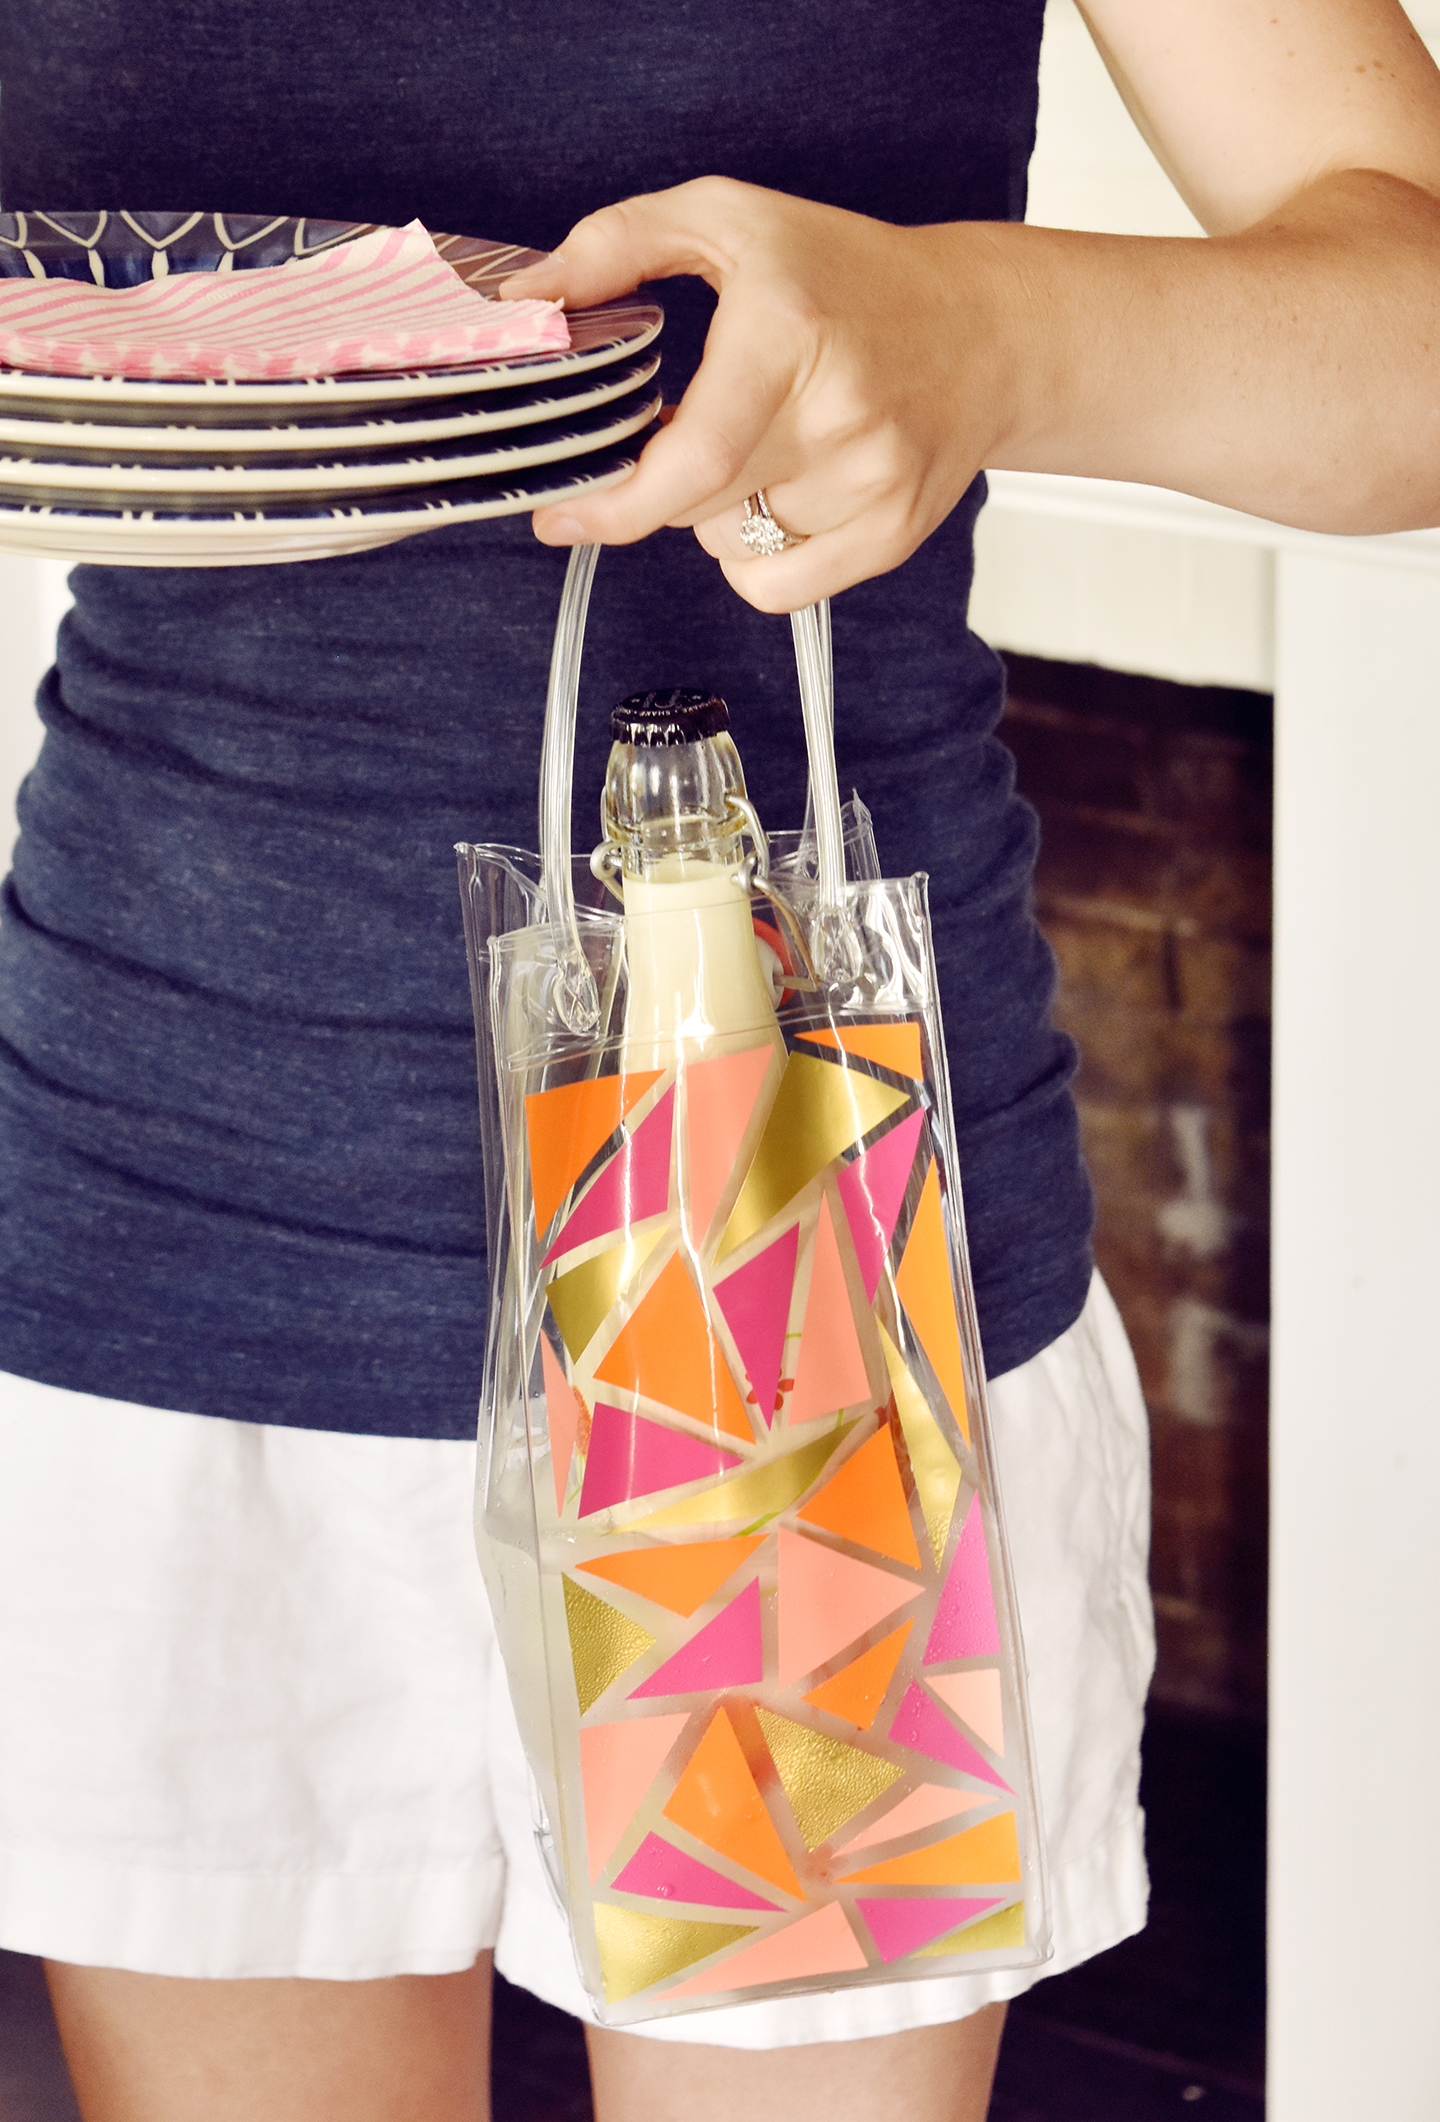
These bags are so handy when you have your hands full… the easy-to-hold handles mean that you can make one less trip to the patio! So let’s get started on this tutorial.
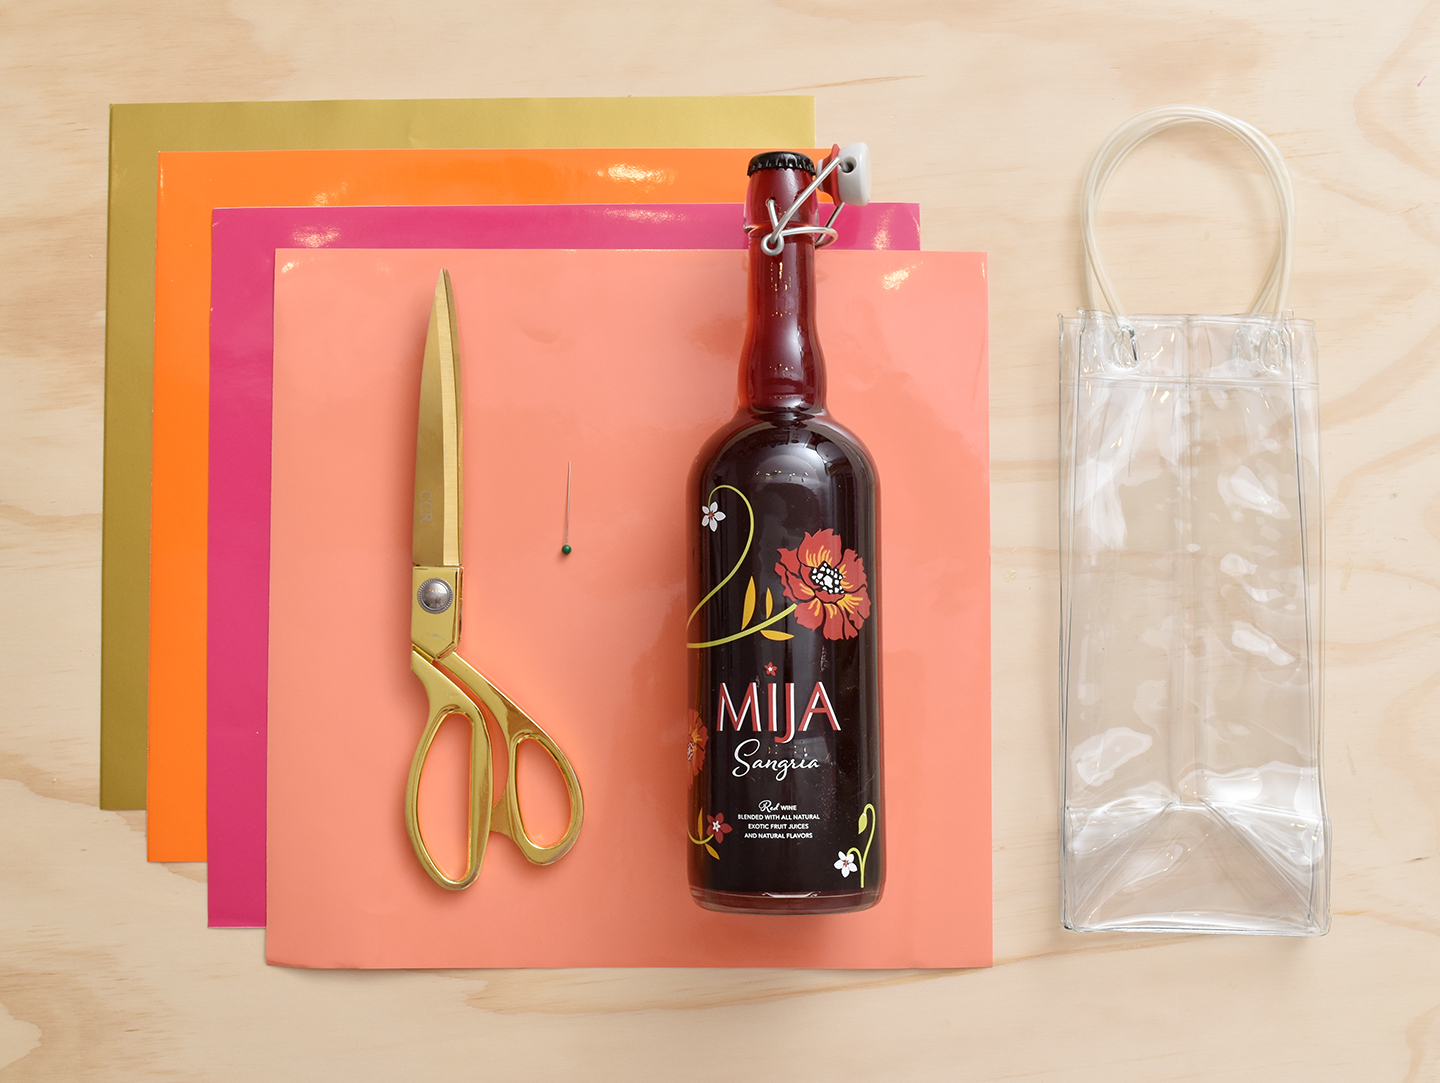
DIY wine bag materials:
- Clear vinyl wine chiller bag*
- Oracal 651 Intermediate Cal vinyl sheets*
- Scissors
- Pin
- Mija Sangria or another wine that needs chilling!
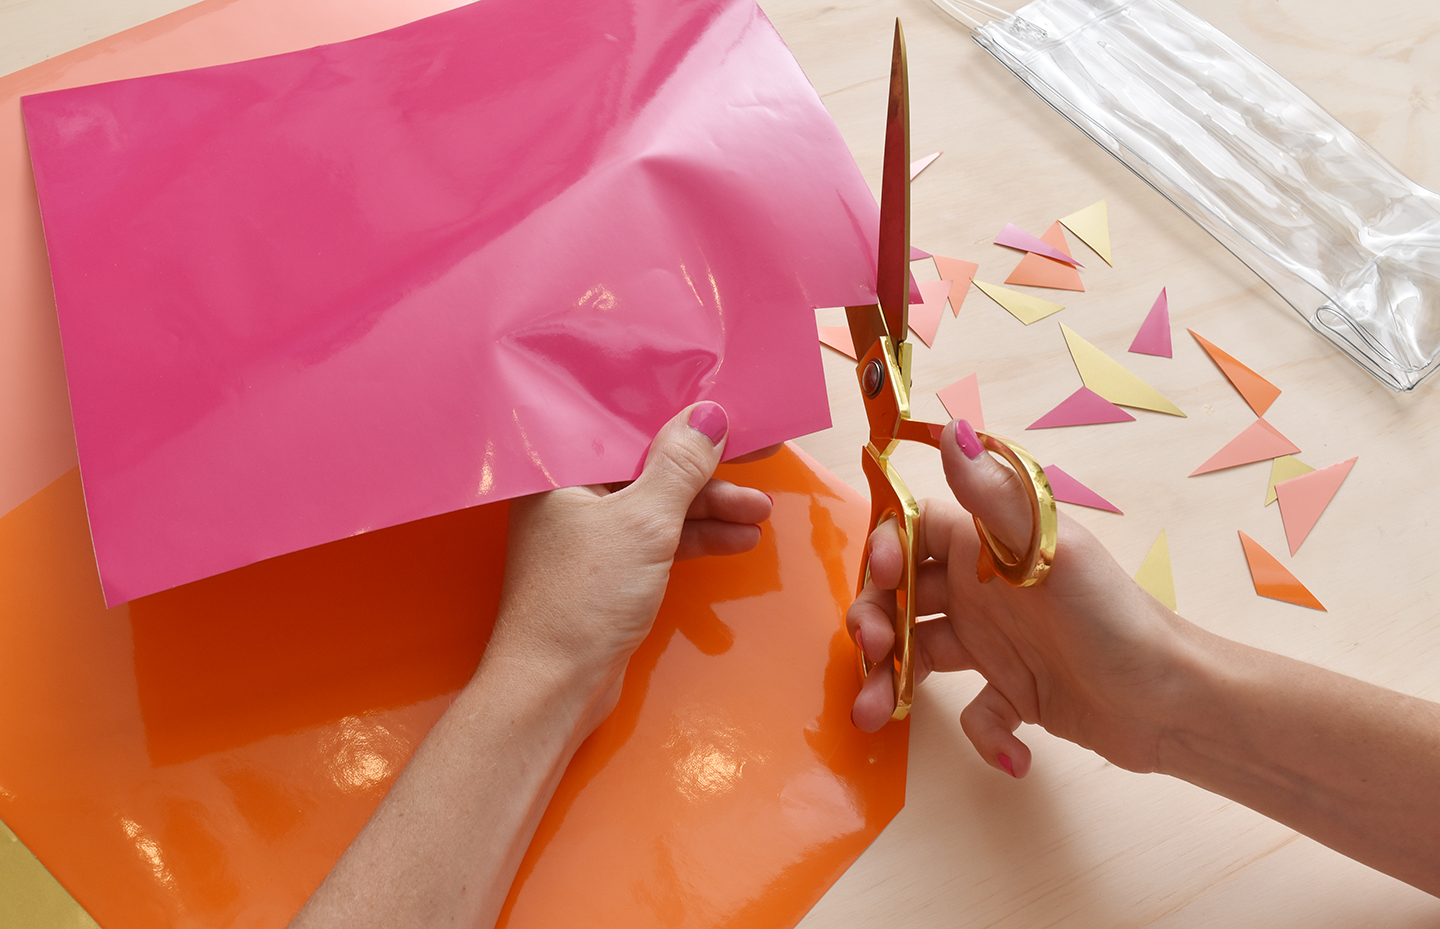
Step 1
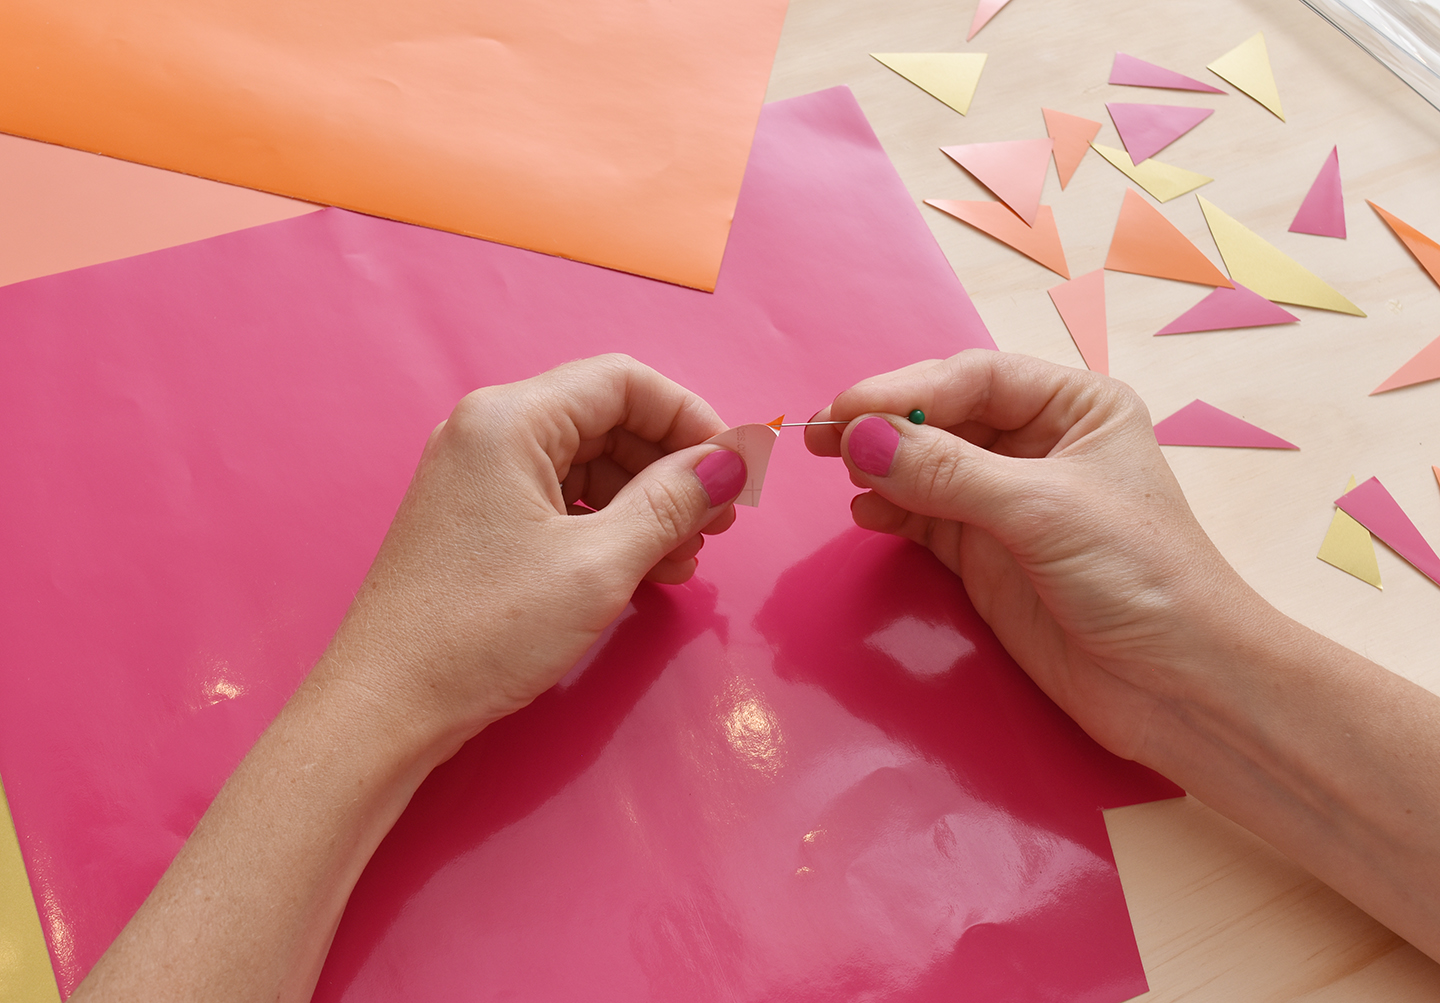
Make sure to use at least four different vinyl colors – this will ensure that you won’t have the same color triangles next to each other. Begin by cutting a few triangles out of each piece of vinyl. Vary the angles and sizes.
Step 2
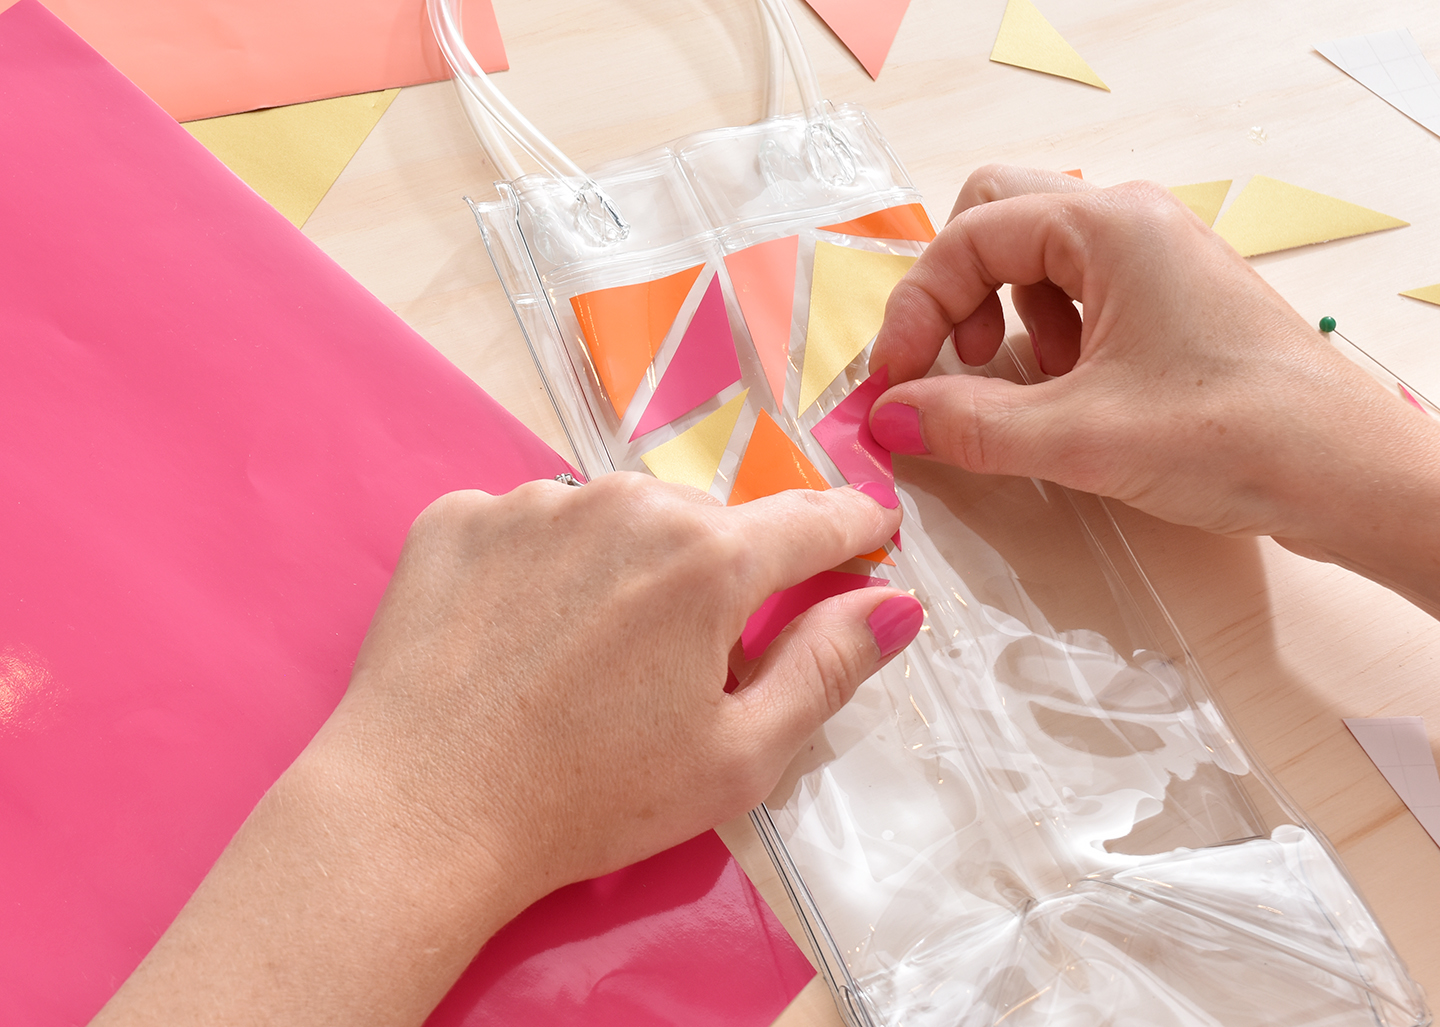
Next, begin attaching the triangles in a mosaic pattern. Use a pin to remove the backing from the vinyl. If you make a mistake when placing the vinyl onto the bag, simply peel it off and cut another piece.
Step 3
Continue placing triangles on the bag, leaving a bit of space in between each one. Cut new triangles for any spots that your pre-cut triangles won’t fit into.
Step 4
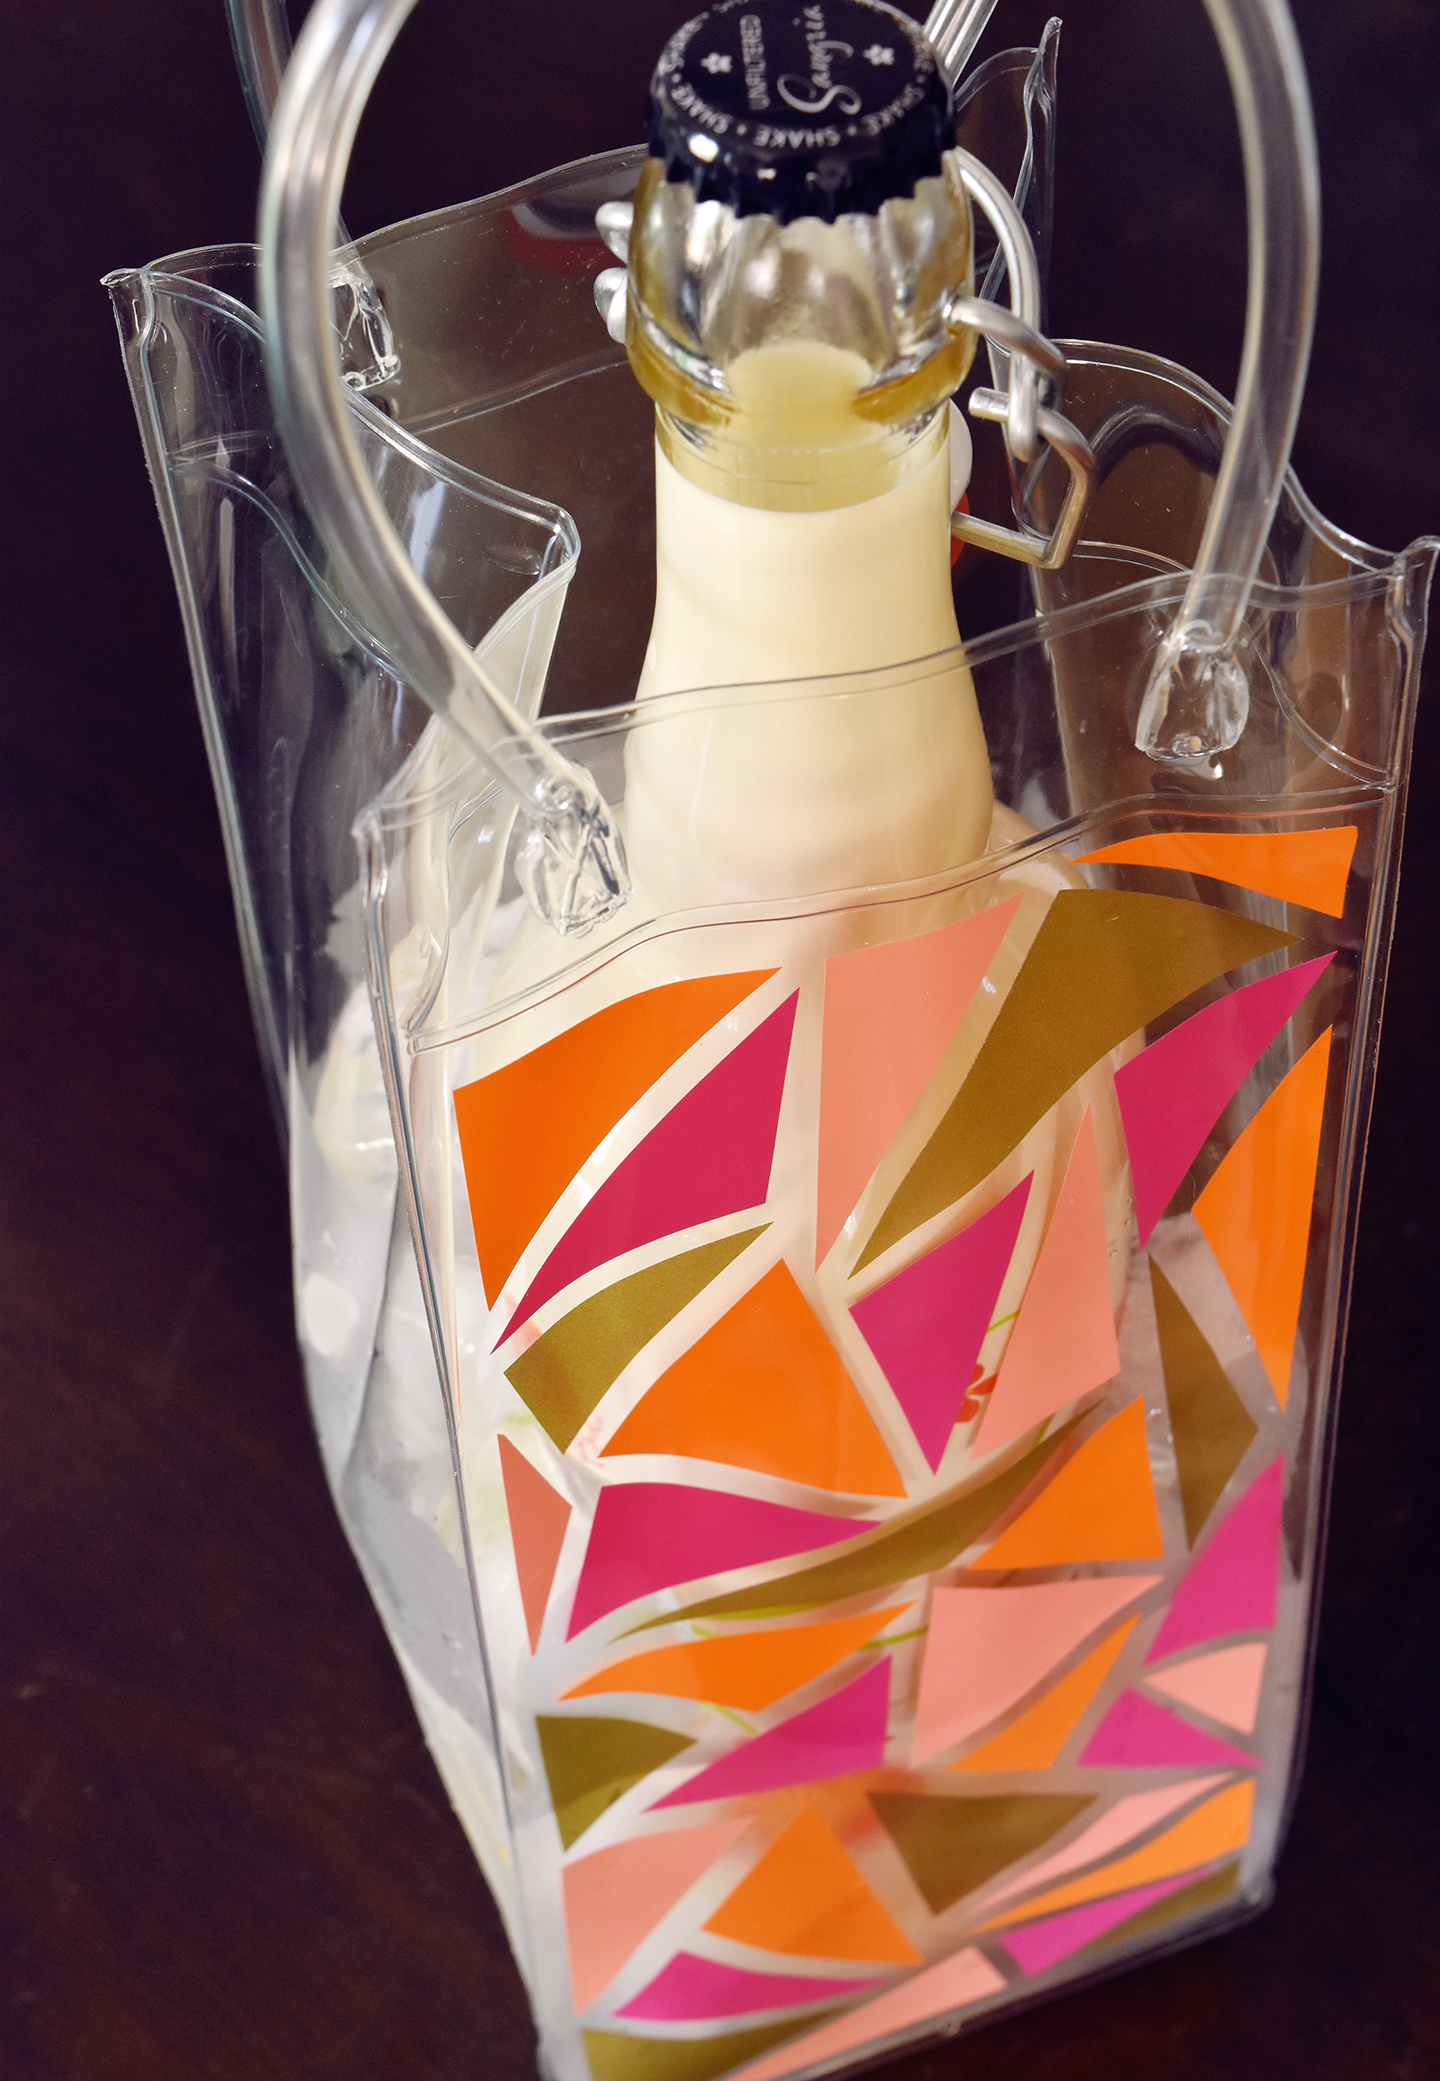
Simply continue attaching triangles until the whole front of the bag is covered. And that’s it! I told you it was easy. The secret is really in the materials… most people don’t think to use this Oracal vinyl for anything but Cricut or Silhouette cutting machines, but the truth is that you can use them for all kinds of projects.
Now, before we go too much further… I wanted to share that I’ll be teaching a class on how to make personalized wine bags with words and phrases on them! Think “rosé all day,” “wine o’clock,” or even your last name! We’ll use a similar technique, but there are some tricks to creating your own vinyl letters (no cutting machine required). Head over here to learn more or to sign up.
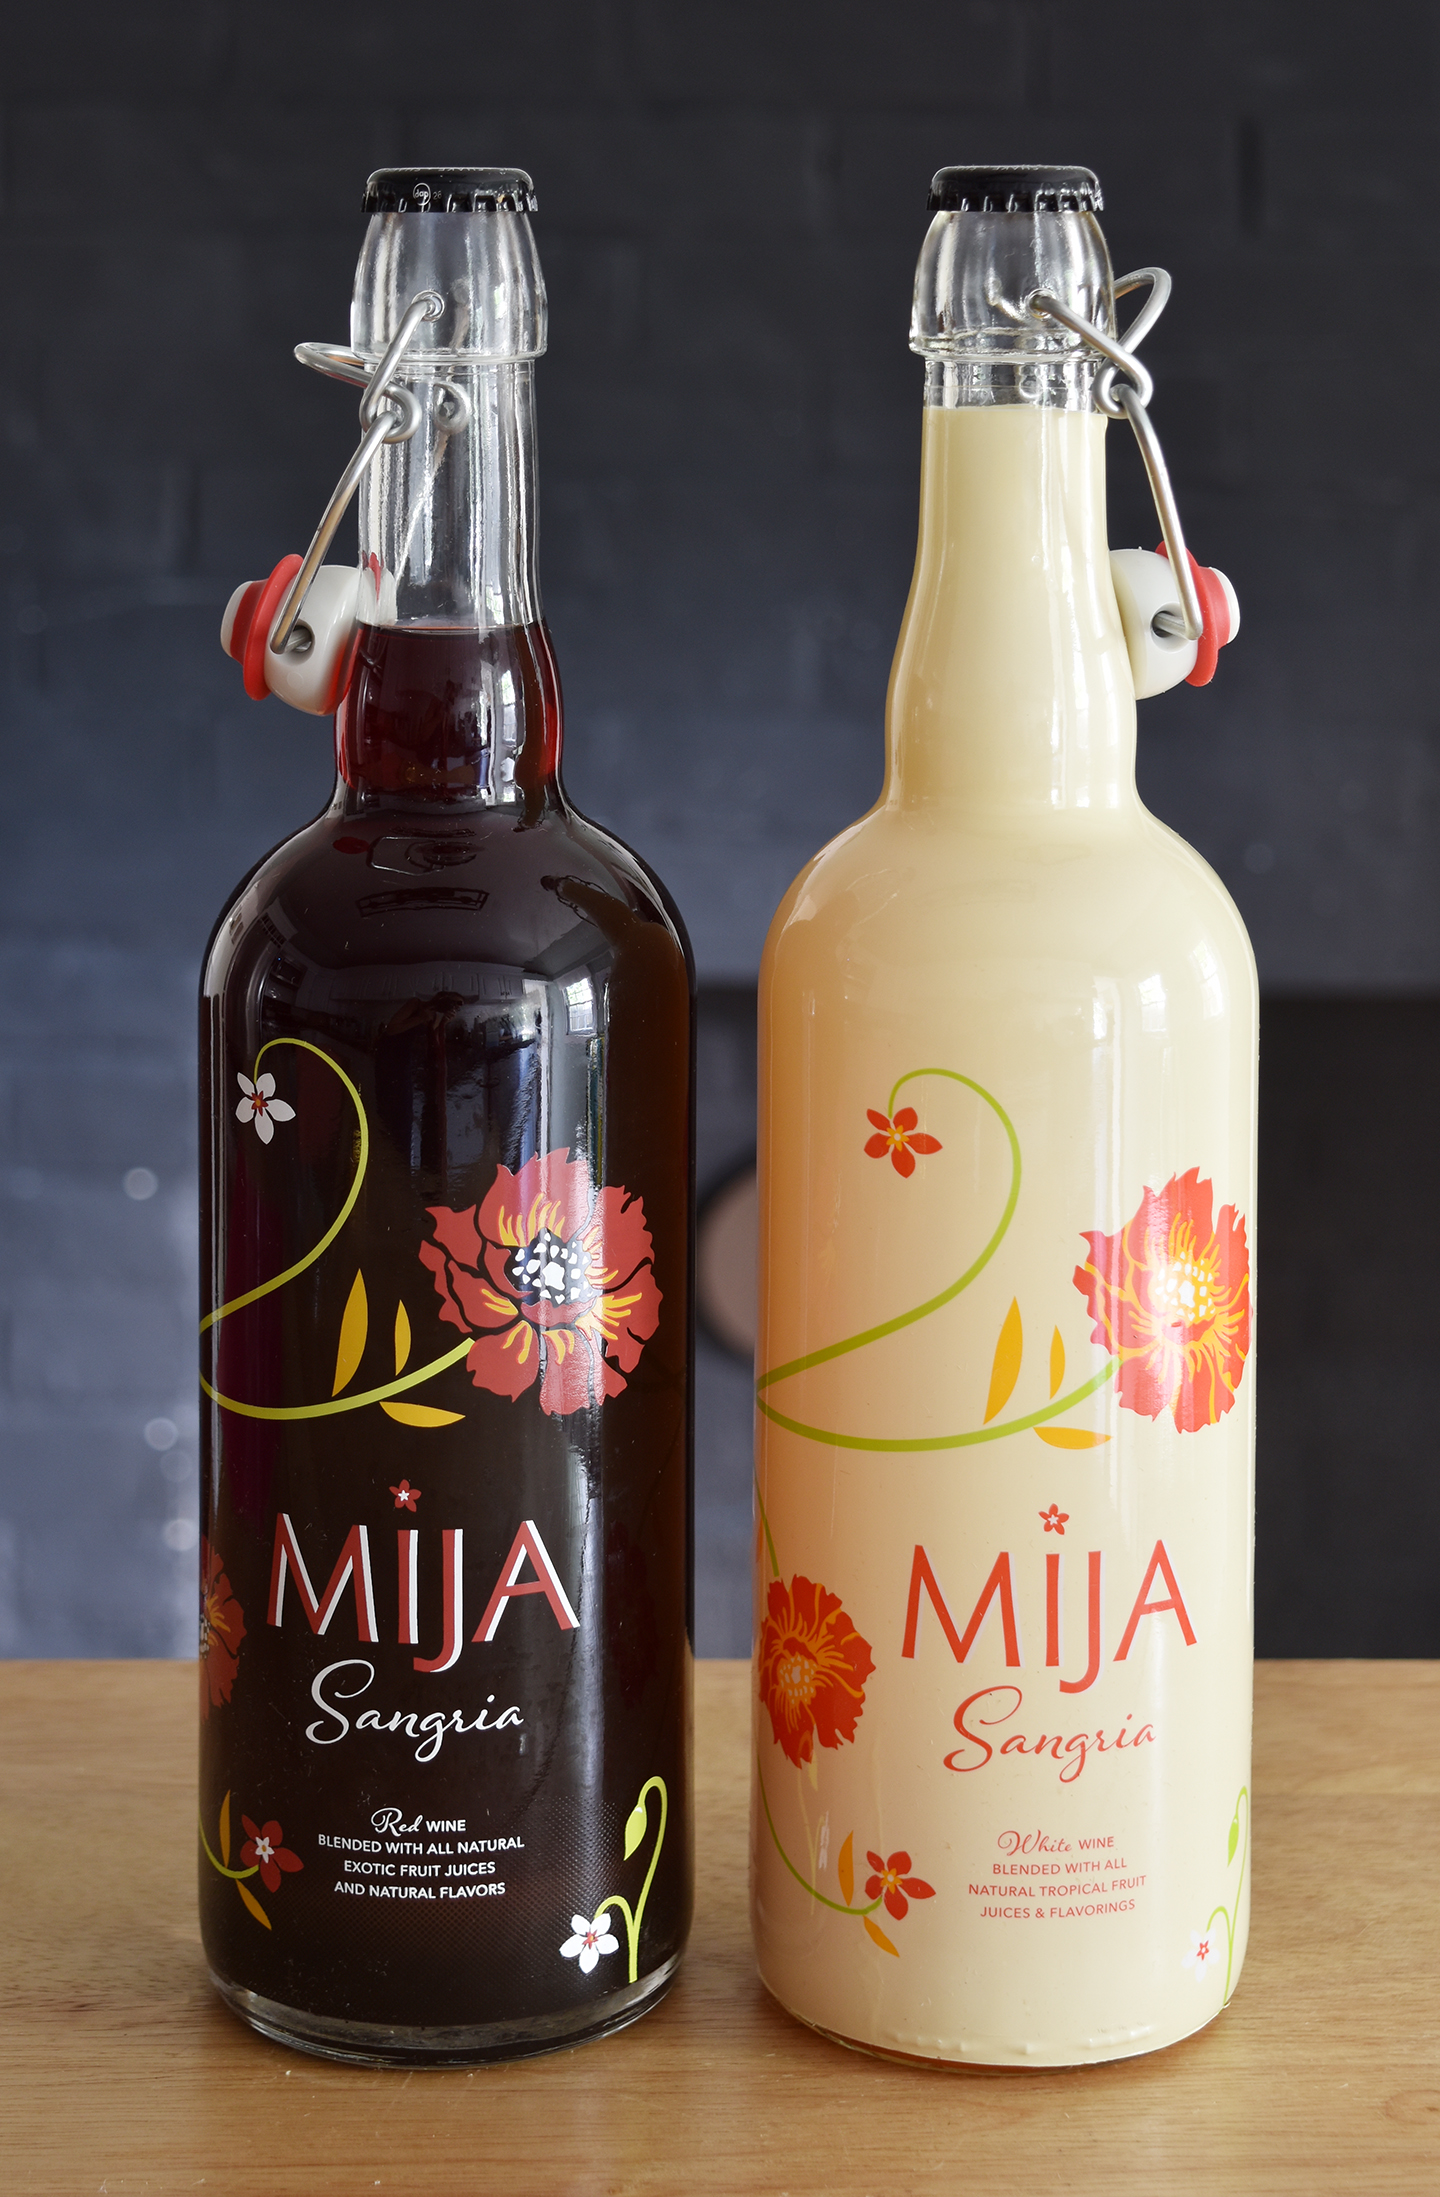
Now fill your new DIY wine bag with ice and chill a bottle of Mija Sangria for happy hour! Have you guys ever tried Mija? It’s SO good… it barely tastes like booze (for better or worse haha). Just add some fruit and you’re ready go.
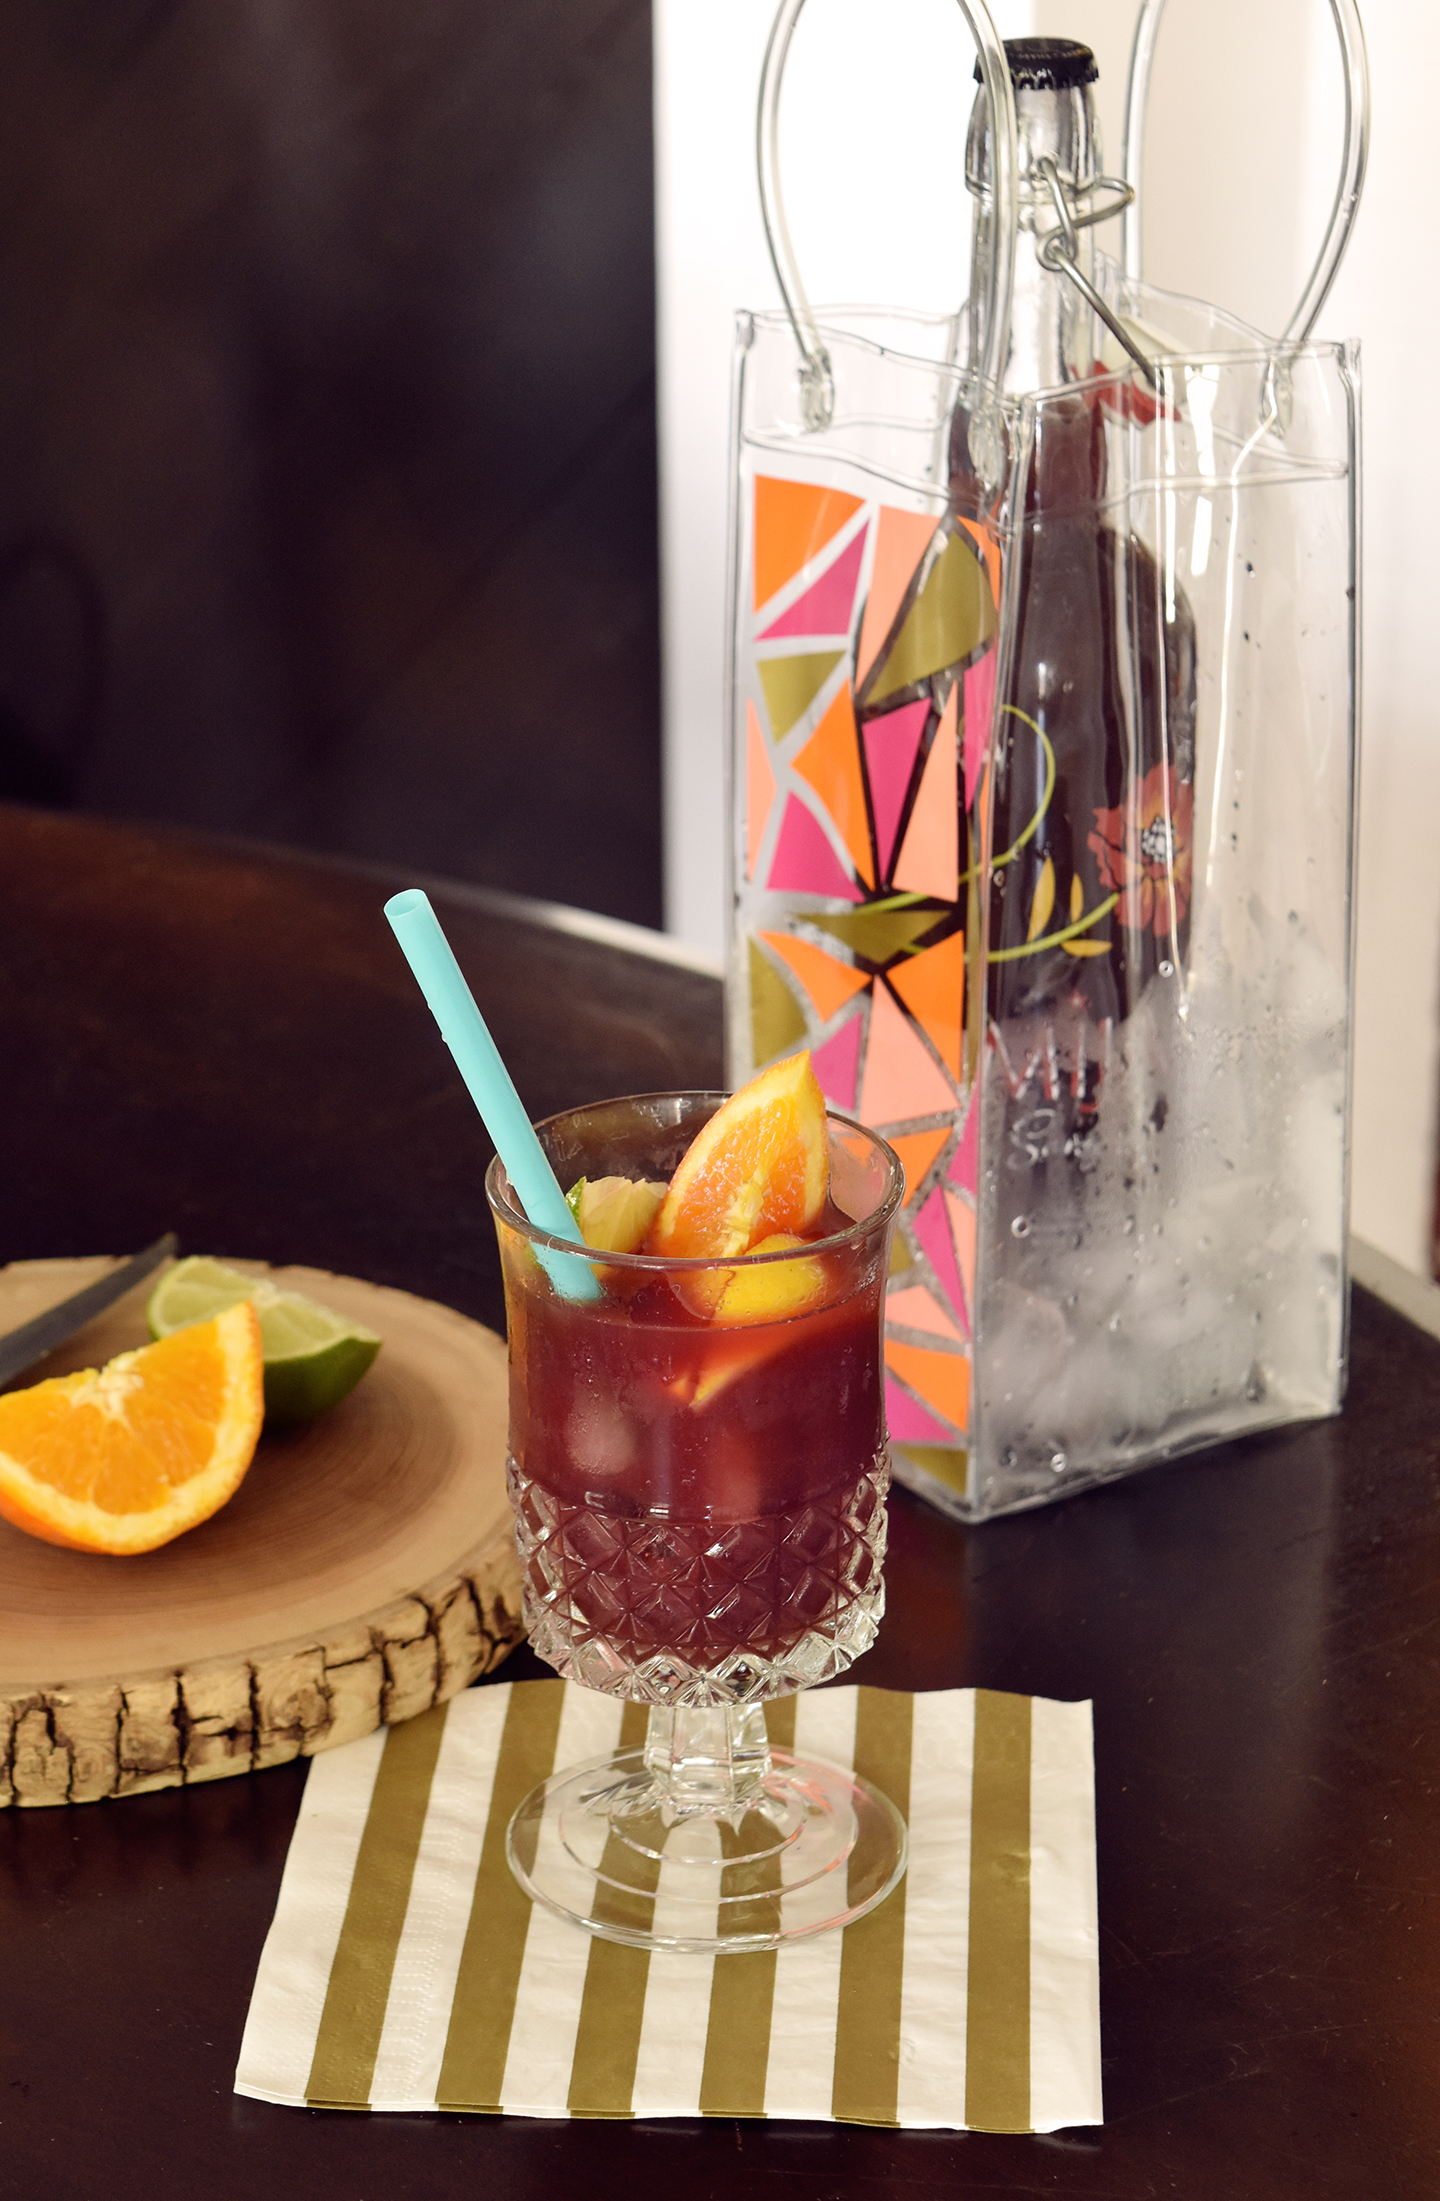
The bags are super handy for bringing a bottle of wine outside, especially when you have your hands full. Or use it as a gift bag to bring wine to the next party you attend as a fun little gift set (here’s hoping that parties will be a reality again soon).
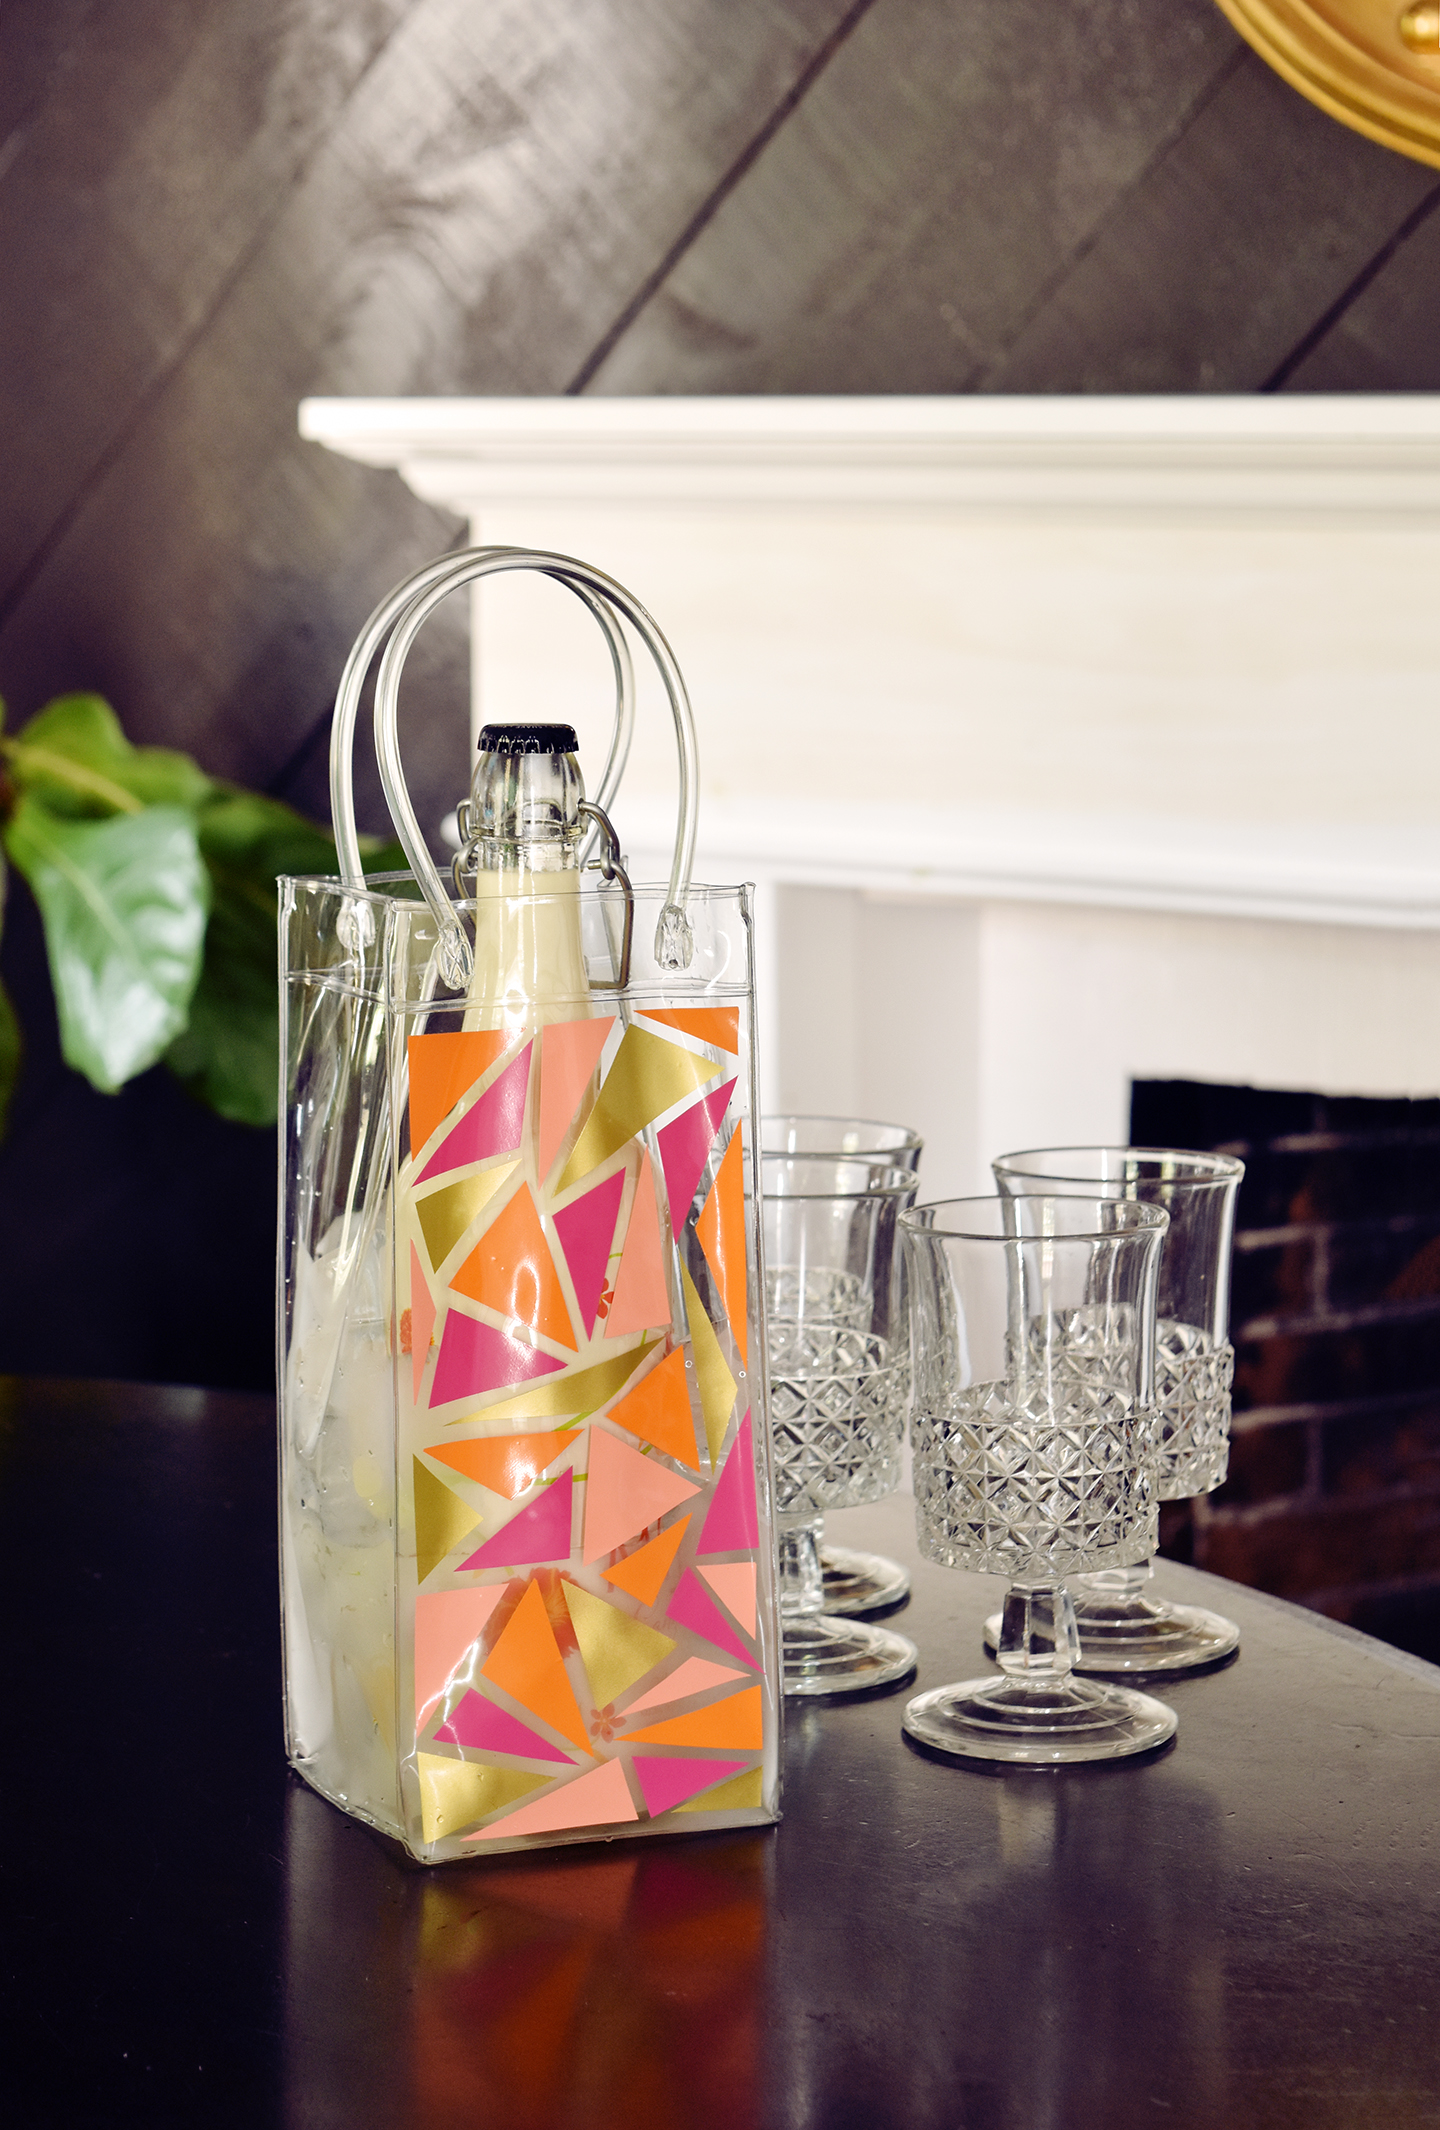
As you can see, there are so many ways to use and customize these colorful little DIY wine bags… hope you have as much fun making them as I have! For more wine-related DIY projects, head over here.
*This post may contain affiliate links. This means that if you buy the cool stuff I recommend, I earn a small commission (but you still pay the same price). Thanks for helping me make a living doing my dream job!
This DIY wine bag was created in partnership with 90+ Cellars.
Thanks for supporting the brands that keep Design Fixation online!
