
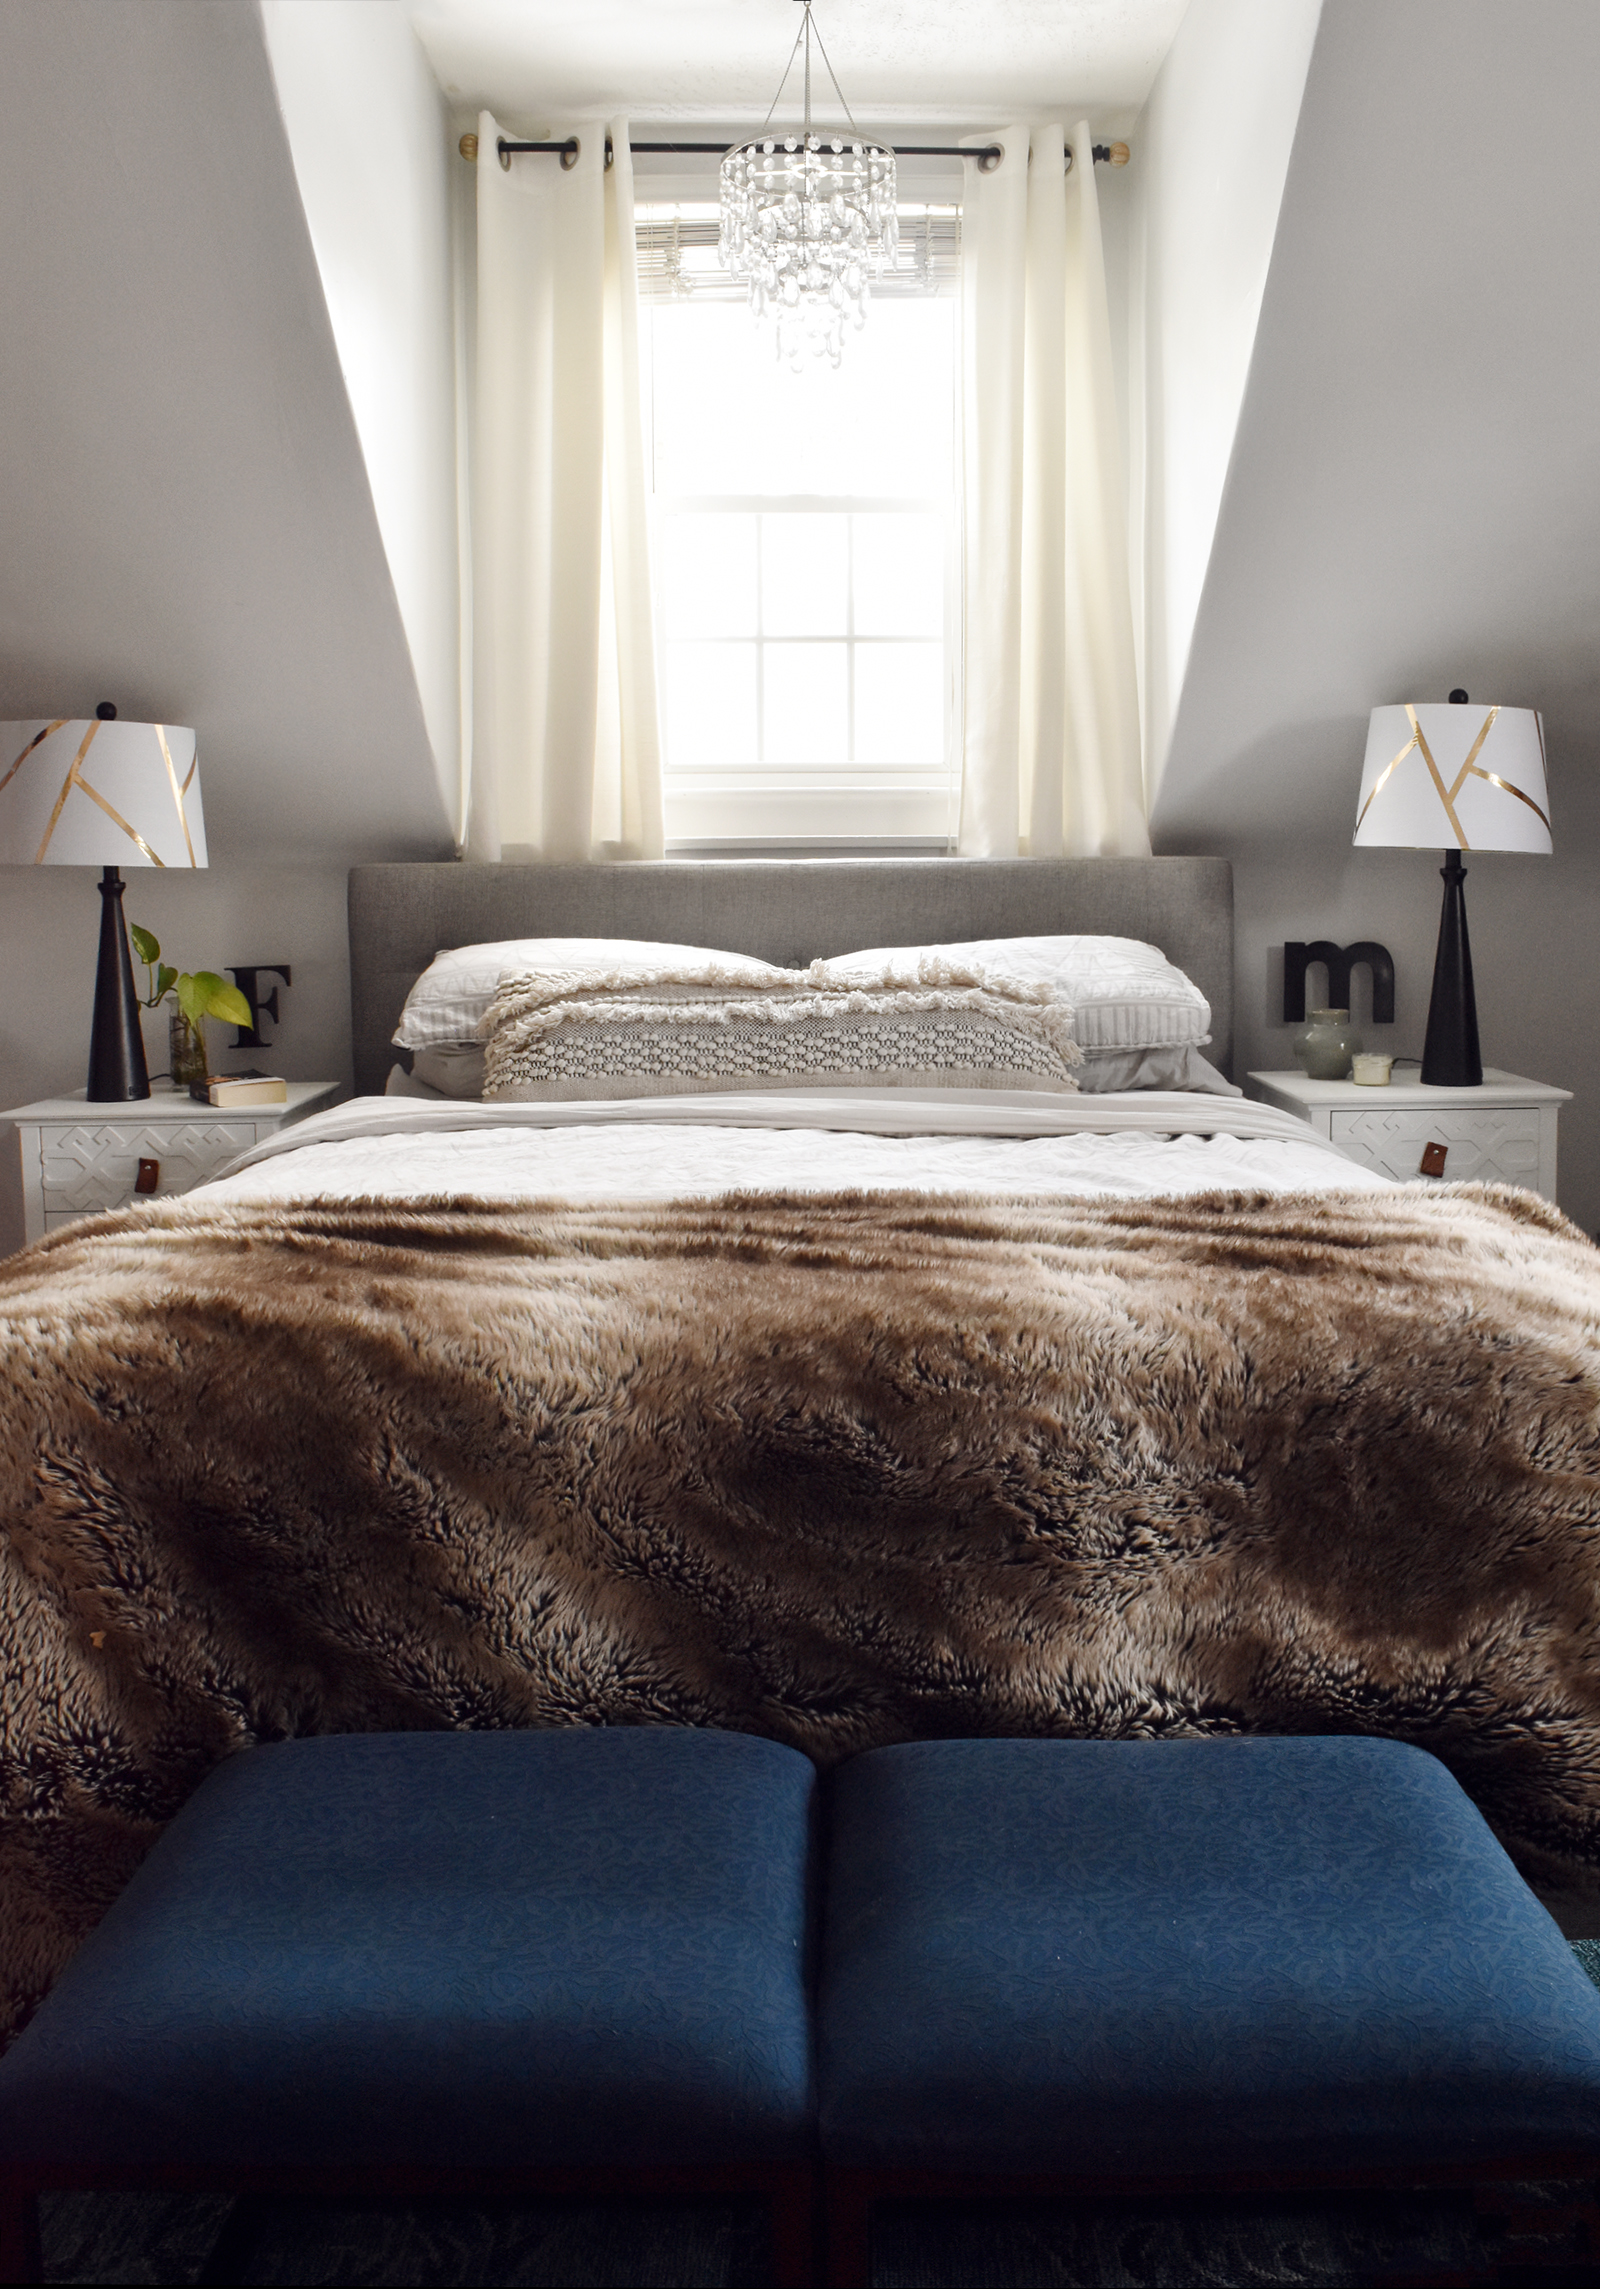
I won’t sugar-coat it – this winter has been rough. Being stuck indoors with a toddler and no place to go has been difficult. We literally do the same thing every single day. So my bedtime has gotten earlier, because it’s a chance for me to relax uninterrupted with a good book in bed. But the lamps on the side of our bed left something to be desired, and I’ve been on the hunt for something new. When I stumbled upon a gorgeous pair with big white shades, I had an idea… why not jazz them up a little bit? I mean… it’s pretty much physically impossible for me not to add a DIY touch to something lol.
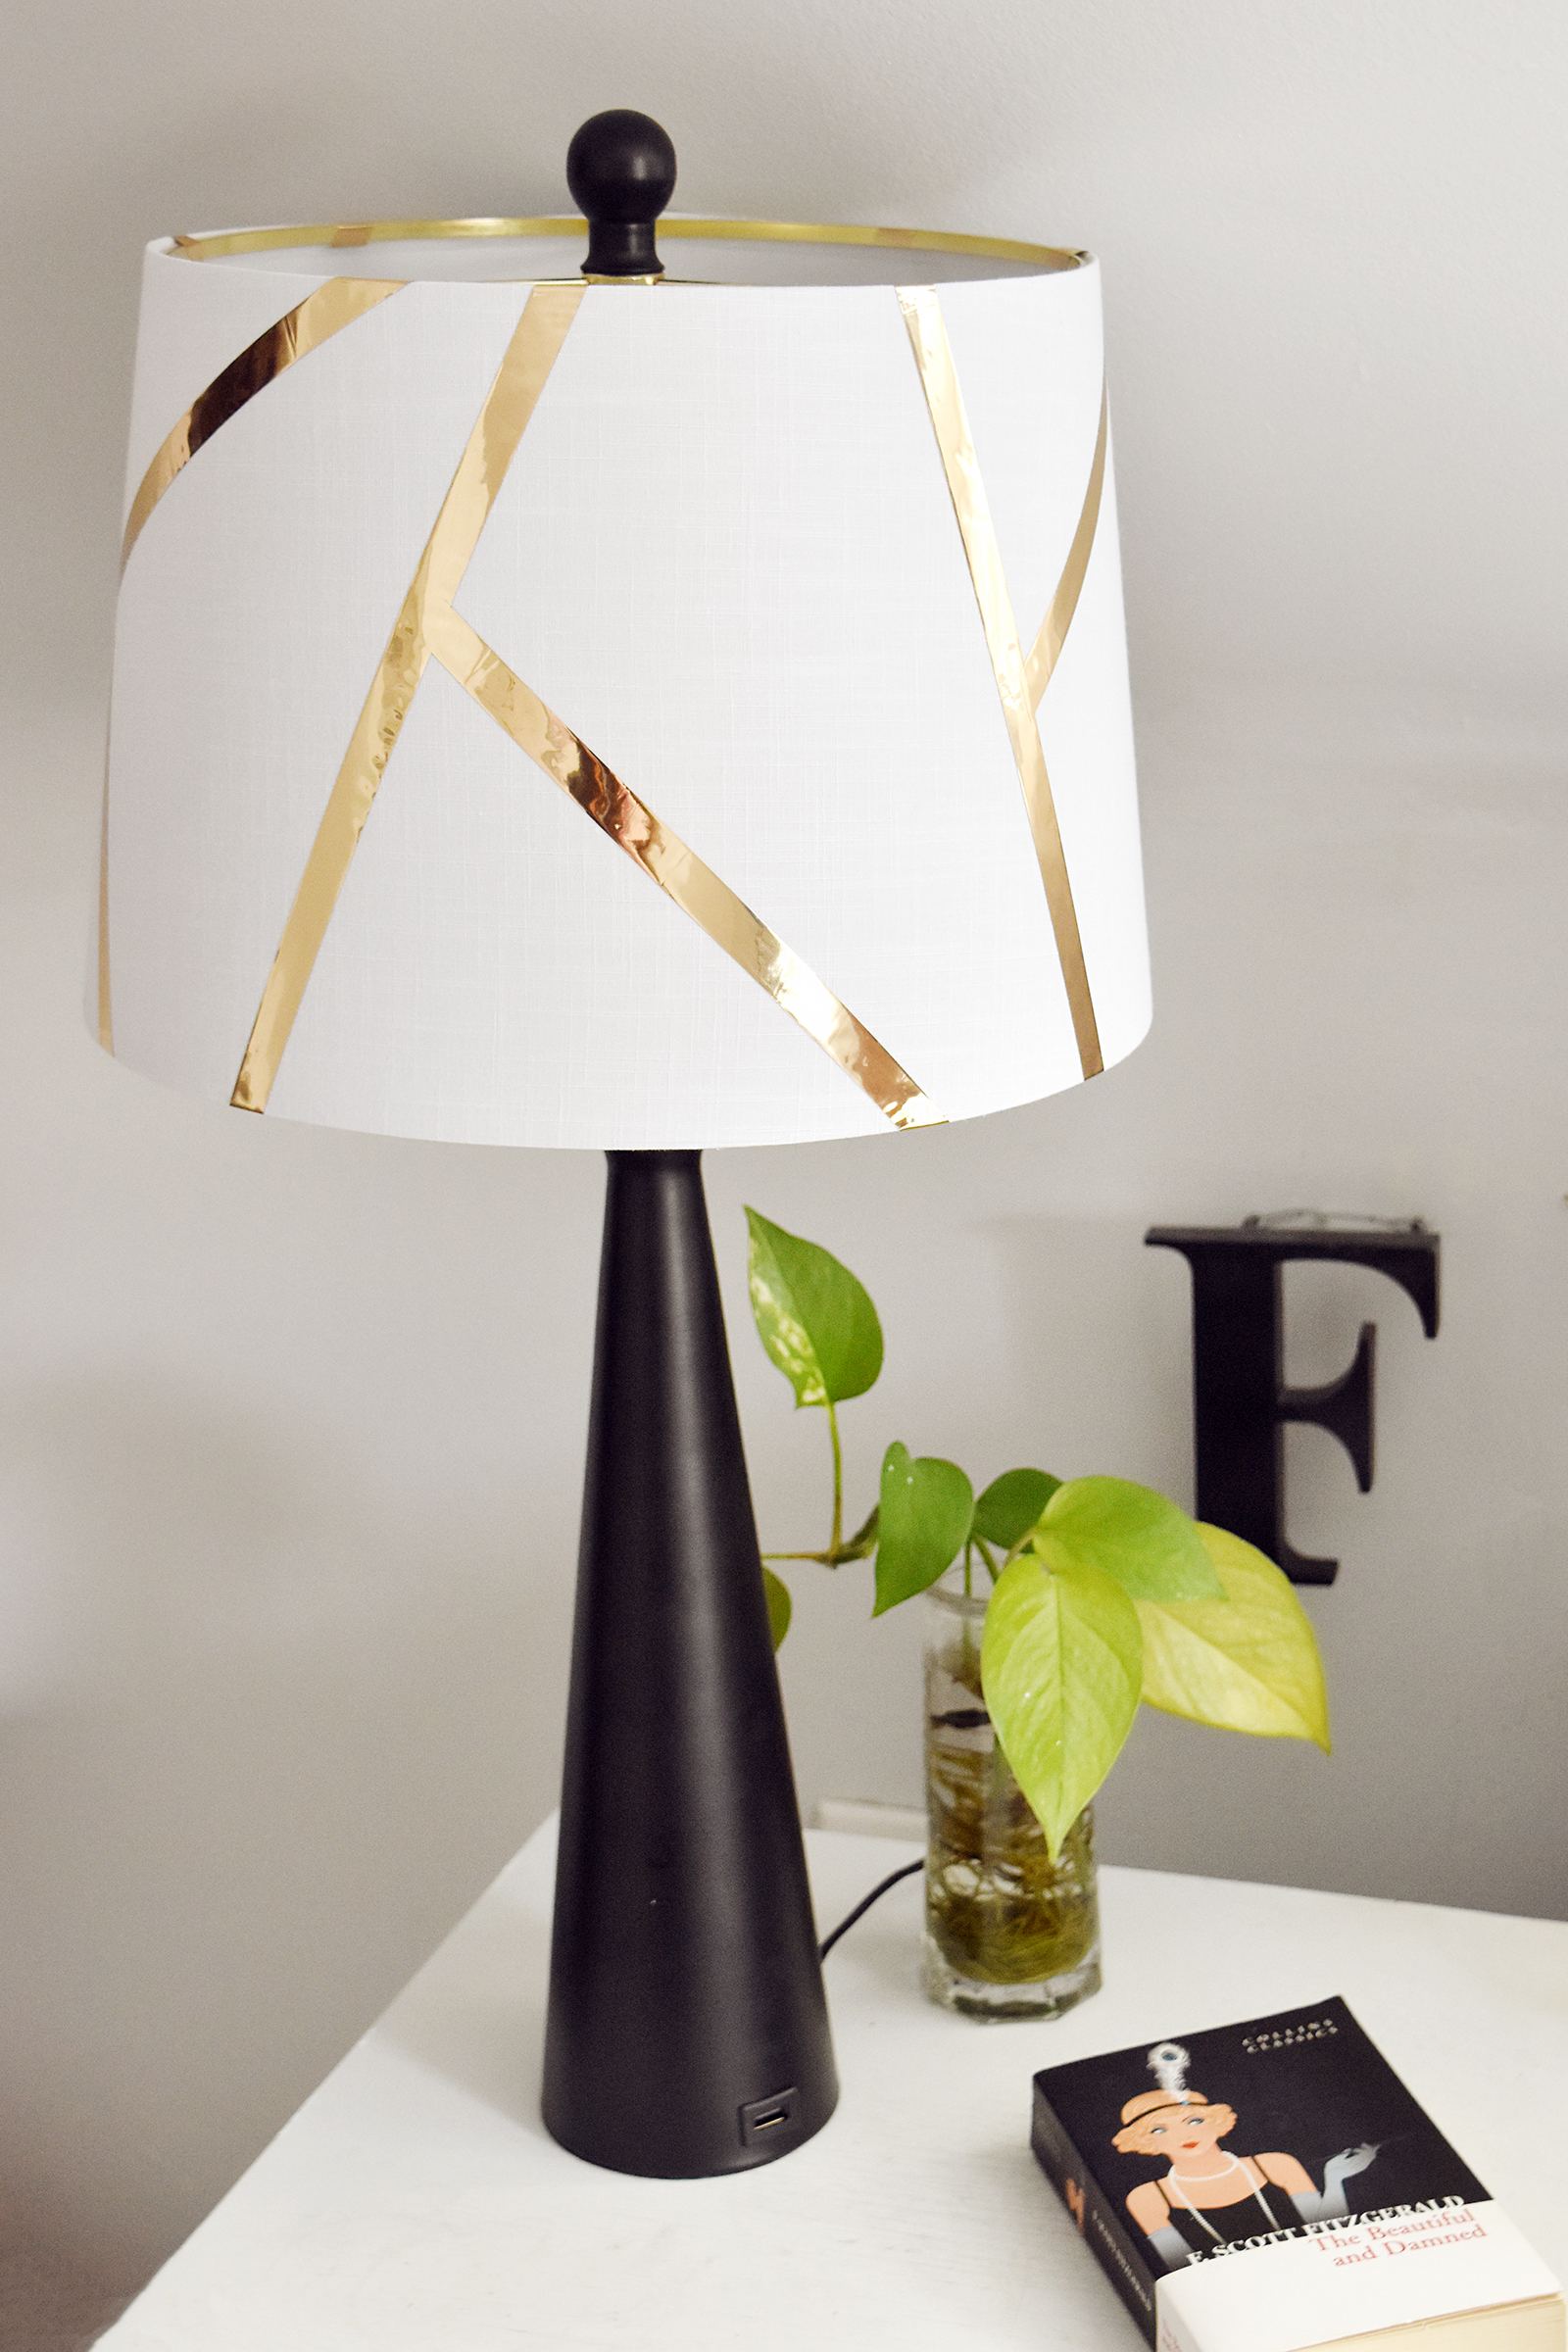
So I decided to spice up the shades with some gold tape. It’s an easy way to add a geometric feel without getting messy… there’s no paint involved! I bought the lamps at Wayfair, you can check them out here. And here are lots of other options if you want a different style. So let’s get started.
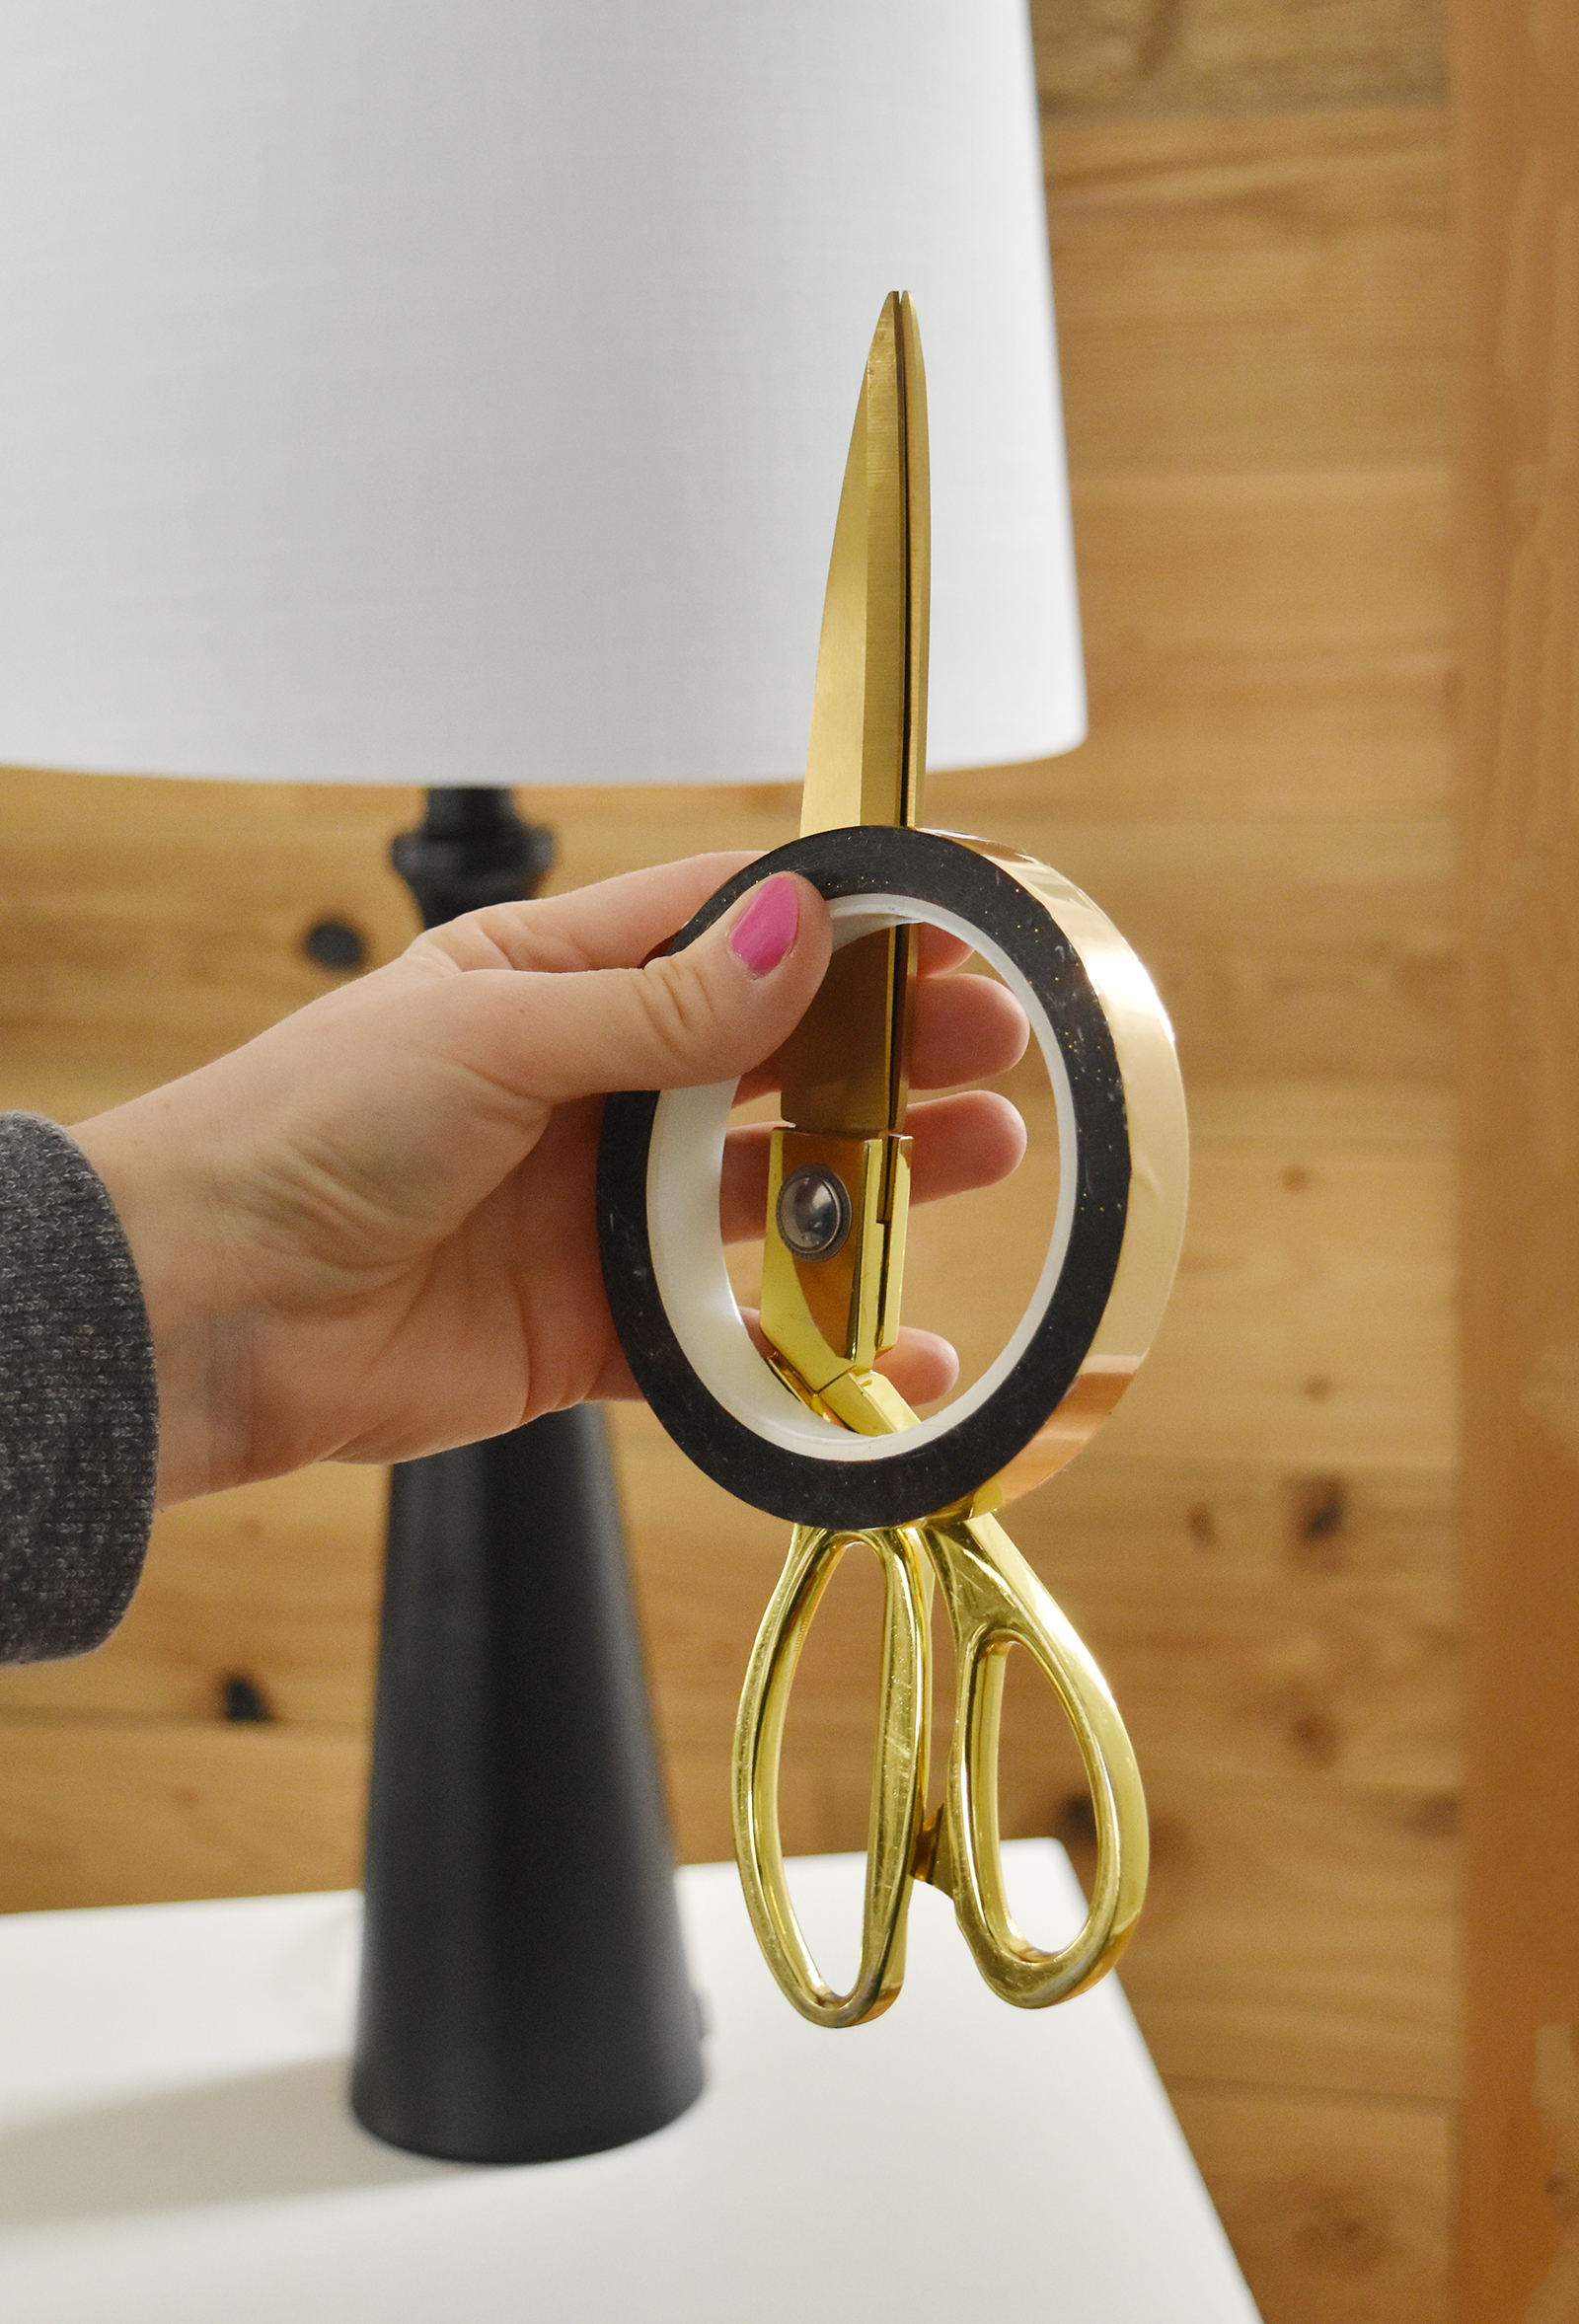
DIY Geometric Lamp Shade Instructions
Here’s what you’ll need:
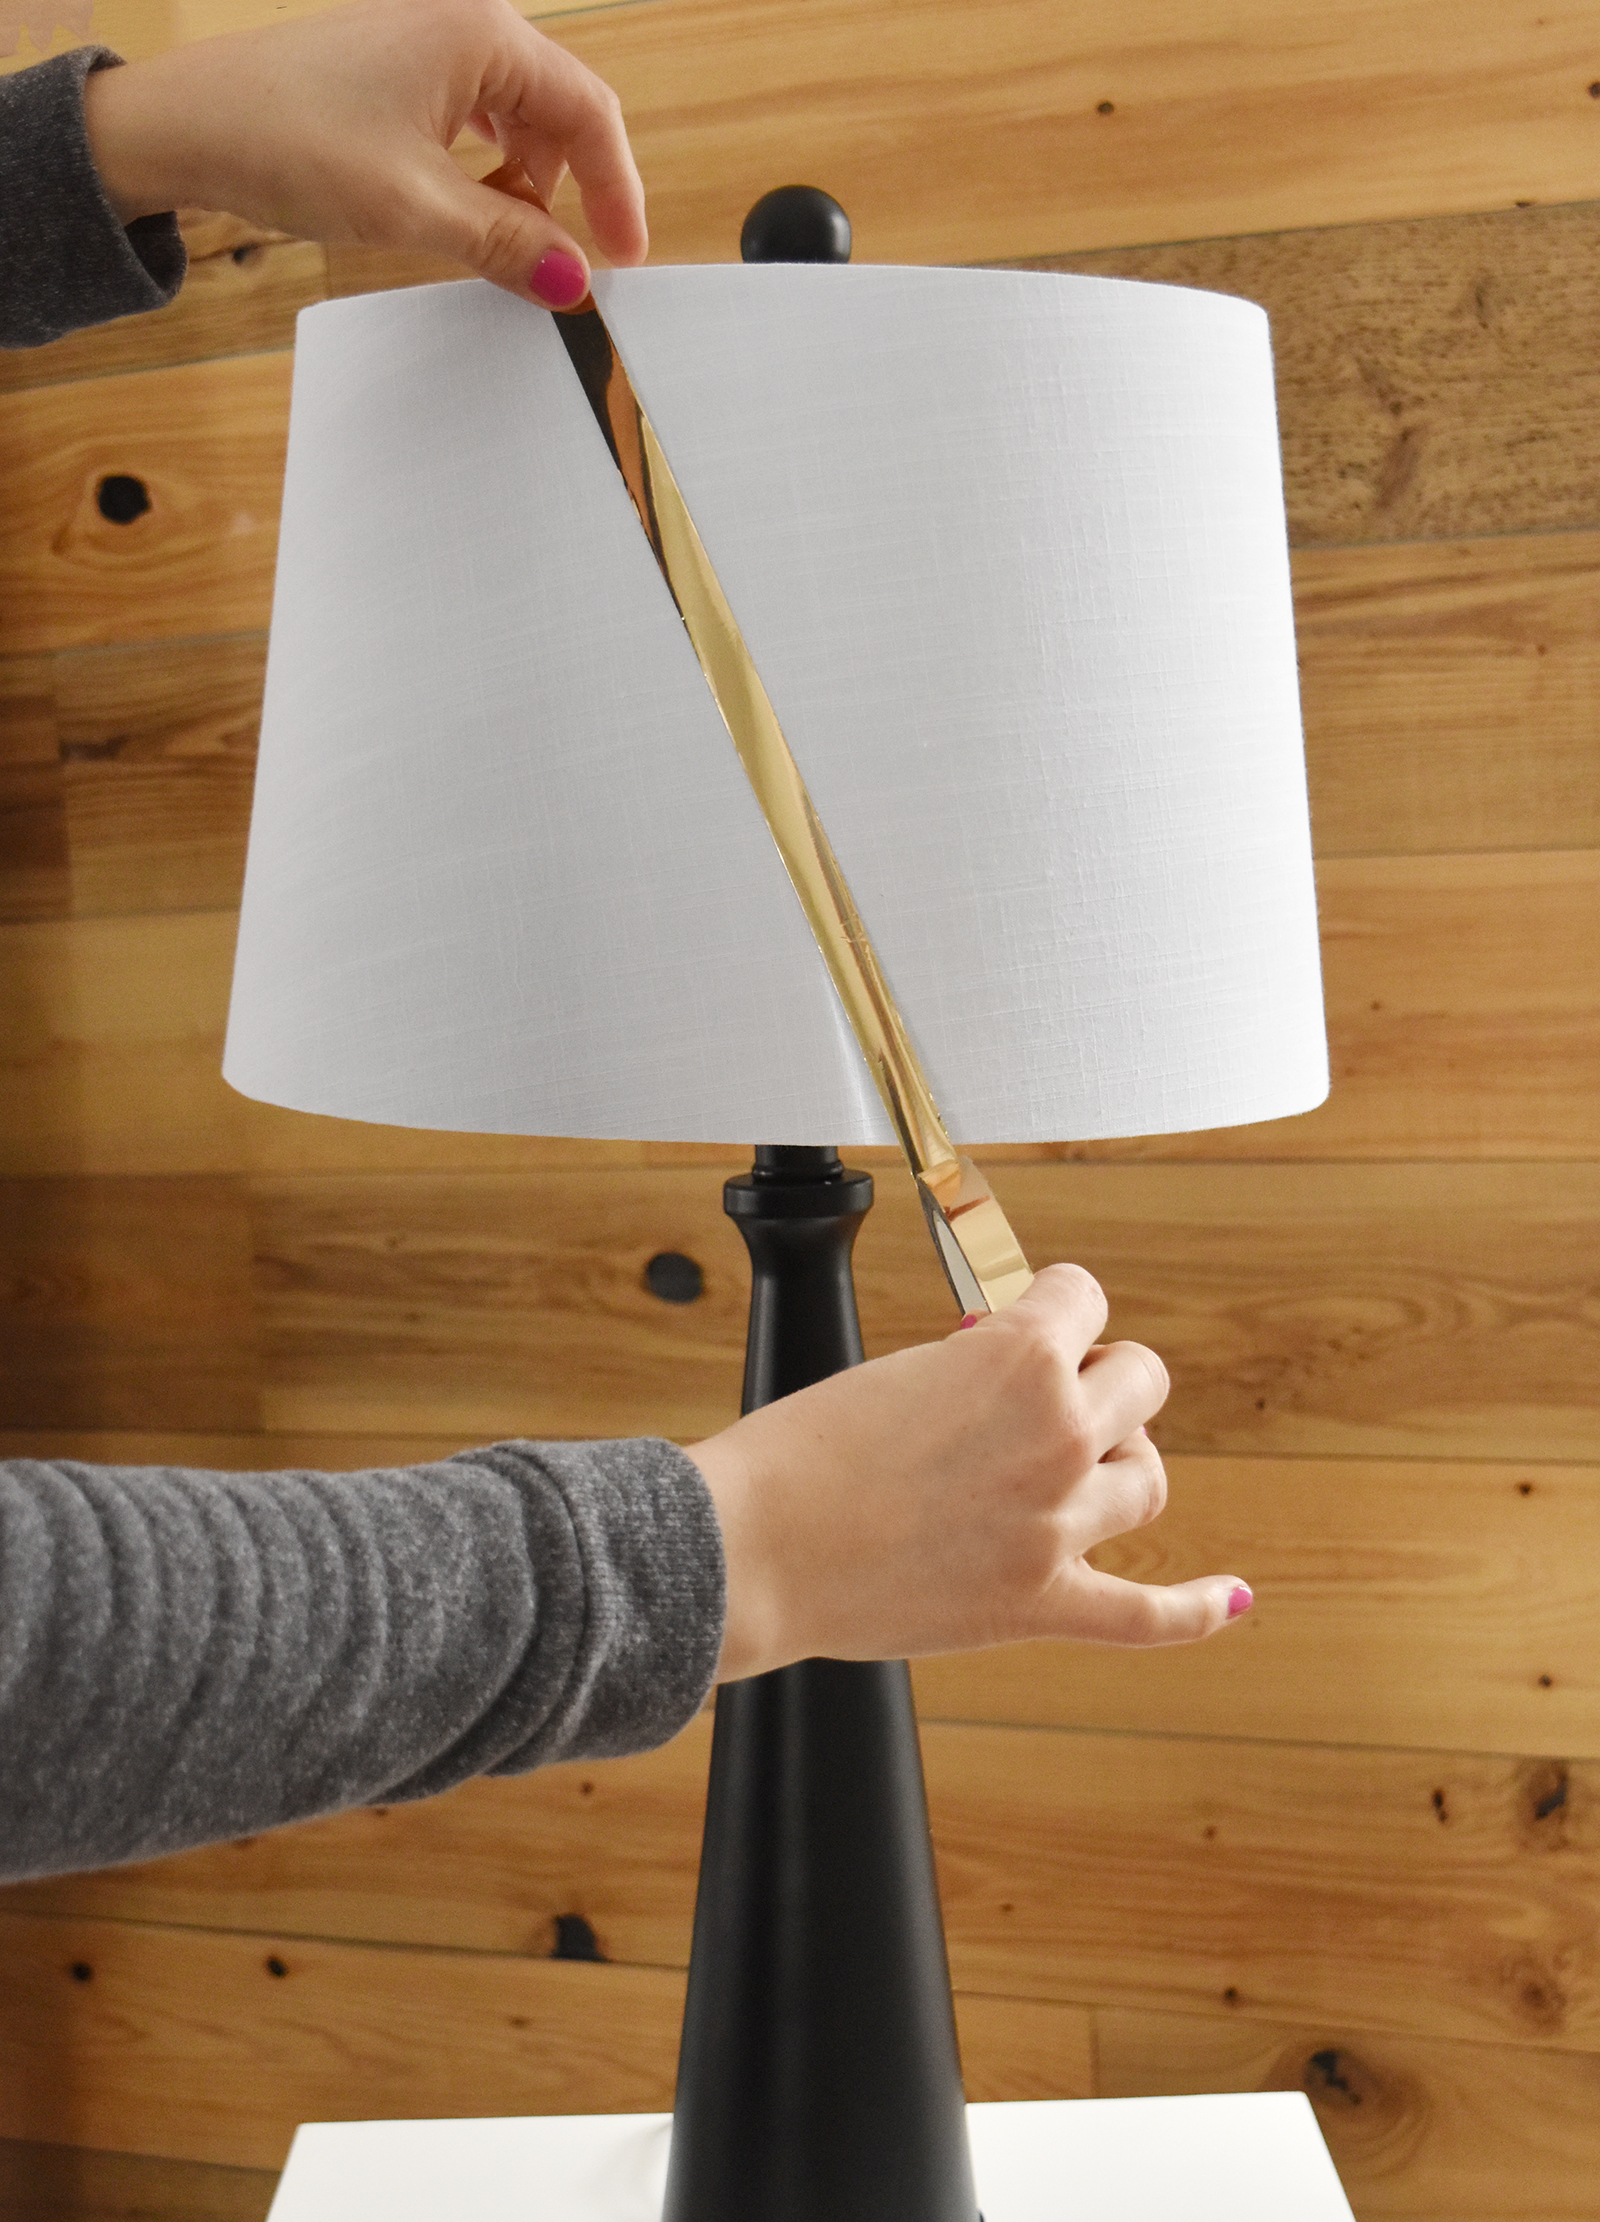
Begin by stretching a length of tape diagonally across your lamp shade. Cut the tape, leaving about a half inch of excess.
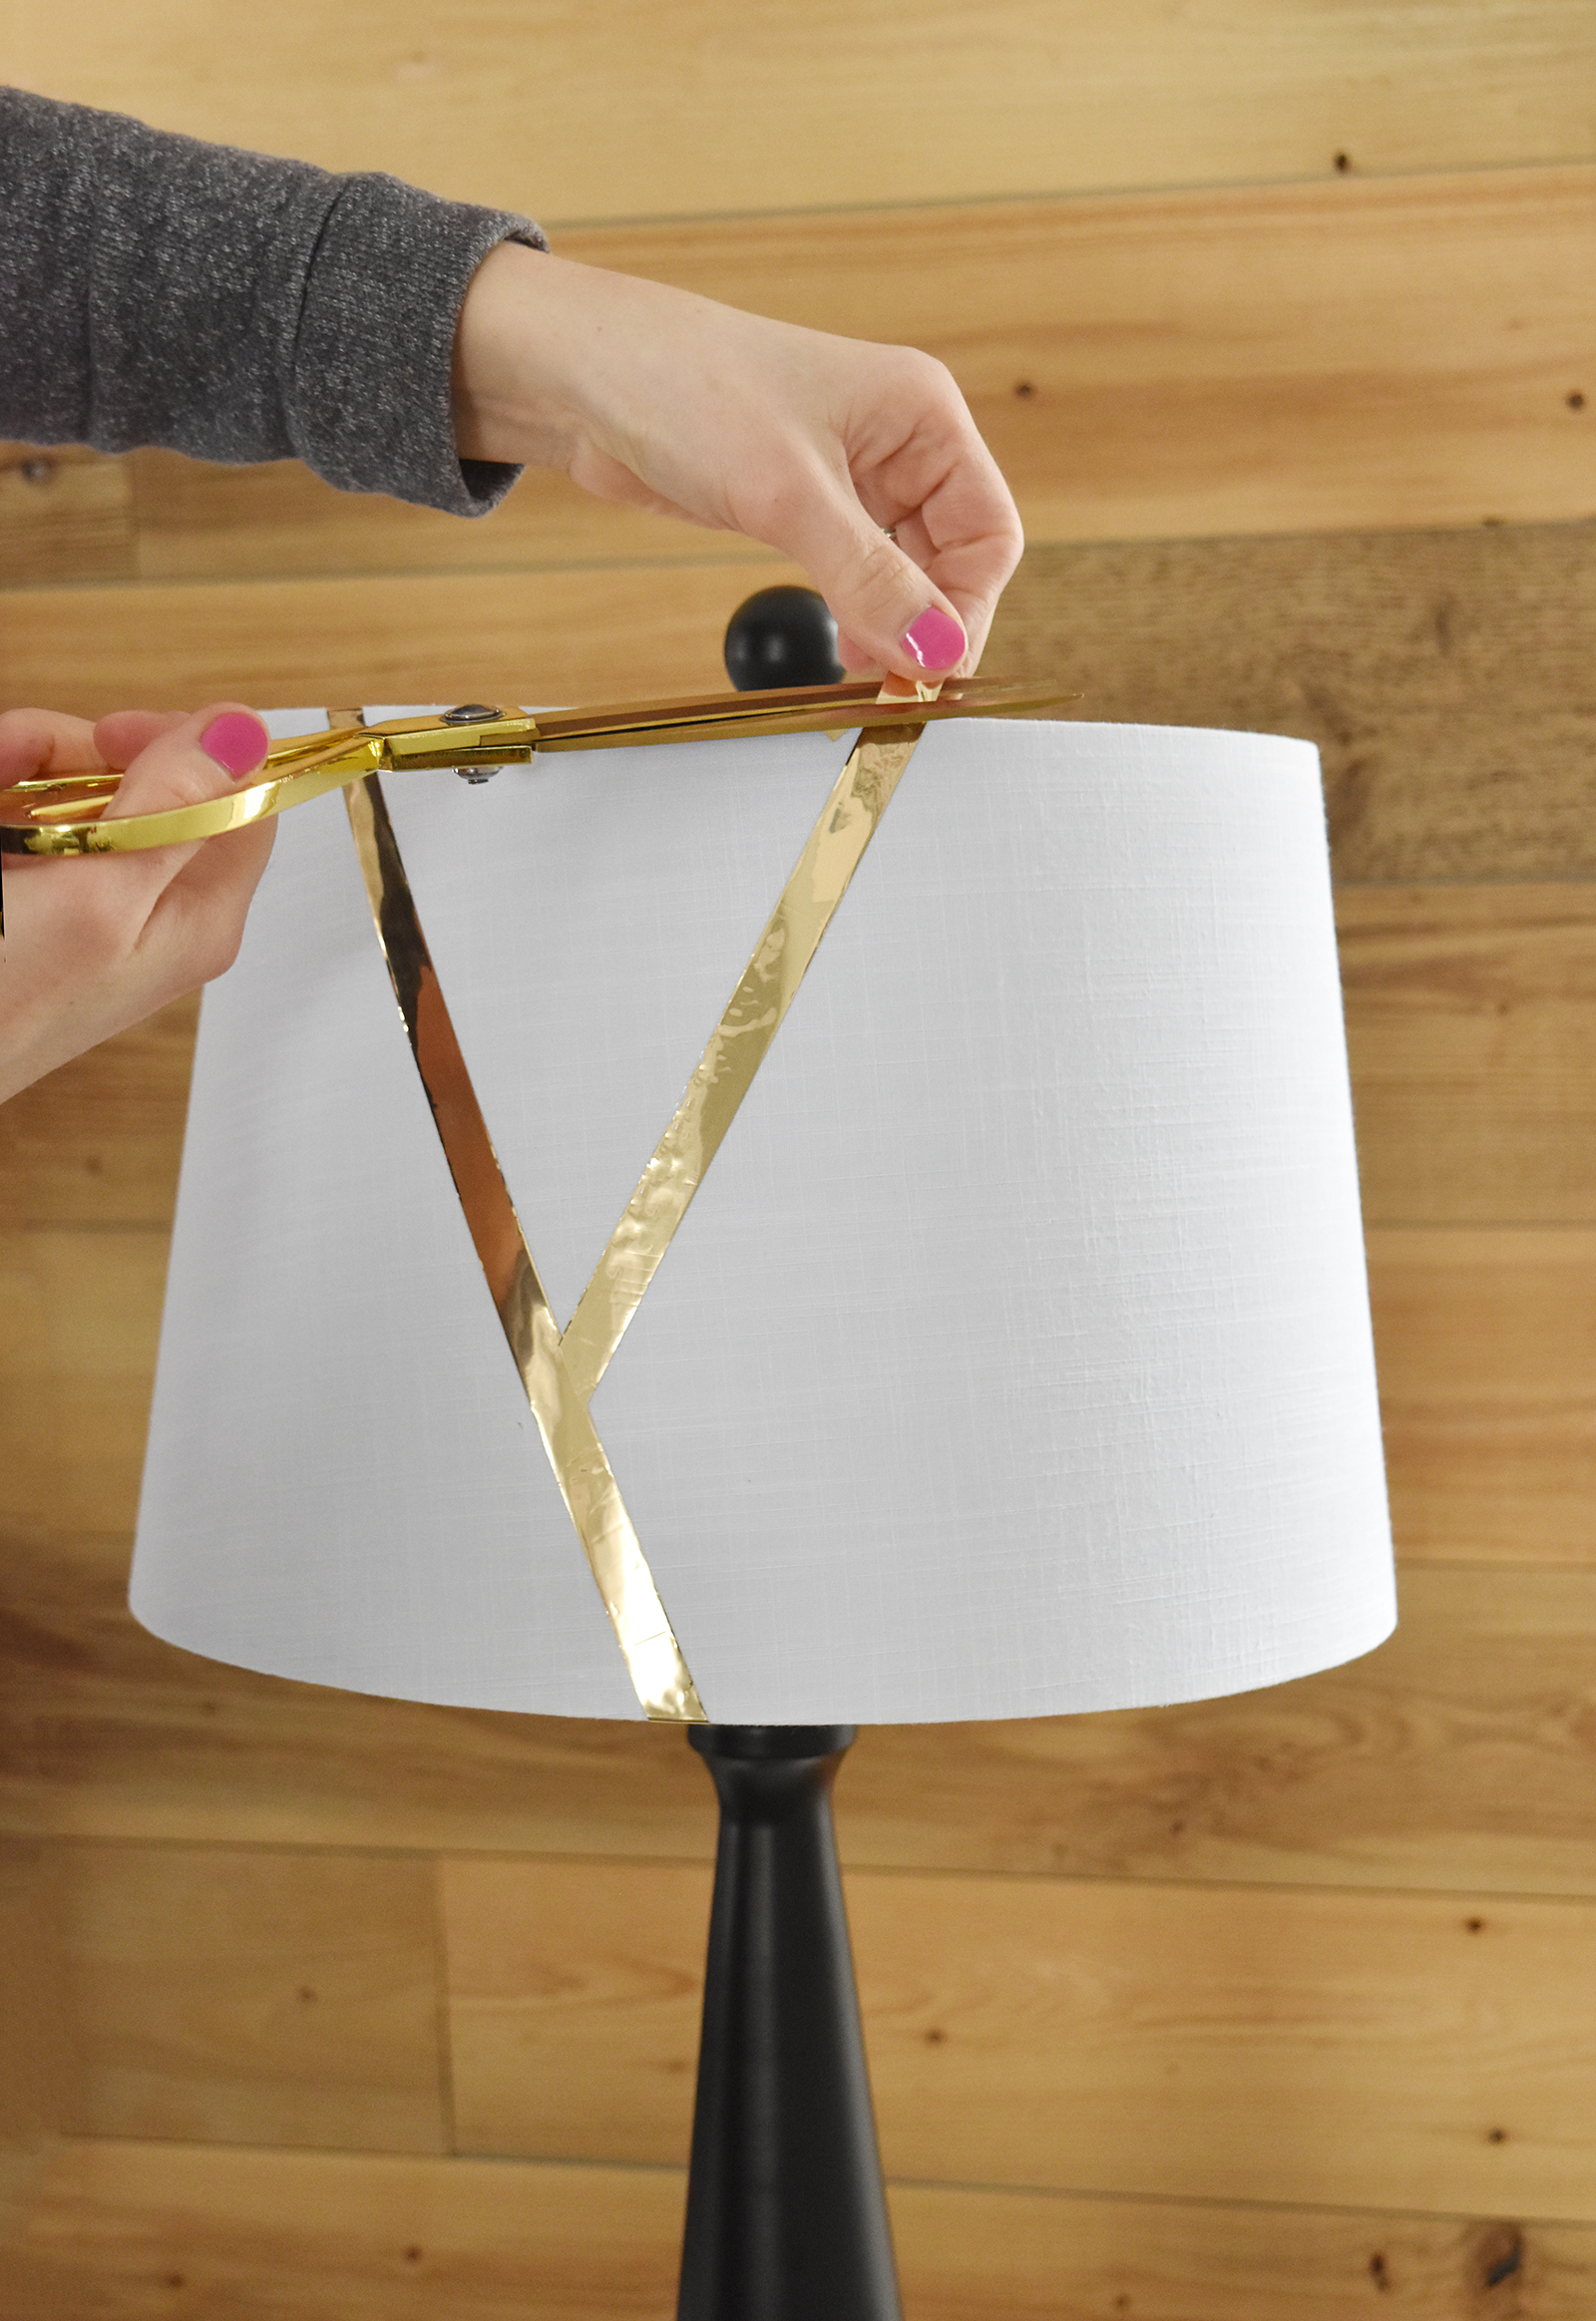
Fold the excess over the edge of the shade and onto the back. Add another piece of gold tape diagonally at a different angle from the previous piece. Continue adding more pieces at different angles until you’ve covered the whole shade. That’s all!
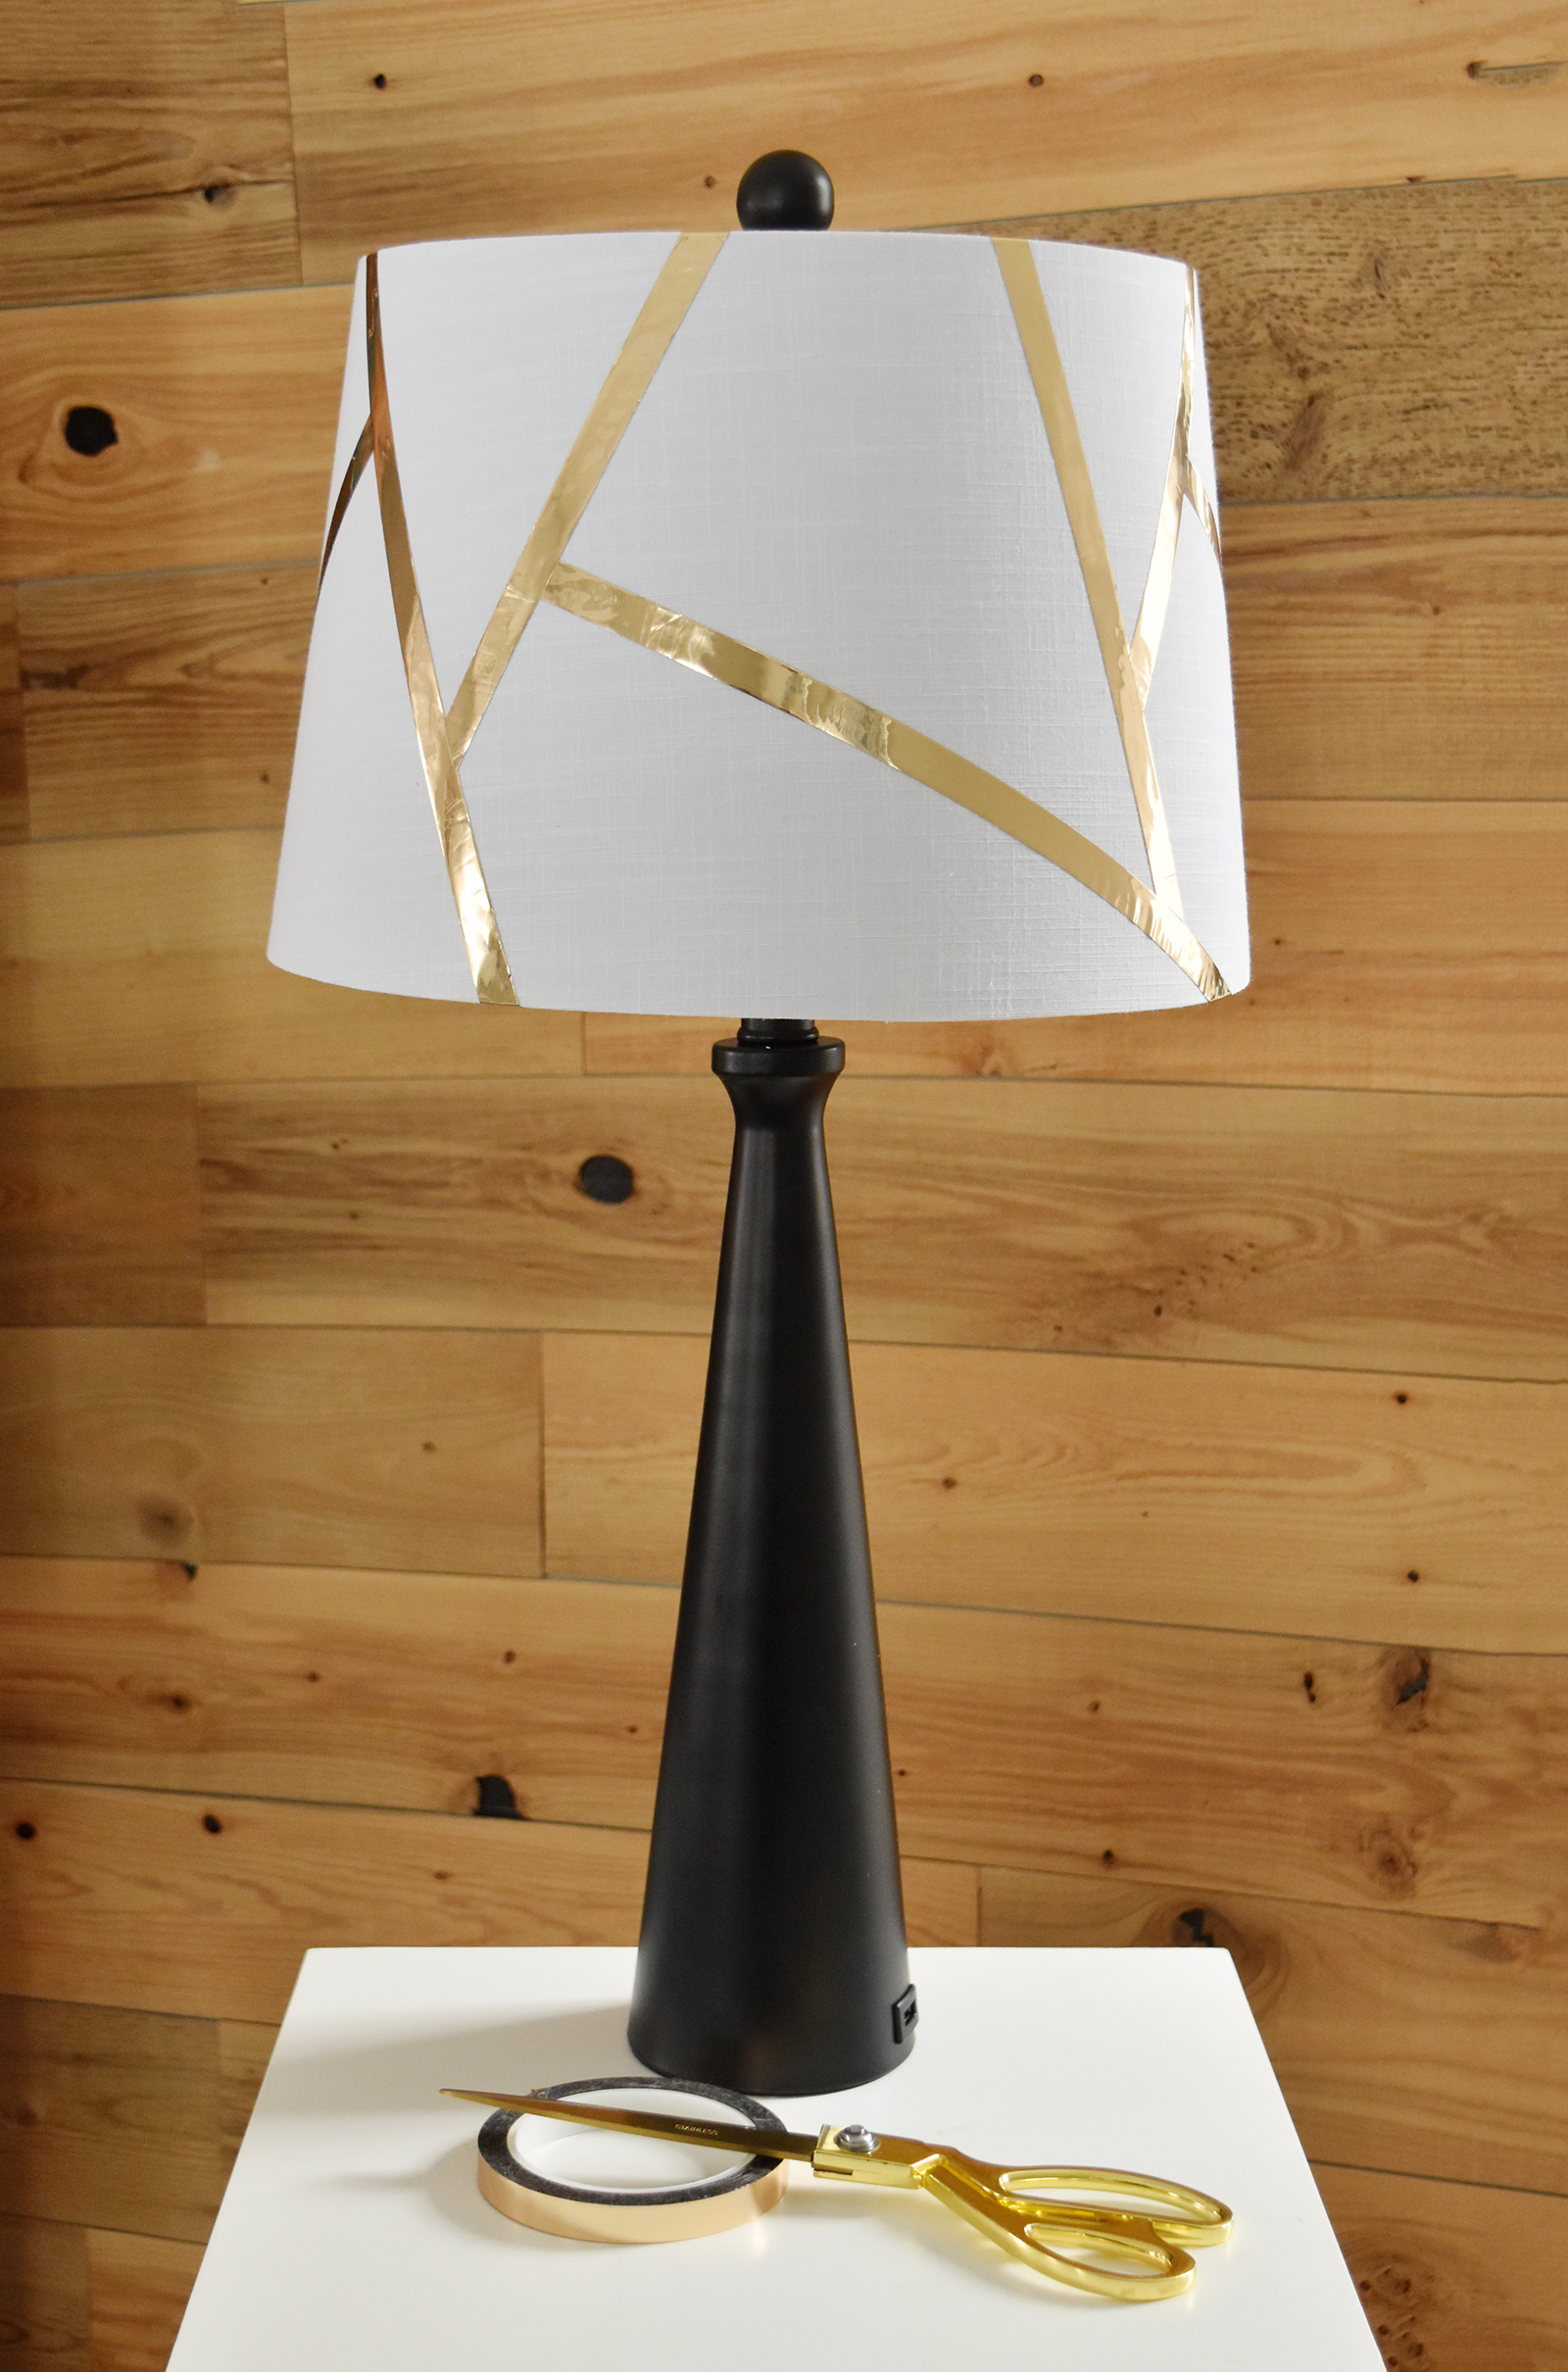
The nice thing about this tape is that it’s easy to detach and re-adhere if you don’t like the angle. Or you can change up the design later on if you want a new vibe. The new lamps have USB outlets too, so we can charge our phones without having to dig around behind the bed to find the electrical outlets.
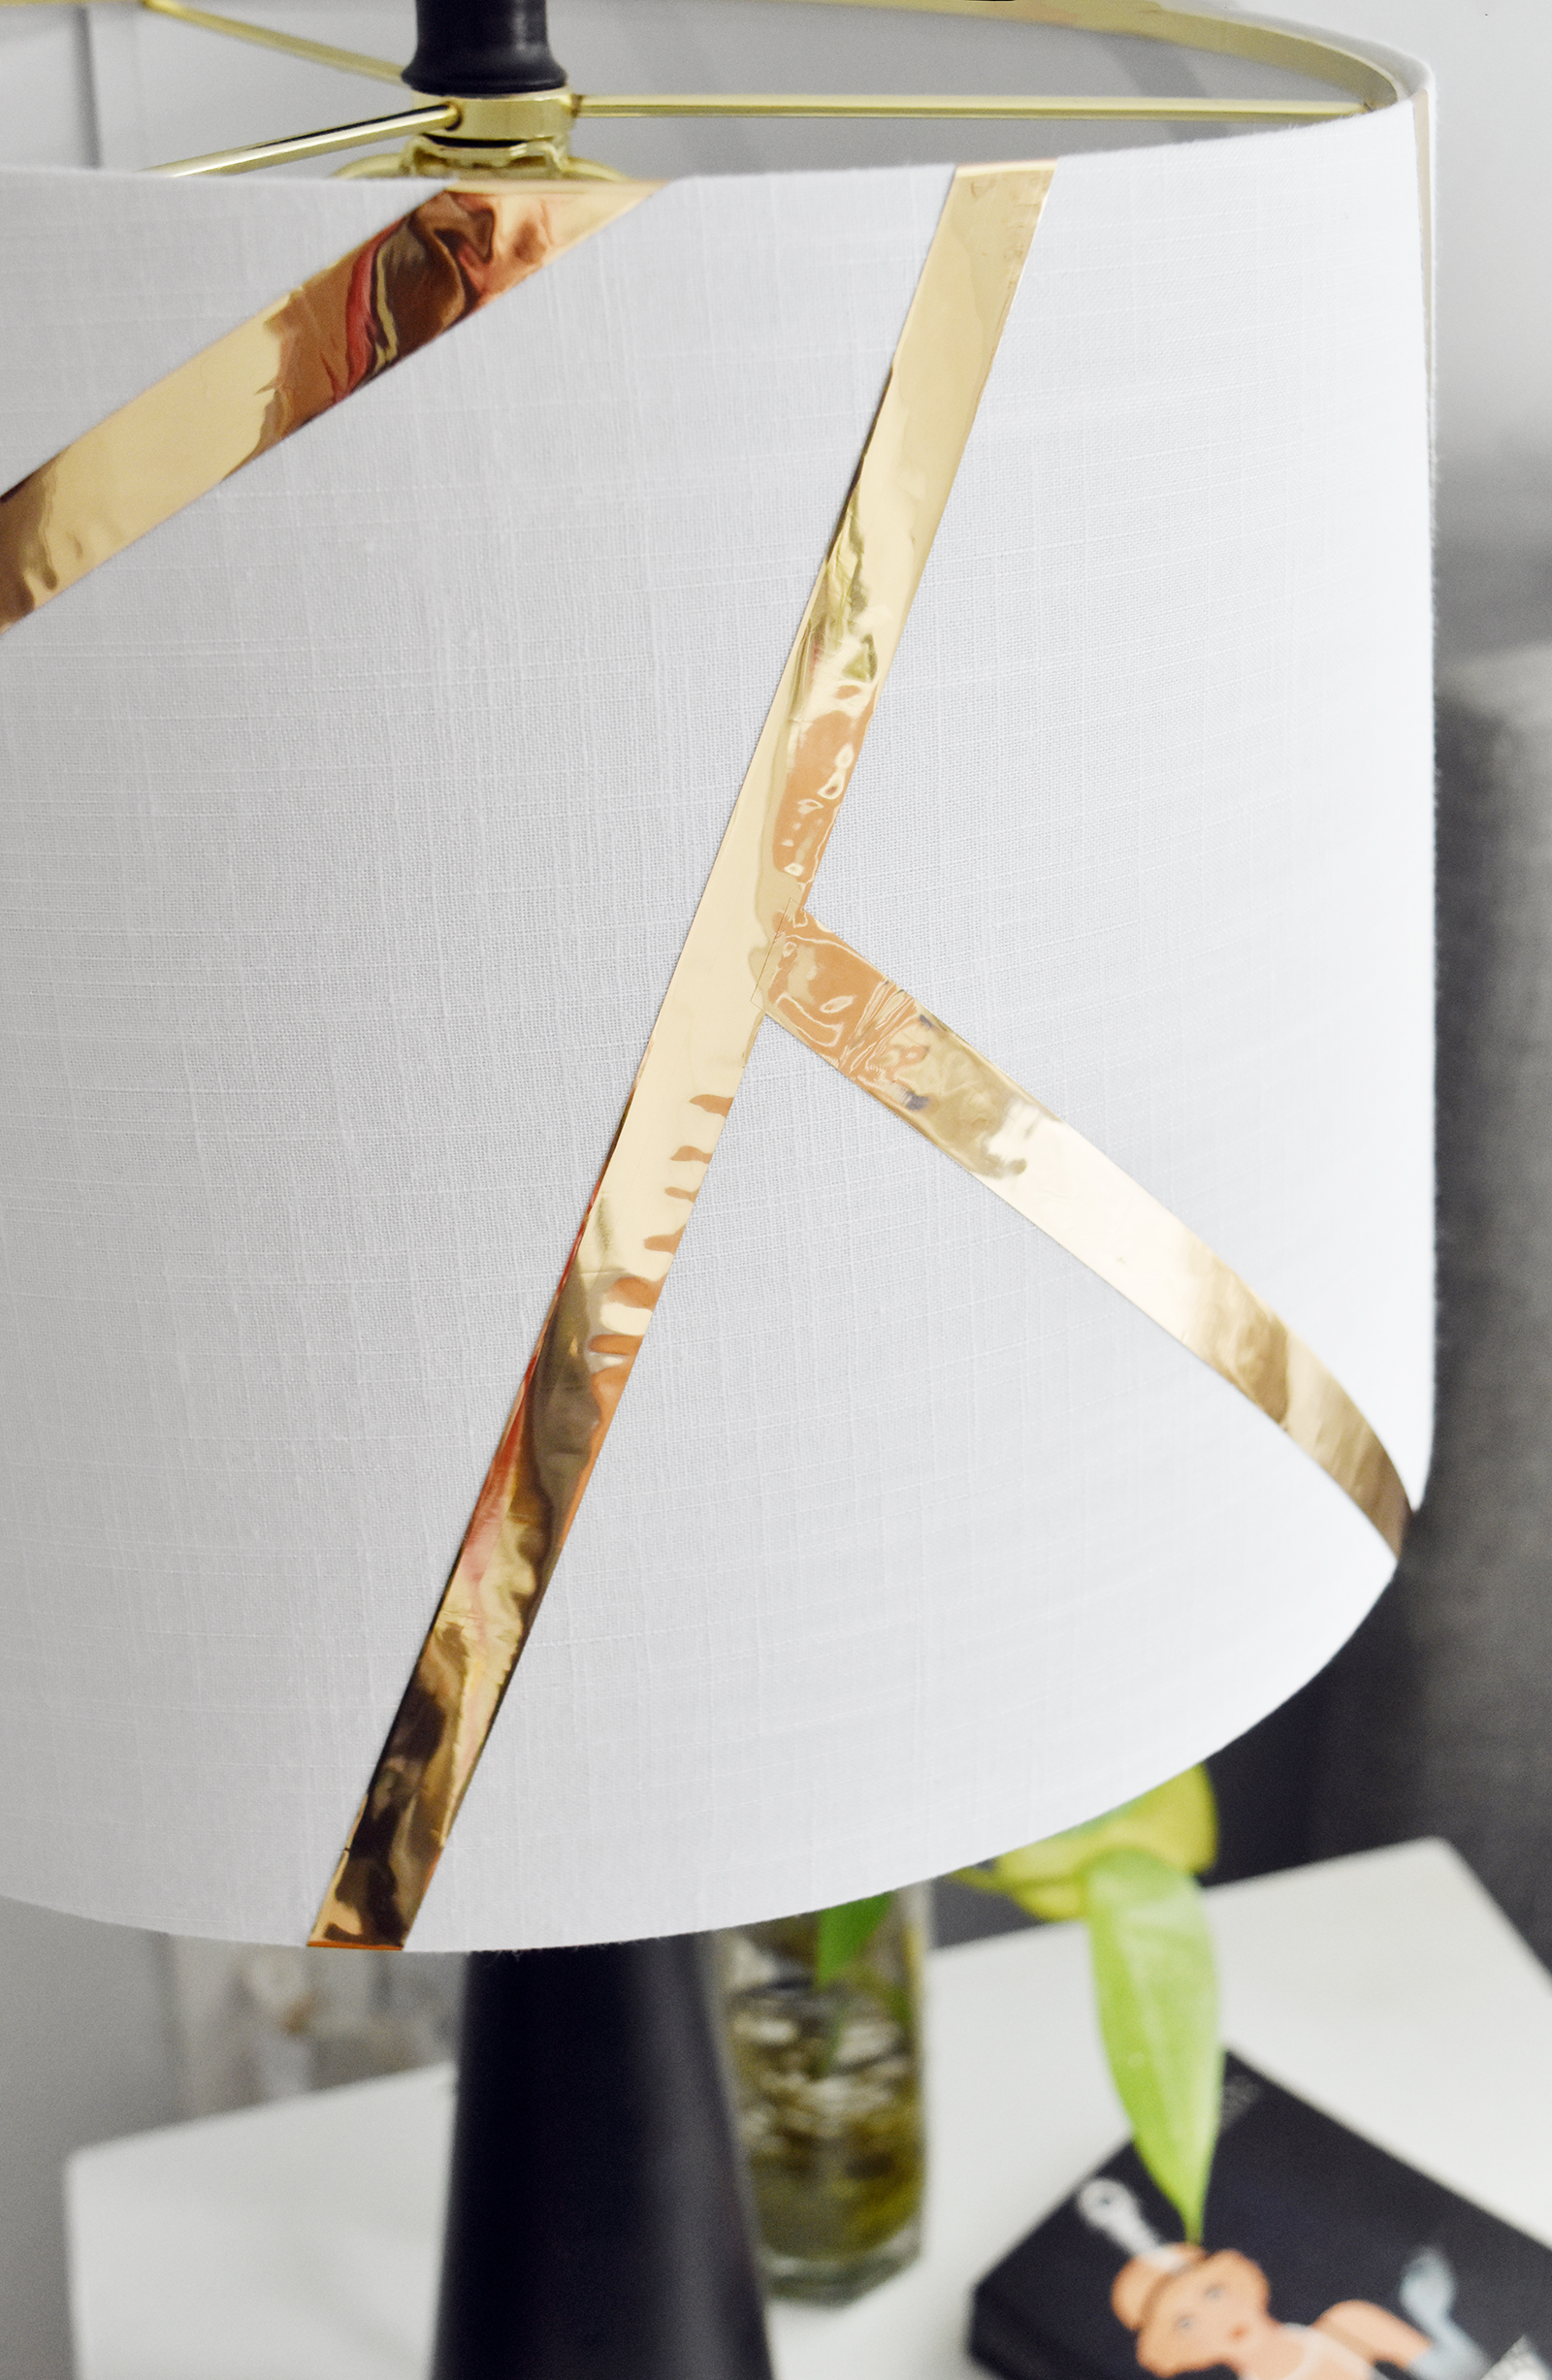
I just love the way the geometric gold design turned out… it adds a glamorous touch without being too over-the-top. And it’s such a quick process!
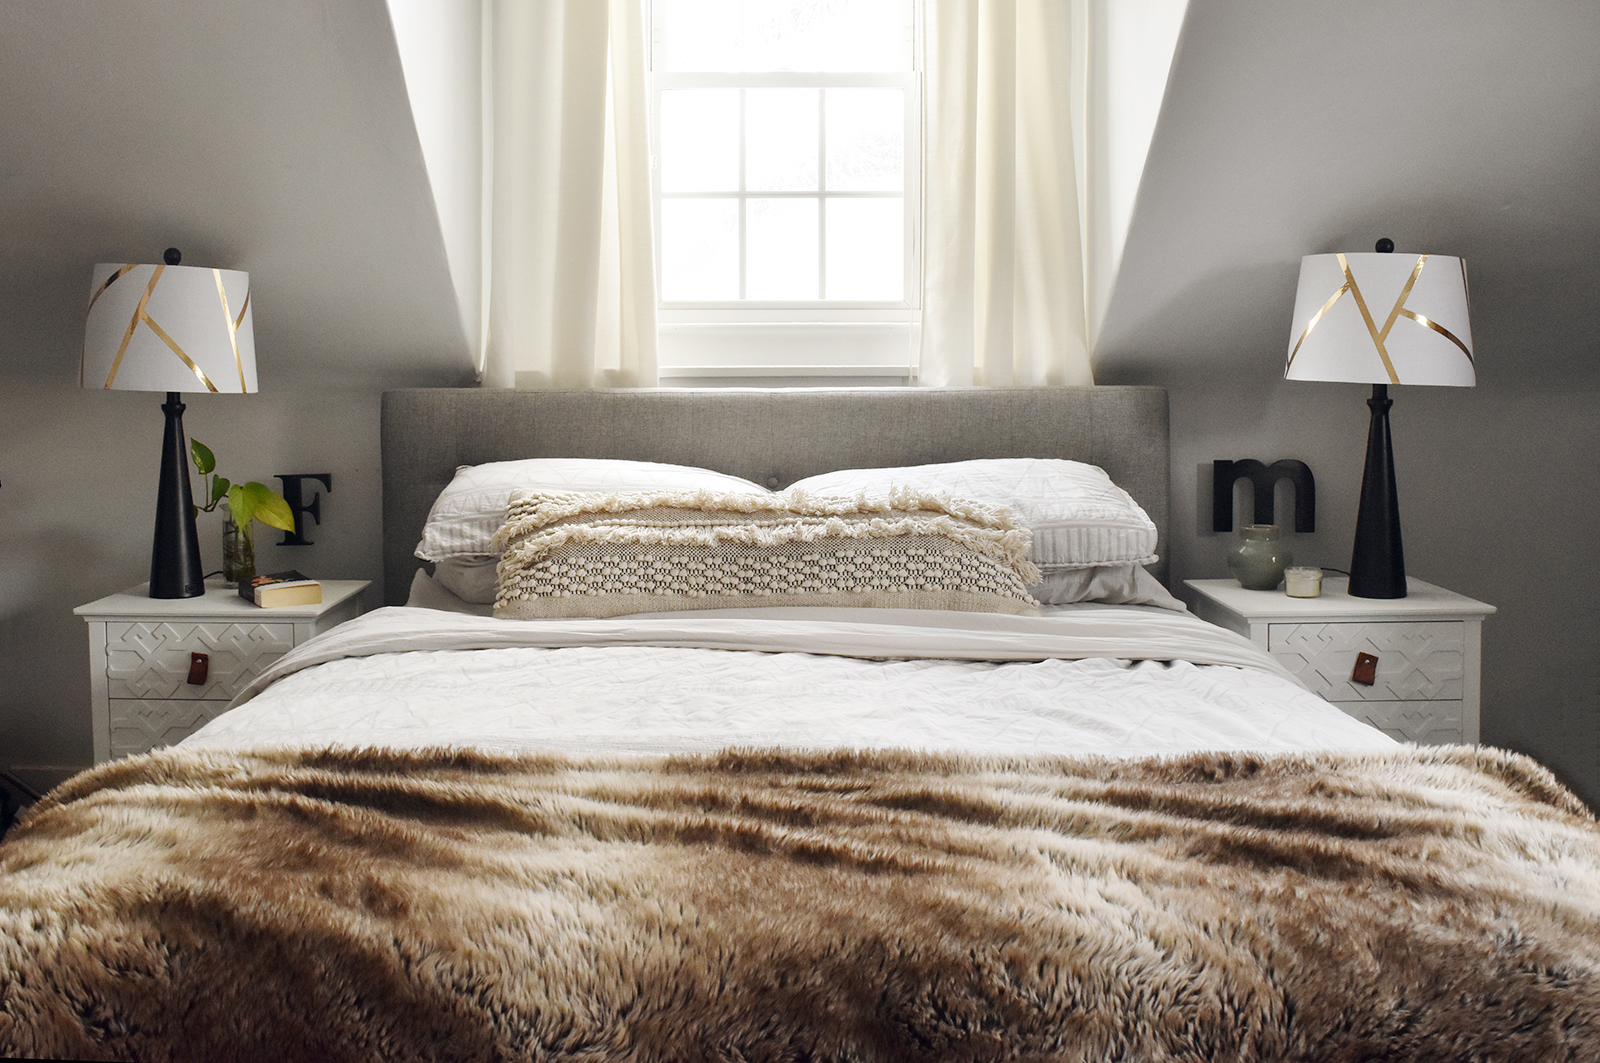
Hope you enjoyed this DIY geometric lamp shade project. If you’re on the hunt for more home decor DIYs, be sure to check out all of my past posts here.
This post was sponsored by Wayfair. Thanks for supporting the brands that help keep Design Fixation online!
