This post may contain affiliate links. This means that if you buy the cool stuff I recommend, I earn a small commission (but you still pay the same price). Thanks for helping me make a living doing my dream job!
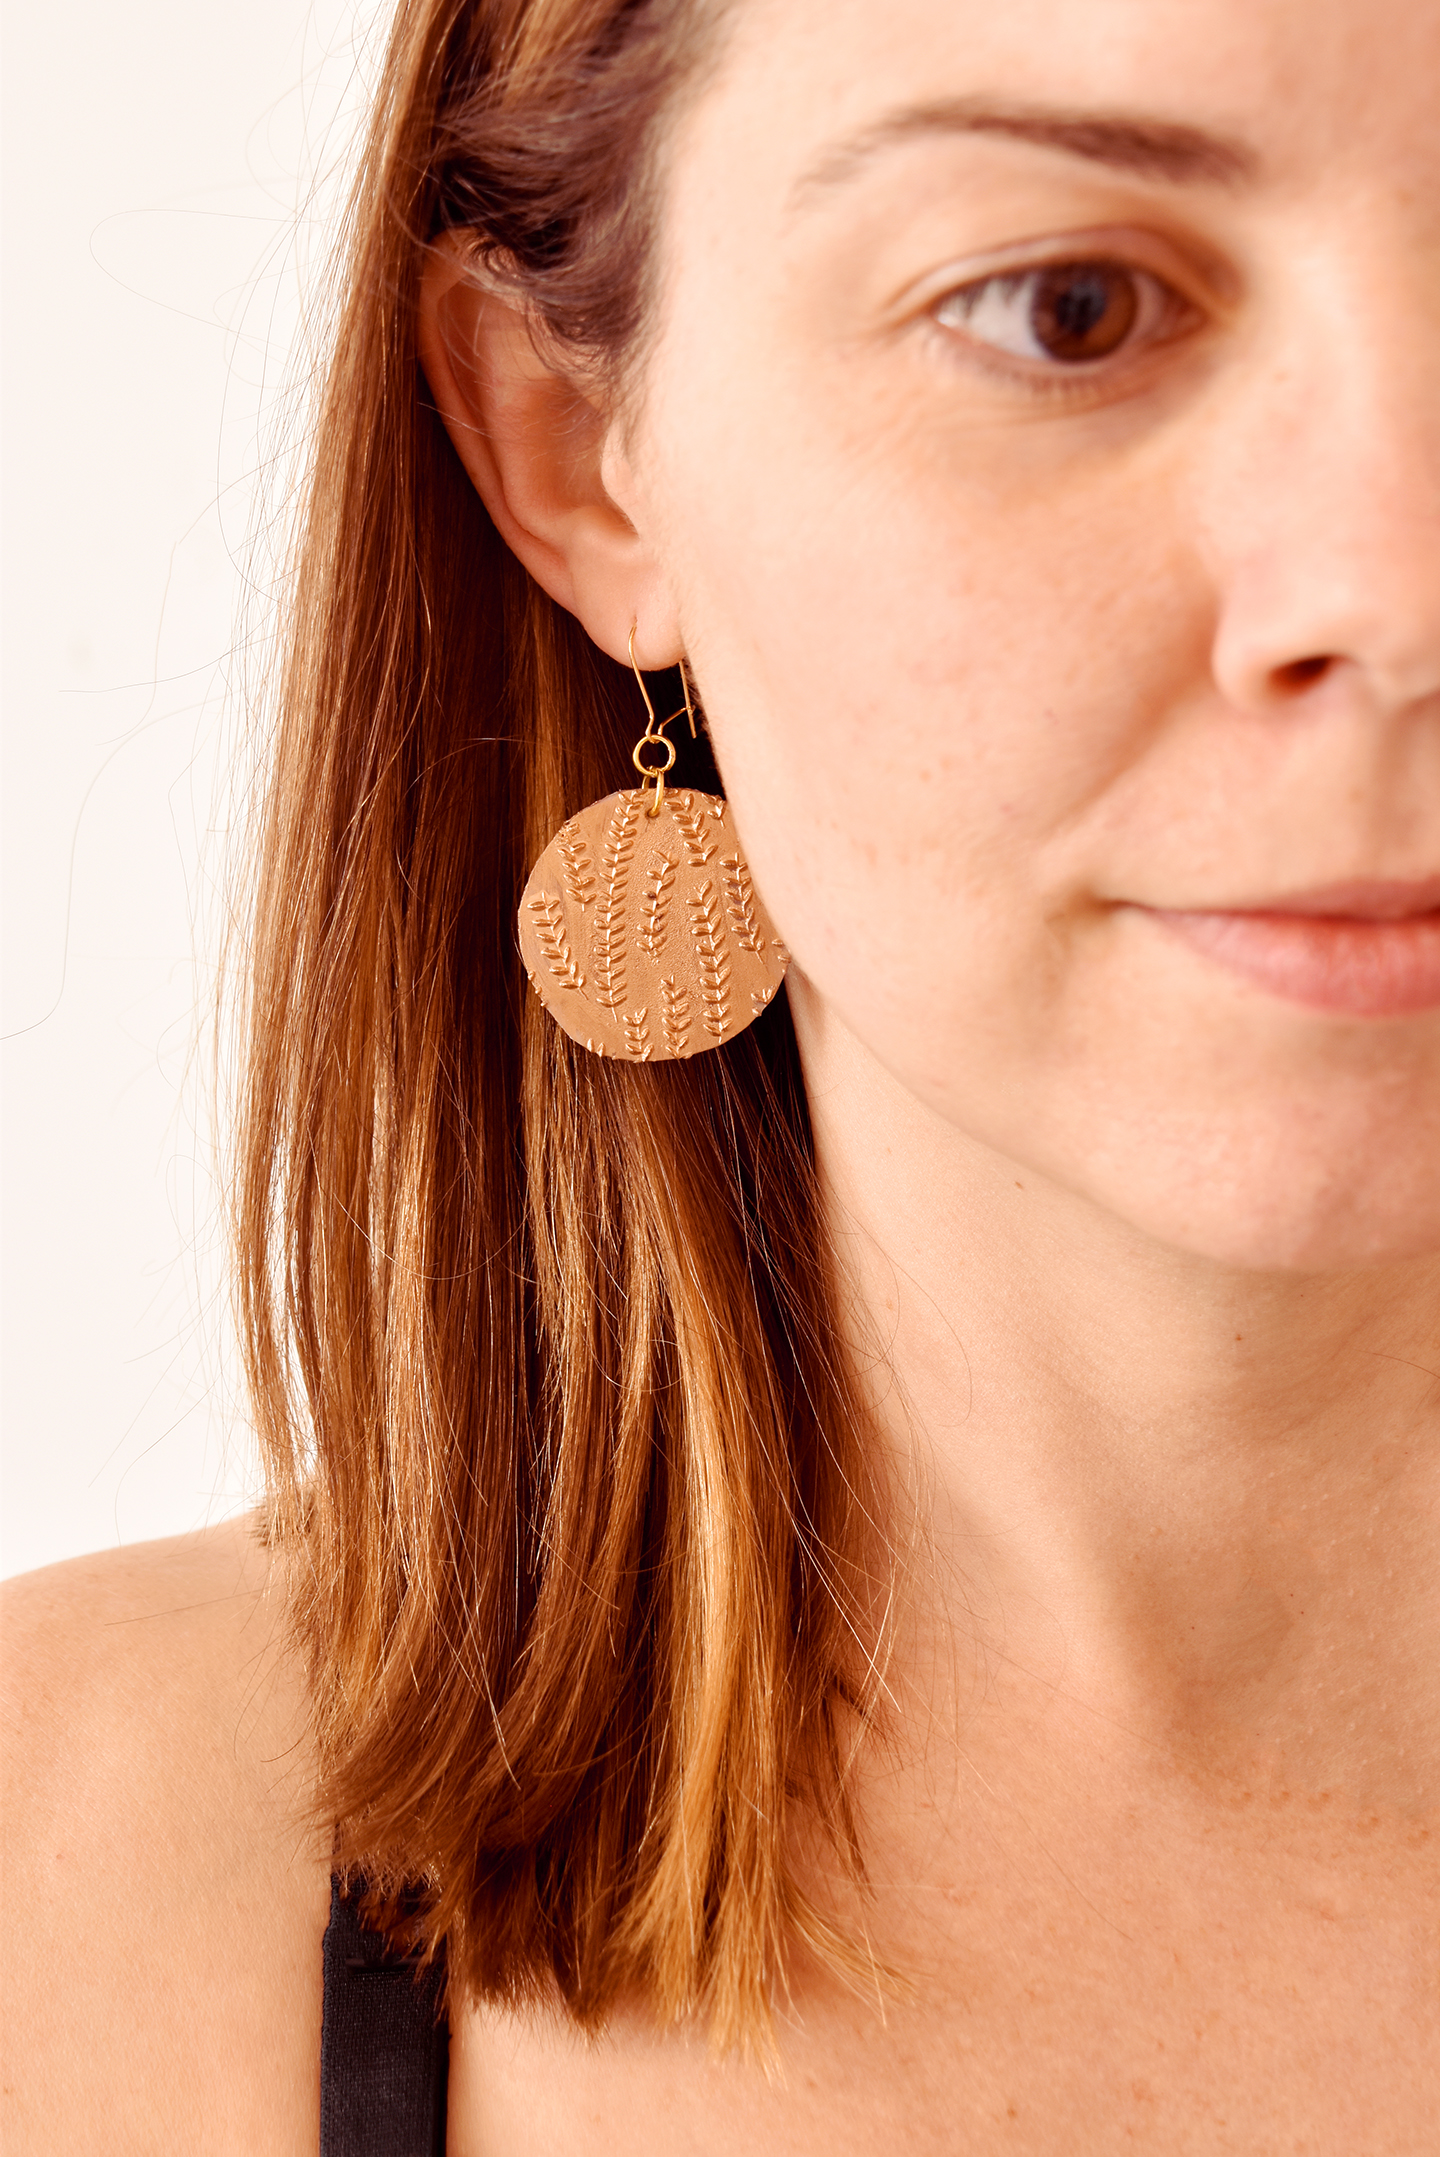
Okay who’s bored? Raise your hand if you need a fun new craft project to do! These are the days of social distancing, which of course also fall during those frustratingly chilly days of late winter when going outside isn’t very appealing (at least here in the Boston area). So to cure the boredom, I have a really unique project for you today… so go put on your crafting pants and let’s get going!
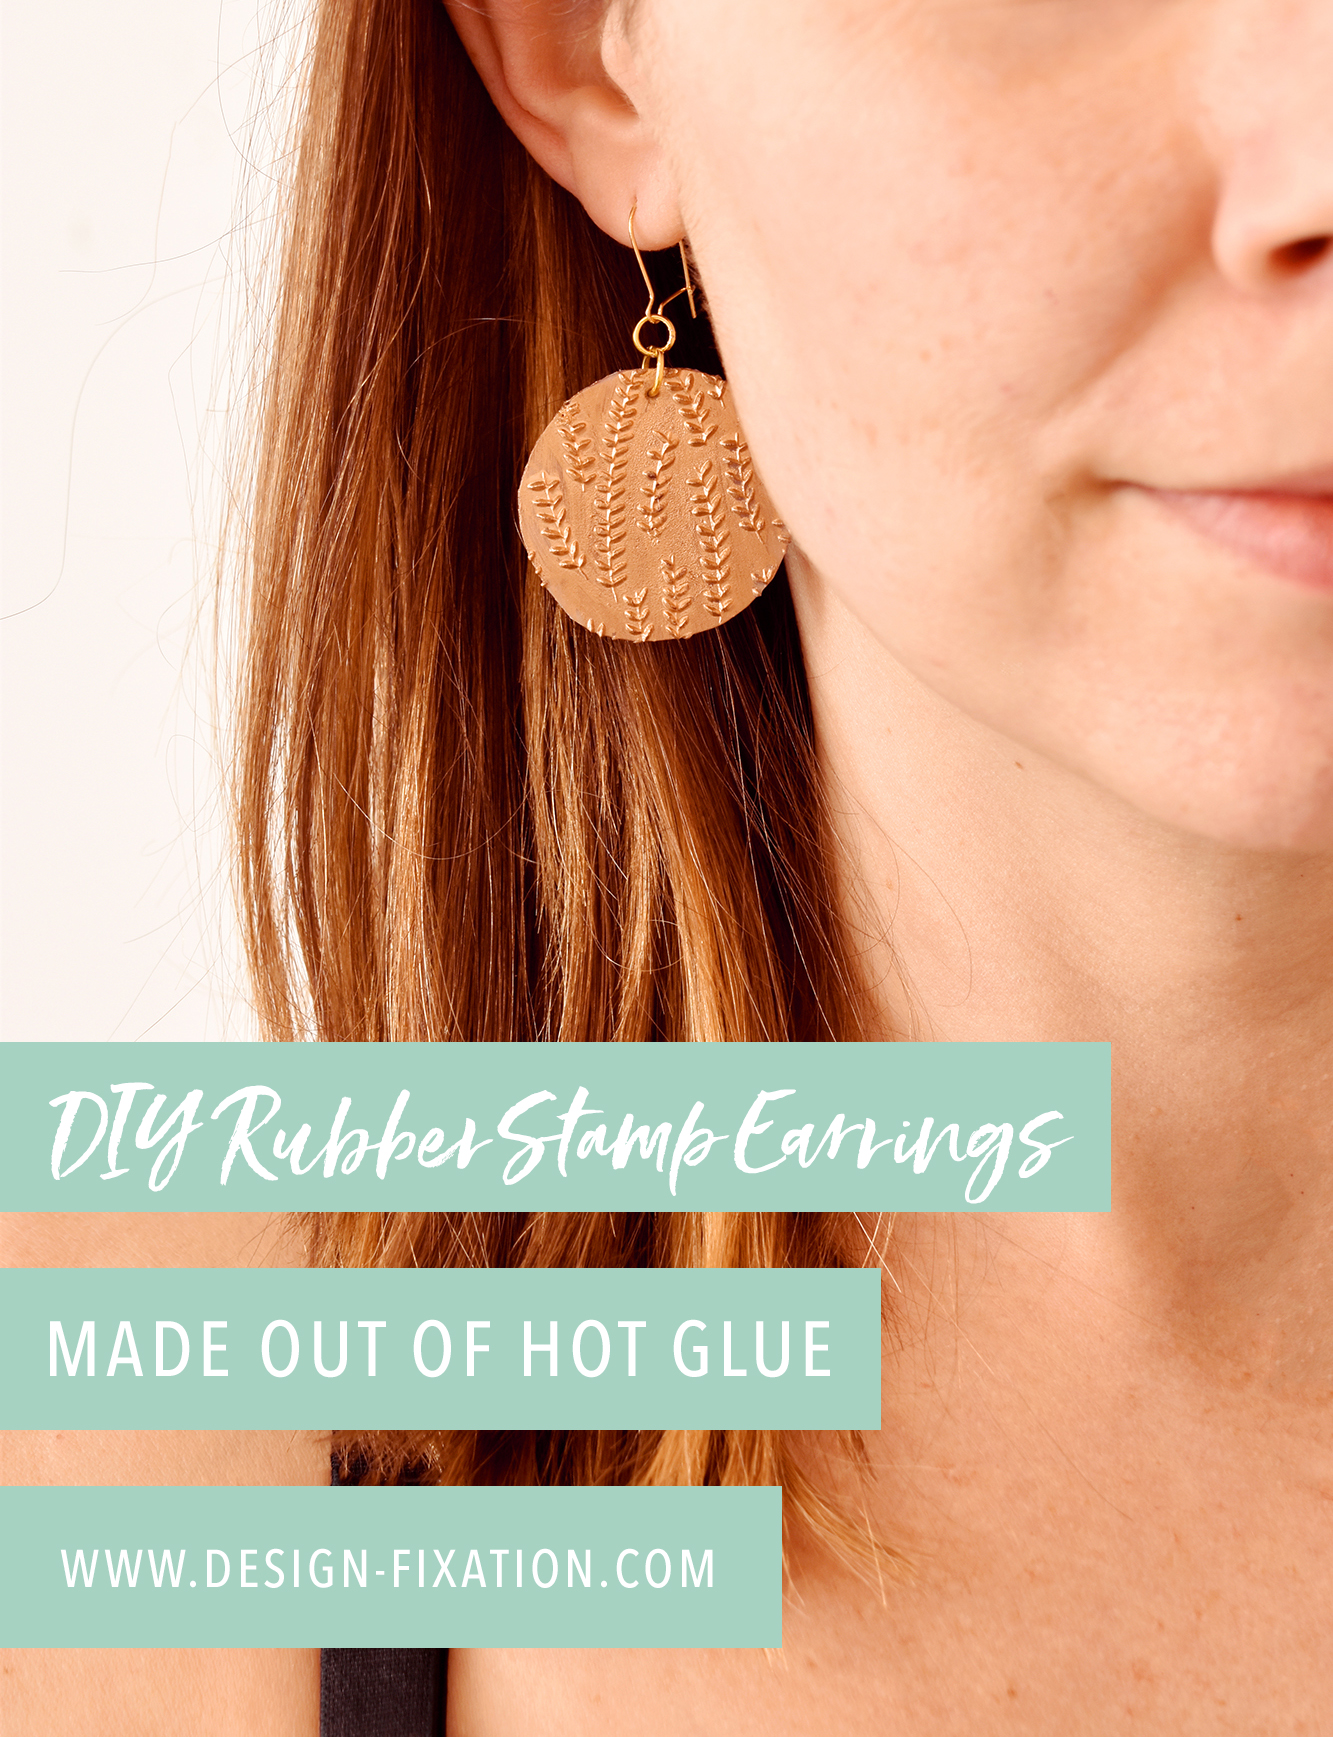
Sometimes when I hibernate in my office all by myself, I get stuck in a creative rut. But recently my husband Mike came into my office after work and I told him I felt like there must be a way to use rubber stamps in a unique way for a project (yes, these are the things I think about haha). And the more we chatted about it, the closer we got to an idea… and then it hit us – make an imprint in hot glue with a rubber stamp. And lo and behold it worked. So today I have a fun little DIY project for you, using a rubber stamp to make hot glue earrings!
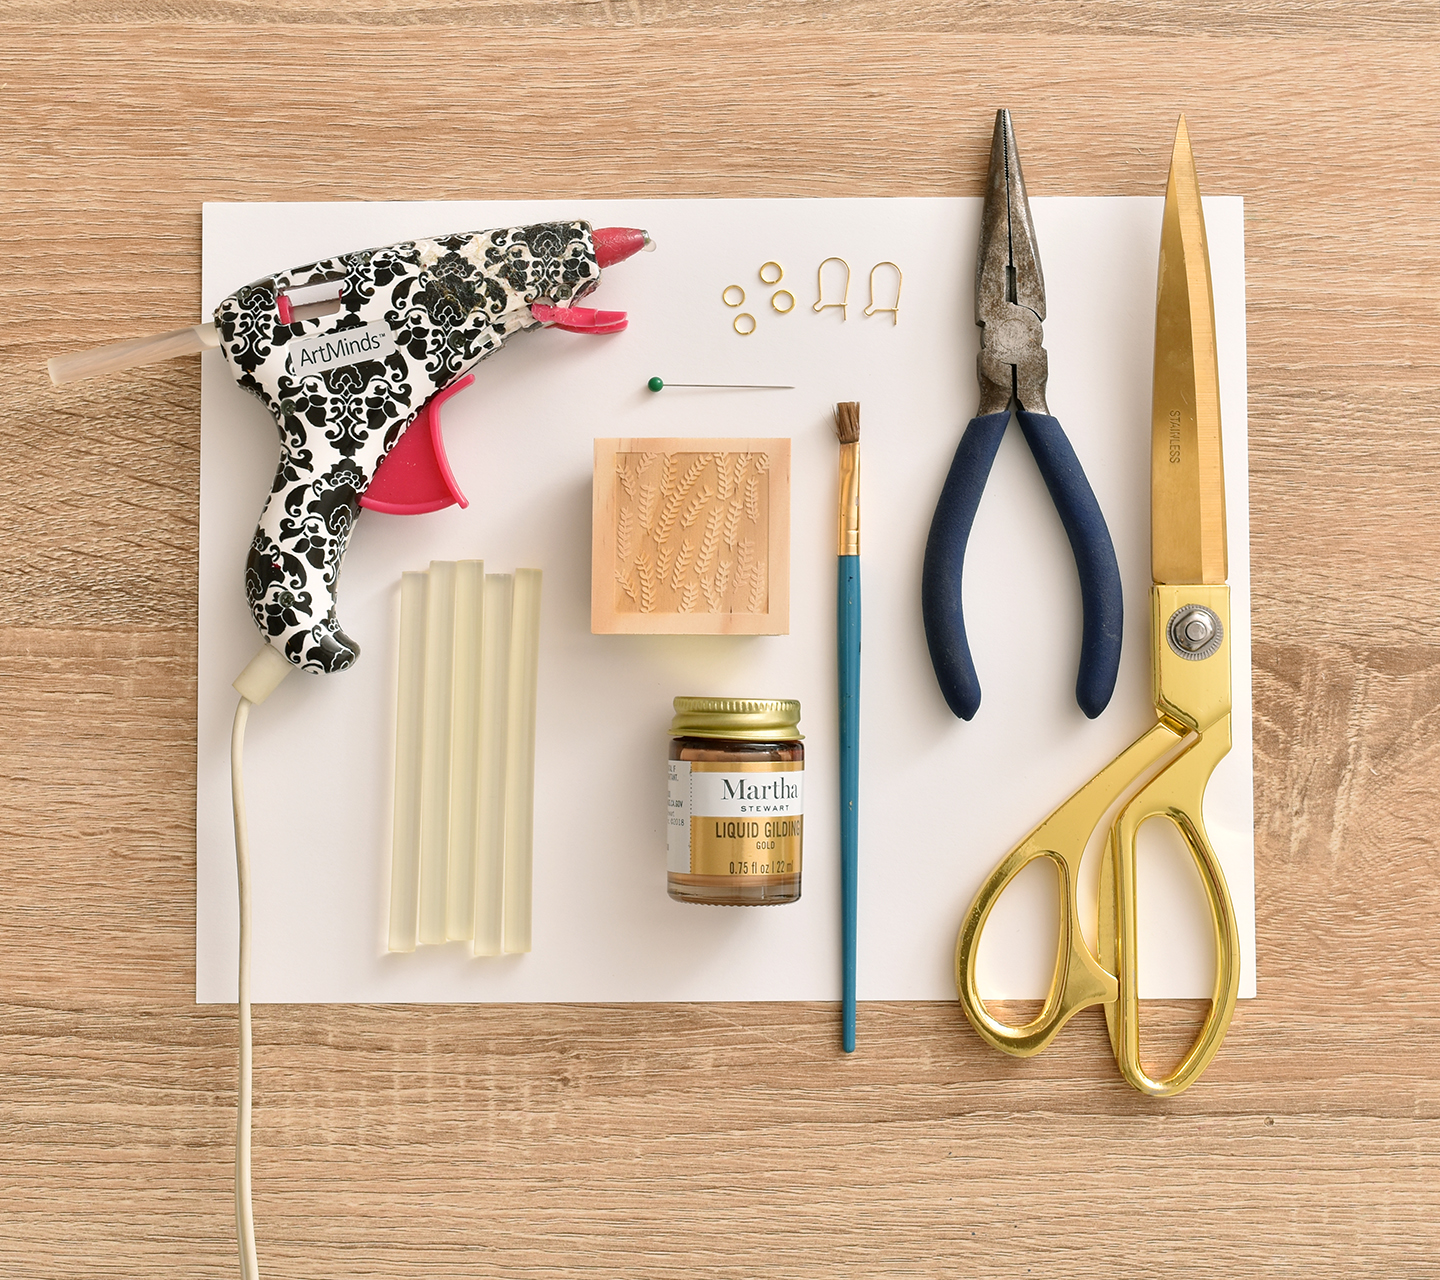
Here’s what you’ll need:
Rubber stamp
Hot glue gun and extra glue
Liquid Gilding
Old paintbrush
Card stock
2 earring wires (or these are even prettier)
4 jump rings
Beading pliers
Scissors
Pin
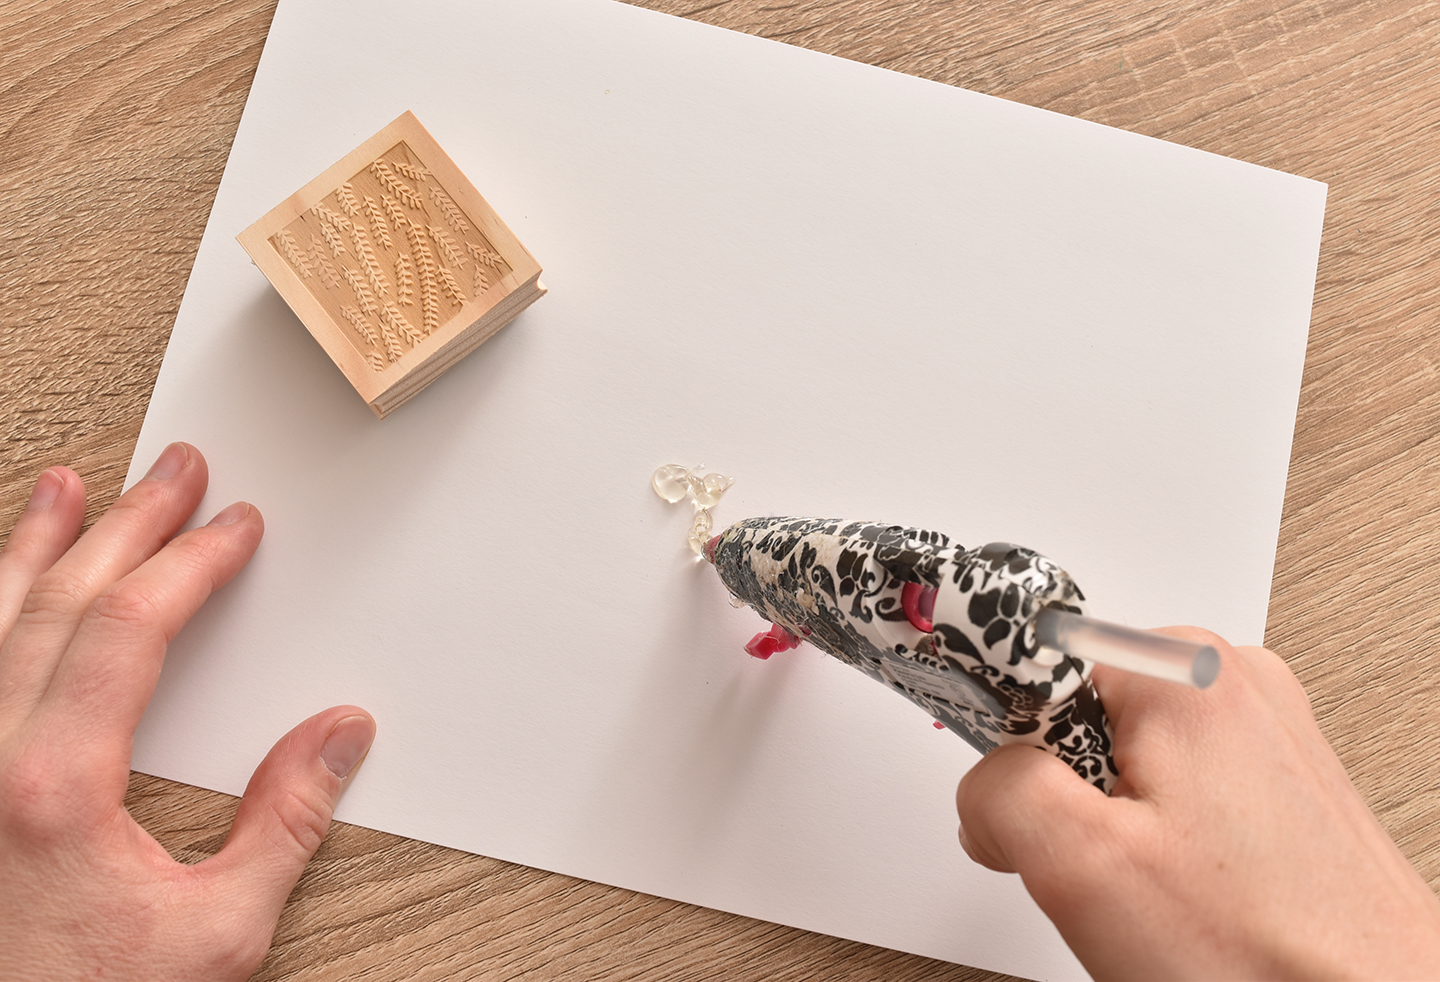
I would recommend testing this process out using an old stamp you don’t care as much about the first time so you can make sure you get the timing right. I used a custom made 2″x2″ wooden craft stamp from my favorite stamp company Rubberstamps.com. To begin your hot glue earrings, drip a quarter sized glob of hot glue on your card stock. Move quickly to the next step…
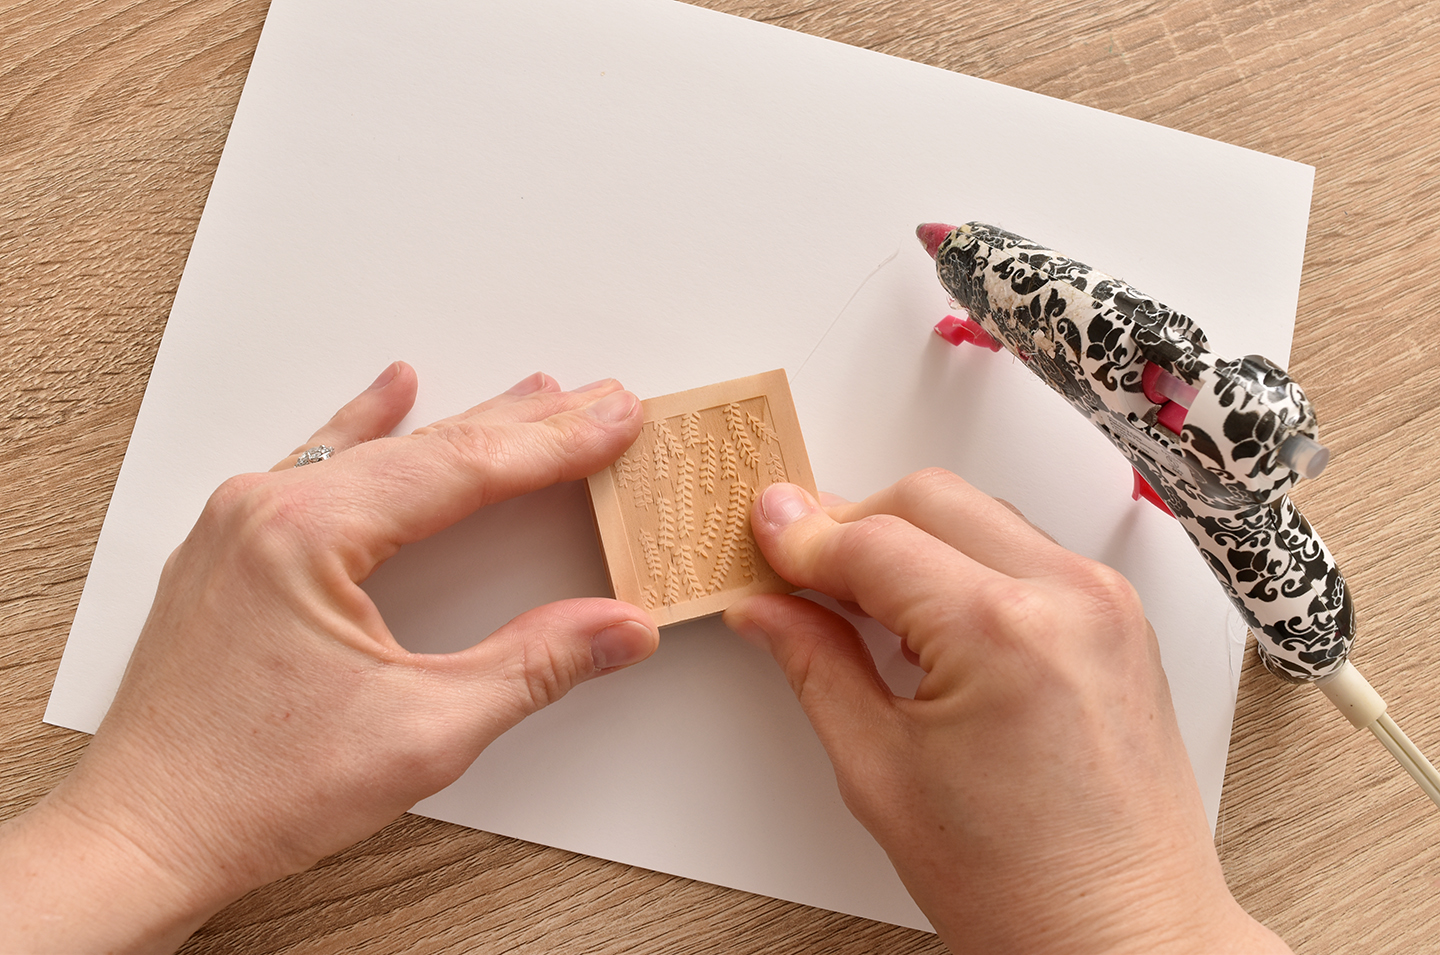
Before the glue dries, center the stamp on the glue and push down hard enough so that the stamp goes almost down to the surface of the paper.
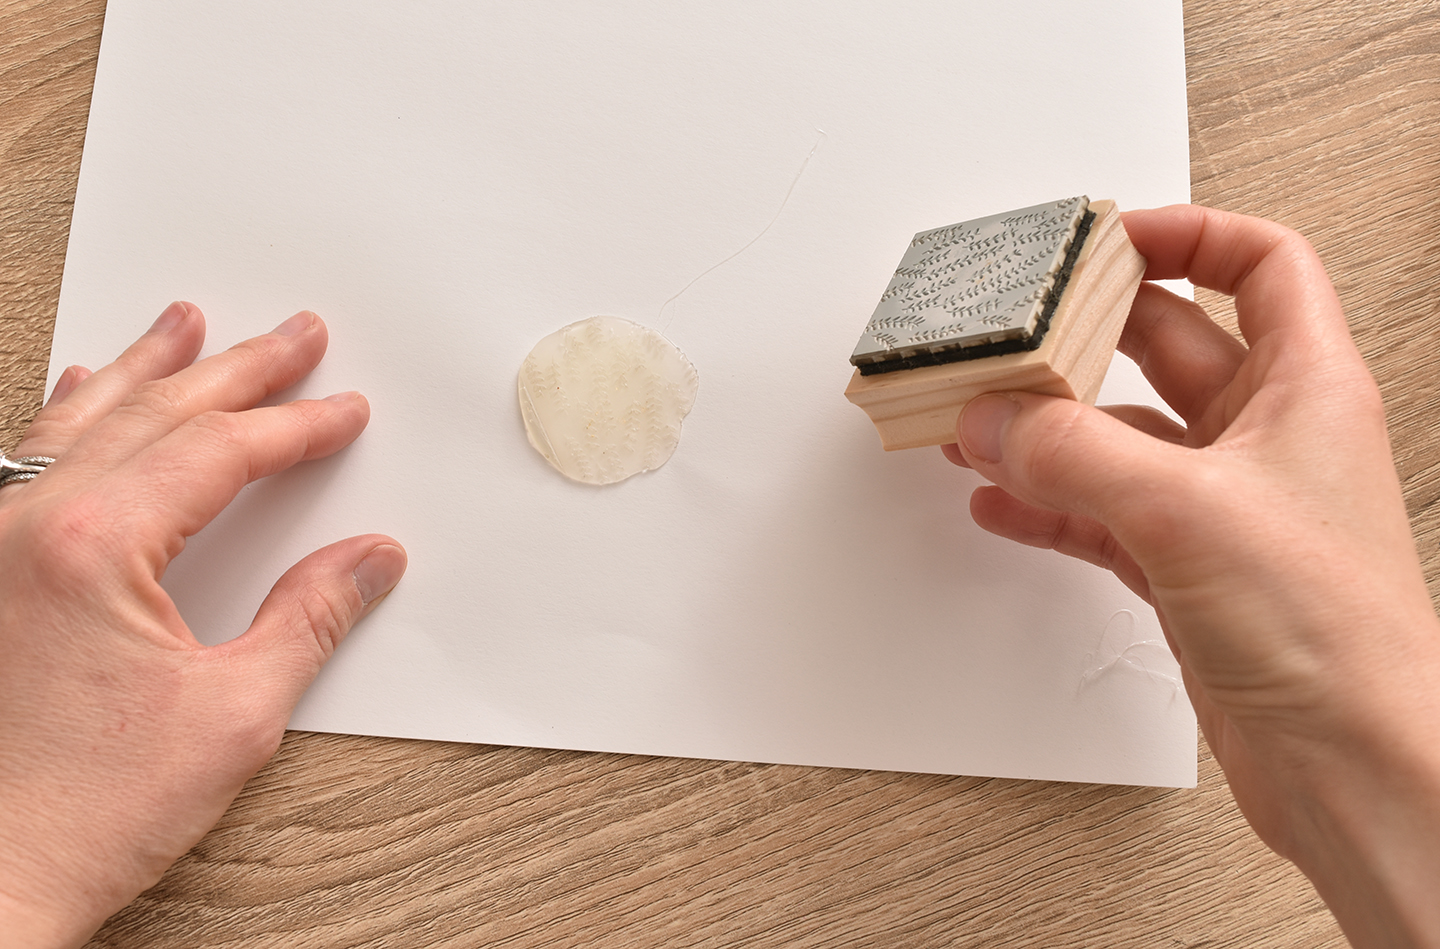
Wait 5-10 seconds and then slowly remove the stamp from the dried glue. Don’t do it too quickly or else the glue will stick to the stamp because it won’t be fully hardened. And if you wait too long, it may adhere to the stamp more permanently.
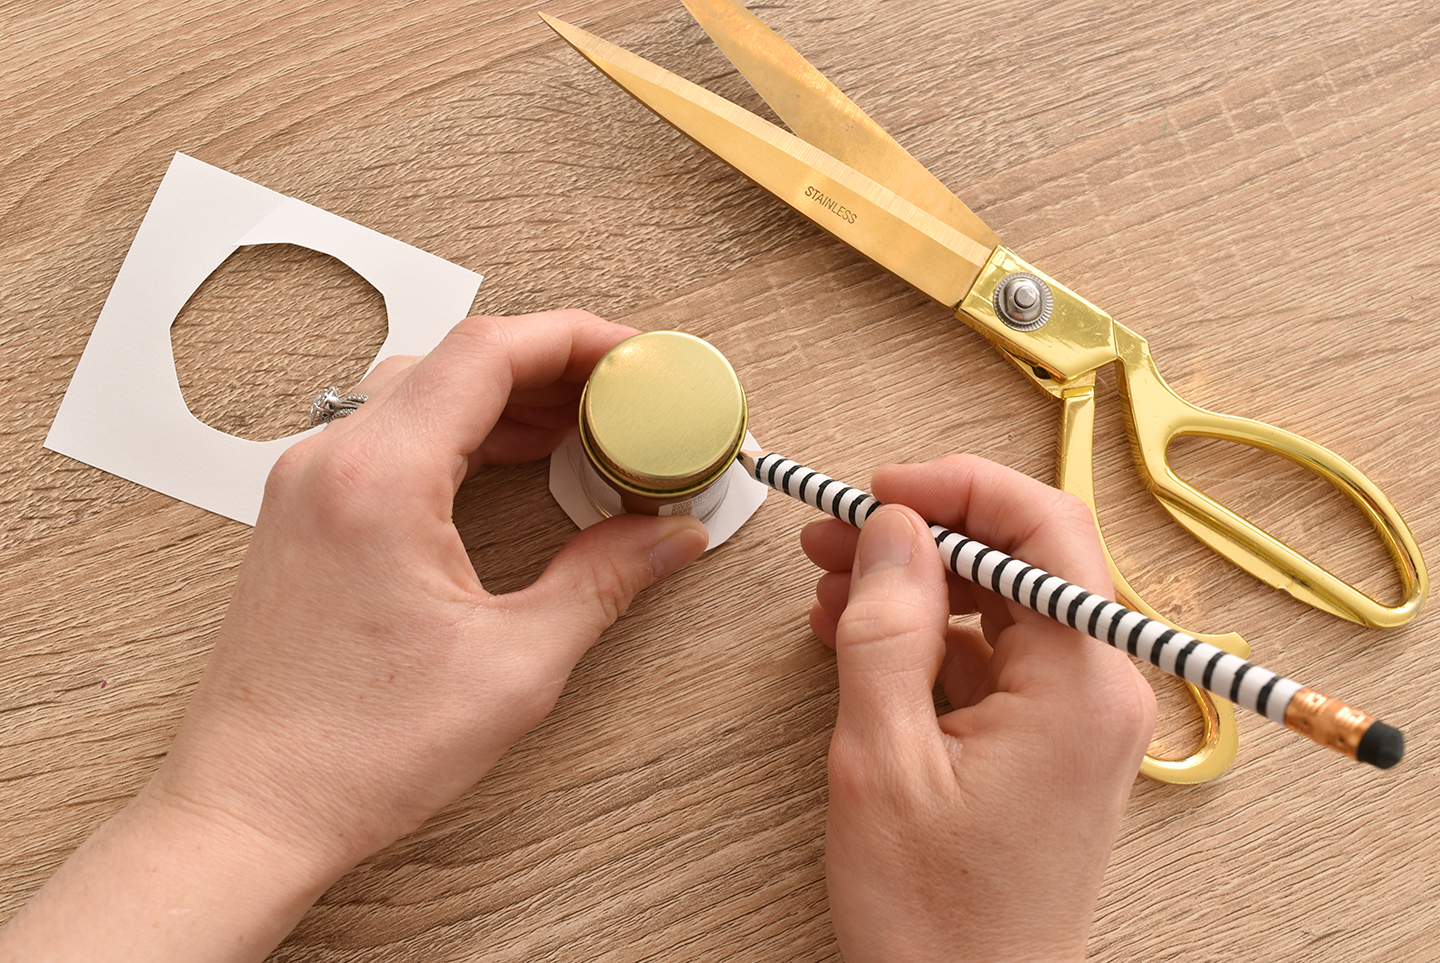
Cut around the general area where the glue is. Turn it over and use your Liquid Gilding bottle as a template to mark a circle.
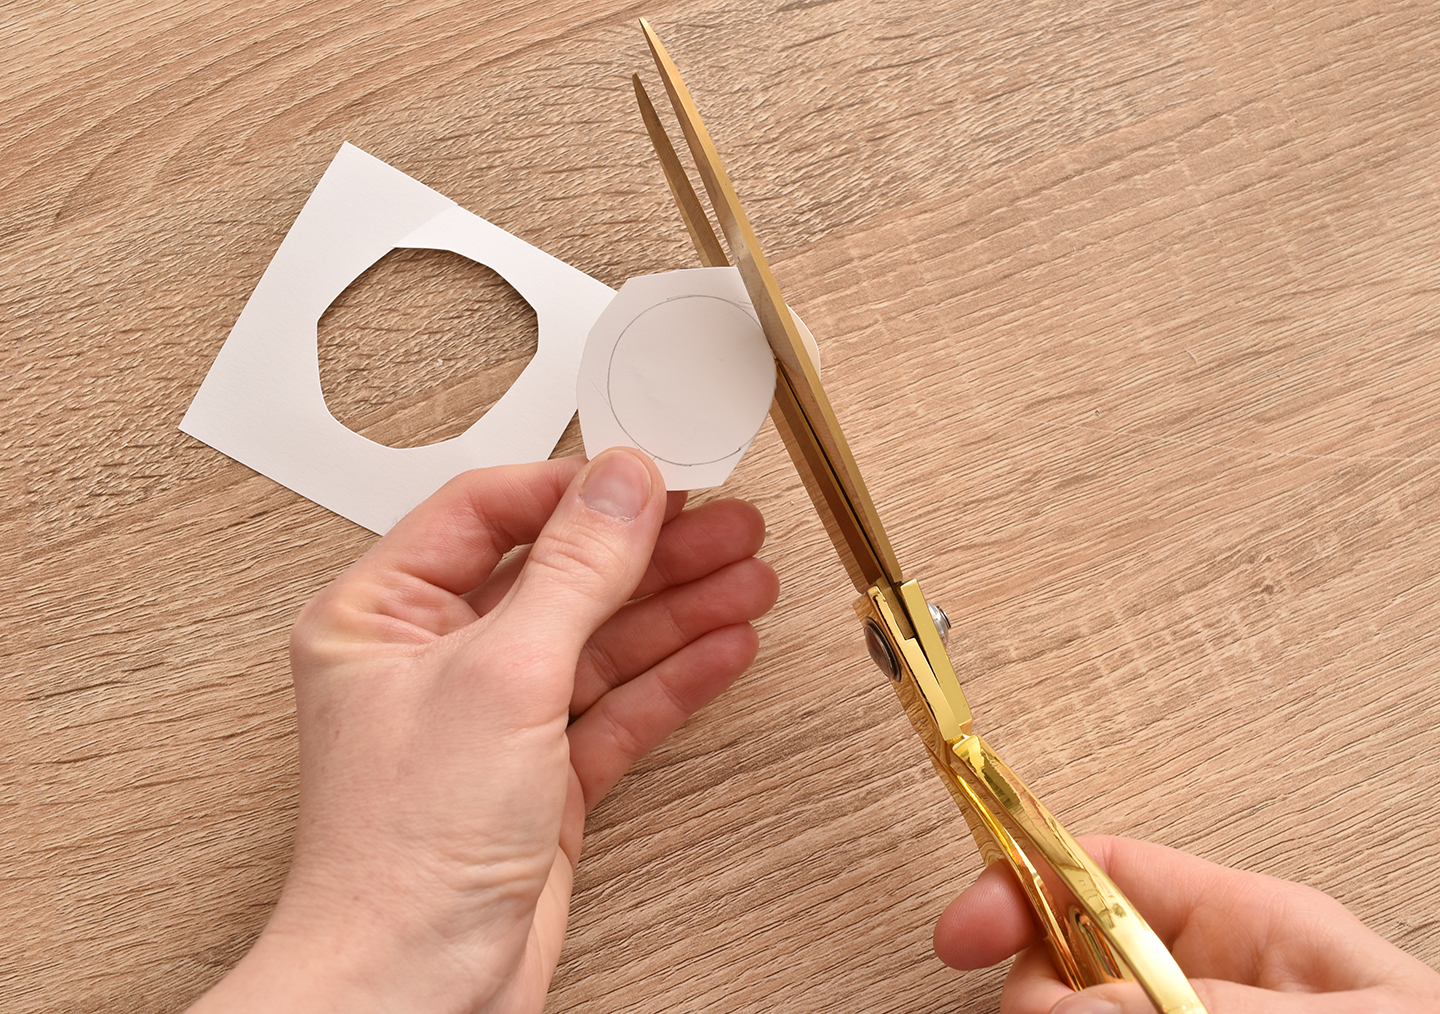
Carefully cut around the circle.
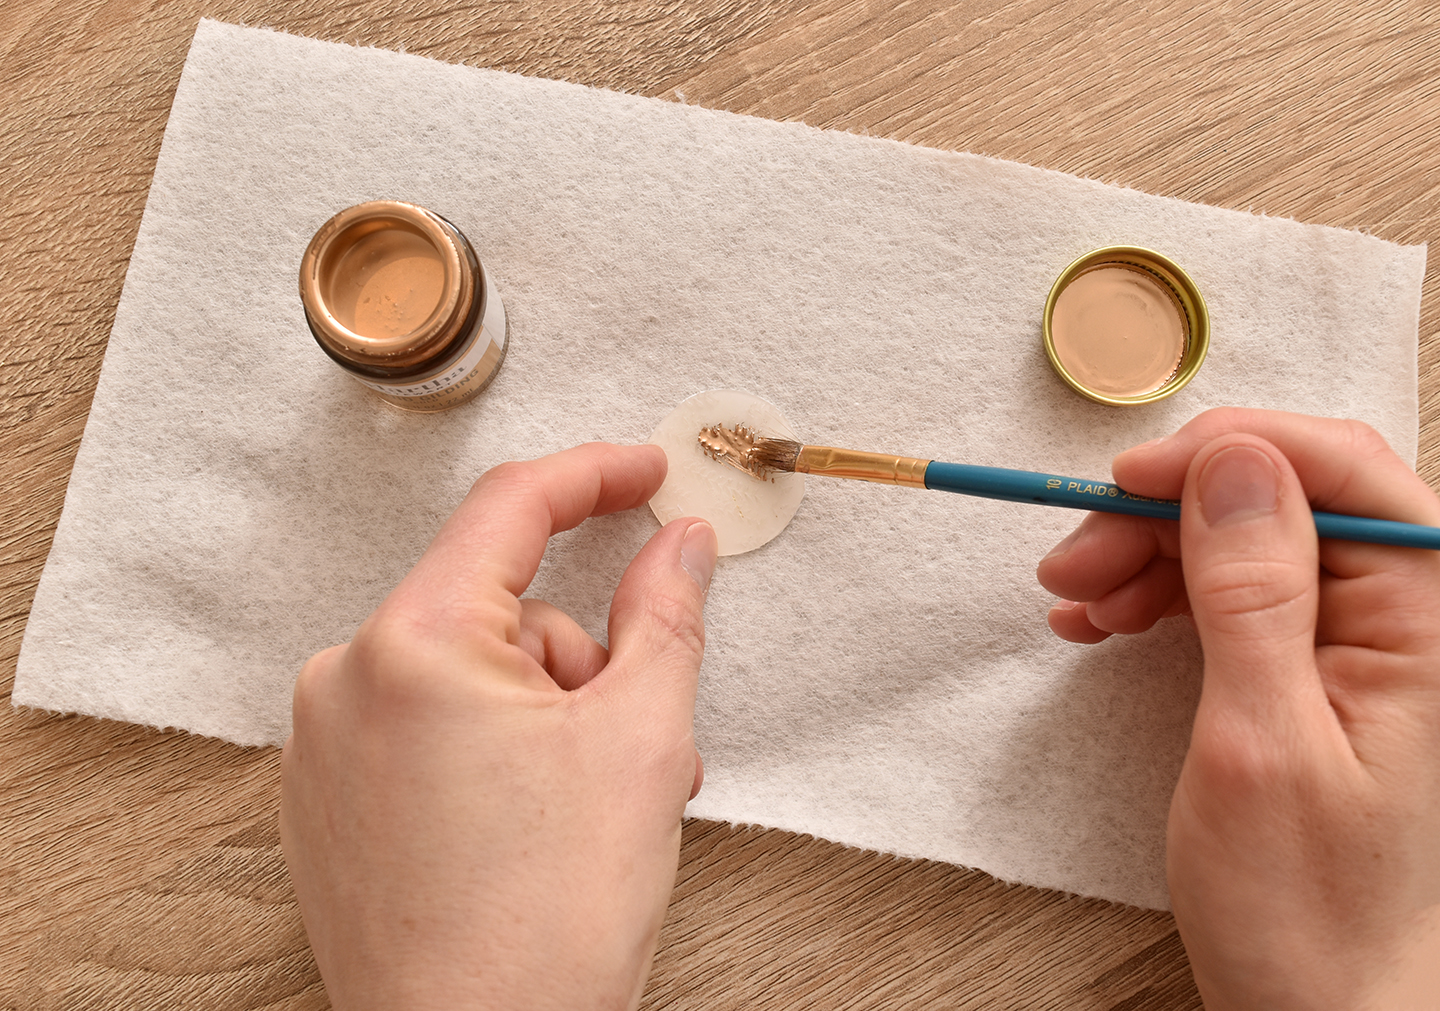
Paint the glue side of the earring pendant using an old paintbrush (Liquid Gilding is oil based so it won’t come off unless you use an oil paint remover). I just dedicate the same paintbrush to this purpose and wipe it off every time. Let it dry and then paint the card stock side too.
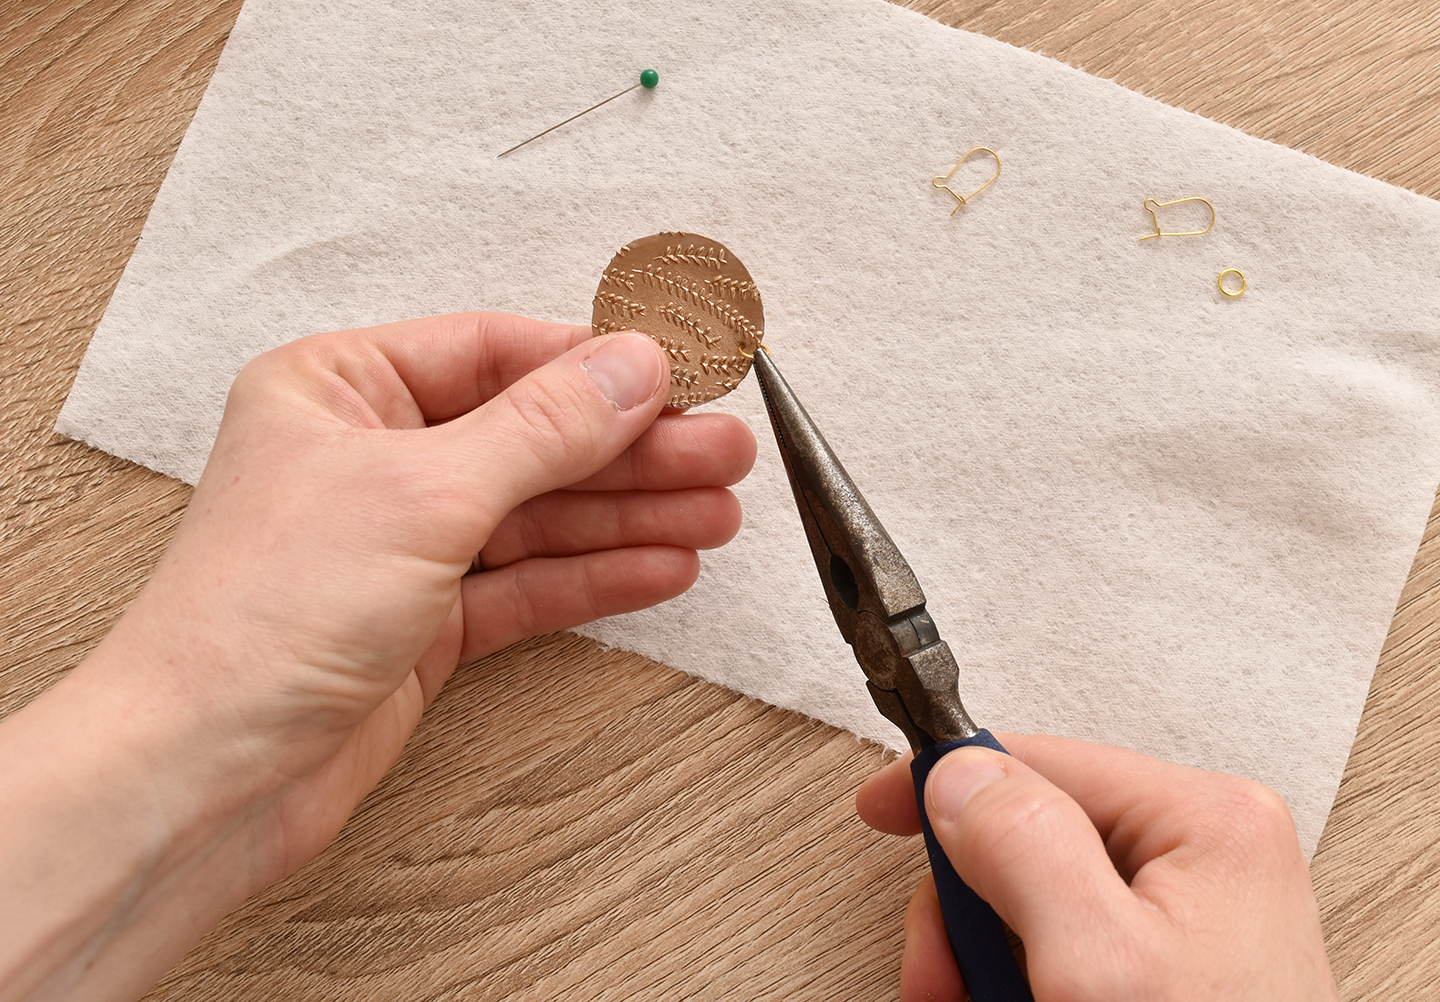
Once both sides have dried thoroughly, poke a hole at the top with a pin and then insert one of the jump rings. Add another jump ring and then attach the earring wire.
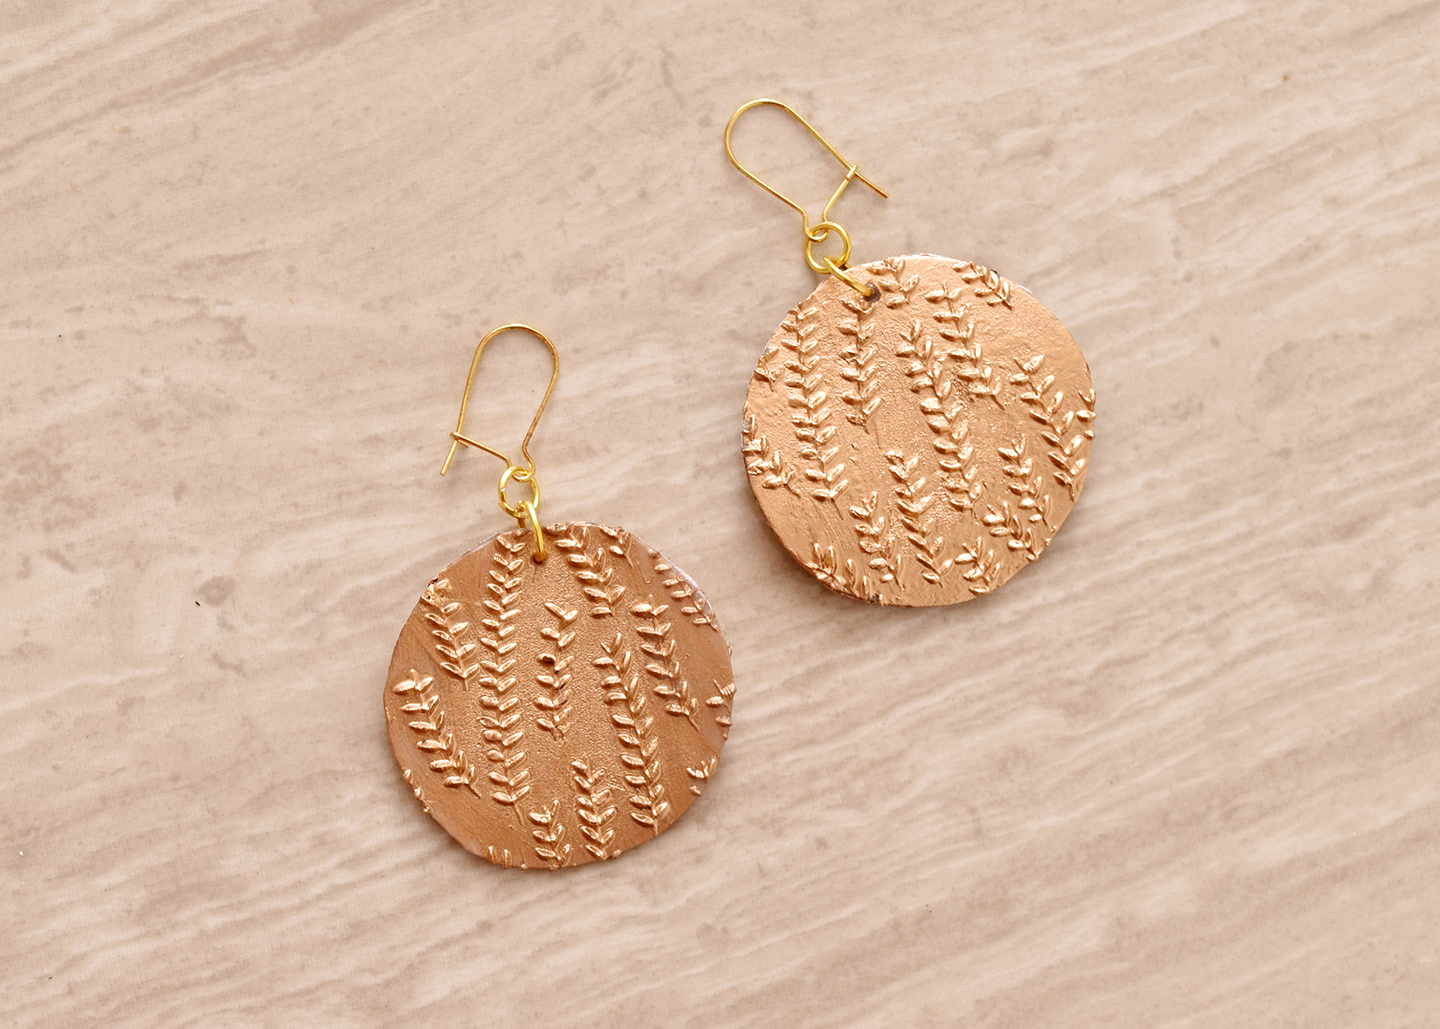
Repeat the whole process one more time, and voilà – you have a beautiful new pair of hot glue earrings!
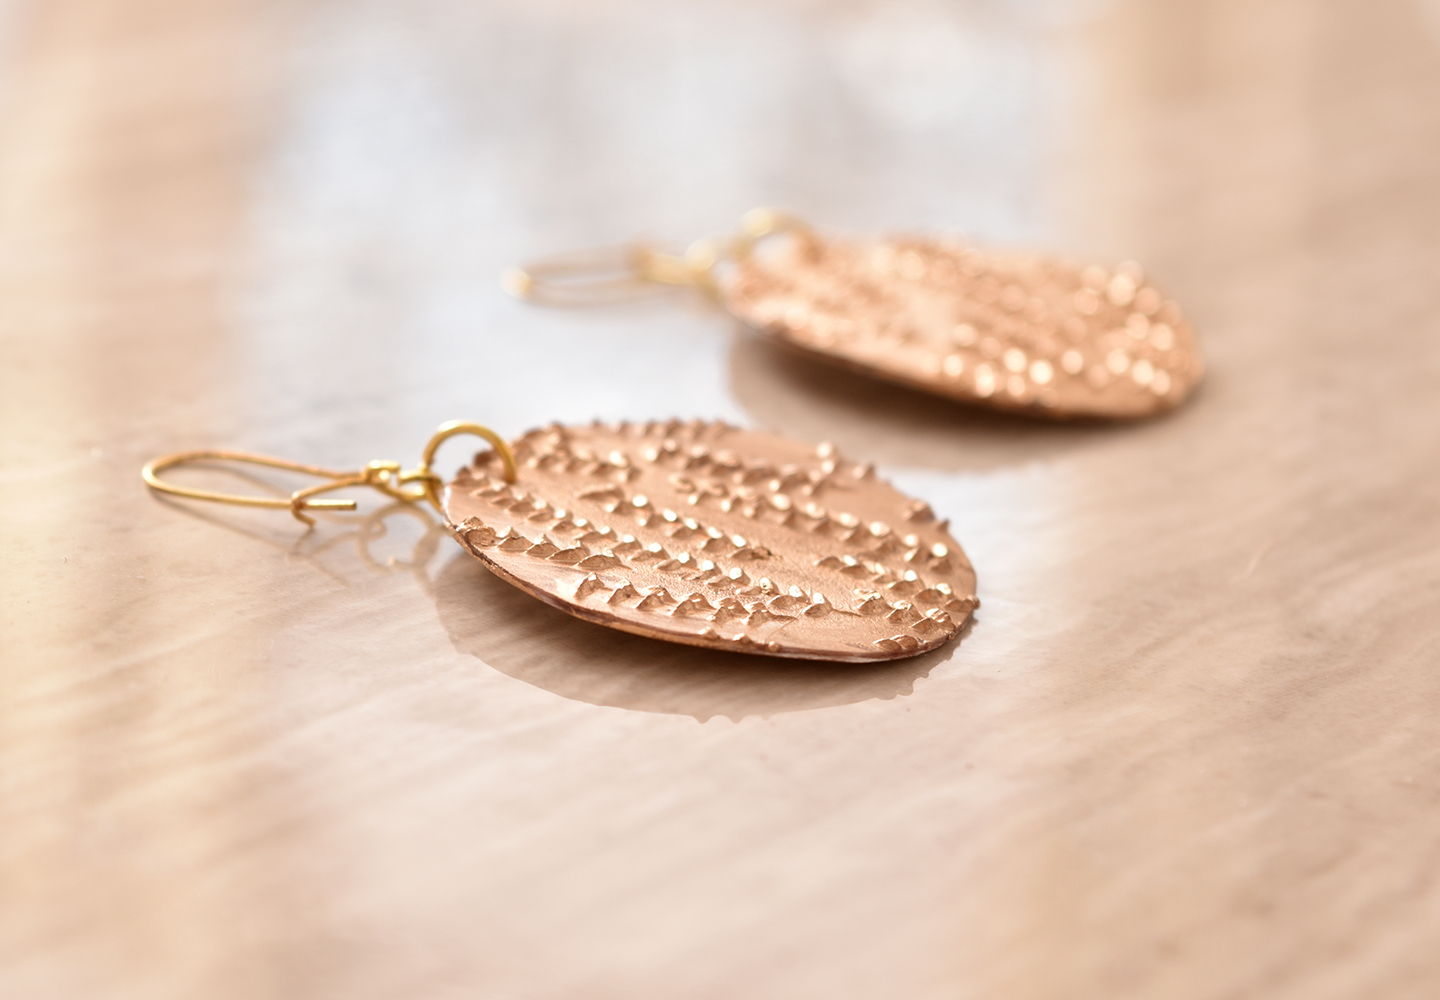
I think they almost look like colored leather when they’re finished… they’ll definitely make a unique addition to your jewelry collection.
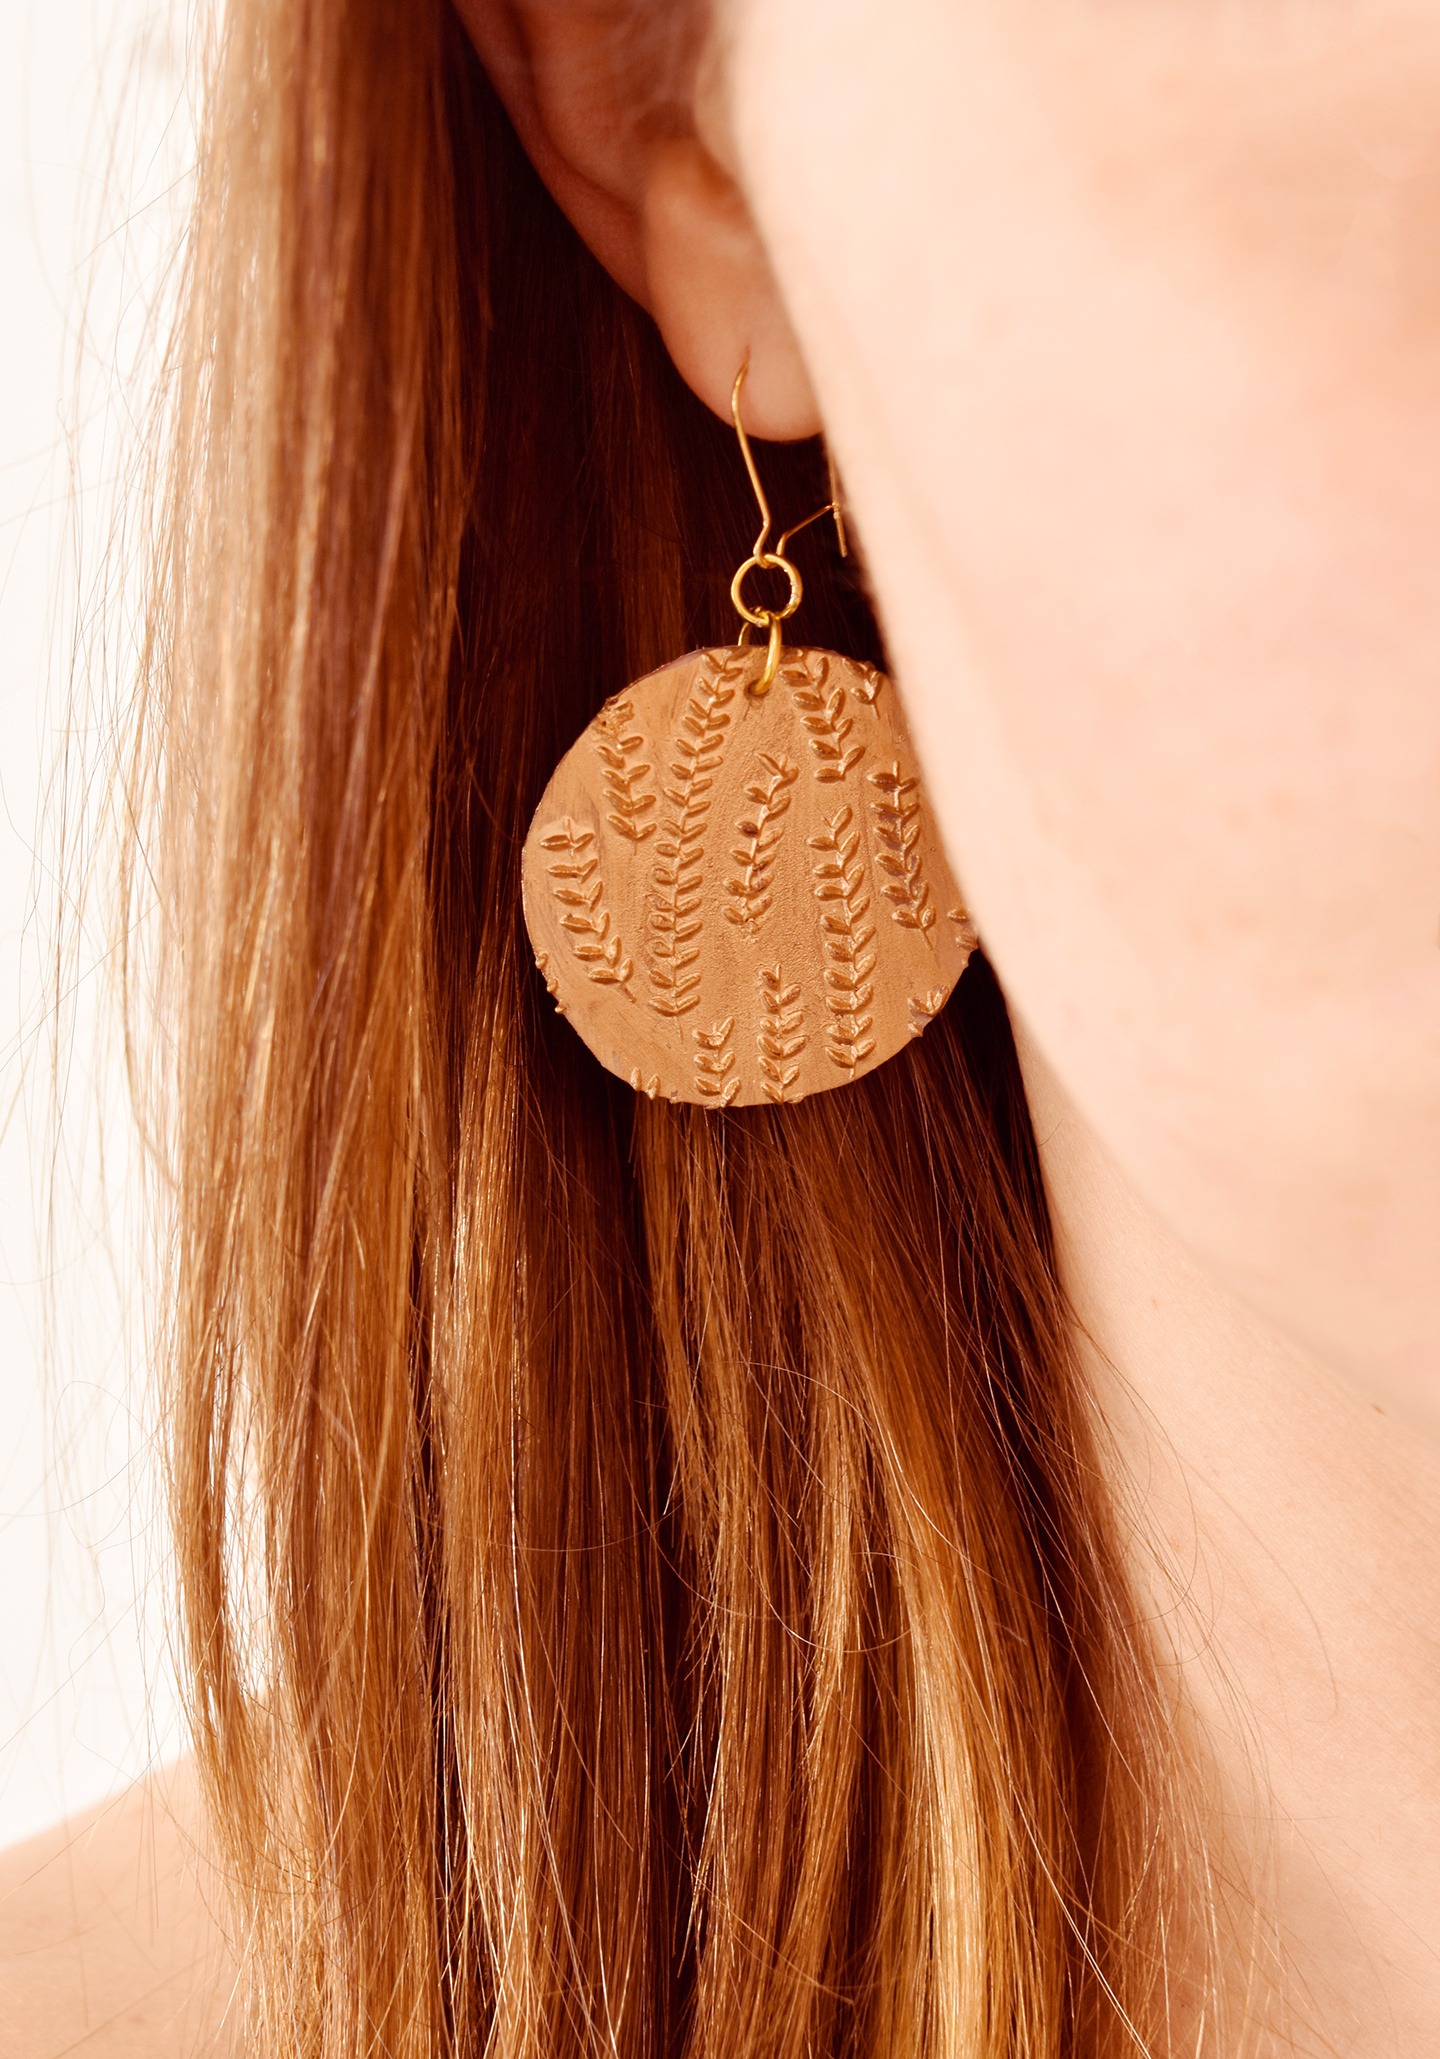
This process could be used for so many other projects too… you could make necklaces or pendants to dress up your keychain. It might even have some interesting non-jewelry applications as well – let me know if you think of any good ideas!
Are you on the hunt for more jewelry DIYs? Check out my all-time favorite statement necklace project here and a roundup of bold necklace DIYs here.
These hot glue earrings were
created in partnership with Rubberstamps.com.
Thanks for supporting the brands that keep Design Fixation online!
