This post may contain affiliate links. This means that if you buy the cool stuff I recommend, I earn a small commission (but you still pay the same price). Thanks for helping me make a living doing my dream job!
Today we have a special guest post from the very talented Meghan Quinones from Happiness Is Creating. She’s teaching us how to make the cutest winter wreath using all that leftover yarn that most of us crafters have lying around the house. So let’s get started… take it away Meghan!
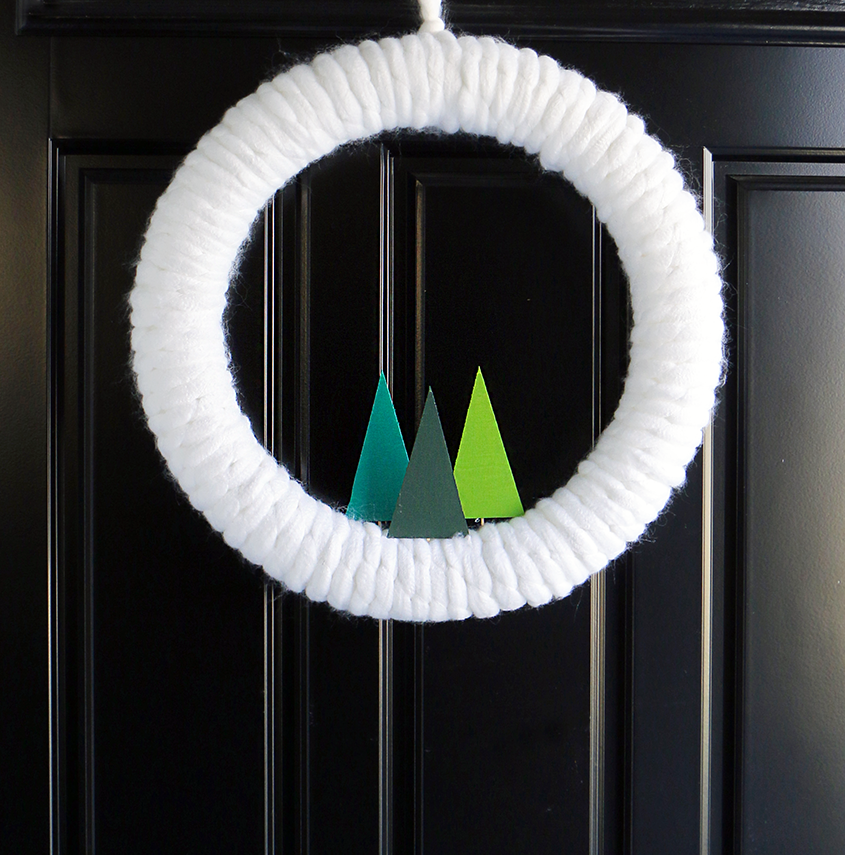
Simple DIY Winter Yarn Wreath
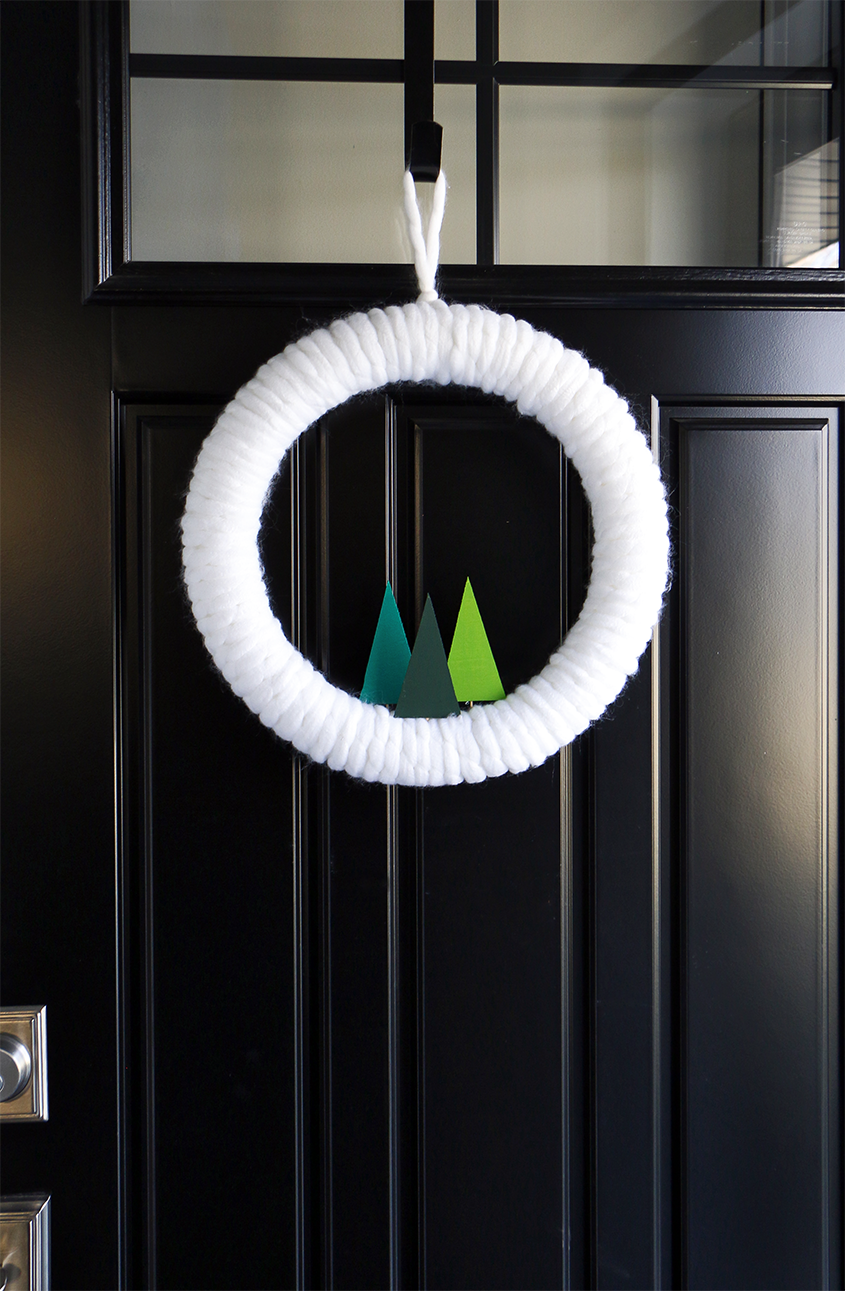
Add some festive flair to your decor this winter with this simple DIY winter yarn wreath! With the holidays in full swing, most of us have decorated our homes with lush garlands, brightly lit Christmas trees, and everything green, red, gold, and silver. But once the new year rolls around, this wreath will be perfect for those wintery months ahead.
Supplies
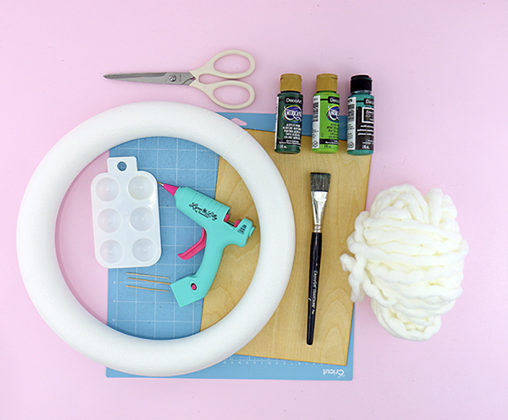
- 14” Foam Wreath Form
- Loops & Threads Chunky Yarn in White
- 1/16” Basswood
- Cricut Maker (or Craft Knife and Cutting Mat)
- 3 Toothpicks
- Hot Glue Gun and Glue
- DecoArt Paint in Houser Dark Green, Jungle Green, and Irish Moss
- Paint Brush
- Paint Pallet
- Scissors
Instructions

Step 1: Tie the end of the yarn around the wreath leaving a 3” tail. Then, tie another knot around the wreath leaving a 12” loop in-between the two knots. Push the two knots together so you can’t see the wreath form.

Step 2: Use the tail and the yarn (still attached to the yarn ball) to tie a knot. This will be how you hang you wreath. NOTE: Do not trim the yarn from the yarn ball!

Step 3: Begin wrapping the yarn around the wreath, making sure it’s tight and you don’t see the wreath form peeking through.

Step 4: Continue wrapping yarn around until you get back to the top. Trim the end of the yarn leaving a 3” tail. Then, tie a double knot and twist the ends.
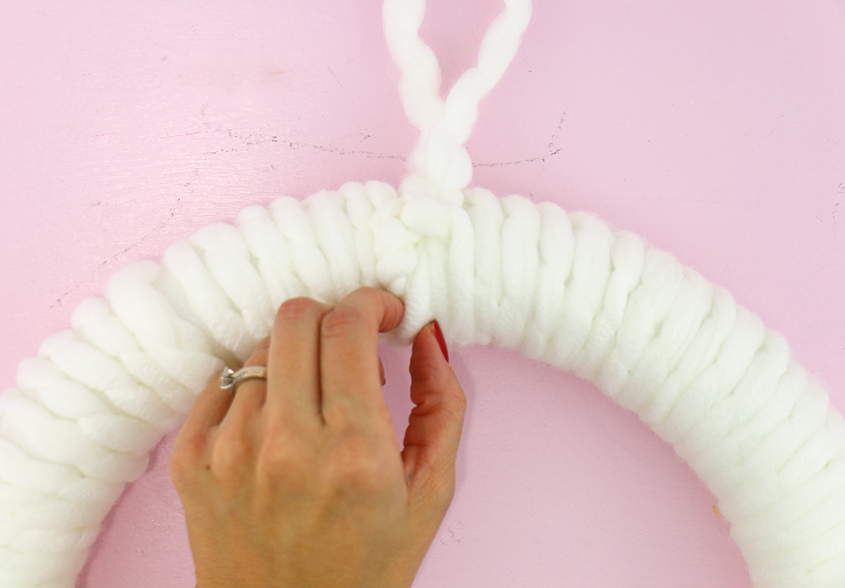
Step 5: Stuff the twisted ends into the back of the wreath.

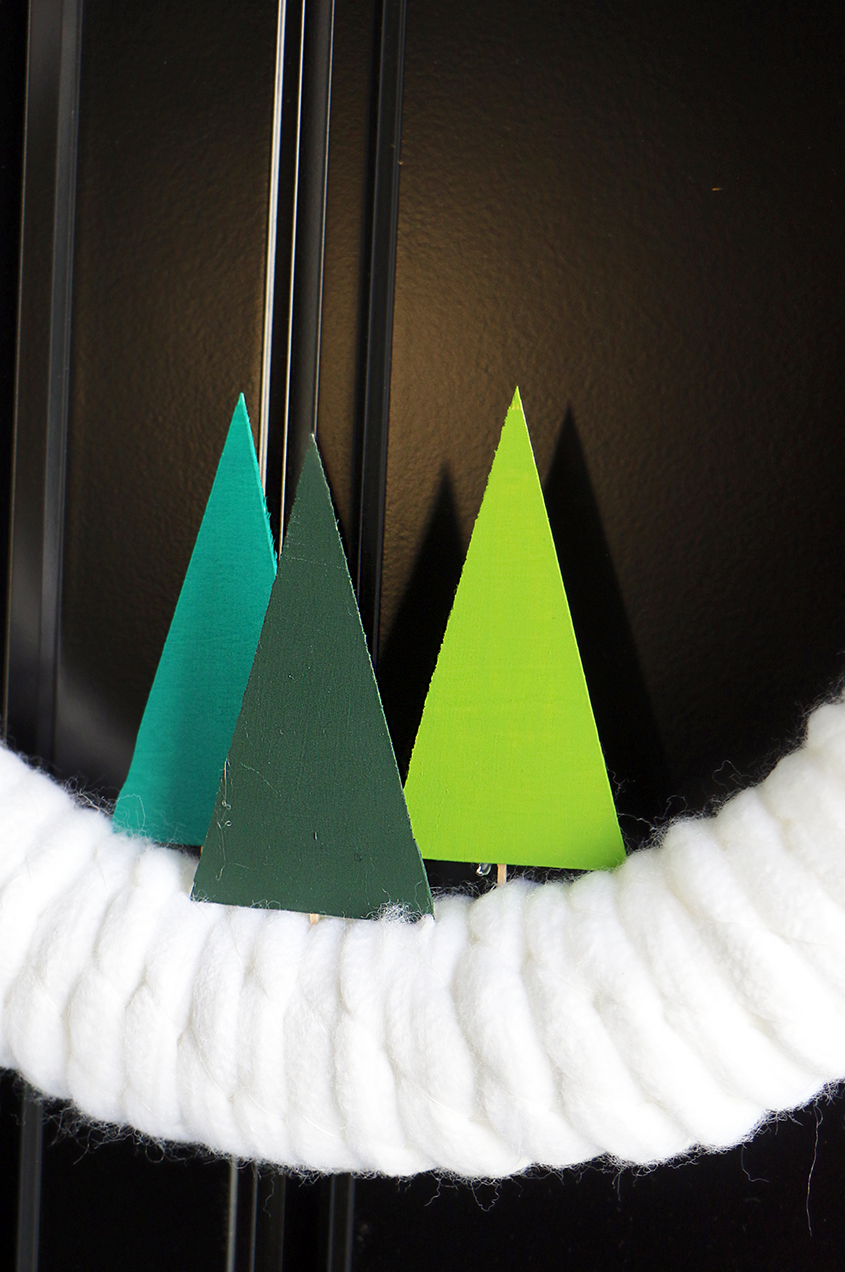
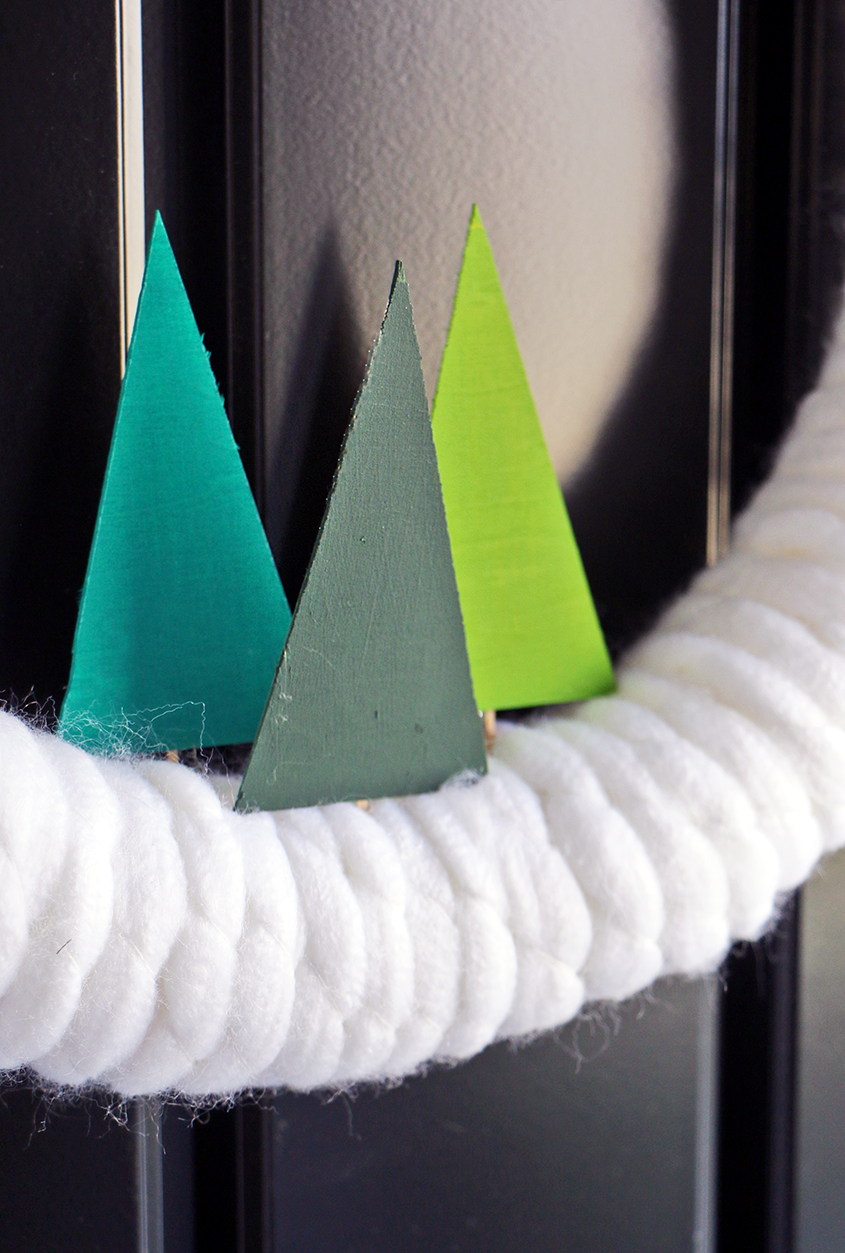
Step 6: Cut out 3 wooden trees 3.25” tall and 1.5” wide using a Cricut Maker with the knife blade. If you don’t have a Cricut, place the wood piece on a craft mat and use a craft knife to cut. Paint each tree a shade of green and let dry.
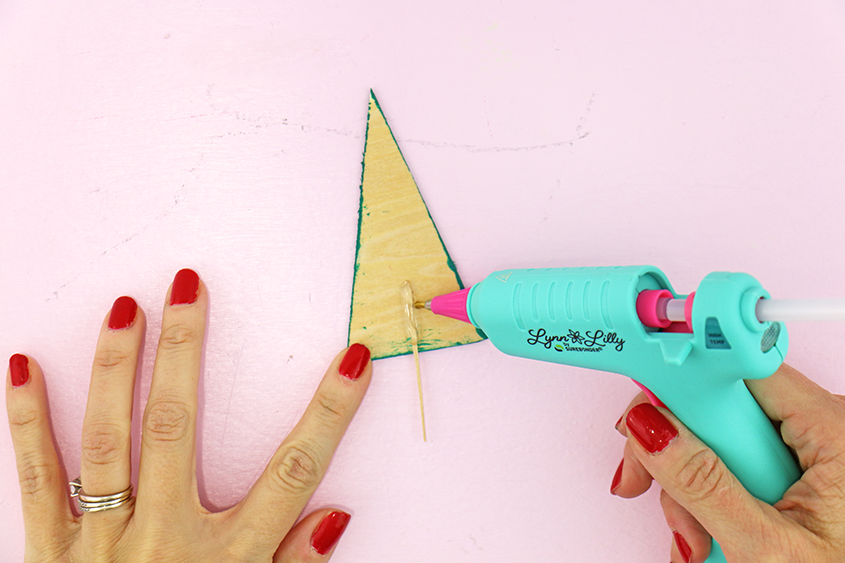
Step 7: Glue a toothpick to the back of each tree.
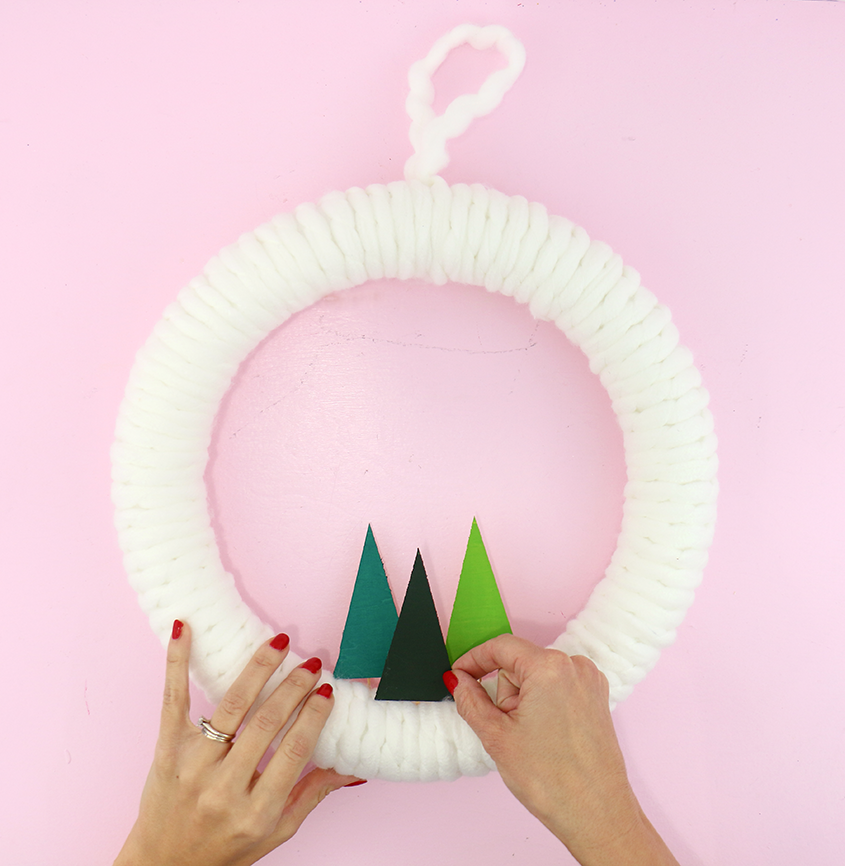
Step 8: Holding firmly on the toothpick, press it into the foam wreath. You’ll want two trees in the back and one in the front.
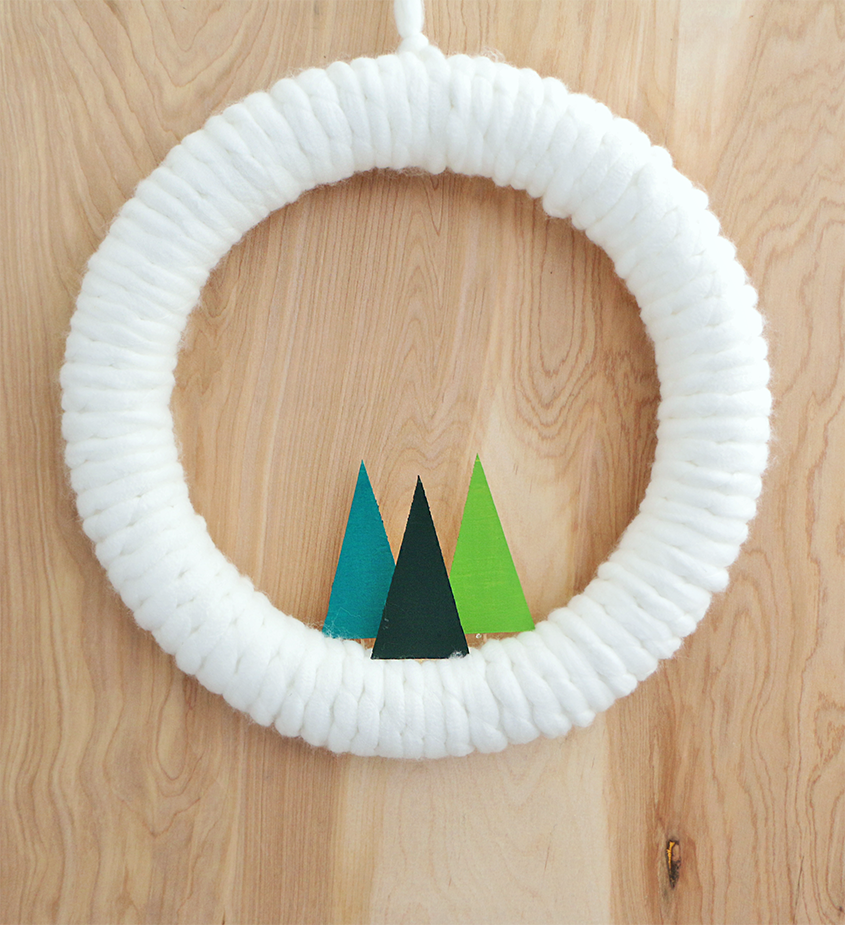
You can hang up your simple DIY winter yarn wreath on the front door, over a fireplace, or in front of an oversized mirror!
To check out more of Meghan’s beautiful projects, visit her blog Happiness Is Creating. And for tons of other DIY wreath inspiration, head over here.
