This post may contain affiliate links. This means that if you buy the cool stuff I recommend, I earn a small commission (but you still pay the same price). Thanks for helping me make a living doing my dream job!
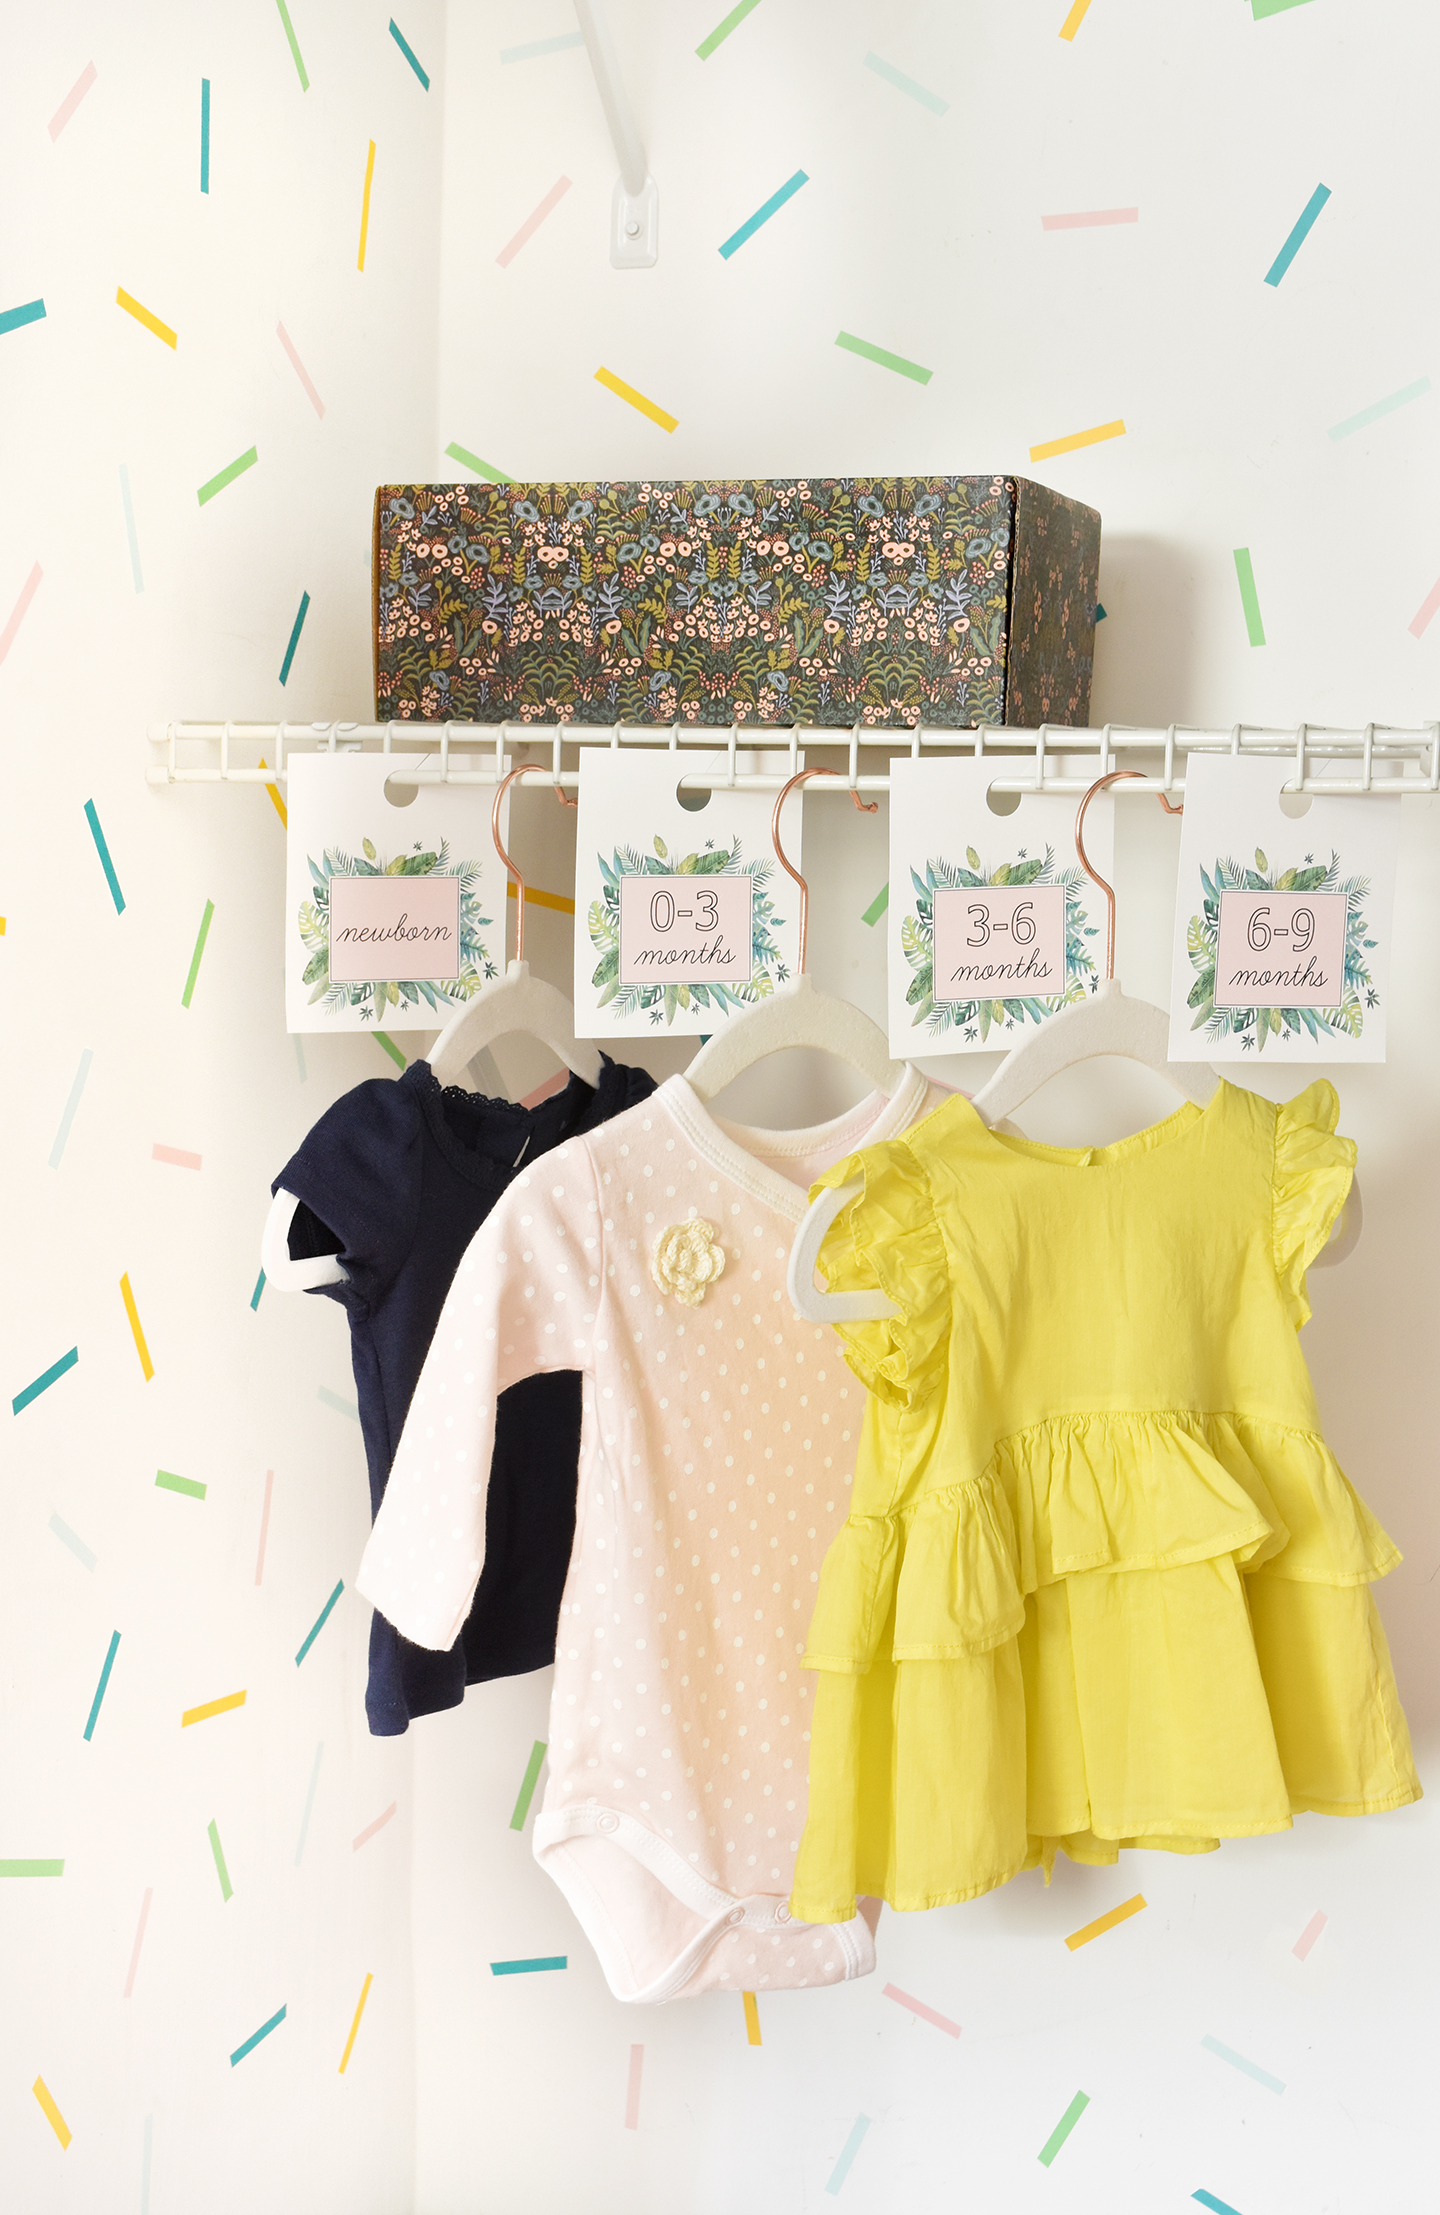
When I started brainstorming décor ideas for the closet in our nursery, I had a design dilemma. I wanted to give it a colorful makeover, but latex paint was out – those fumes rub this pregnant lady the wrong way. And Mike can paint a regular wall with the best of ’em, but I didn’t want to make him paint a mural or stripes or some other elaborate wall treatment 🙂 So I decided to try a confetti washi tape wall! We’ve been affectionately calling it the “closet confetti.”
This is something that anybody can do, and it doesn’t necessarily have to be in a closet or even in a nursery. It would look great as an accent wall in the living room, or as a photo backdrop at an event.
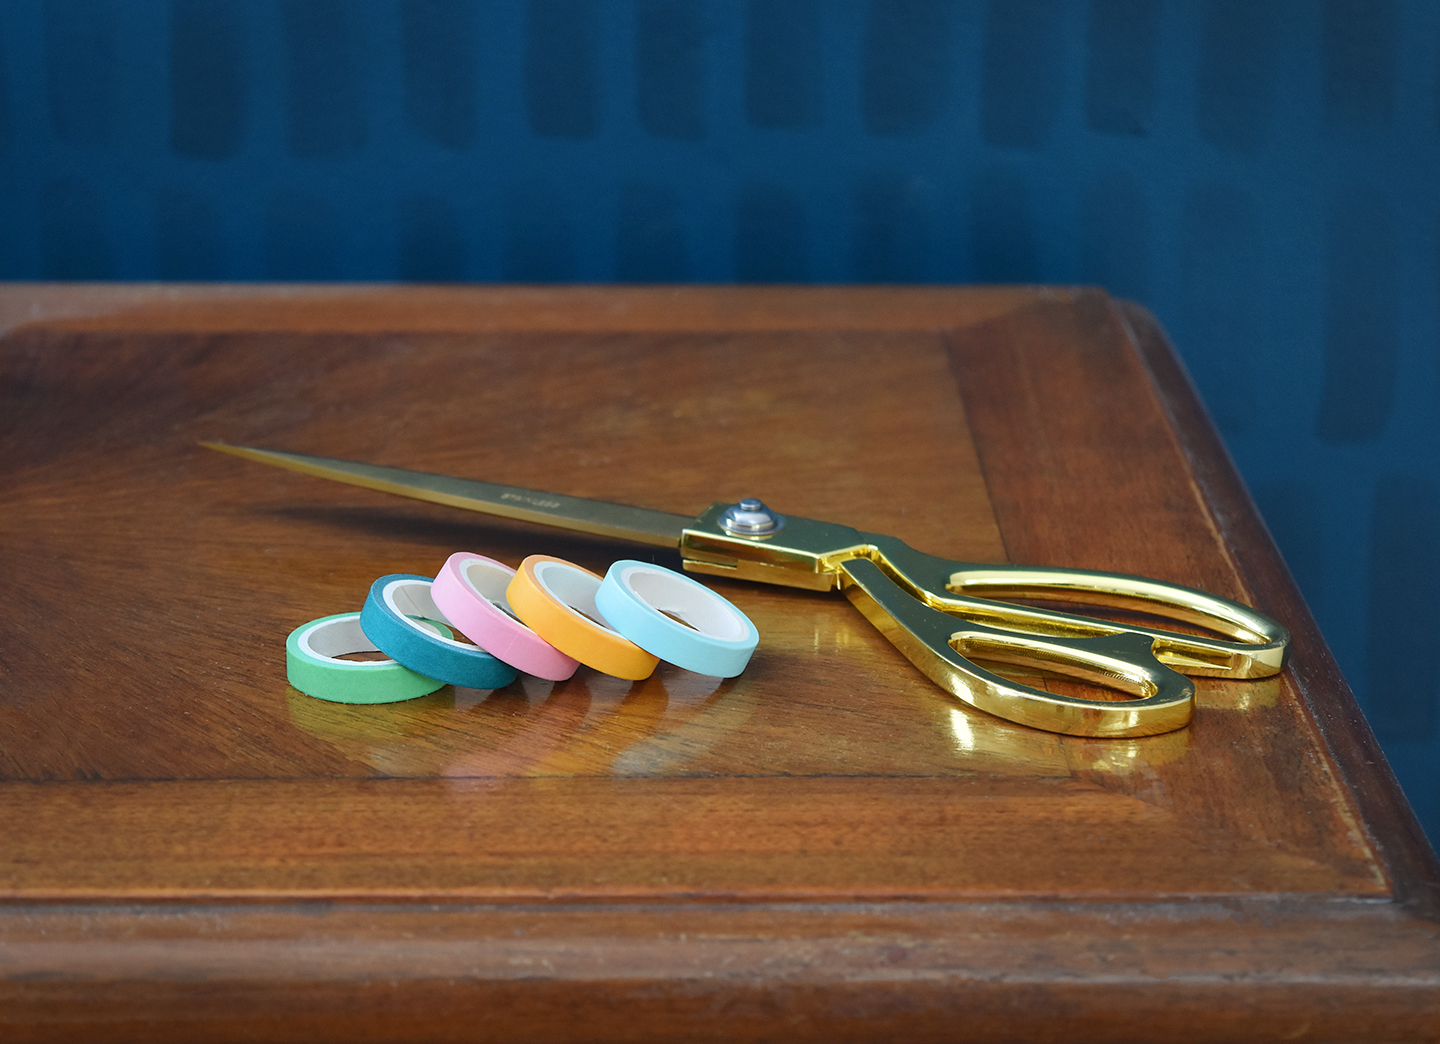
Alright, let’s get down to it. Here’s what you’ll need for your confetti washi tape wall:
- Washi tape in at least 5 colors (I bought this incredible set)
- Scissors (I think gold ones make a project more fun;) )
- Damp rag to remove dust from the wall
If you’re a diehard color fan like me, then you’ll probably want to buy a tape set like the one I bought so you have lots of options. I’m obsessed with it… there’s a variety of delicious colors and it’s making me want to find other washi projects just so I have an excuse to use more of it. Anyway. Here’s how you do your washi tape wall:
Prep The Wall
Begin by wiping the wall clean with a damp rag to remove any dust or oil that might prevent the tape from sticking to the wall. If there are any scuffs on the wall, I found that a Mr. Clean Magic Eraser worked really well for this (I mean… Magic Erasers work well for practically everything).
Cut The Washi Tape
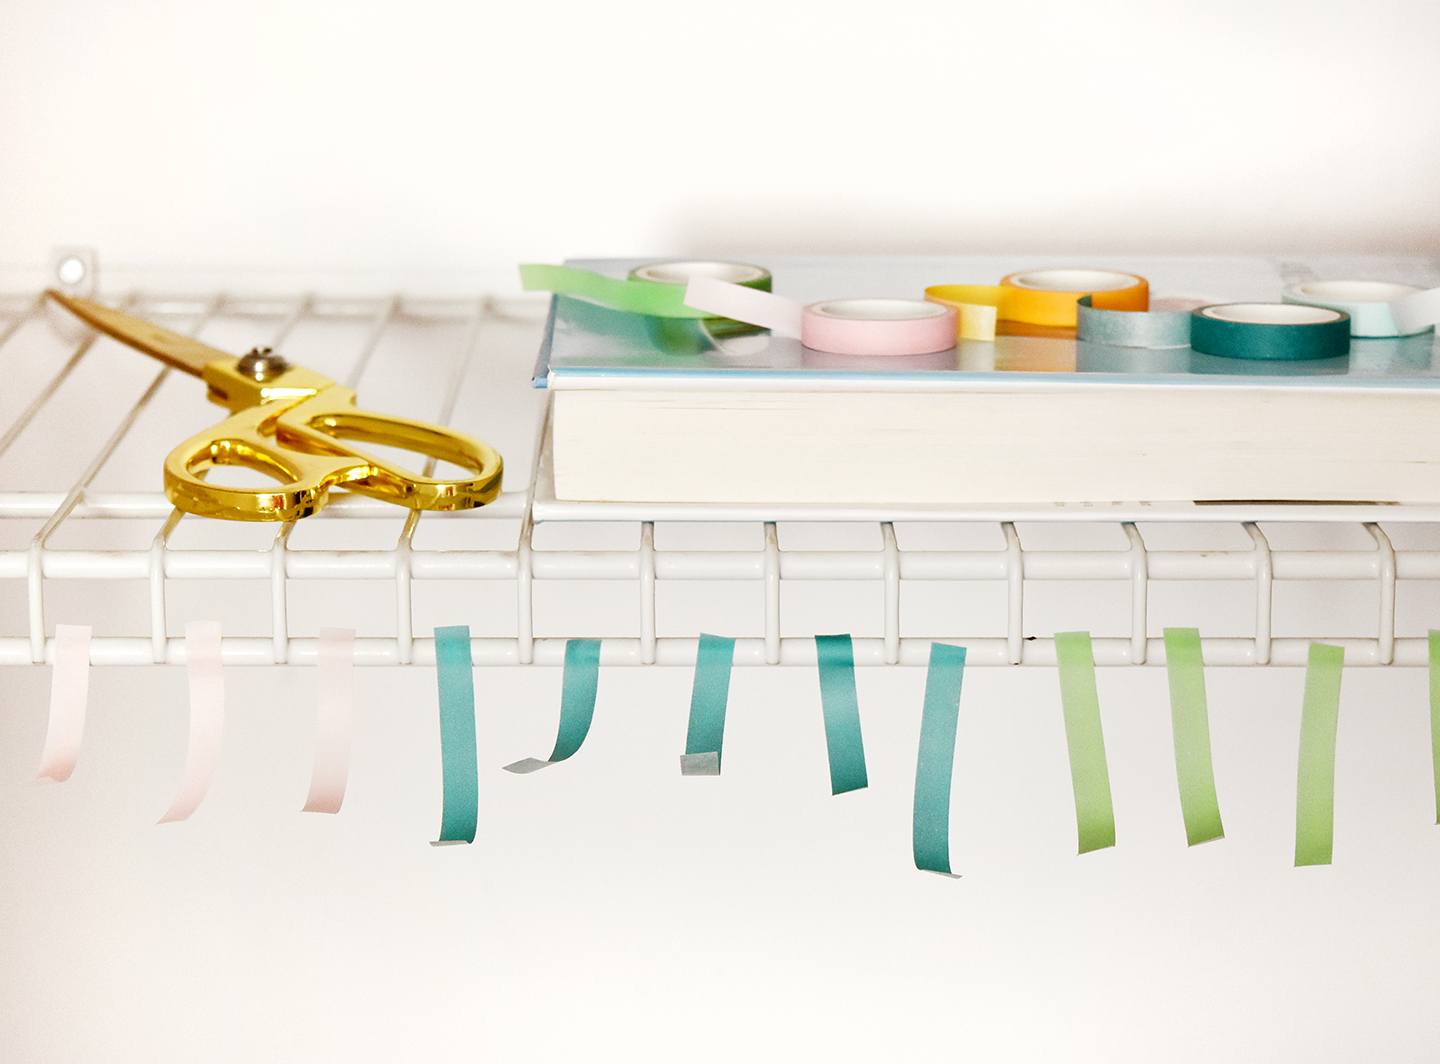
Next, cut a handful of strips of tape in each color that you’re planning to use. My strips were all about three inches long, give or take. I didn’t measure each one, I just eyeballed it.
Attach The Tape To The Wall
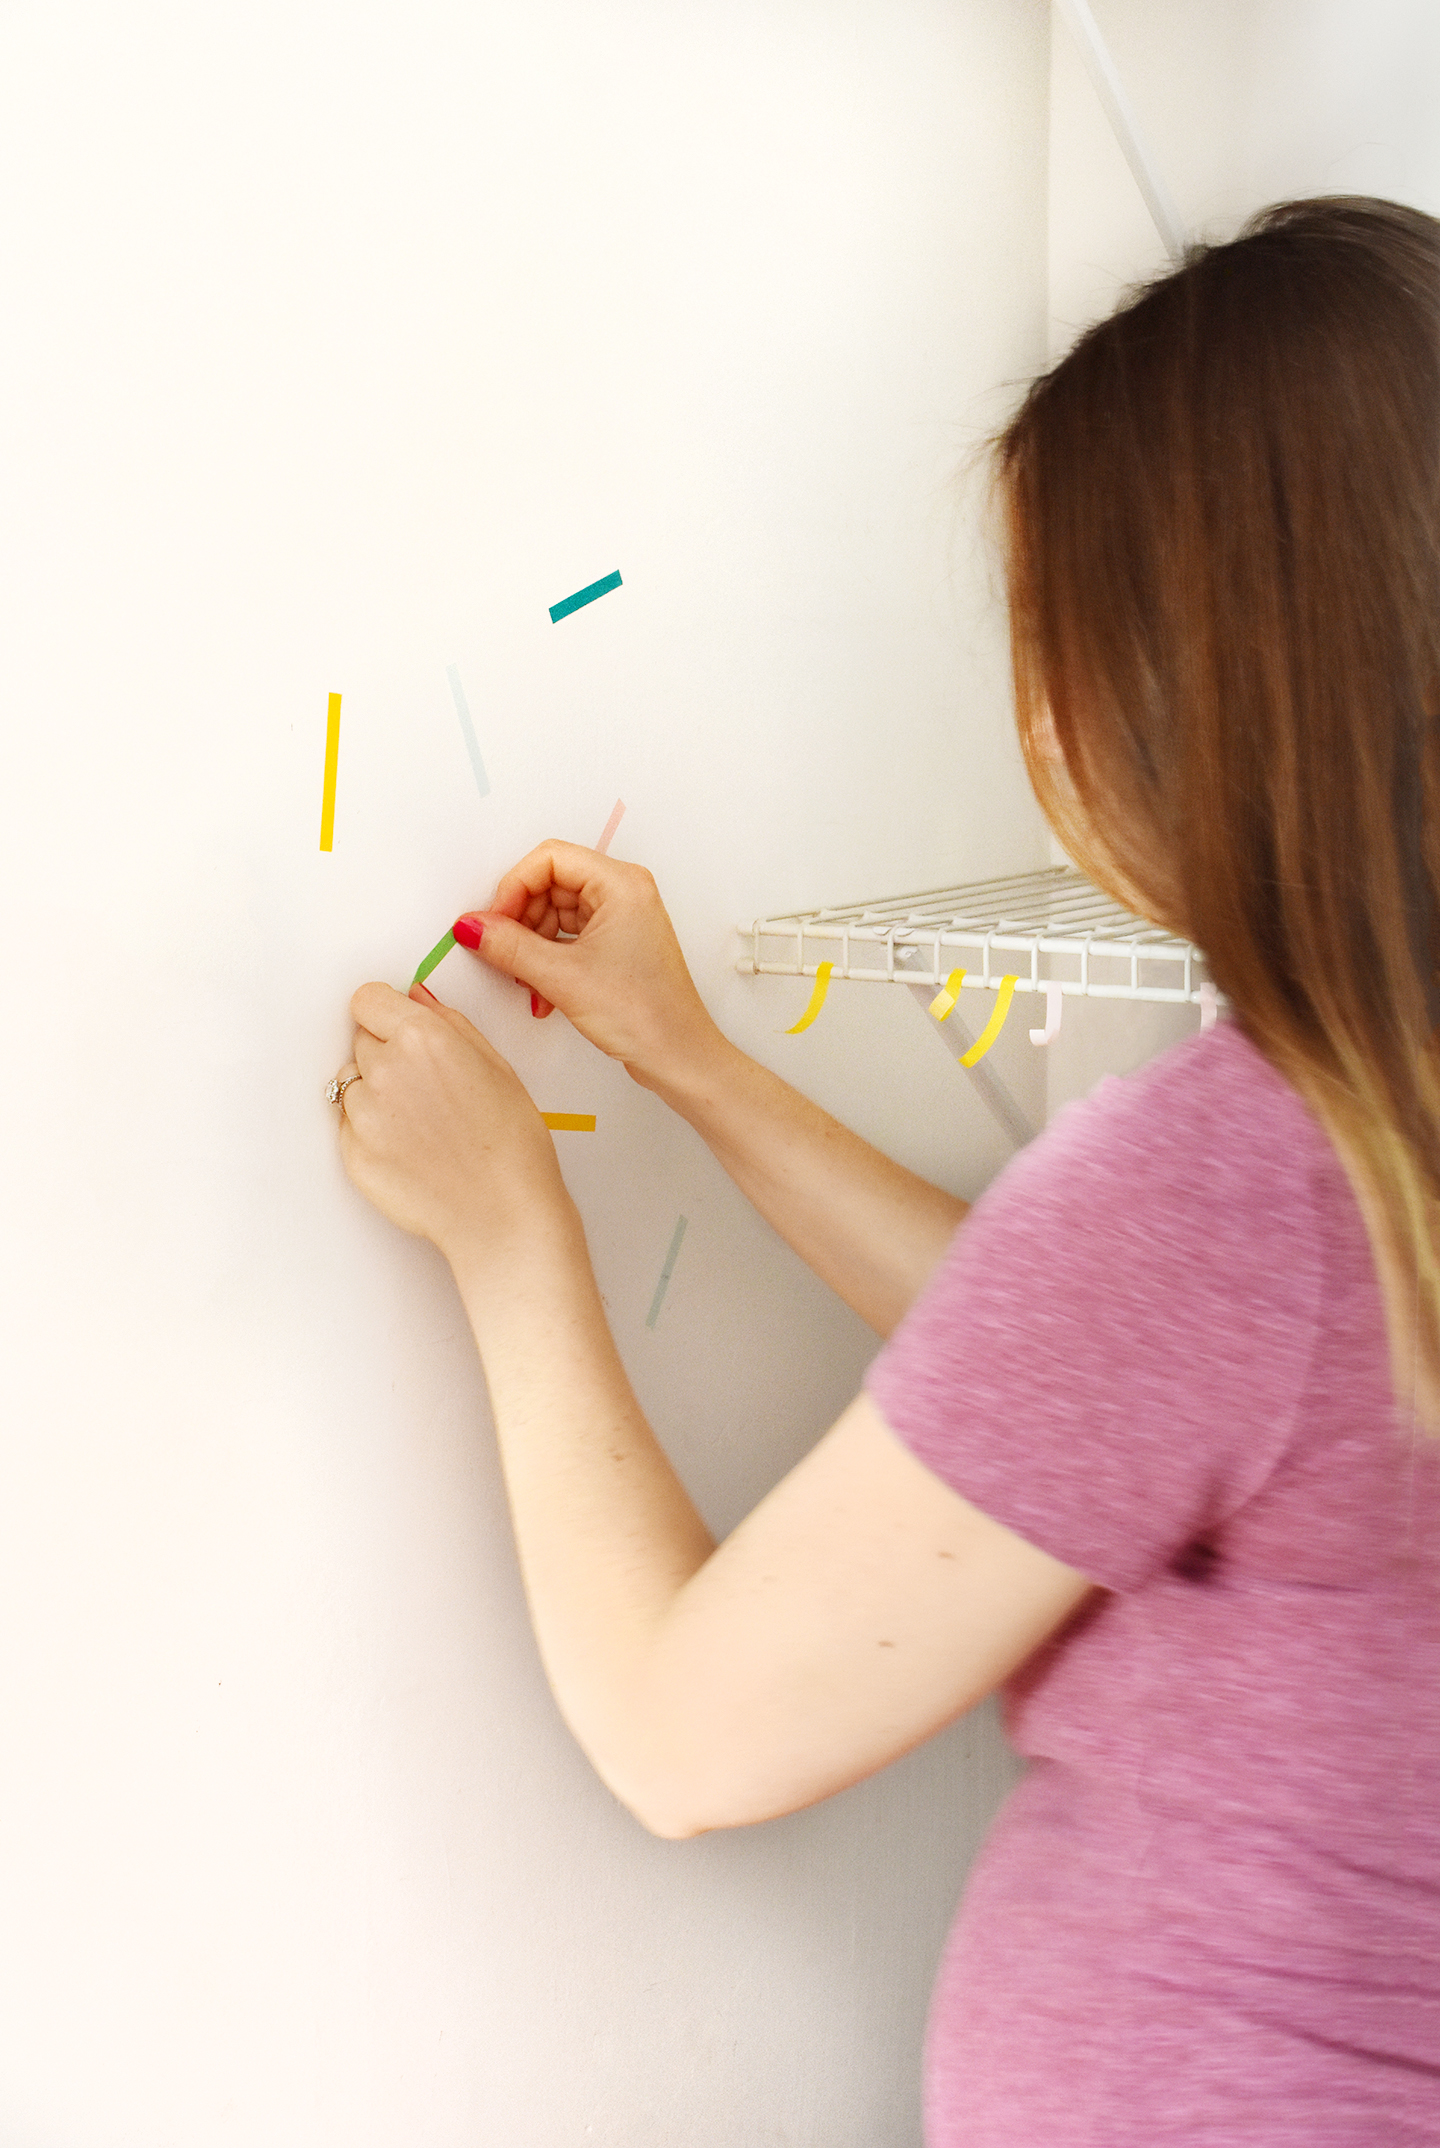
There’s no science to this, I just started taping the strips about 4-6 inches from each other in random directions. I did find that 5 colors worked well because it was rare that the same color had to end up next to itself. So I would recommend using at least 5 colors. Continue working outward until you’ve covered your entire wall!
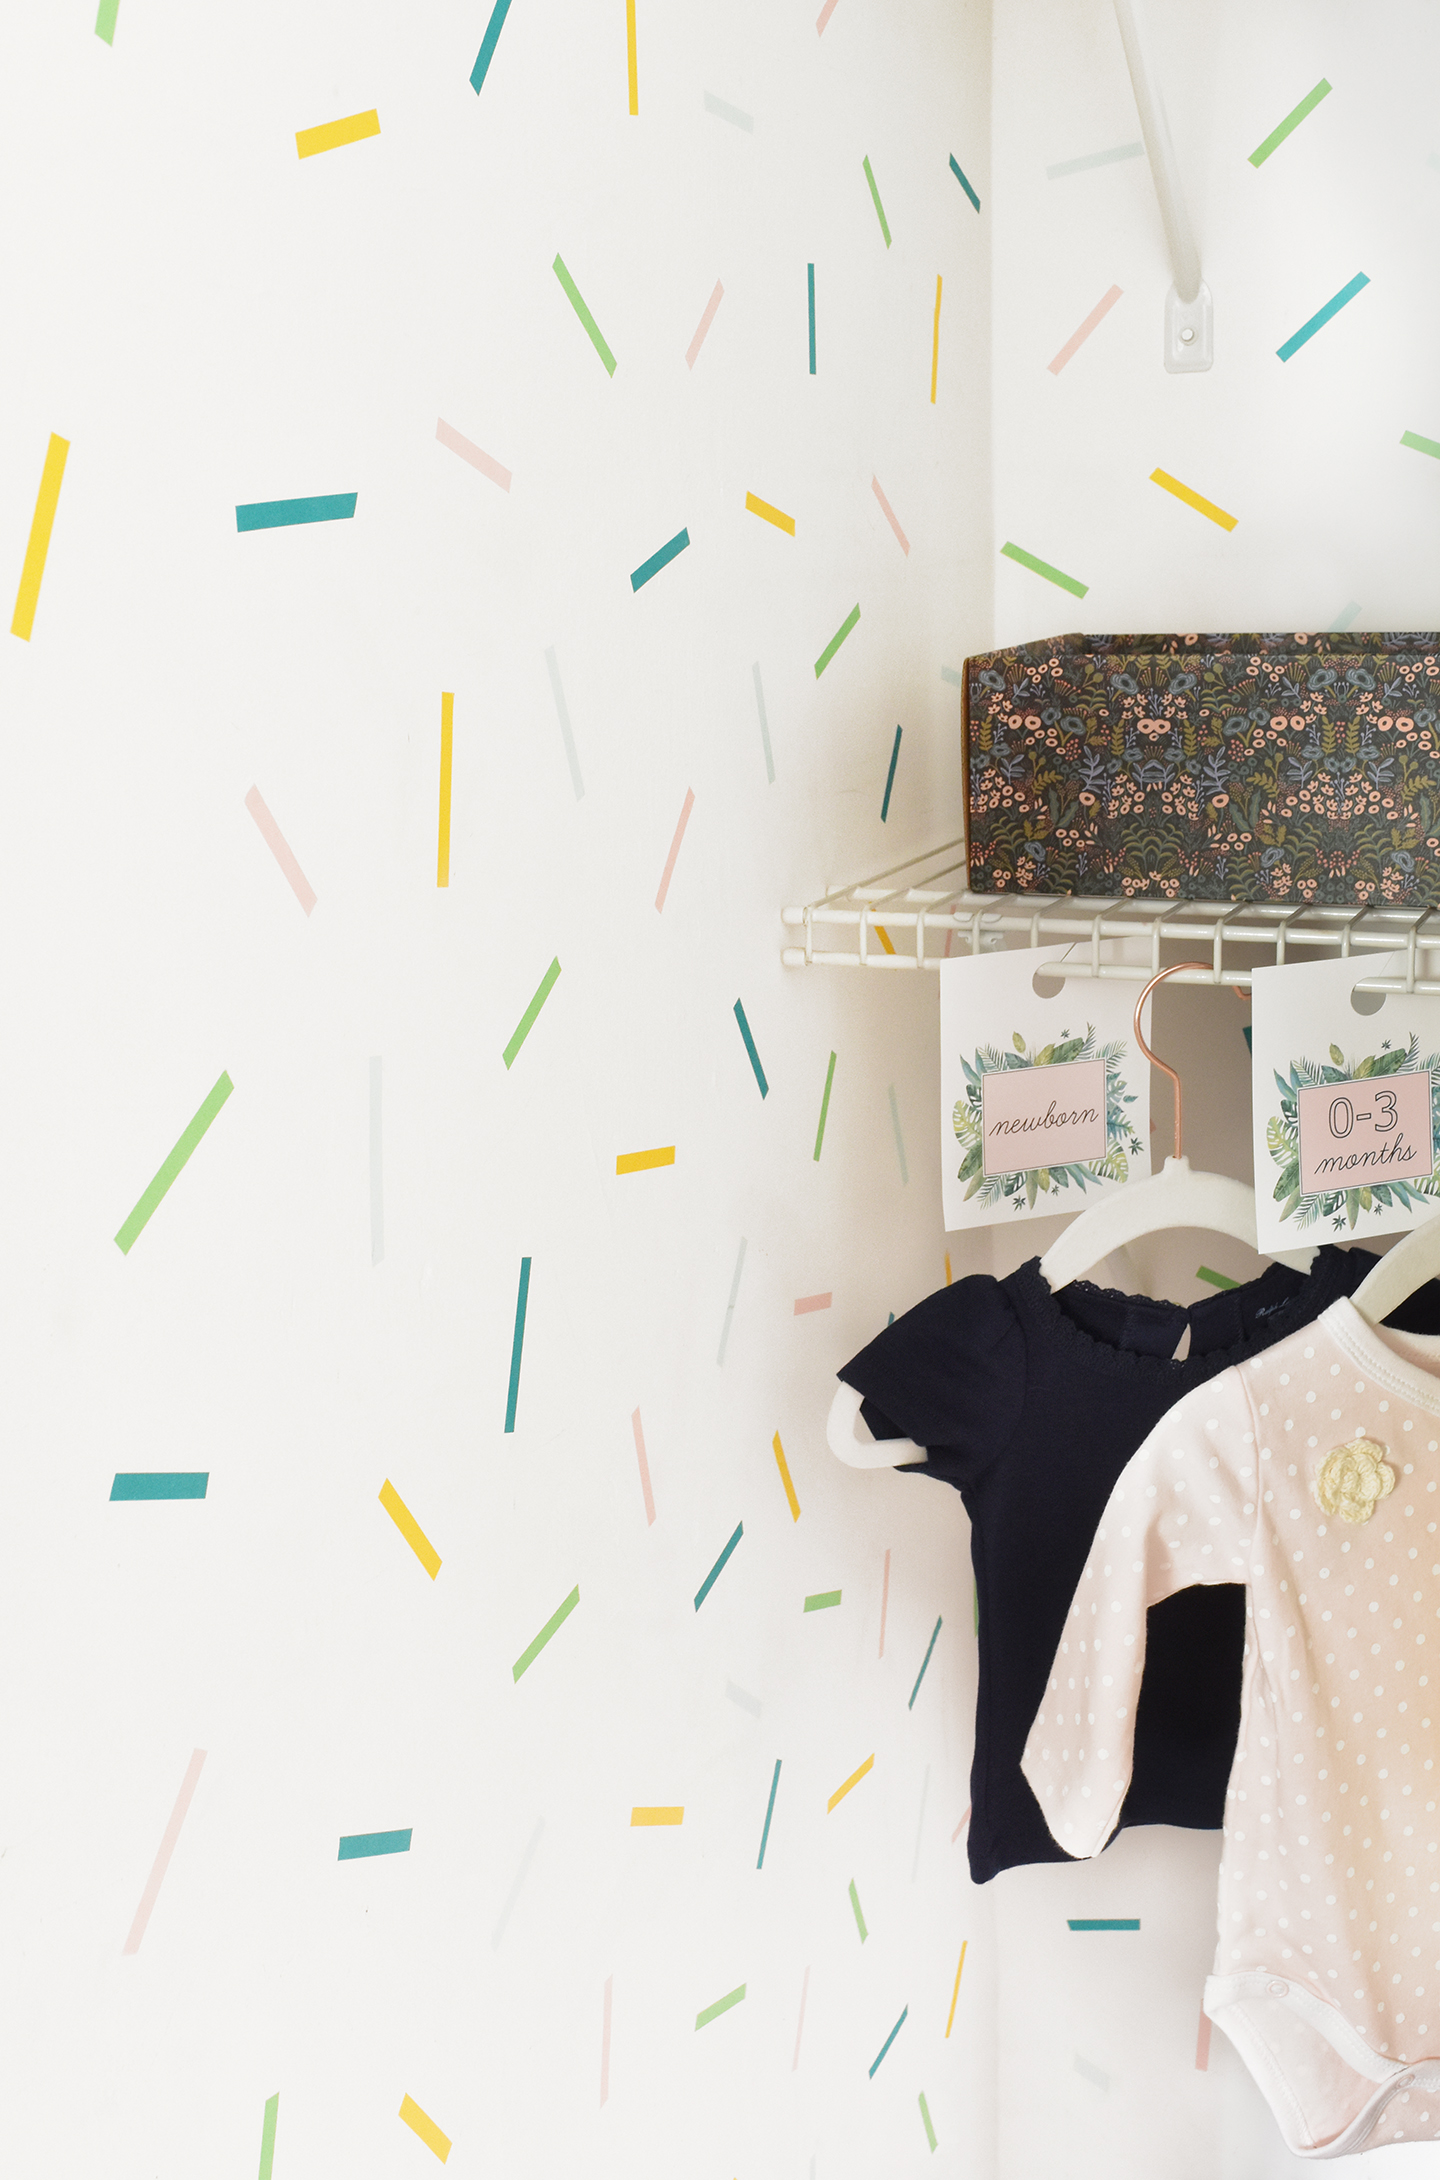
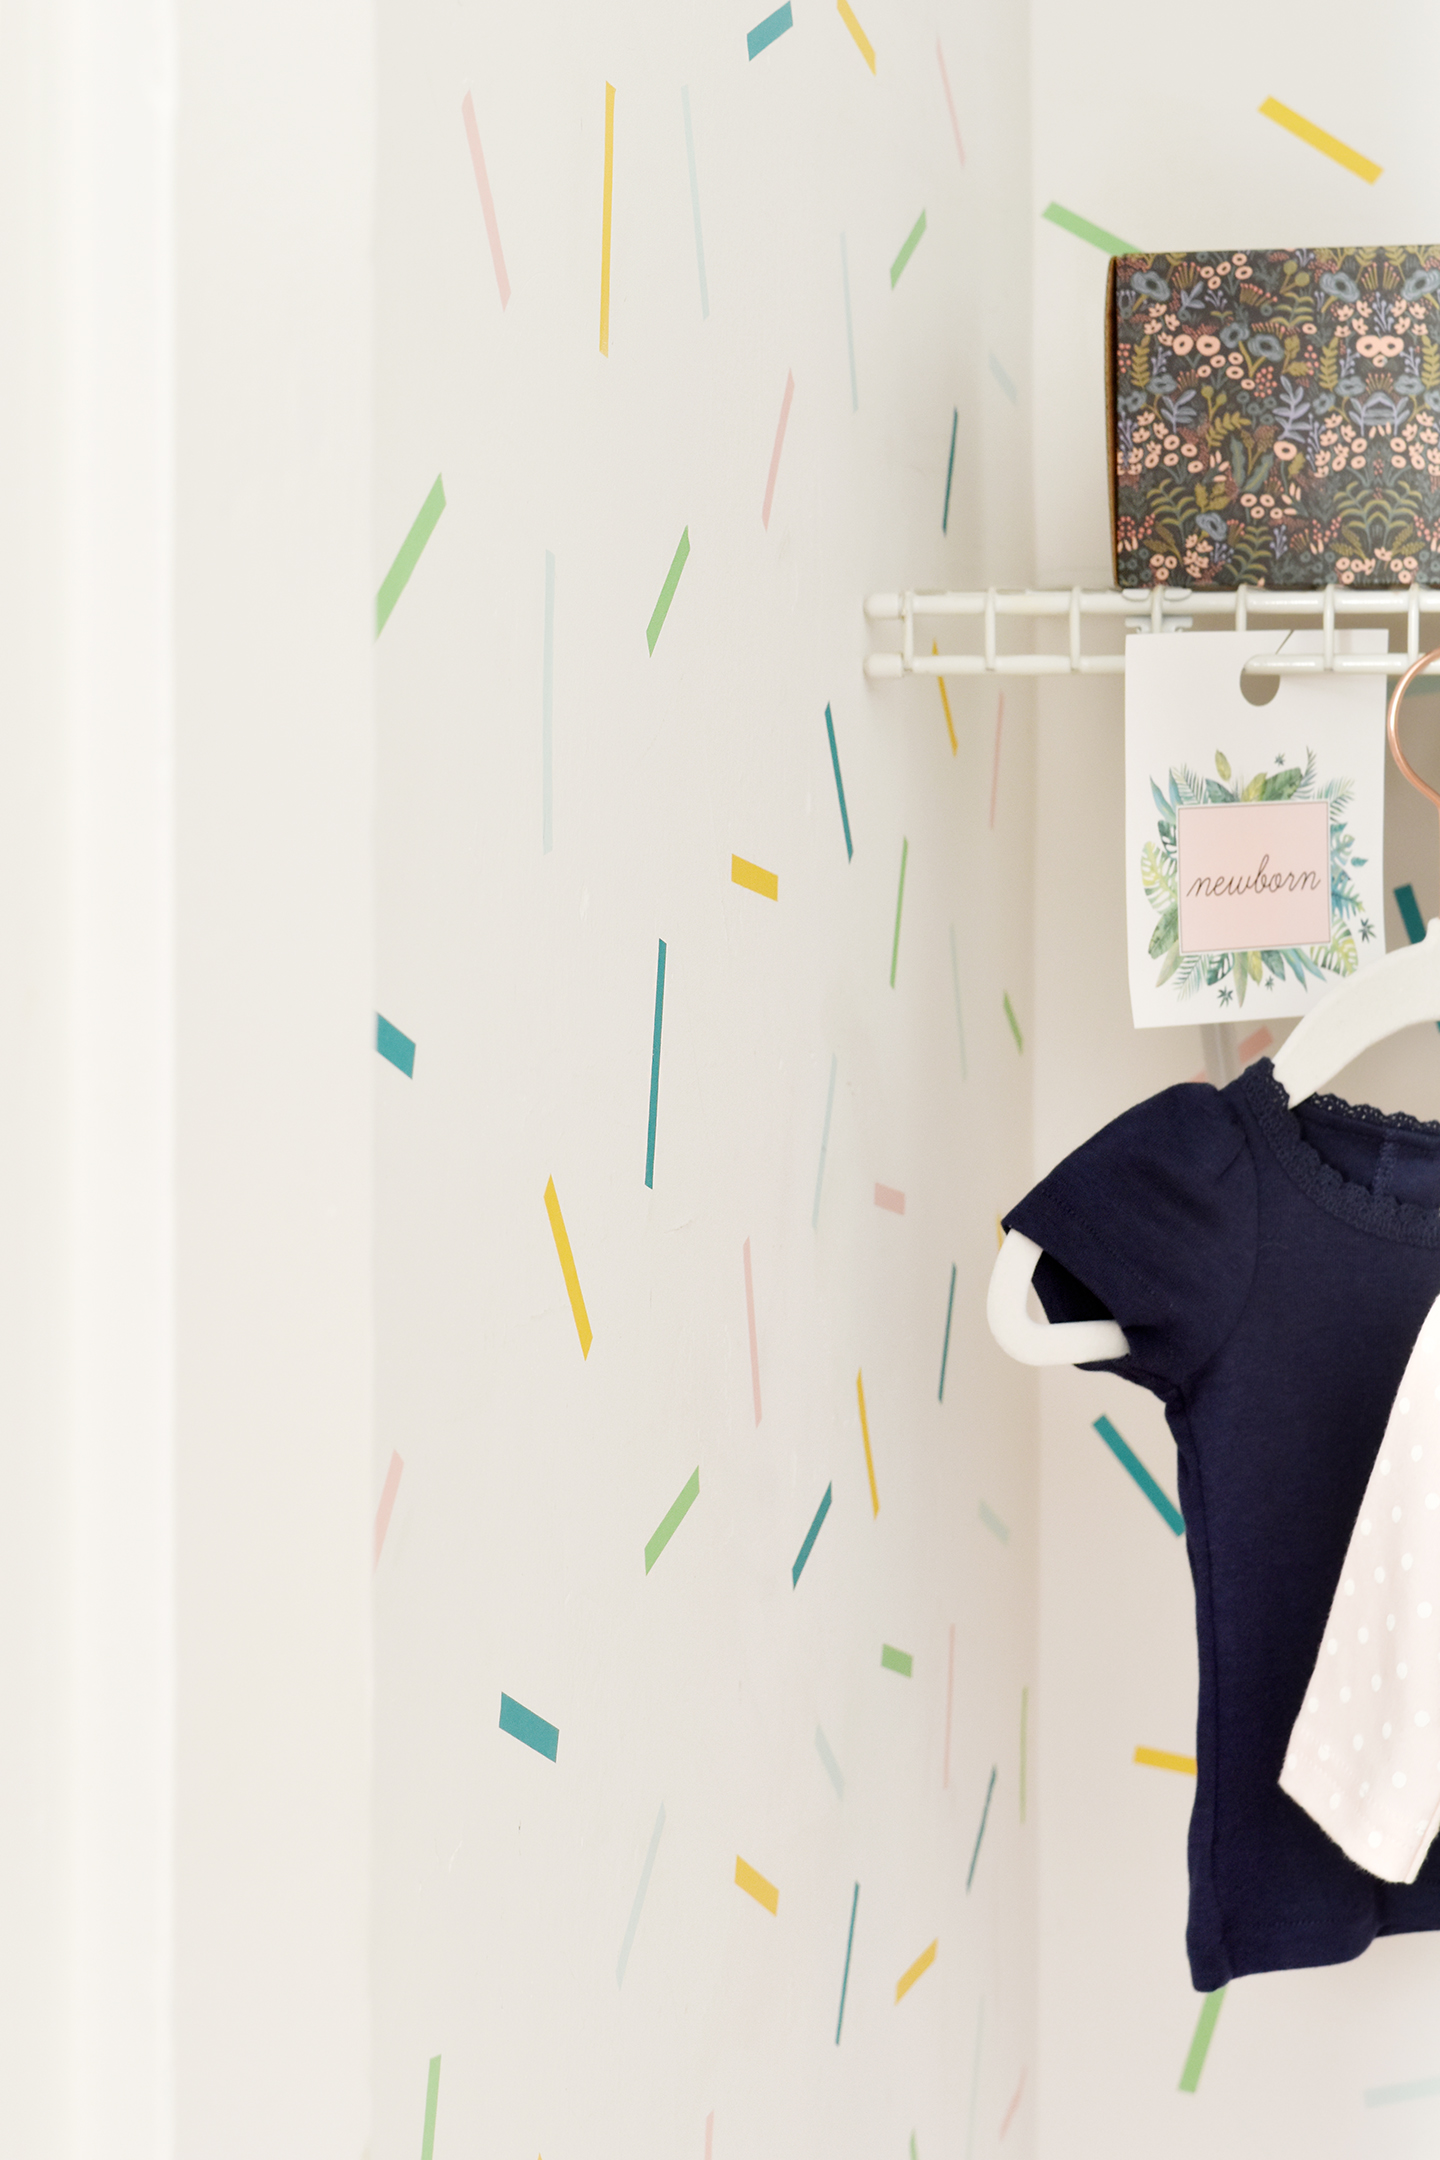
So cute, right?! It’s such a great way to transform a boring old white wall into something whimsical and fun without spending a ton or time or money.
AND if you like those nursery closet dividers, I sell them in my Etsy shop as an instant download so you can print them out yourself immediately (or at a copy shop) and you’ll be well on your way to having the cutest nursery on the block!
Tropical Print Nursery Closet Dividers

A confetti washi tape wall is also an amazing solution for renters because the tape can easily be removed when you move out. And it’s very unlikely that washi tape would pull up any paint from the wall or cause any damage.
If you’re on the hunt for more nursery inspiration, check out this post and then follow my new Pinterest boards:
Cute Nursery, Kids’ Bedroom and Playroom Inspiration
Nursery DIY Ideas & Other Projects For Mom


Comments are closed.