This post may contain affiliate links. This means that if you buy the cool stuff I recommend, I earn a small commission (but you still pay the same price). Thanks for helping me make a living doing my dream job!
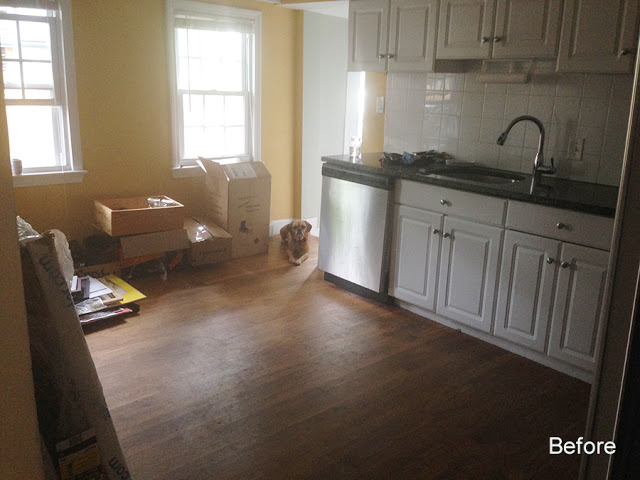
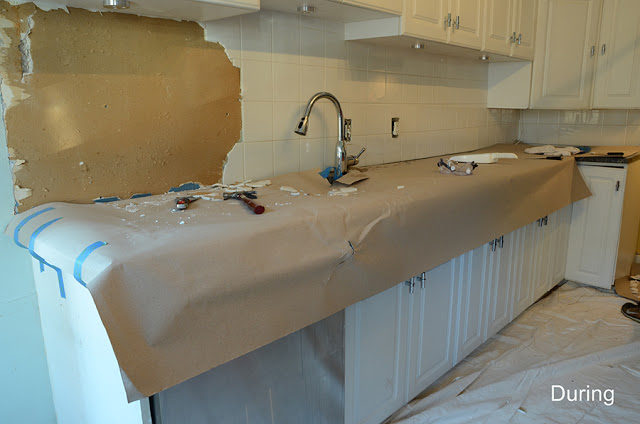
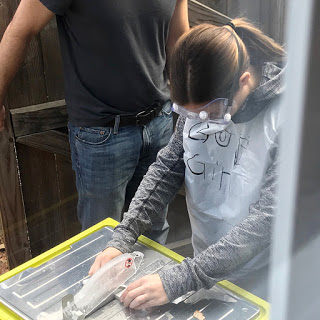
The most recent change we made to the space was a more involved project… we replaced the boring old backsplash. We kept costs down by doing the work ourselves – my father-in-law was the mastermind behind the whole operation (although I did run the wet-saw, see evidence below).
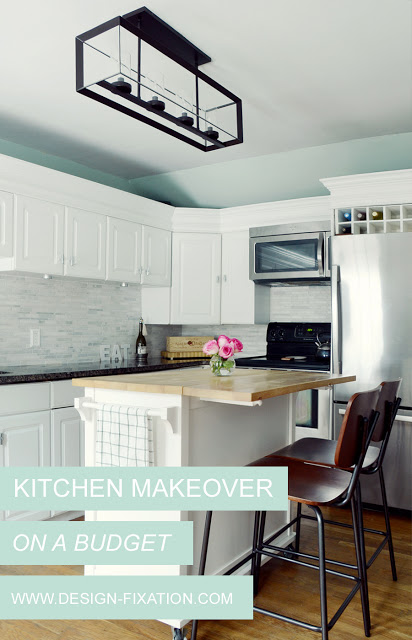
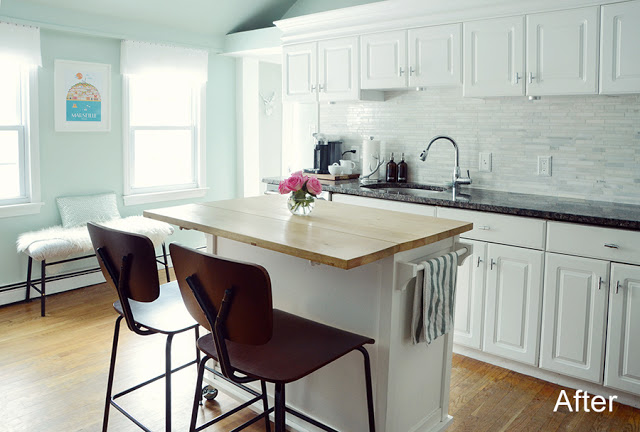
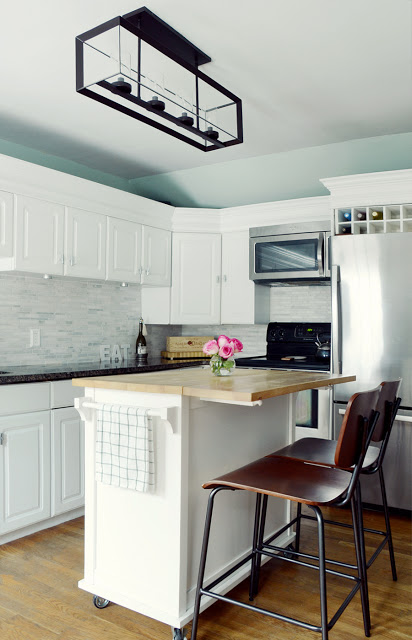
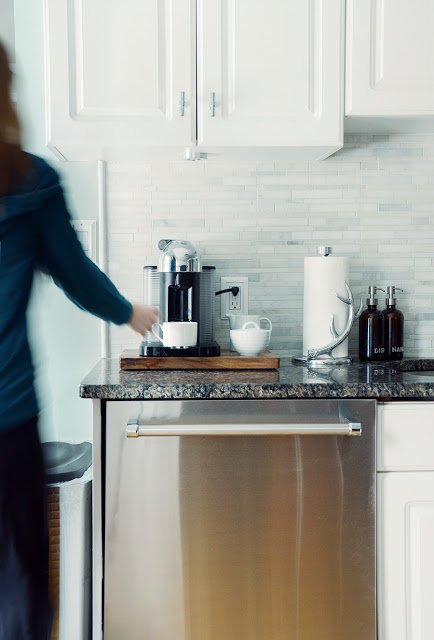
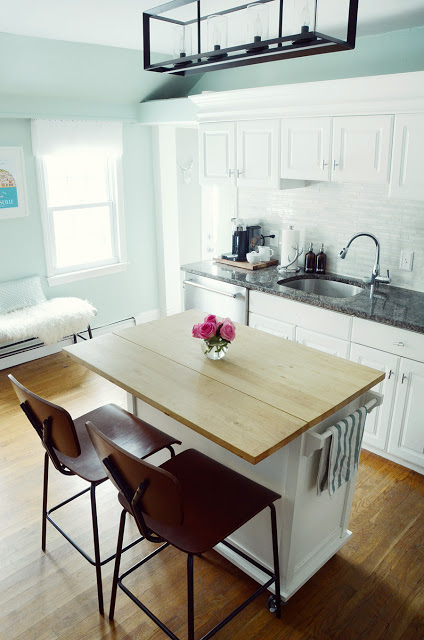
The new backsplash is a major improvement, adding some dimension to the wall and a bit of shine. The kitchen is more functional and custom-looking, thanks to a handful of simple and relatively inexpensive changes. One of the most noticeable changes was the lighting; we added a beautiful chandelier from Lamps Plus, as well as under- and over-cabinet lighting. Read all about it here.
We added an island to utilize the large open space in the center of the room. This added counter space, storage and seating… and is possibly the most utilized piece of furniture in the house. It comes with both legs and wheels, but I left the wheels on it because I like to move it toward the windows when I do DIY photo shoots on it. Buying a pre-made island is a great way to stay on budget – having one built can be quite pricey.
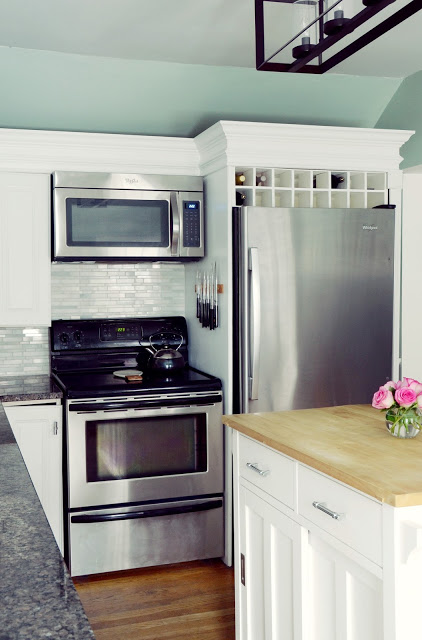
Oddly enough when we moved in, an ancient white microwave sat on top of the refrigerator (they even cut into the molding to make room for it). So we replaced that section of molding and had our handyman install the microwave above the stove. We were left with a gap above the refrigerator, so Mike made a wooden wine storage rack for our everyday wines.
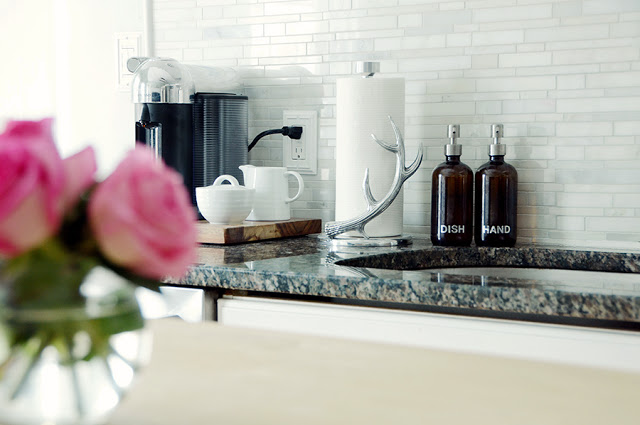
I always wanted to have a coffee station on the left side of the kitchen counter, but there wasn’t an outlet… so while we were replacing the backsplash, my father-in-law added a new outlet. Anything for coffee 🙂

Comments are closed.