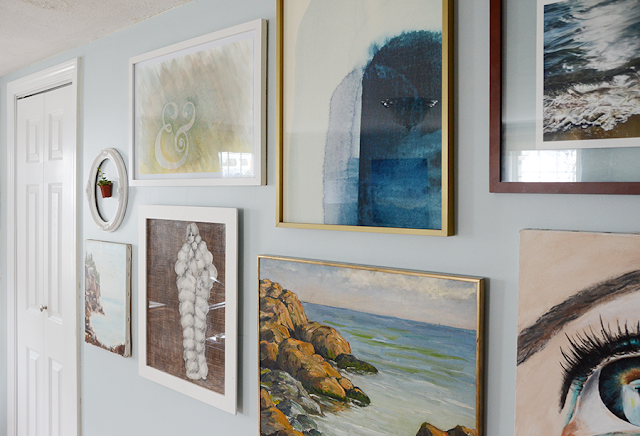
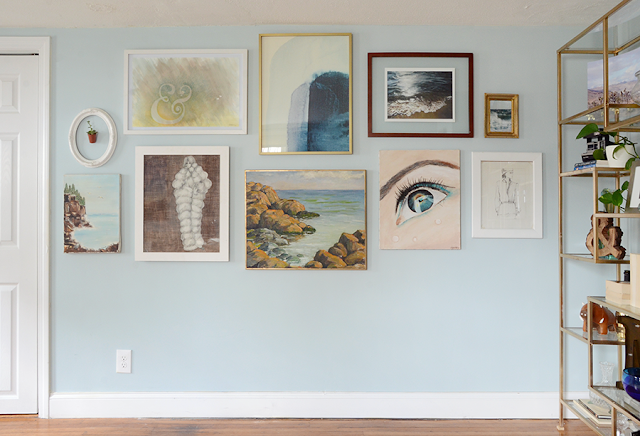
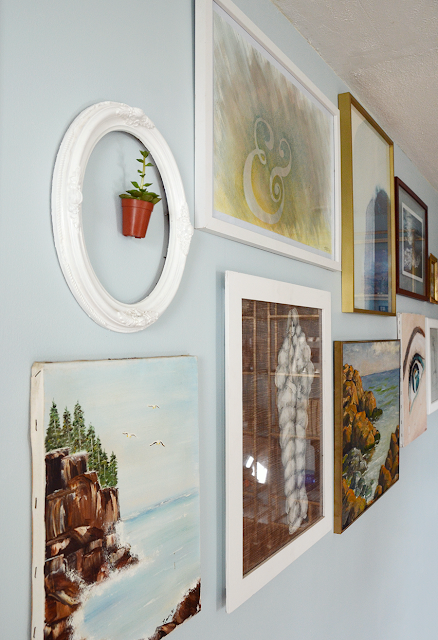
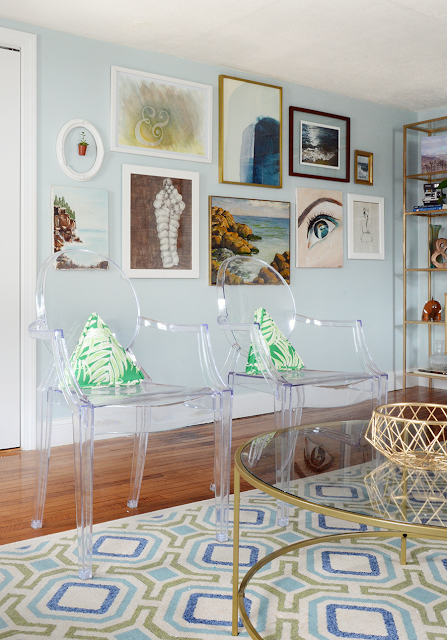
Begin by choosing your artwork. I went with a handful of paintings and drawings with greens and blues, along with gold, brown and white frames. It’s important to stick to a particular group of colors so that your wall looks cohesive. I already had many of the pieces, some of which were done by friends and family. I did the eyeball painting a few years back, and the coastal scene on the left was an antique store find. The piece on the right is a print by my very talented friend Zaria Forman, and the abstract print in the middle is by an artist named Nell Waters Bernegger. I got it through Minted.com, who also framed it beautifully. If you’re in the market for art, I would highly recommend Minted… they have great options for most budgets, and a wide variety of styles. Check out their selection of art prints here.
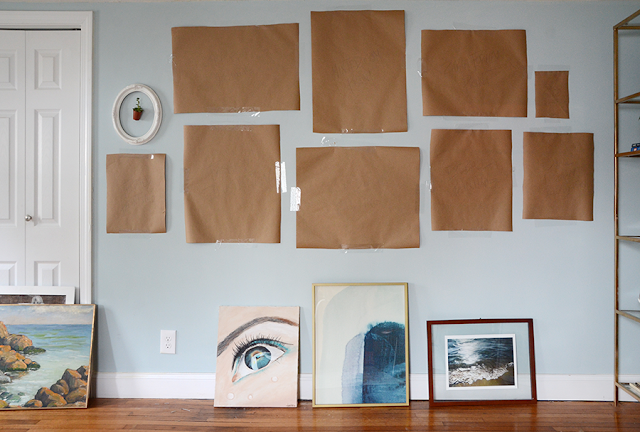
Next, trace each frame on brown kraft paper (or old gift wrap, or any large paper you have lying around). Cut out each piece and set it next to the artwork that it corresponds with.
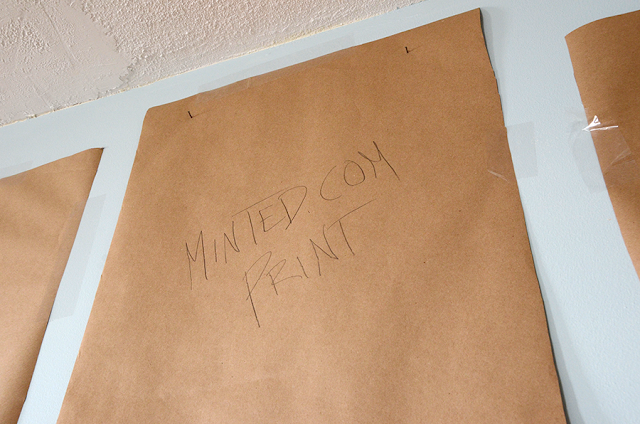
Label each sheet of paper, so you remember which is which. Be sure to do it in the correct orientation, too, so you don’t arrange one horizontally when it should be vertical.
Tape all of the brown paper rectangles to the wall so that they form a well balanced layout, with the bulk of the art a bit higher than eye level. You’ll probably need to shift things around a few times before getting the perfect arrangement.
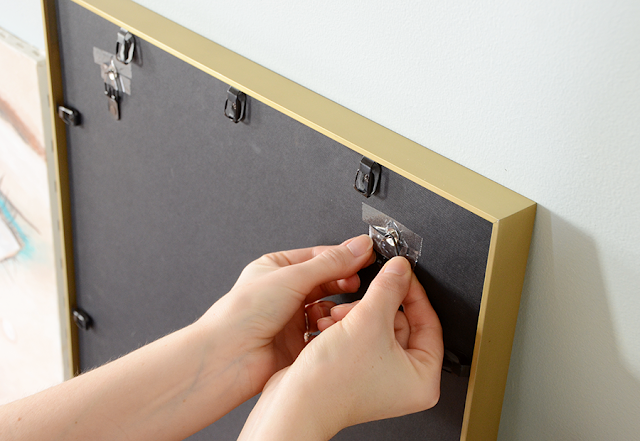
And now, the trick. Tape a thumbtack to the back of your frame, exactly where the nail(s) should be placed. Then hold up the frame in the correct position on the kraft paper, and press gently. This will create small holes in the paper where the nails should be placed. Hammer in the nails, remove the paper, and voila – a perfectly straight picture frame!
Repeat this process for each piece, until you’ve hung them all. And your gallery wall is complete!
A gallery wall is a such a great way to fill up a large space, without having to buy giant, expensive paintings or other wall art. And hopefully now you’ll find it less intimidating to create one successfully!


Comments are closed.