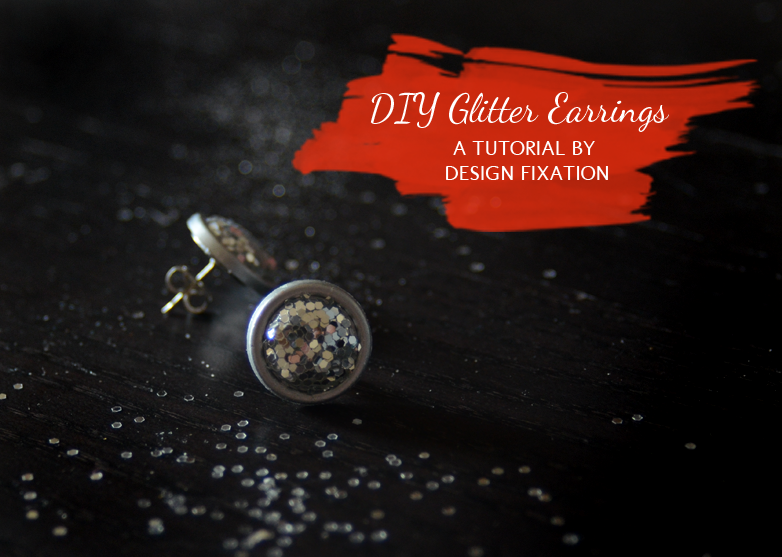
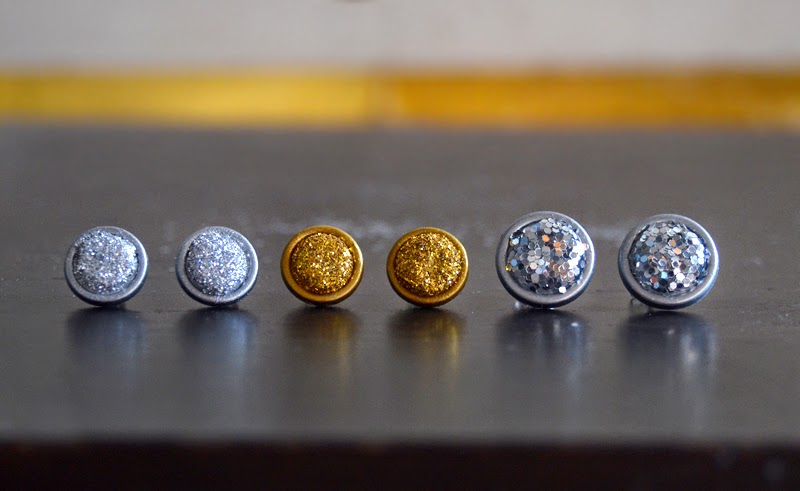
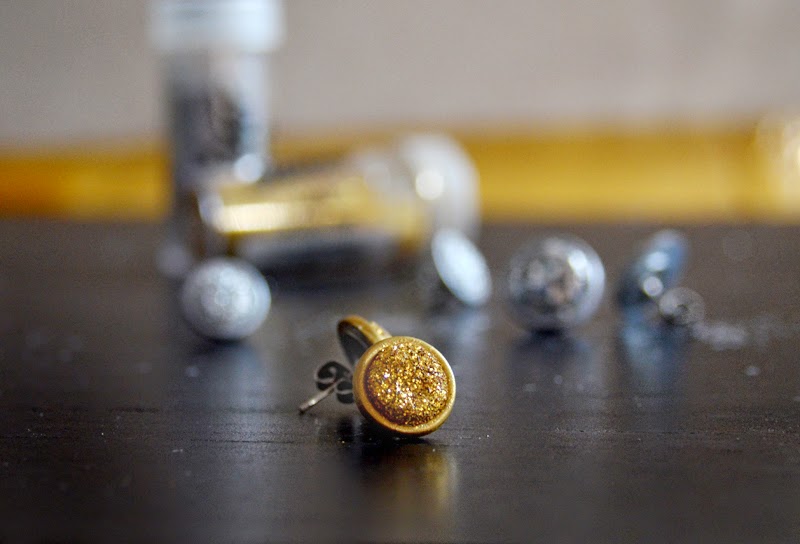
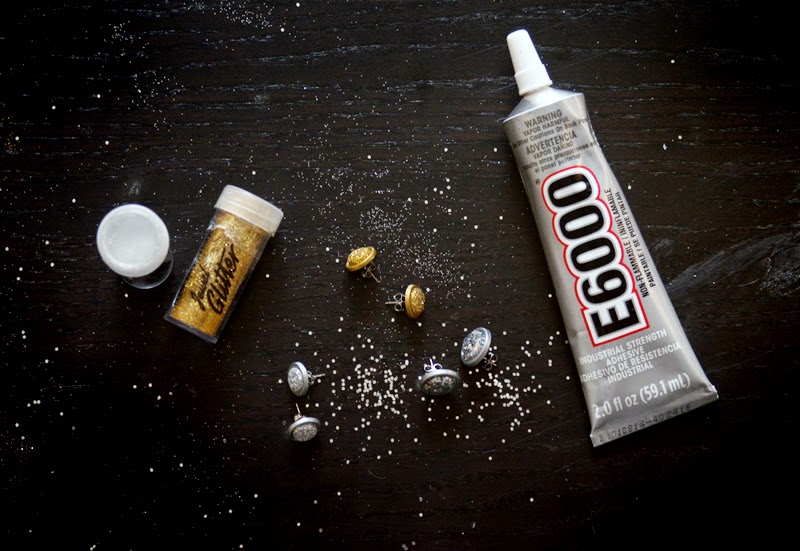
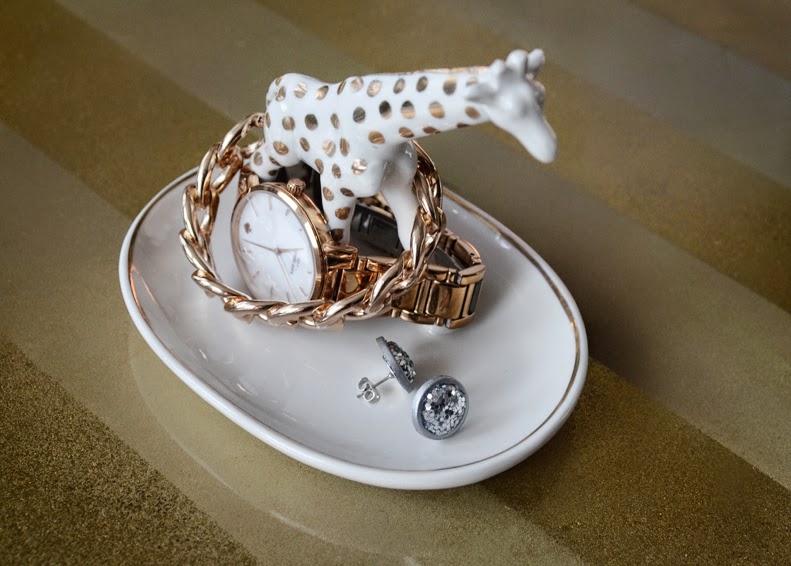
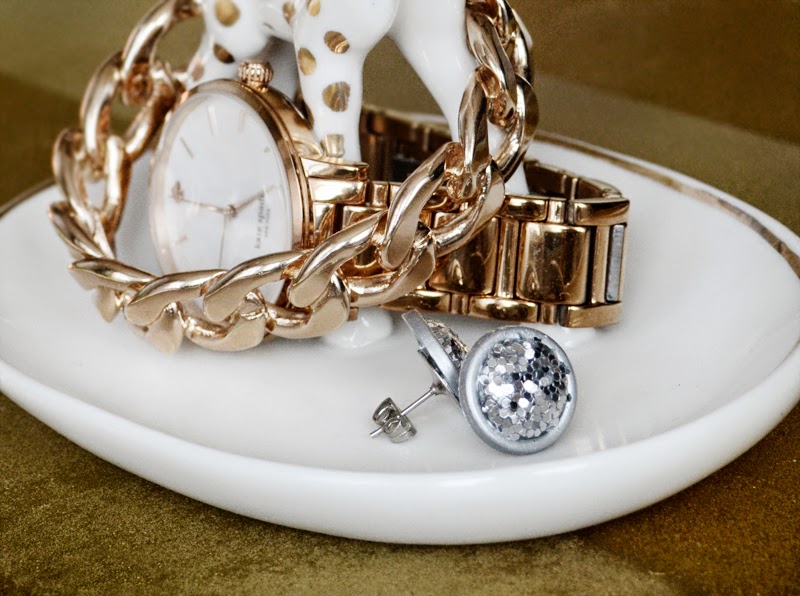
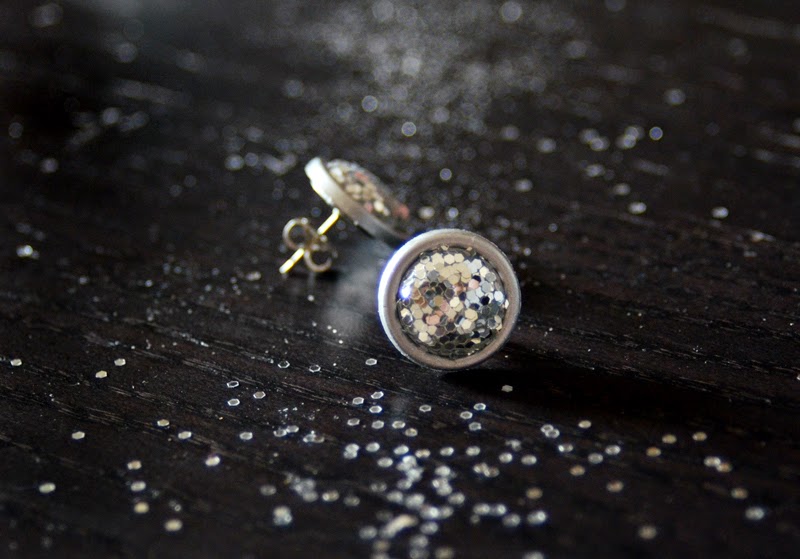
A few weeks ago, I ran across a project that was so genius I couldn’t stop thinking about it…. Glittery stud earrings using buttons. I first found the idea over on She Is Red, and that project was originally inspired by Ali from With An I.E. So clearly I can’t take credit for the concept, but I made a few changes to the process and thought it could be helpful for you to see everything up close and personal (I created a video too – scroll down to the bottom of the page).
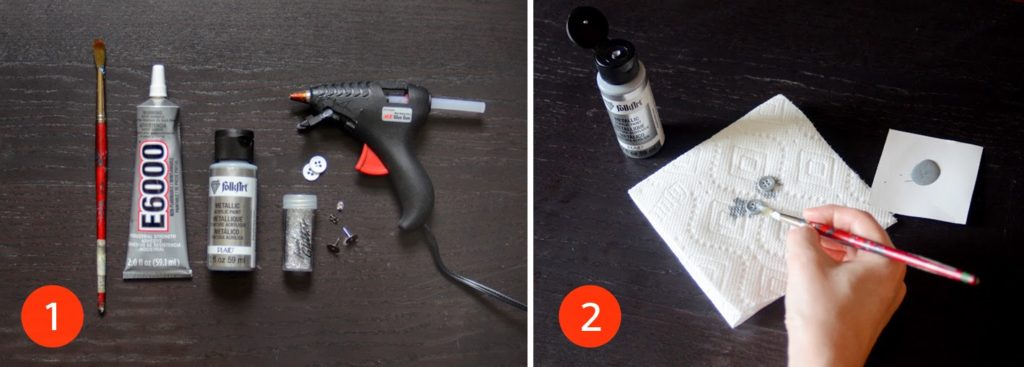
3. Now paint the back of the buttons.
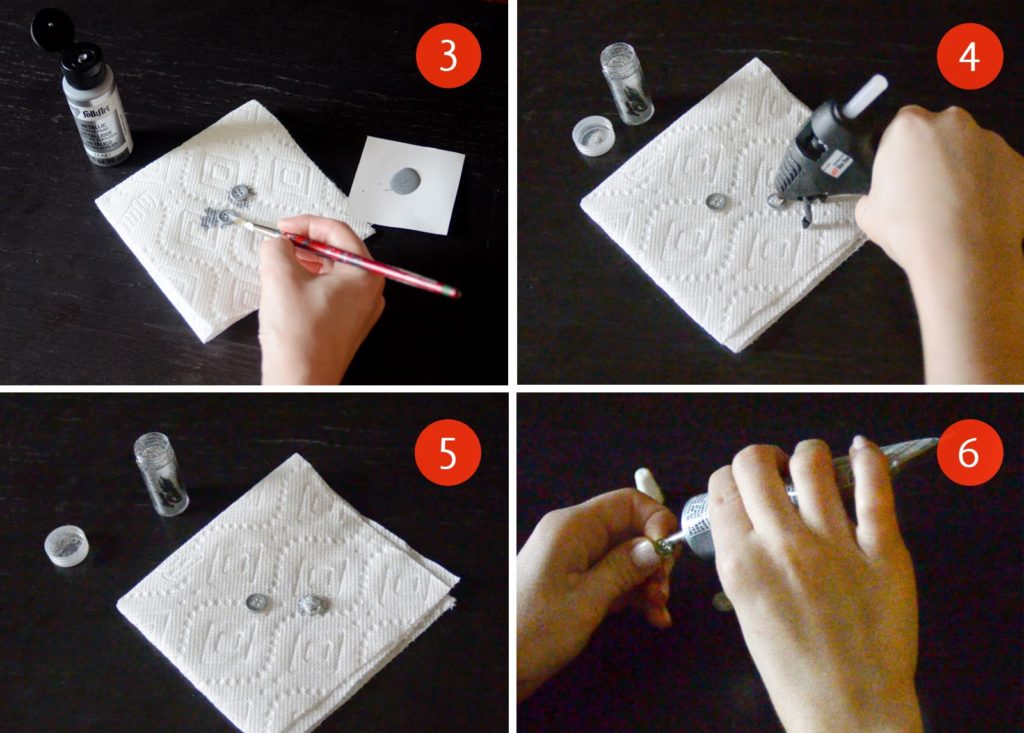
4. Once the paint is dry, place a dollop of hot glue on the front of the button within the edges of the ridge.
5. Before the hot glue dries, sprinkle glitter all over it. Repeat for the other button. Once they’re dry, shake the excess glitter off.
6. Now place a bit of E6000 on the face of the earring back pad. Let it dry for a few seconds so it becomes tacky, and then attach the glittered button. Do the same for the other earring back. Now let them dry thoroughly… and that’s it! Wear them out on Saturday and let the compliments roll in!
Now… I also made a short video tutorial for you, so you can see the process in action:
The most difficult thing about this project is getting the dollop of hot glue to be round and shapely. It is definitely worth practicing on some unpainted buttons that you don’t need. Practice makes perfect!
Hope you have fun crafting! If you have any questions, feel free to share them in the comments section below and I’ll get back to you asap.
xo,
Faith
{Design Fixation}

Comments are closed.