
I’ve been into headbands this winter. They’ve been popping up all over the place – I see people wearing them in Boston all the time, and they were everywhere in NYC when I visited a couple weeks ago. So I decided to make a super simple knitted winter headband to make it through these last few weeks of winter. And I took a few selfies so I could share the tutorial with you!
This is an incredibly easy piece – all you need to know is how to do the garter stitch (which is just a regular knit stitch, repeated). It took me under two hours to make… and I’m definitely not an expert knitter.
Need a refresher on how to cast on, knit and cast off? Here’s a little video tutorial that I made for you, which will show you the whole process:
And now, for the full written tutorial. Here’s what you’ll need:
- 1 skein of light to medium weight [3] yarn
(I used acrylic because my skin is sensitive to wool) - #6 knitting needles
- A large tapestry needle
- Scissors
Here’s how to make your headband:
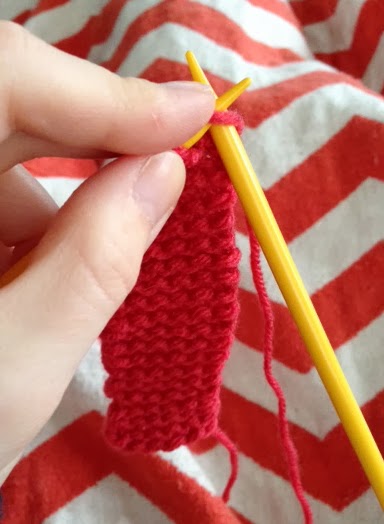
1. Cast on 6 stitches.
2. Knit the garter stitch (knit every stitch in every row) until you have a long strip that fits loosely around your head.
3. Knit 3 of these strips.
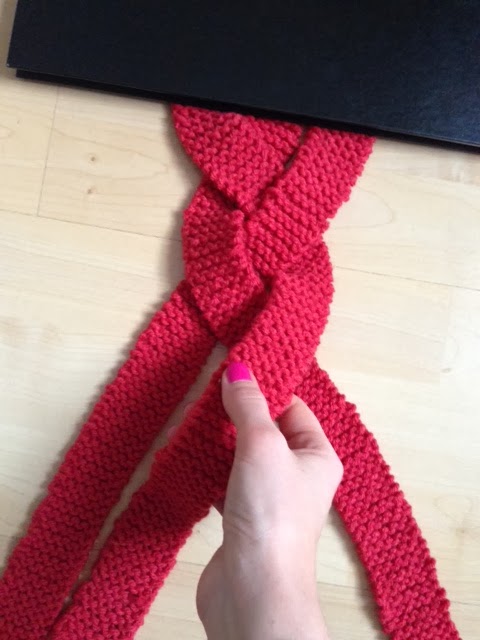
4. Lay the strips out on your work surface, and place a book on the ends to hold them in place. Braid them together.
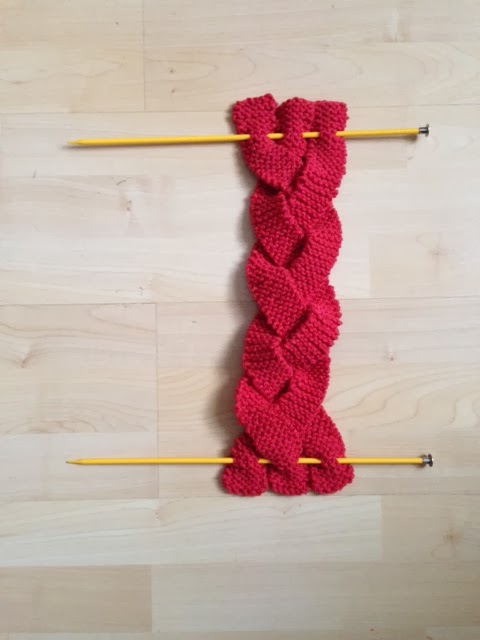
5. Keep the braid secure by carefully weaving your knitting needles through each end.
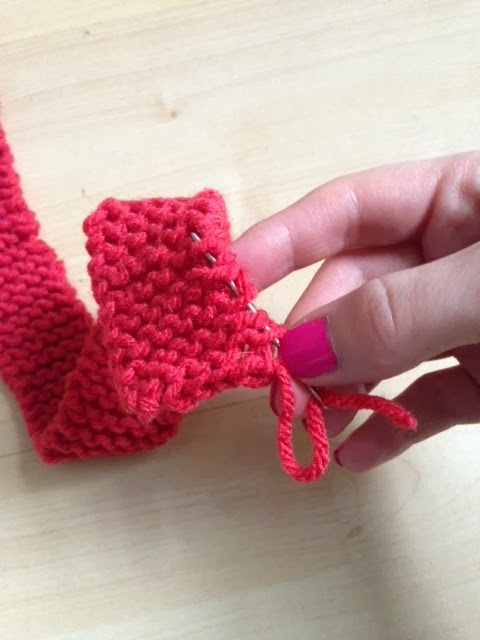
6. Weave all loose tails into the strips using your tapestry needle, as shown below.
7. Fold the braid in half and sew the ends together using a piece of yarn and a tapestry needle. Use small, tight stitches. Weave the last two yarn tails into the knitted stitches, and you’re done! I told you it was easy.


Good luck with your headband, I hope it keeps your ears toasty warm!
xo,
Faith
{Design Fixation}
Comments are closed.