- 1 lb bag of natural soy wax shavings
- cored candle wick
- wick tabs
- clear top tin spice containers
- washi tape
- double boiler (or 2 pots… see below)
- scissors
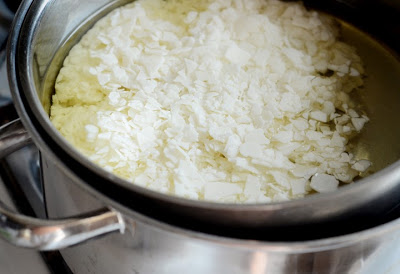
First, pour your wax shavings into the inner pot of your double boiler. If you don’t have a double boiler, you can create a makeshift version using two pots – one should be just a bit smaller than the other, with a handle to keep it from falling into the other pot completely (use an old one because you won’t be able to use it for food anymore after this project). Fill the outer pot about 2/3 full with water. Place the inner pot of wax into the pot of water and heat it over medium high heat on your stove. And for safety’s sake… put on some gloves and safety glasses. You’ll be dealing with hot wax soon.
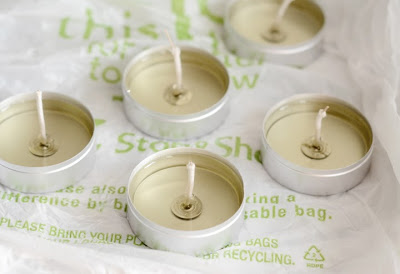
As you wait for the shavings to melt, begin cutting 1.5″ pieces of wick and stick them through the wick tabs. I like to pinch the top of the wick tab a bit with pliers to secure it. You might want to lay out a plastic bag on your work surface in case you (inevitably) drip excess wax. Once your wax is liquified, carefully pour it into each of your tin spice containers, stopping about about a quarter of an inch from the top edge. Now place one wick into each container, centering the wick tab.
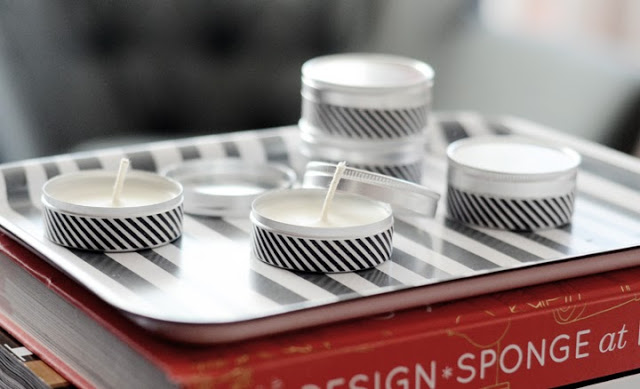
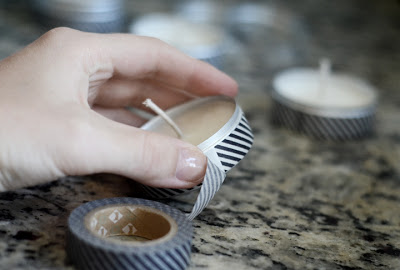
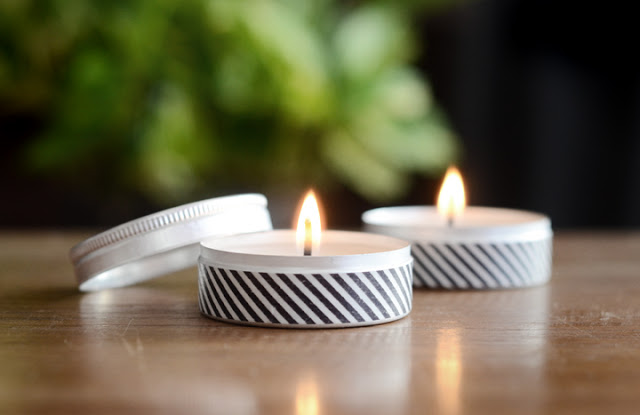
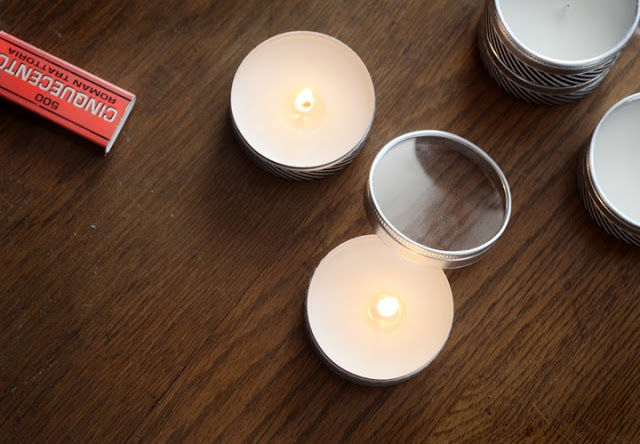
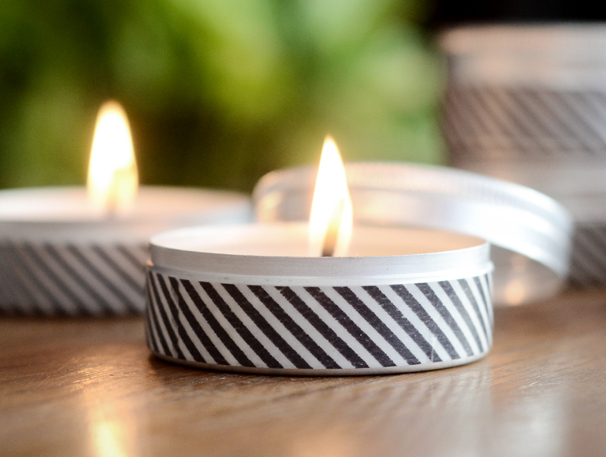
Once your candles have hardened (this will take at least 2 hours), wrap a piece of washi tape around each one. My tape happened to be the perfect width, but if yours is too wide then I would suggest cutting a long piece to the correct width before wrapping it around your candle. Now trim the ends of your wicks so the tops of the containers fit, and you’re all done! Wasn’t that easy?
Happy candle-making everyone, I hope your your washi tape candles are a success! For more DIY inspiration, check this out.
xo,
Faith
{Design Fixation}

