This post may contain affiliate links, earning me a commission
on your purchase (at no additional cost to you).
That’s a nice way to put it, isn’t it? Dog waste. Picking up dog poop with your hands may be one of the grosser parts of have a dog, so I figured that I should at least have a pretty case to put the bags in. And I’ve been really into creating sewing tutorials lately (check them out in my Etsy shop).
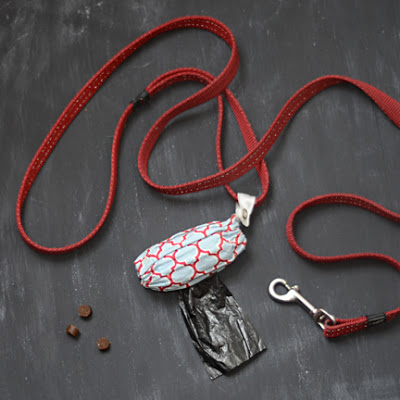
The best part about this DIY dog waste bag holder is that there is a secret treat pocket hidden on the side. Your dog will thank you for including that detail to your case. And it’s a quick project too; you’ll have this easy project done in less than an hour.
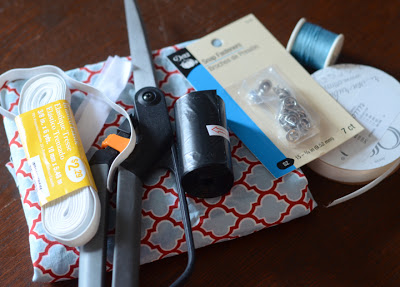
Here’s what you’ll need for the project:
-
- 1/4 of a yard of cotton fabric
- A roll of dog waste bags (I bought these on Amazon)
- 6″ of narrow elastic (1/4″ wide is best)
- Safety pin
- 3″ of velcro
- 1 metal sew-on snap
- 6″ of ribbon
- matching thread
- scissors
- sewing machine
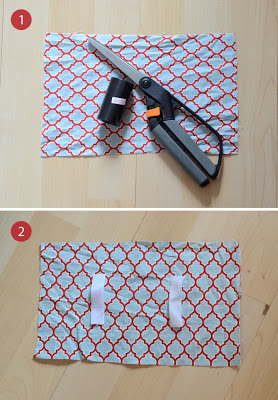
1. Cut out a rectangle that is 6″x10″
2. Separate the male and female sides of the velcro and pin each piece 3″ from the short edges, as shown above. Sew down the middle of each piece to attach.
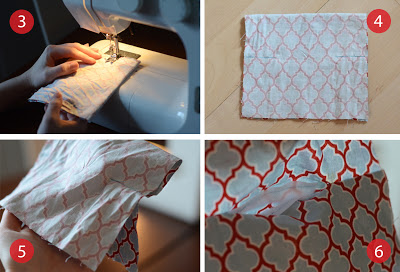
3. Fold in half with right sides together, so that the two velcro pieces are attached to each other. You should be able to feel the velcro in between the fabric running vertically. Place a seam 2″ from the fold on the right hand side, sewing from the top edge partway down (to where the velcro starts). The velcro should be just to the right of the seam, so that when you open it up, it will form a small pocket with the velcro hidden on the inside (shown in image 6). Sew the rest of the way down from the bottom of the velcro to the bottom edge of the folded piece of fabric.
4. It should now look like image 4.
5. Test out your pocket by sticking your fingers inside. The velcro should wrap around your fingers.
6. This is what it looks like with the fabric opened up.
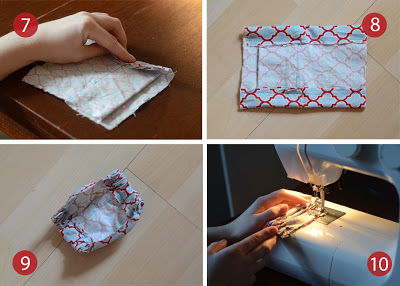
7. Flip it back over so it is right side down and the treat pocket flap is over on the right side. Fold the whole top edge down by one inch and sew with a half inch seam allowance. This will act as a casing tube for the elastic.
8. Do the same along the bottom edge.
9. Now cut your elastic in half and insert one piece through the casing on the top. Attach a safety pin to one end to thread it through the casing. Sew each end together, overlapping by about half an inch. Repeat the process along the bottom edge with the other piece of elastic.
10. Turn it inside out and sew a one inch long seam from the top of the only remaining raw edge (using a quarter inch seam allowance). Skip over the middle 1.5″ section (to leave a hole for the bag to be threaded through) and do the same on the bottom. Flip it right side out. Feel free to finish the slit with a hand sewn seam.
11. (Not shown) Lastly, attach a metal snap to the ribbon forming a loop that is large enough to fit around your dog’s leash. Sew the other end of the ribbon to one end of the case. And that’s all, you’re finished!
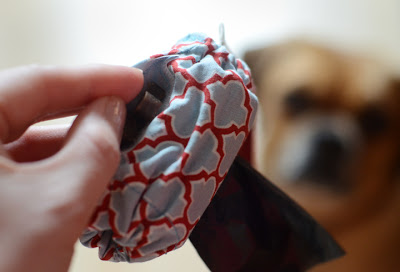
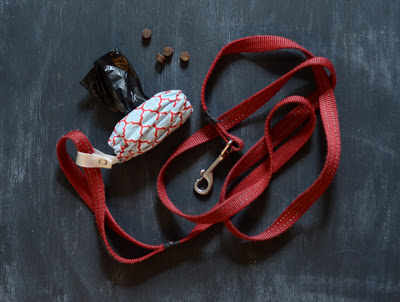
Stretch the elastic on one end and insert the roll of bags. Fill the pocket with treats and you’re ready for a walk.
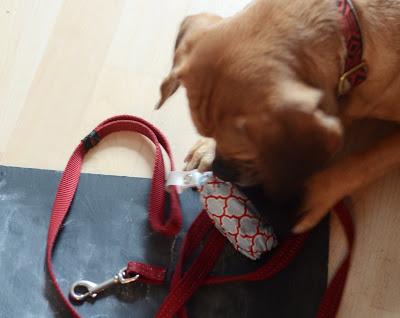
Charlie seems to really like his new DIY dog waste bag holder! This might have something to do with the secret treat pocket….
If you liked this tutorial, you might love this reversible dog bandana pattern or this adorable bow tie pattern for your pooch. Thanks for dropping by!
xo,
Faith
{Design Fixation}

Comments are closed.