

I’ve shared a few of my dress tutorials with you before, so I thought I’d try something a little different this time – a shirt. Create this fun, dressy little top in less than 15 minutes. For realz. It only requires four seams! So here we go….
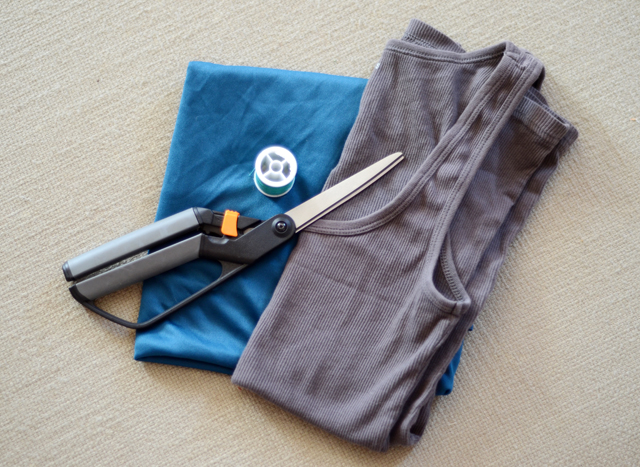
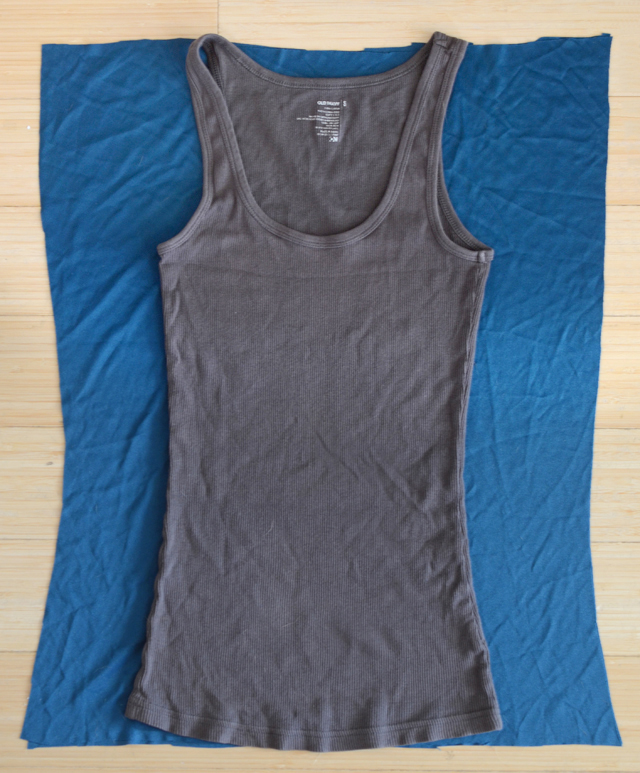
Fold your fabric in half so that you’re cutting through 2 layers, and cut along the shape of your existing shirt… but add 3 inches on either side. See above.

Wow, looks like I should have ironed my fabric… please excuse the wrinkles. With right sides in, sew 2 seams along the top left and right sides to form the shoulders of the shirt (see the image above). Next, cut your neckline. You can make it deeper if you’d like a lower neckline, or cut it like I have above for more of a boat neck style.

Then turn the garment right side out and sew seams along the sides, 2 inches from the edges of the fabric. Stop 6 inches from the shoulder seams… these gaps are your arm holes. And that’s it! Trim the excess threads and try on your new shirt!
Need another sewing project? Check out my tutorial store, Sewing Fixation, for more fabulous sewing tutorials for all skill levels. Automatic downloads mean that you will be up and running in minutes.
Stop by tomorrow for a sewing-related edition of Typeface Tuesday.
xo,
Faith
{Design Fixation}
Comments are closed.