Today, Meghan Riling from Calamity Collaborations Dance joins us to share a fabulous leather necklace tutorial. Meghan is the taller, redder-headed half of Calamity Collaborations Dance. Calamity is the dance love child of Meghan and Amy Mastrangelo, college mates who sought an outlet for making and presenting accessible dance to the world at large. From a love of dance, music and collaboration was forged a tireless search to find art in every day life in all its sneakiest, and most unassuming forms…and making it, where the need be. Check out her blog here.
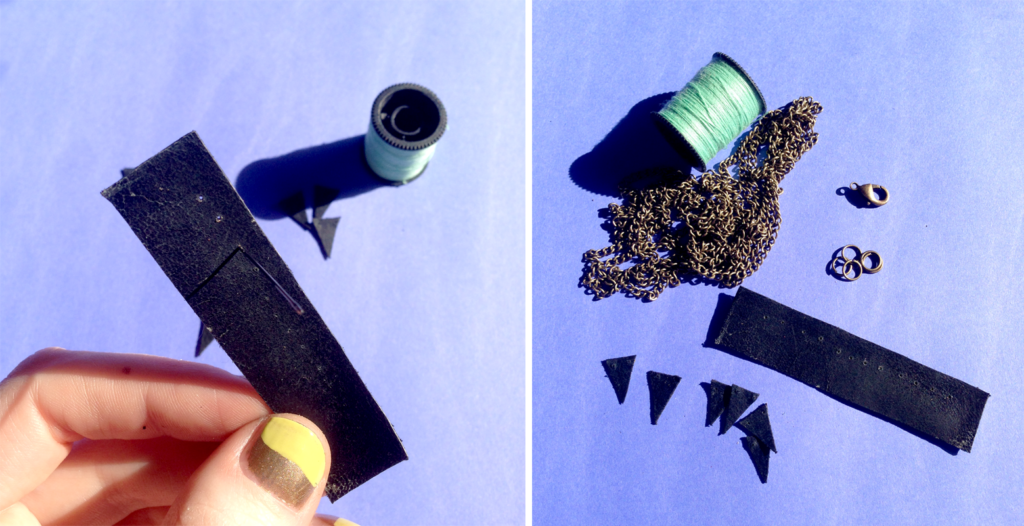
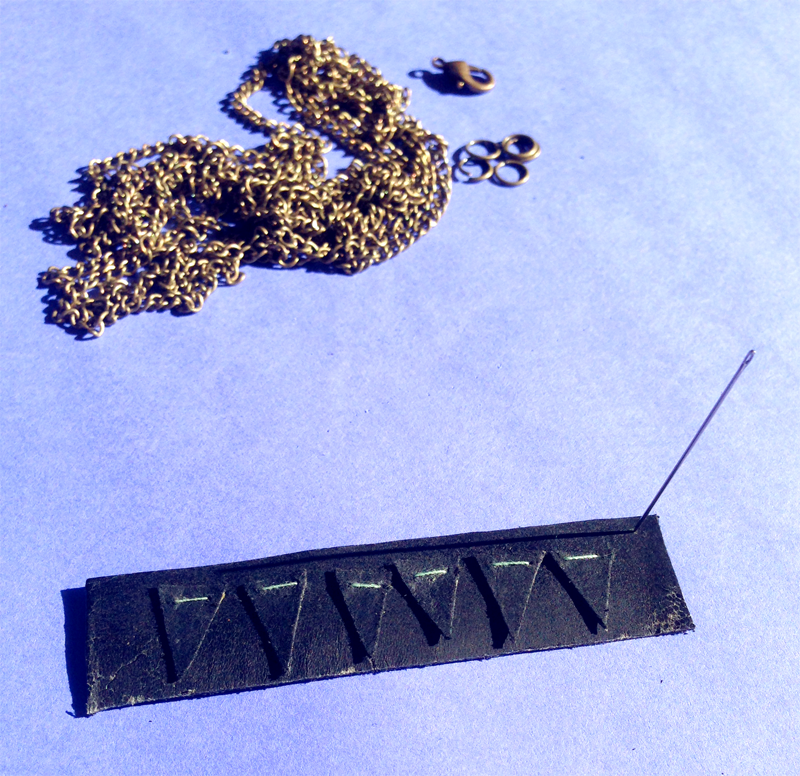
STUFF YOU’LL NEED
– an old leather item that’s no longer cute or useful
– scissors
– thread and needle
– chain
– lobster claw
– jump rings
HOW TO MAKE IT
1. Grab your scissors and the wallet and tear it up. In my wallet, there were some leather pieces that were lined and some that weren’t. Once you have a rectangle of just leather, cut your shapes out. I wanted my necklace to have an organic look to it, to match the worn look of the leather, so I just picked up my scissors and went for it. People who like things that are precise should consider sketching with pen on the reverse side and using an X-Acto knife. It’s hard to be very precise with the scissors.
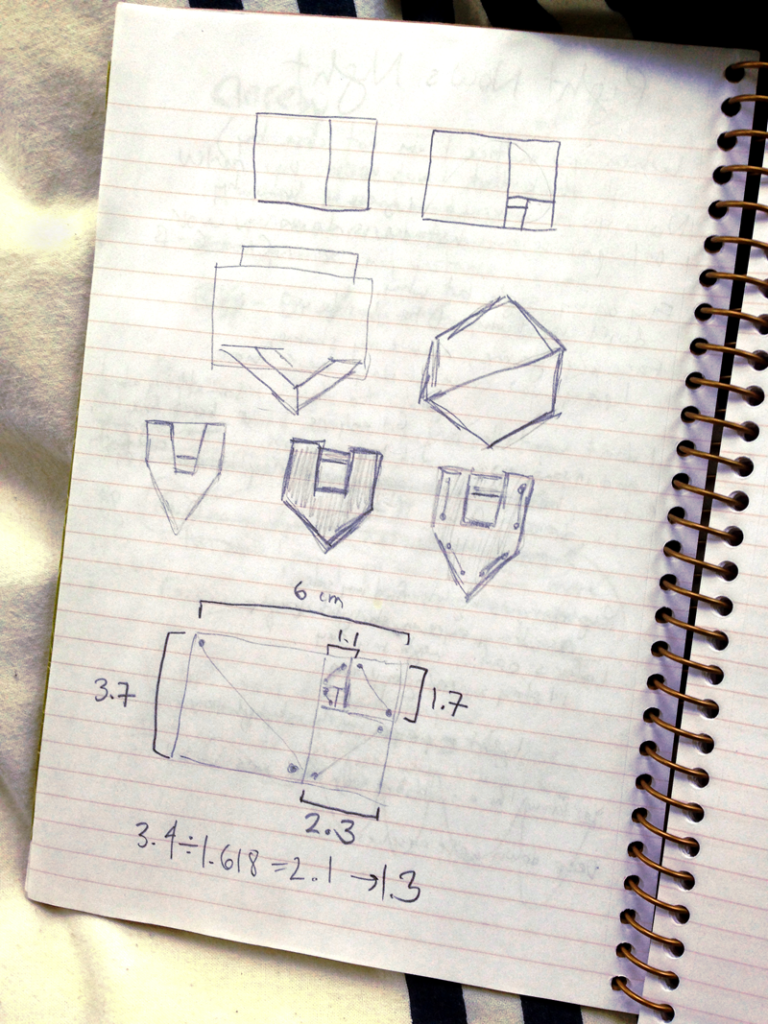
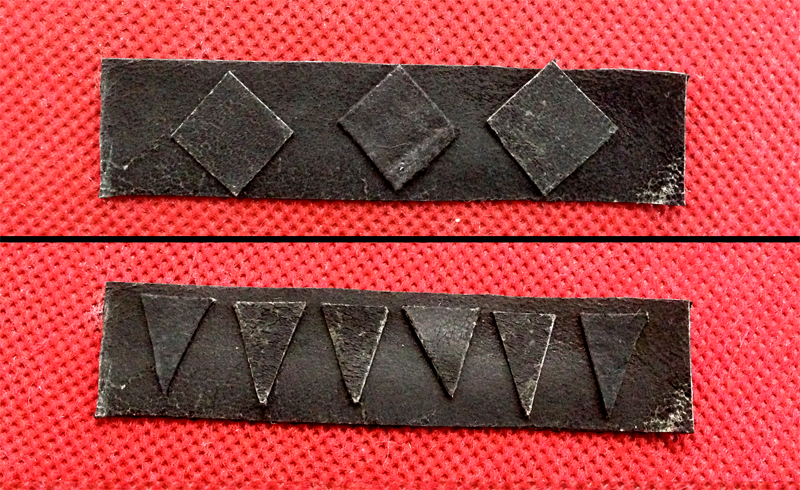
The basic premise is to have a base shape and then other details that will be sewn on top of it. Experimenting is very important! I did a bit of sketching and then tried a few different arrangements with my cut pieces before settling on what exactly I wanted to do.
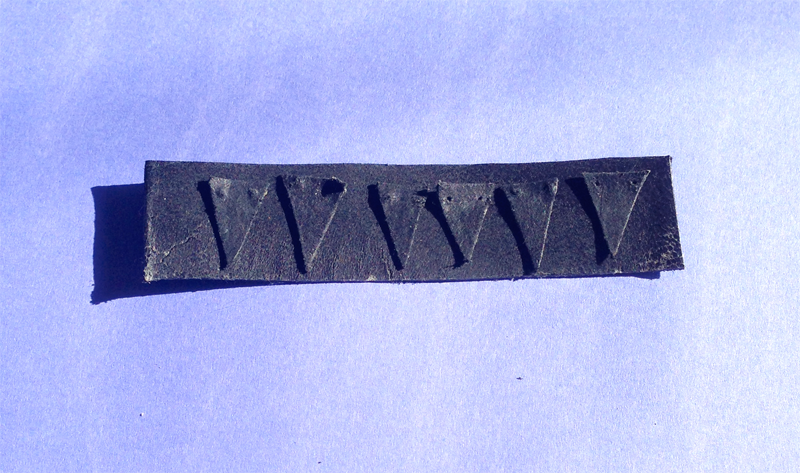
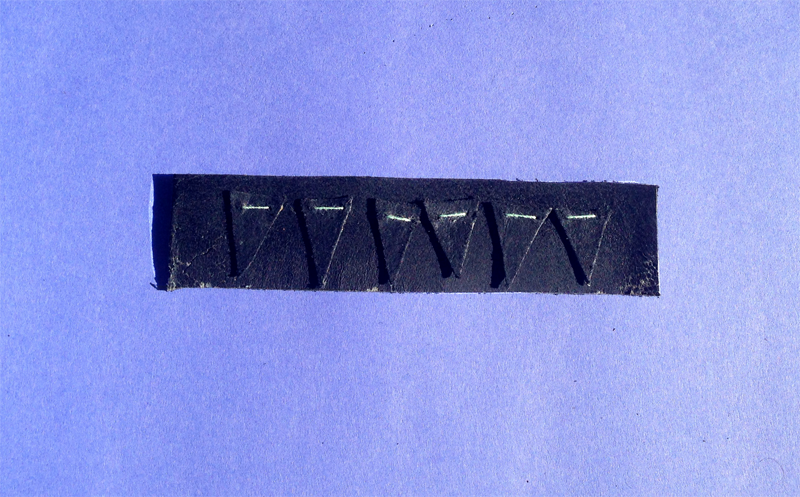
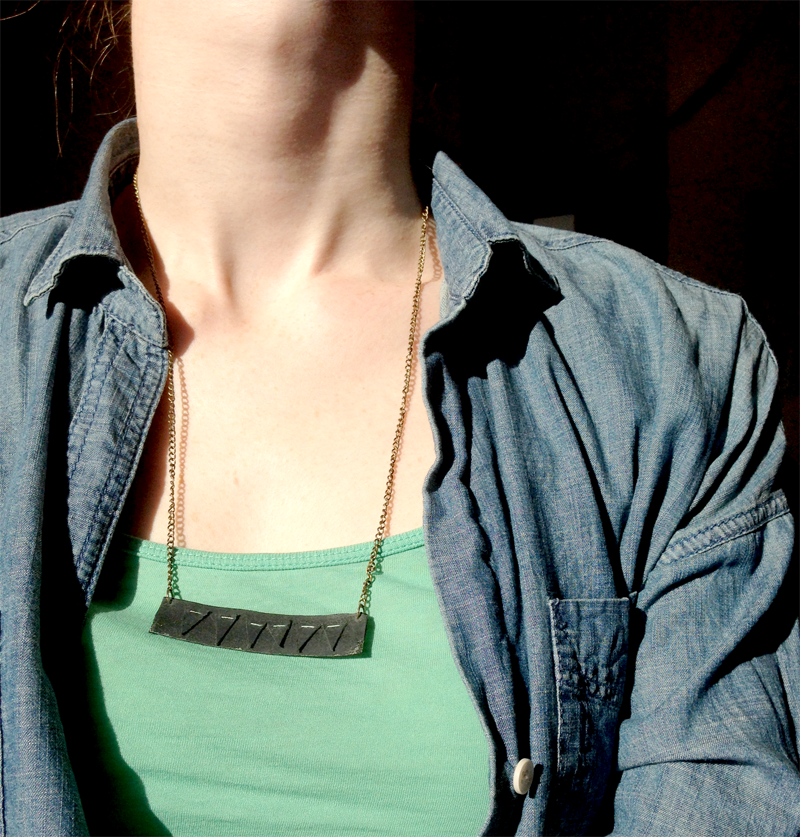
I went with the design on the bottom, with the long skinny rectangle and 6 little isosceles triangles to go on top of it, like a little leather bunting.
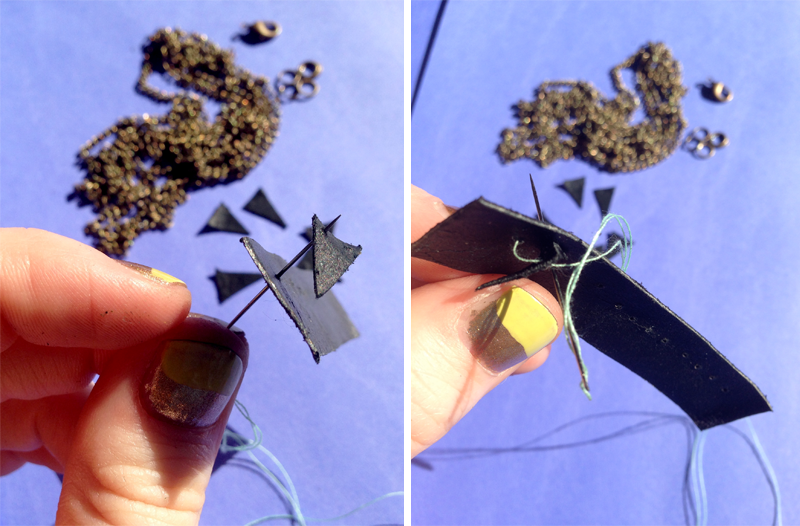
2. Take each detail piece and determine how you will sew it down. I wanted the thread to be a visible part of the design, rather than try to pretend it wasn’t there. I decided I would only sew my triangles down across the tops. Now you need to make the holes through which you’ll sew.
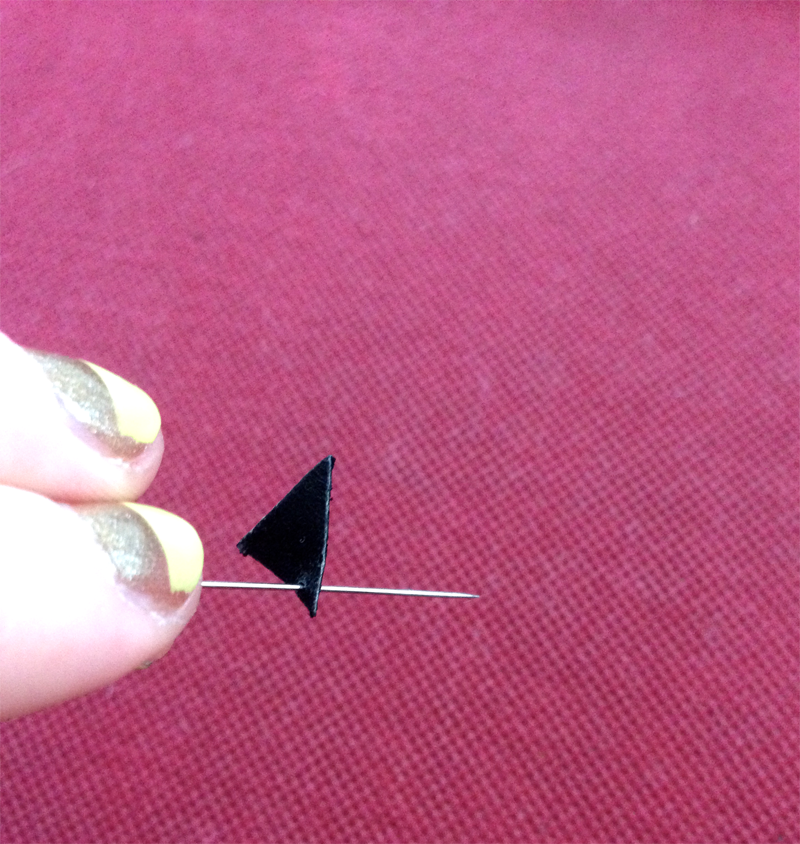
Use your needle. First stab the leather where you want a hole and then force the needle all the way through. You might also want to wiggle the needle around when it’s halfway through to make the hole even bigger.
3. Now we need to make holes in the base shape. Arrange your detail pieces on top.
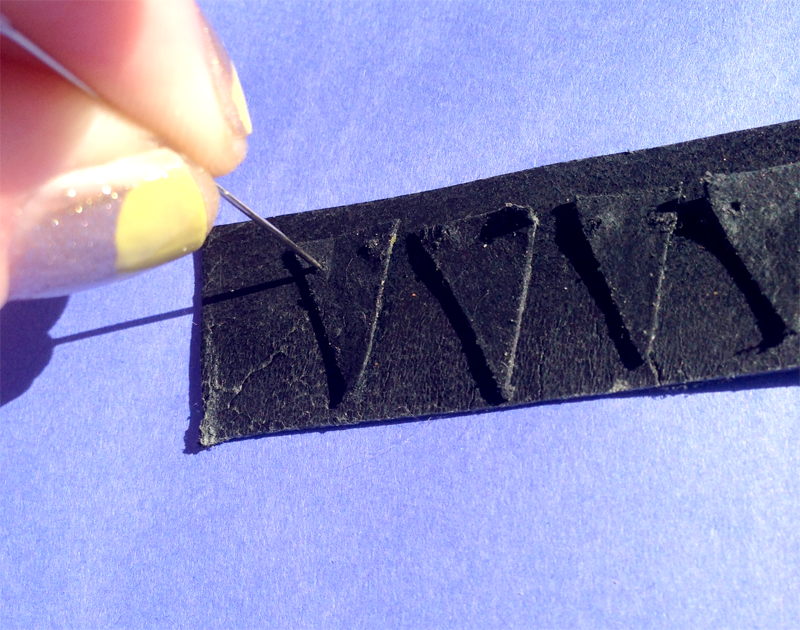
Then use the needle to make a pin prick beneath each sewing hole that you created in the last step.
When you remove the detail pieces, use the needle to turn those pin pricks into holes, just like you did with the little pieces.
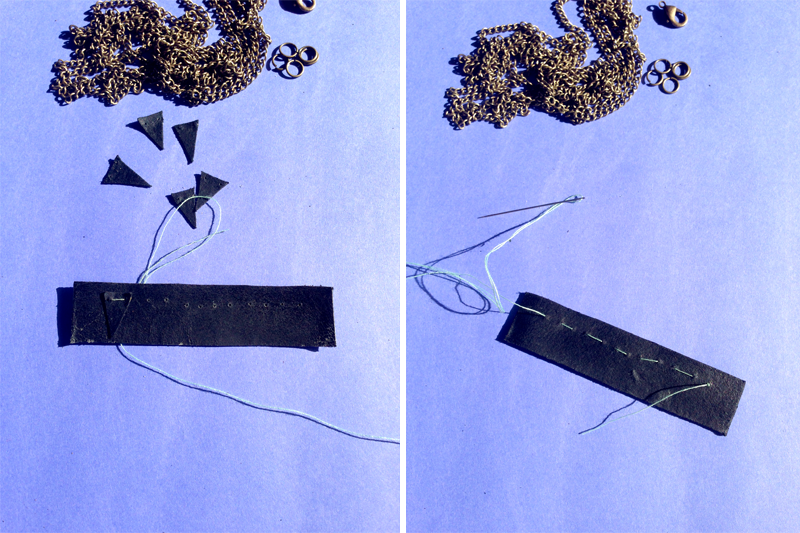
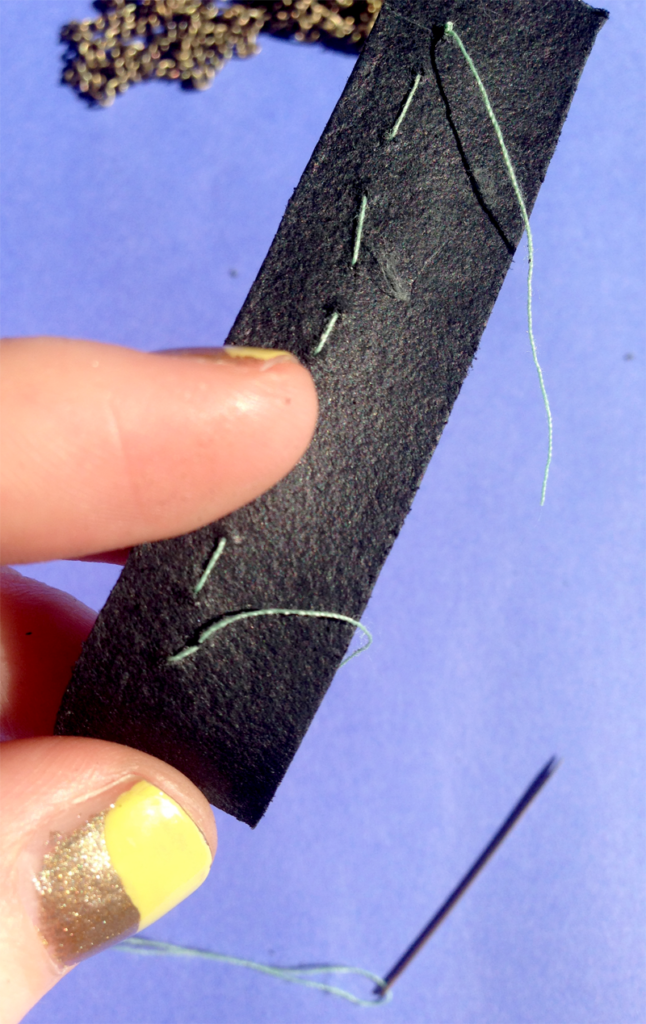
4. Time to sew! (This means you have to thread your needle. I am so sorry.) Starting behind the base piece, sew everything down using the holes you just made.
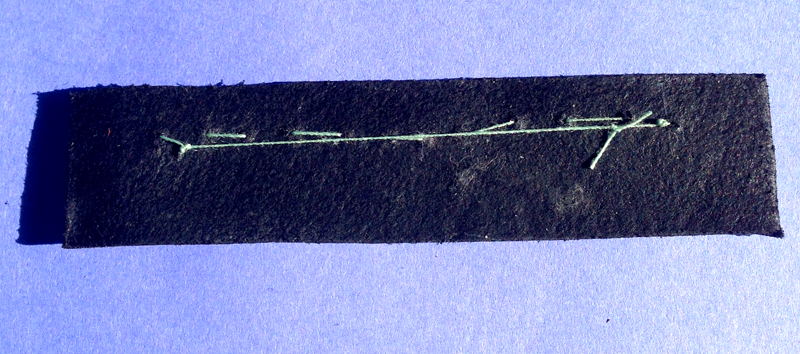
When I tied my string off in the back, I secured it by nipping just into the leather with the needle.
Then I tied the two ends together, and then cut that knot short. Surely neither of those steps are necessary, but I get paranoid about the thread staying put.
Okay! Now we have a secure item made out of multiple pieces of leather!
5. It’s time to turn this thing into the most beautiful necklace that your neck has ever seen. Decide where you want the chain to attach, and make some more holes with your needle. These holes have to be bigger than the ones you made for sewing, since you’ll be pushing pieces of metal through them.
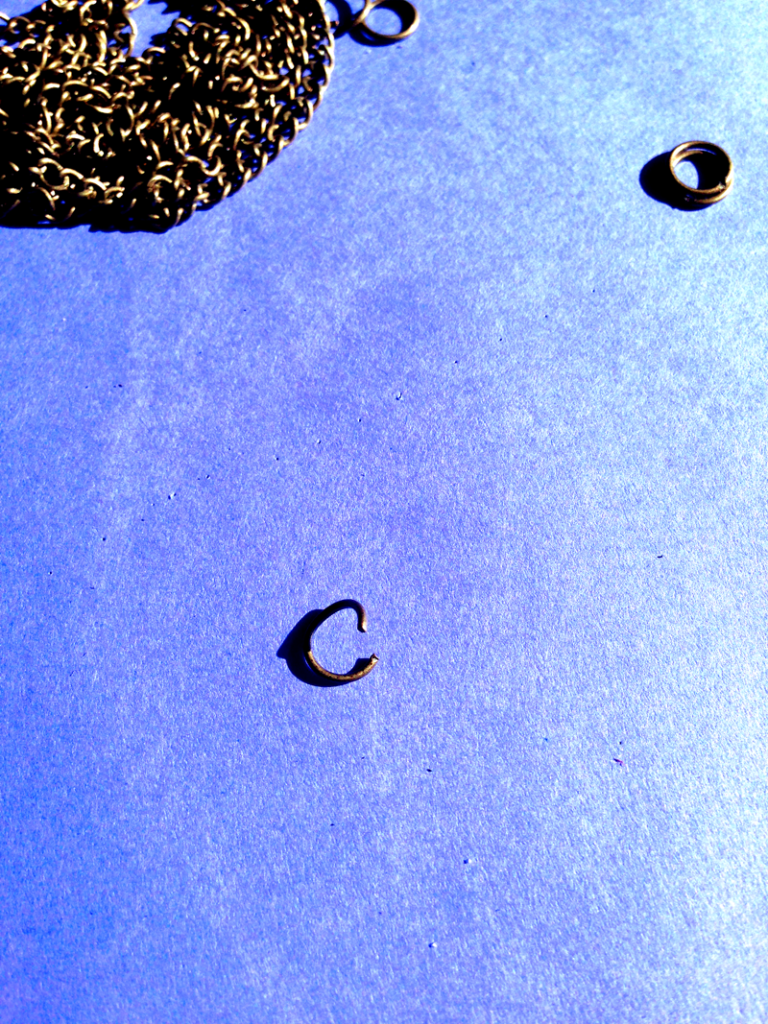
6. Use your fingers to bend a jump ring open. Push it through one of the holes that you just made. Before closing it, slip one end of the chain onto the jump ring. Repeat with the other hole.
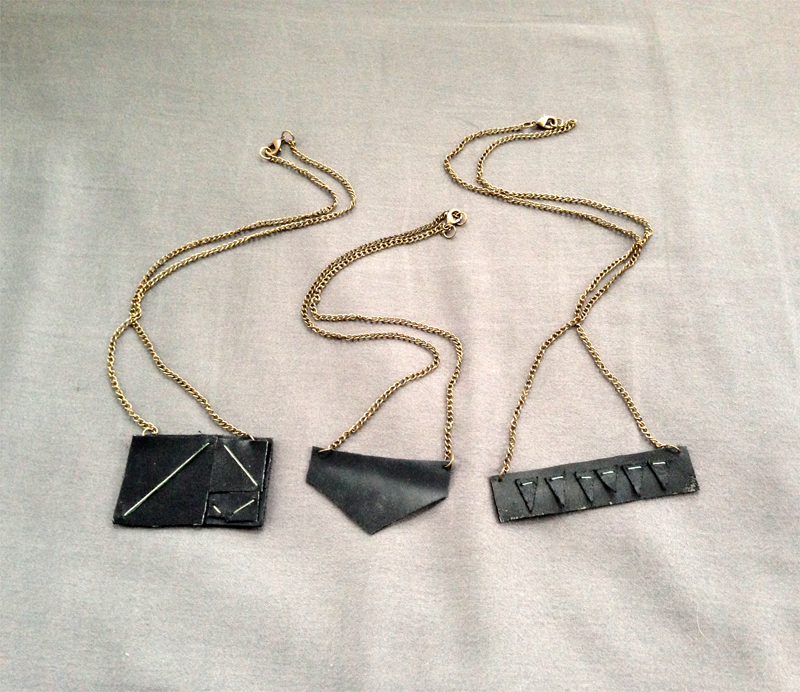
7. Cut the chain to the length you want. For two of my necklaces, I did this by comparing it to some necklaces I already have. For this one, I just held it up to my body and cut it to the right length. Some people use wire cutters for this step. I’m not fancy enough to own wire cutters, so I just do small amounts of damage to cheap scissors instead.
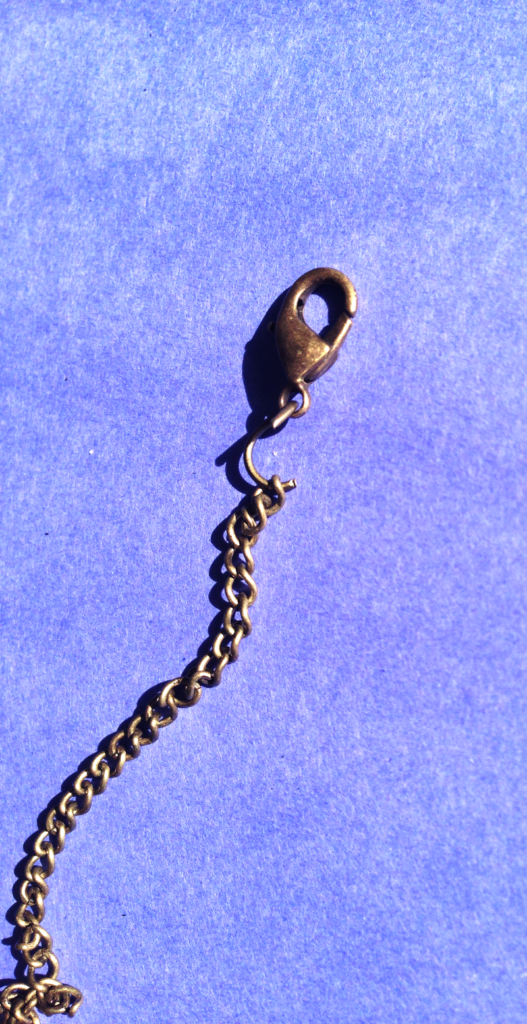
8. Put a jump ring on both ends of the chain. Attach your lobster claw to one of them.
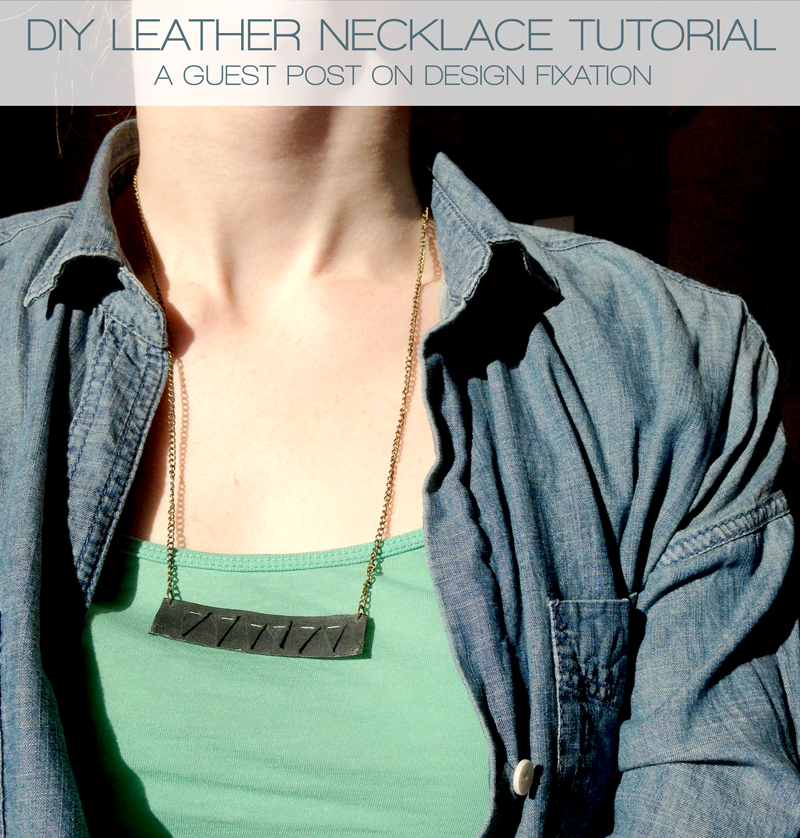
9. Look great in your cute new necklace!
OTHER THINGS YOU COULD TRY
– use multiple colors of thread and/or different types of leather
– stacks on stacks on stacks – make multiple layers of detail pieces
– detail pieces that extend beyond the canvas of the base piece
– multiple chains, perhaps?
– make earrings or perhaps a bracelet
I hope you enjoyed Meghan’s tutorial… be sure to keep tabs on her via her Facebook page. Stop back over on Design Fixation this Saturday for some clever wedding tips and ideas.
xo,
Faith
{Design Fixation}

Comments are closed.