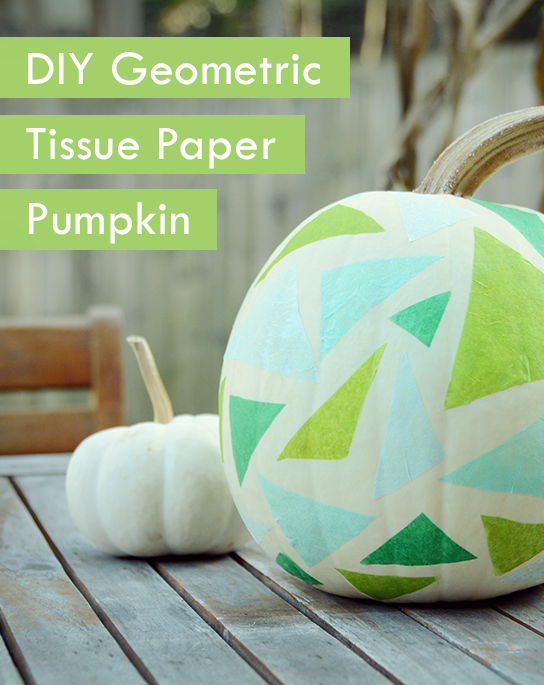
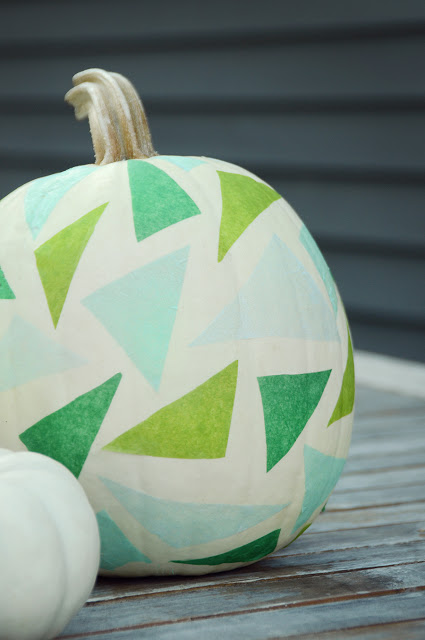
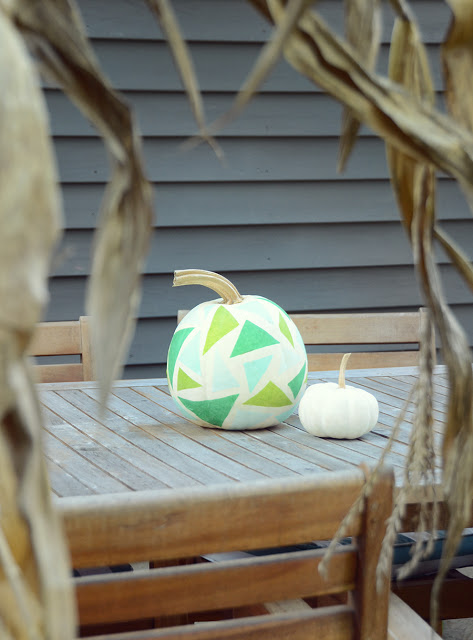
Do you ever get sick of orange pumpkins? I do. But that doesn’t mean I don’t like color. I mean, c’mon… have you seen my past projects? (If you haven’t, check this out. And this). So today I wanted to share a fun little tutorial that will help you transform any pumpkin into a geometric work of art using leftover tissue paper.
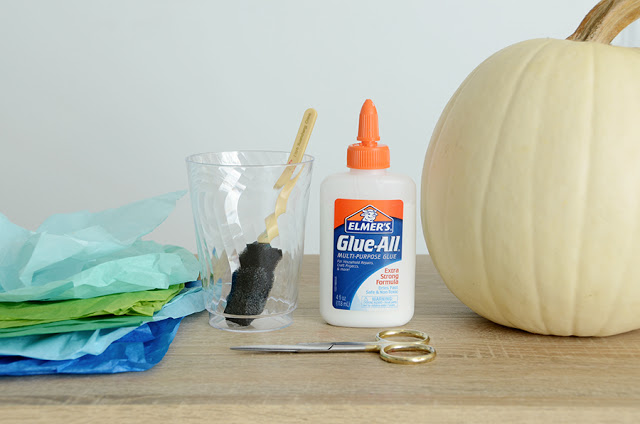
Here’s what you’ll need for your tissue paper pumpkin:
- An heirloom pumpkin
- Elmer’s glue
- Scissors
- Foam brush
- Plastic cup
- Leftover tissue paper
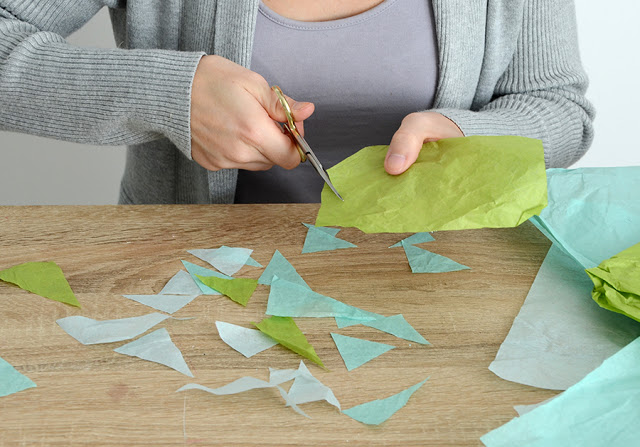
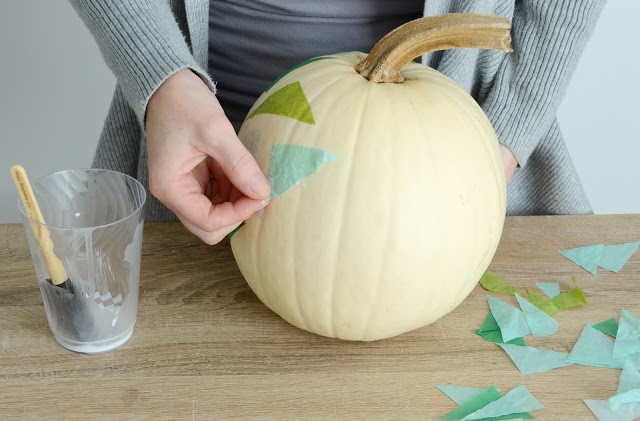
Begin by cutting lots of triangles from a variety of different colors of tissue paper. I had lots of tissue on hand because I like to reuse it from gifts if it’s in good condition. Vary the sizes and shapes.
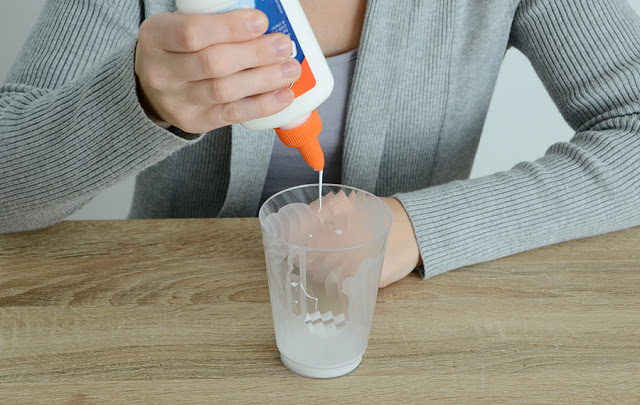
Next, put a teaspoon of water into a plastic cup and add a tablespoon of glue to it. Mix it up with your foam brush. If it seems too watery, add some more glue. It should be a frothy consistency.
Put a dab of the glue mixture on the pumpkin where you’d like to place a triangle, and then gently attach the tissue piece. Use your brush to apply another layer on top of the triangle. Make sure all of the corners are firmly attached. Once the whole top is covered, let it dry thoroughly and then add a few triangles on the bottom.
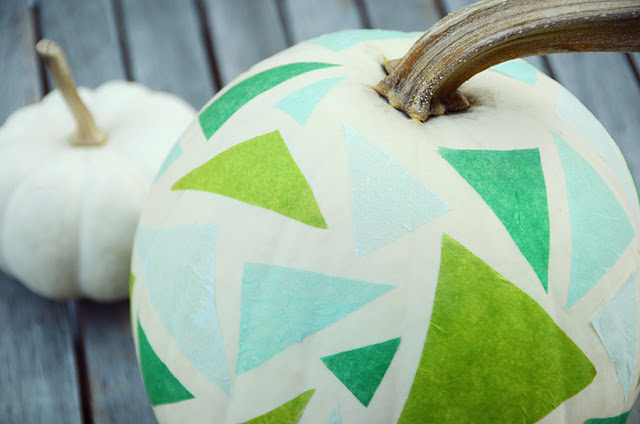
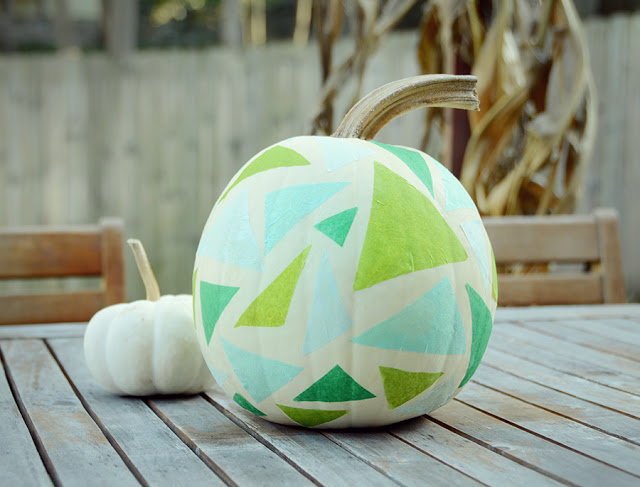
And you’re finished! This is a super simple project, and it looks so fun with all of the bright colors. It’s also great because it requires minimal materials… most of which you may already have on hand.
You could use any kind of pumpkin you like; I tried it on a peach colored heirloom pumpkin with bright pinks and oranges and it looked awesome. And it could look interesting with patterned tissue too.
You might try different shapes too… the sky’s the limit, really! Looking for more no-carve pumpkin ideas? Check these out.


Comments are closed.