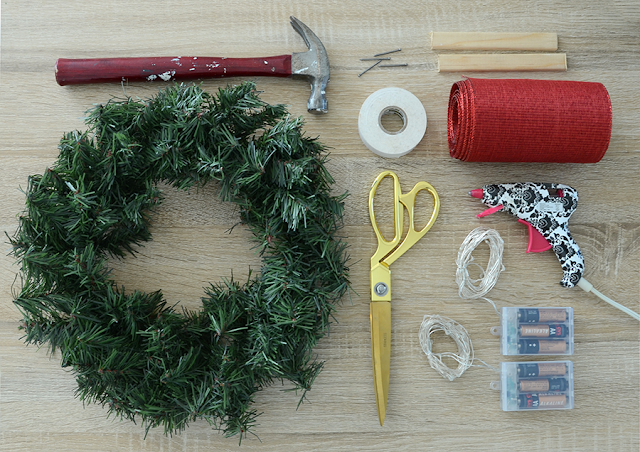
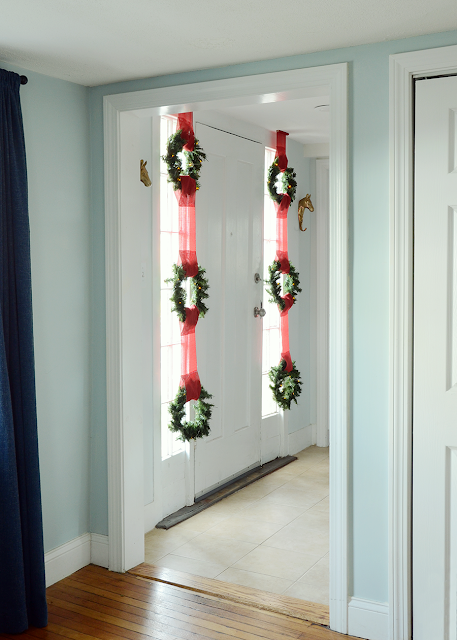
Here’s what you’ll need for your Christmas wreath window display:
- 6 small wreaths
- Battery operated mini string lights
- Red ribbon
- Hot glue gun
- Scissors
- Hammer and small nails
- Thin wooden trim the same width as the ribbon
- Tape (optional)
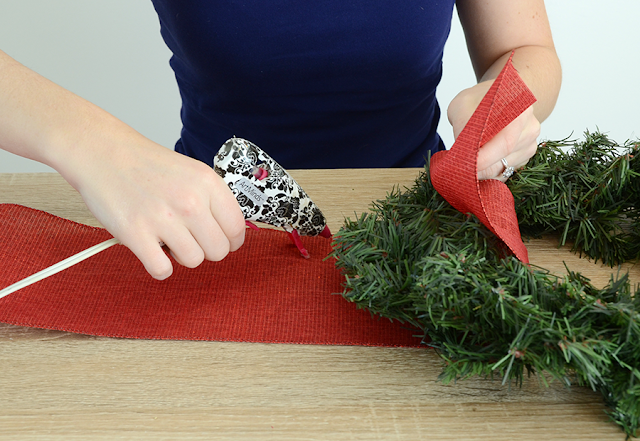
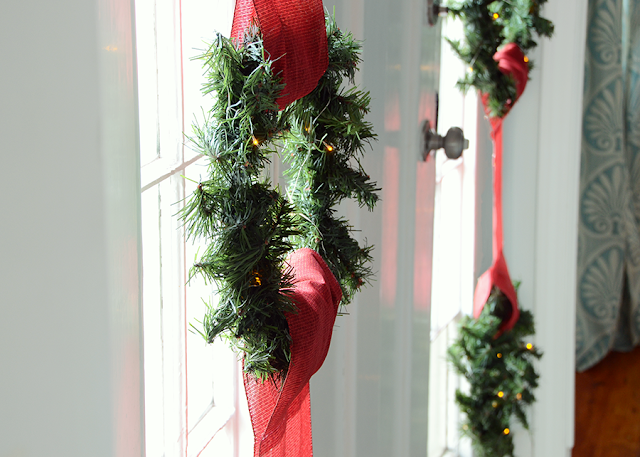
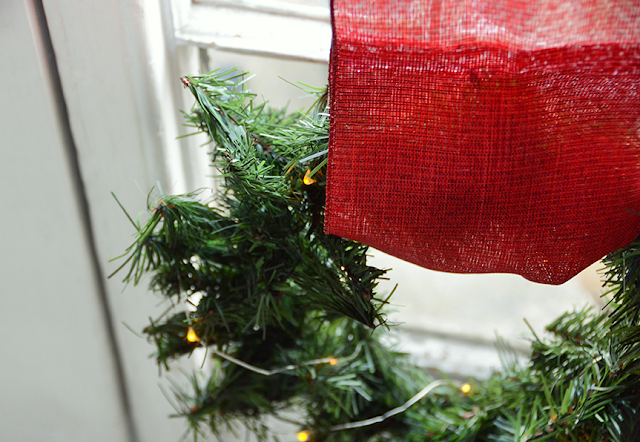
Fluff up the wreaths if they need it and lay one face down. Wrap the end of the ribbon around it and place a line of hot glue right above the wreath. Fold the end of the ribbon over the wreath and carefully attach it to the line of glue.
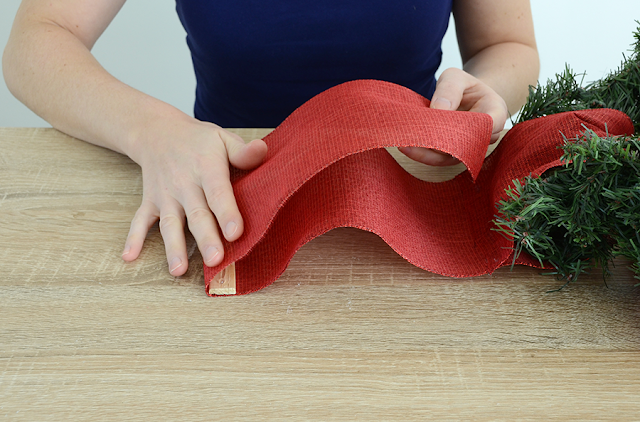
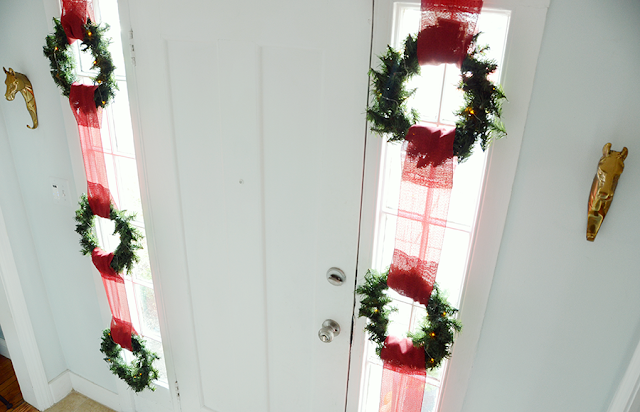
Lay another wreath on your work surface so it is 12 inches from the edge of first wreath. Repeat the gluing process again. Do this again until all three wreaths are connected to each other.
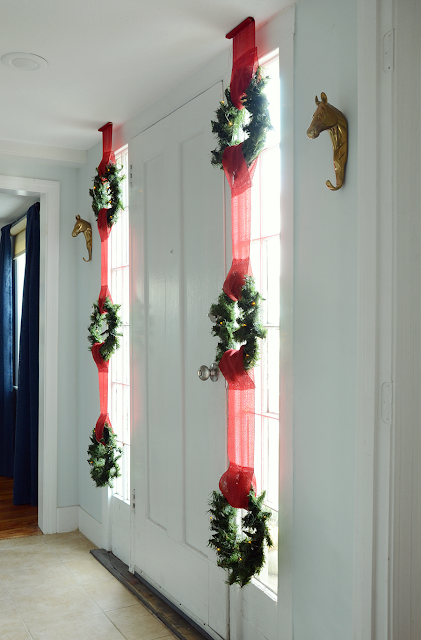
Attach a piece of ribbon to the top part of the top wreath too and then glue the wood to the top of it as shown above. Trim the excess ribbon. I had about 8 inches between the top of my wreaths and the ceiling, but you can adjust the measurements according to your space.
To suspend it from the ceiling, place the wooden piece against the ceiling and nail it in with two small nails. You can stick it to the ceiling with tape while you hammer to make it easier if necessary, then remove the tape afterward. Hammer the nails in at an angle so they stay secure. Last, put the battery pack part of your lights above the top wreath (tuck it inside the ribbon) and arrange the lights around all three wreaths. Repeat this whole process for the other side of the door.
If red isn’t your color, switch it up… gold ribbon would look pretty, or you could go non-traditional and try something like pink or aqua. Have fun with it!
In the mood for more Christmas DIY projects? Check out this holiday decor roundup I did last week!



Comments are closed.